Introduction
Welcome to our guide on how to go into Samsung Portable SSD settings. Samsung Portable SSDs are an excellent way to store and transfer your valuable data, whether you are using them for personal or professional purposes. These compact and versatile drives provide fast, reliable, and secure storage options for a wide range of devices.
While Samsung Portable SSDs are designed to be plug-and-play, it’s always a good idea to explore their settings to optimize their performance and customize them based on your specific needs. By going into the Samsung Portable SSD settings, you can control various aspects of the drive, such as security features, power management, and drive formatting options.
In this guide, we will walk you through the step-by-step process of accessing the Samsung Portable SSD settings and customizing them according to your preferences. Whether you want to enable encryption, adjust power-saving settings, or change the LED indicator behavior, this article will provide you with all the information you need to make the most out of your Samsung Portable SSD.
Before we dive into the details, it’s important to note that the steps may vary slightly depending on the specific model of your Samsung Portable SSD and the operating system you are using. However, the core concepts and procedures remain the same, and we will provide general guidelines that can be applied to most Samsung Portable SSDs.
So, if you’re ready to unlock the full potential of your Samsung Portable SSD, let’s get started with the first step: connecting the drive to your device!
Why Do You Need to Go Into Samsung Portable SSD Settings?
Although Samsung Portable SSDs work seamlessly right out of the box, there are several compelling reasons why you might want to explore their settings:
1. Enhance Performance: By accessing the Samsung Portable SSD settings, you can optimize the drive’s performance to suit your specific requirements. Whether you need faster read and write speeds for video editing or want to prioritize power efficiency for longer battery life, adjusting the settings can help you achieve the desired performance.
2. Enable Security Features: Samsung Portable SSDs often come equipped with advanced security features, such as password protection and encryption. By going into the settings, you can set up secure access to your data, preventing unauthorized users from accessing or compromising your files.
3. Customize LED Indicator Behavior: The LED indicator on the Samsung Portable SSD serves as a visual cue for various drive activities. By accessing the settings, you can customize the LED behavior to your liking. Whether you prefer a steady light, a pulsating glow, or even complete LED disablement, the settings menu allows you to tailor the LED indicator’s behavior.
4. Adjust Power Management: Going into the Samsung Portable SSD settings gives you the ability to tweak power management options. This allows you to strike a balance between performance and power consumption, ensuring that the drive operates optimally without draining excessive battery life on your laptop or other portable devices.
5. Format the Drive: In some cases, you may need to reformat the Samsung Portable SSD to a particular file system, such as exFAT or NTFS, depending on your operating system and intended use. Formatting options can be found within the settings menu, allowing you to customize the drive’s format and compatibility.
By accessing the Samsung Portable SSD settings, you can unlock various features and customization options, allowing you to tailor the drive’s functionality to your specific needs. Whether it’s improving performance, managing security, or adjusting power settings, going into the settings menu empowers you to make the most of your Samsung Portable SSD.
Step 1: Connect the Samsung Portable SSD to Your Device
The first step in accessing the Samsung Portable SSD settings is to connect the drive to your device. Follow these simple steps:
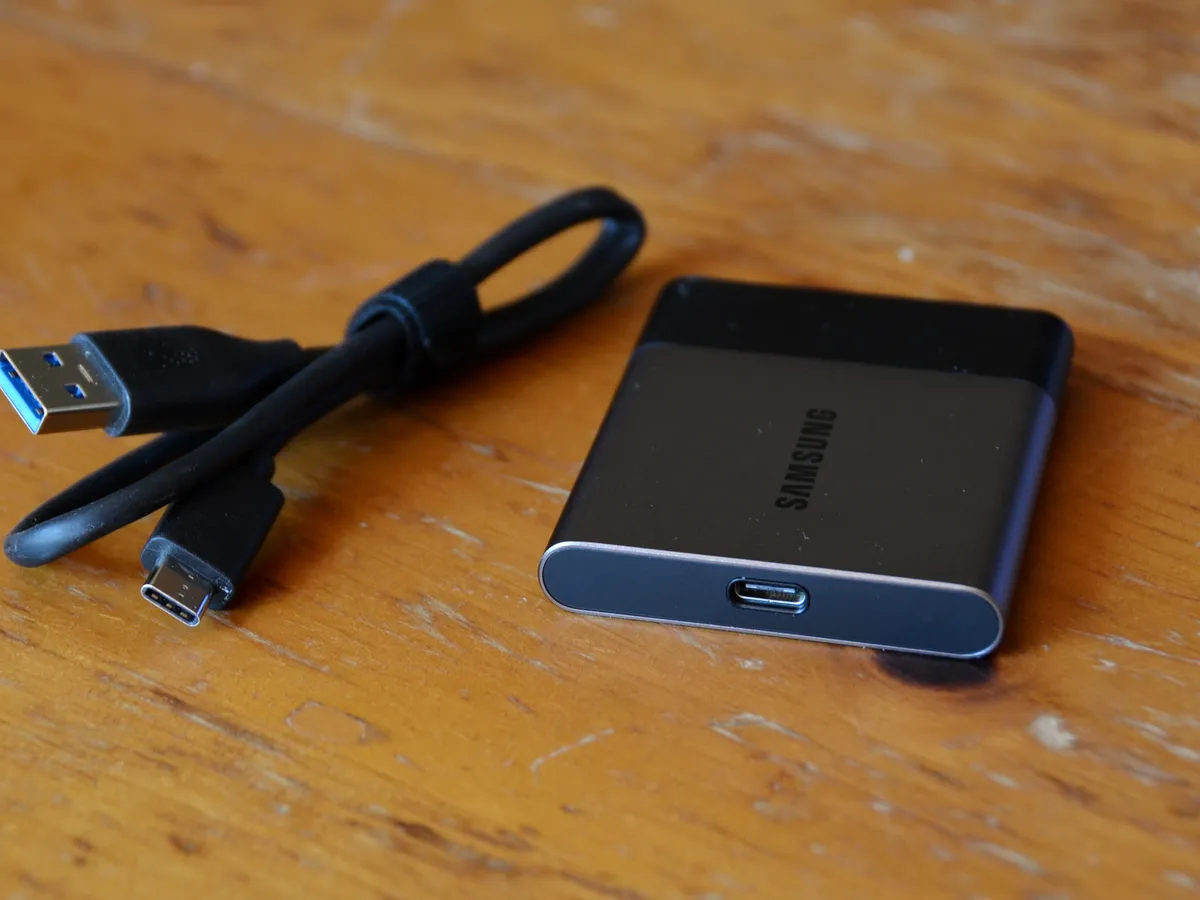
1. Locate the USB Port: Identify an available USB port on your computer or device. Most Samsung Portable SSDs use a USB Type-C or USB Type-A connector, so ensure that you have the appropriate cable or adapter for your device.
2. Connect the Drive: Plug one end of the USB cable into the Samsung Portable SSD and the other end into the USB port on your device. Ensure that the connection is snug and secure.
3. Wait for the Device Recognition: Once connected, your device will automatically recognize the Samsung Portable SSD. Depending on your operating system, you may see a notification or an icon indicating that a new device has been connected.
4. Ensure Proper Power Supply: Some Samsung Portable SSDs draw power directly from the device they are connected to, while others require an external power source. If your Samsung Portable SSD requires external power, make sure it is properly connected and turned on.
5. Check the Drive Status: After connecting the Samsung Portable SSD, double-check that the drive is correctly recognized by your device. You can verify this by opening your file explorer or disk management utility (such as “Disk Management” on Windows or “Disk Utility” on macOS) and looking for the Samsung Portable SSD in the list of connected devices.
Once you have successfully connected the Samsung Portable SSD to your device, you are ready to move on to the next step in accessing the settings. Remember to ensure a stable and secure connection to avoid data loss or interruptions during the settings customization process.
Step 2: Open the Samsung Portable SSD Software
To access the Samsung Portable SSD settings, you will need to open the dedicated software provided by Samsung. Follow these steps to launch the software:
1. Go to the Samsung Website: Open your web browser and navigate to the official Samsung website.
2. Search for Samsung Portable SSD Software: Use the search function on the Samsung website to locate the appropriate software for your specific model of Samsung Portable SSD. Ensure that you download the software compatible with your operating system.
3. Download and Install the Software: Click on the download link for the Samsung Portable SSD software and follow the on-screen instructions to download and install it on your computer. Make sure to complete the installation process accurately.
4. Launch the Software: Once the installation is complete, locate the Samsung Portable SSD software icon on your desktop (Windows) or in the Applications folder (Mac). Double-click on the icon to launch the software.
5. Connect your Samsung Portable SSD: Make sure your Samsung Portable SSD is still connected to your device as outlined in Step 1. The software should automatically detect and display your connected Samsung Portable SSD.
6. Select your Drive: In the Samsung Portable SSD software, select your connected drive from the list of detected devices. The software may show the drive name or a unique identifier to help you identify your specific Samsung Portable SSD.
7. Wait for the Software to Load: The Samsung Portable SSD software will take a moment to load the necessary information and settings for your drive. Depending on the size of your drive and the speed of your computer, this process might take a few seconds.
Once the Samsung Portable SSD software is launched and your drive is recognized, you are ready to proceed to the next step, where we will explore the settings menu and customize your Samsung Portable SSD to your liking.
Step 3: Navigate to the Settings Section
Now that you have the Samsung Portable SSD software open on your computer and your Samsung Portable SSD connected, it’s time to navigate to the settings section. Follow these steps:
1. Locate the Settings Tab: Within the Samsung Portable SSD software interface, look for a tab, menu, or icon specifically labeled “Settings” or something similar. This is where you will find all the customizable options for your Samsung Portable SSD.
2. Click on the Settings Tab: Once you have located the settings tab, click on it to access the settings section. The interface may change, presenting you with different options related to the configuration of your Samsung Portable SSD.
3. Explore the Available Settings: In the settings section, you will find a range of options that you can customize according to your preferences. These settings may include power management, encryption, LED behavior, drive format, and more. Take some time to familiarize yourself with the available settings.
4. Review the Descriptions and Tooltips: As you navigate through the settings, you may encounter descriptions or tooltips that provide additional information about each setting. Read these descriptions carefully to understand the functionality and potential impact of each setting before making any changes.
5. Adjust the Settings: Once you are comfortable with the available settings and their implications, you can begin customizing them according to your needs. Click on the desired settings and make the appropriate changes using the provided options or input fields. Remember to save your changes before exiting the settings section.
6. Seek Help if Needed: If you encounter any difficulties or have questions about specific settings, consider referring to the user manual or seeking assistance from Samsung’s support resources. They can provide further guidance or clarification on the various settings available for your Samsung Portable SSD.
Navigating to the settings section is an important step in harnessing the full potential of your Samsung Portable SSD. Take the time to explore the available settings and make adjustments that align with your storage and performance requirements.
Step 4: Customize Samsung Portable SSD Settings
Now that you have accessed the settings section of the Samsung Portable SSD software, it’s time to customize the settings according to your preferences. Follow these steps to personalize your Samsung Portable SSD:
1. Power Management: If your Samsung Portable SSD has power management options, you can adjust them to optimize the drive’s power consumption. This is particularly useful for portable devices to maximize battery life. You may have options like power-saving mode, idle timeout, or sleep mode.
2. Security Features: If your Samsung Portable SSD supports security features like password protection or encryption, you can customize these settings to enhance the security of your data. Set a strong password or enable hardware encryption to ensure that your files remain safe and protected.
3. LED Behavior: Many Samsung Portable SSDs feature LED indicators that provide visual feedback on drive activity. In the settings section, you can customize the LED behavior to your liking. Options may include changing the colors, brightness, pulsation patterns, or even disabling the LED altogether.
4. Drive Formatting: If you need to format the Samsung Portable SSD to a specific file system, such as exFAT or NTFS, you can do so within the settings section. Be cautious when formatting, as it will erase all existing data on the drive. Ensure that you have a backup of any important files before proceeding.
5. Other Settings: Depending on your specific model of Samsung Portable SSD, there may be additional customizable settings available. Explore the options provided in the software and make adjustments based on your requirements and preferences. Look out for features like firmware updates, drive diagnostics, or performance optimization settings.
When customizing the Samsung Portable SSD settings, take into account your specific needs and how you intend to use the drive. It’s essential to strike a balance between performance, security, and convenience to ensure that the drive operates optimally for your usage scenarios.
Remember to save your changes after customizing the settings. Once you have completed the customization process, your Samsung Portable SSD will be configured according to your preferences, providing you with a personalized and efficient storage solution.
Step 5: Save and Apply the Changes
After customizing the Samsung Portable SSD settings to your preferences, it’s important to save and apply the changes you’ve made. Follow these steps to ensure that your settings are properly saved:
1. Review Your Changes: Before proceeding, take a moment to review all the settings you’ve customized. Ensure that they align with your requirements and that there are no unintended modifications that may affect the performance or security of your Samsung Portable SSD.
2. Click the Save or Apply Button: Look for a “Save” or “Apply” button within the settings section of the Samsung Portable SSD software. This button may be labeled differently depending on the specific software interface, but its purpose is to confirm and store your changes.
3. Wait for the Changes to be Applied: Once you click the save or apply button, the Samsung Portable SSD software will enact the changes you’ve made. This may take a few moments as the software updates the drive’s settings accordingly.
4. Verify the Changes: After the changes have been applied, verify that they have taken effect. You can do this by reviewing the settings once again or by observing any visual indicators or behaviors that you’ve customized, such as LED patterns or power management settings.
5. Restart if Required: In some cases, certain changes may require a restart of your computer or device for the modifications to take full effect. If prompted to do so, follow the on-screen instructions to restart your computer and ensure that the changes are properly implemented.
By saving and applying your customized settings, you are ensuring that your Samsung Portable SSD operates according to your desired specifications. This step is vital to optimizing the performance, security, and overall functionality of your portable storage device.
Keep in mind that if you wish to make further adjustments to the settings in the future, you can simply reopen the Samsung Portable SSD software and navigate to the settings section again. The software will retain your previous configurations, allowing you to make any necessary changes as needed.
With the changes saved and applied, you can now enjoy the benefits of a personalized Samsung Portable SSD that is tailored to your specific requirements.
Conclusion
Congratulations! You have successfully learned how to go into Samsung Portable SSD settings and customize them according to your preferences. By following the step-by-step process outlined in this guide, you can optimize the performance, security, power management, LED behavior, and other settings of your Samsung Portable SSD.
Accessing the settings of your Samsung Portable SSD allows you to fine-tune the drive to your specific needs. Whether you need to enable security features, adjust power-saving options, customize LED indicators, or format the drive, the settings section provides you with the flexibility to personalize your storage experience.
Remember, the specific steps may vary slightly depending on the model of your Samsung Portable SSD and the operating system you are using. Always refer to the documentation provided by Samsung or their official support channels for detailed instructions specific to your device.
Now that you have customized your Samsung Portable SSD settings, take a moment to appreciate the improved performance and convenience that the drive offers. Whether you’re using it for work, storing important files, or transferring data between devices, your Samsung Portable SSD is now optimized to meet your unique requirements.
We hope this guide has been helpful in assisting you with navigating the Samsung Portable SSD software and adjusting its settings. Should you have any further questions or need additional support, don’t hesitate to reach out to Samsung’s official support channels or refer to their online resources for assistance.
Enjoy your personalized Samsung Portable SSD and make the most out of its capabilities!