Introduction
Welcome to this guide on how to install files on your Samsung Portable SSD T3 from a PC. The Samsung Portable SSD T3 is a compact and powerful storage solution that allows you to transfer and store your files with ease. Whether you need to back up important documents, transfer large media files, or carry your favorite movies and music on the go, the Samsung Portable SSD T3 is the perfect companion.
In this article, we will walk you through the step-by-step process of installing files on your Samsung Portable SSD T3 using your PC. By following this guide, you will be able to take full advantage of the speed, security, and portability of the Samsung Portable SSD T3.
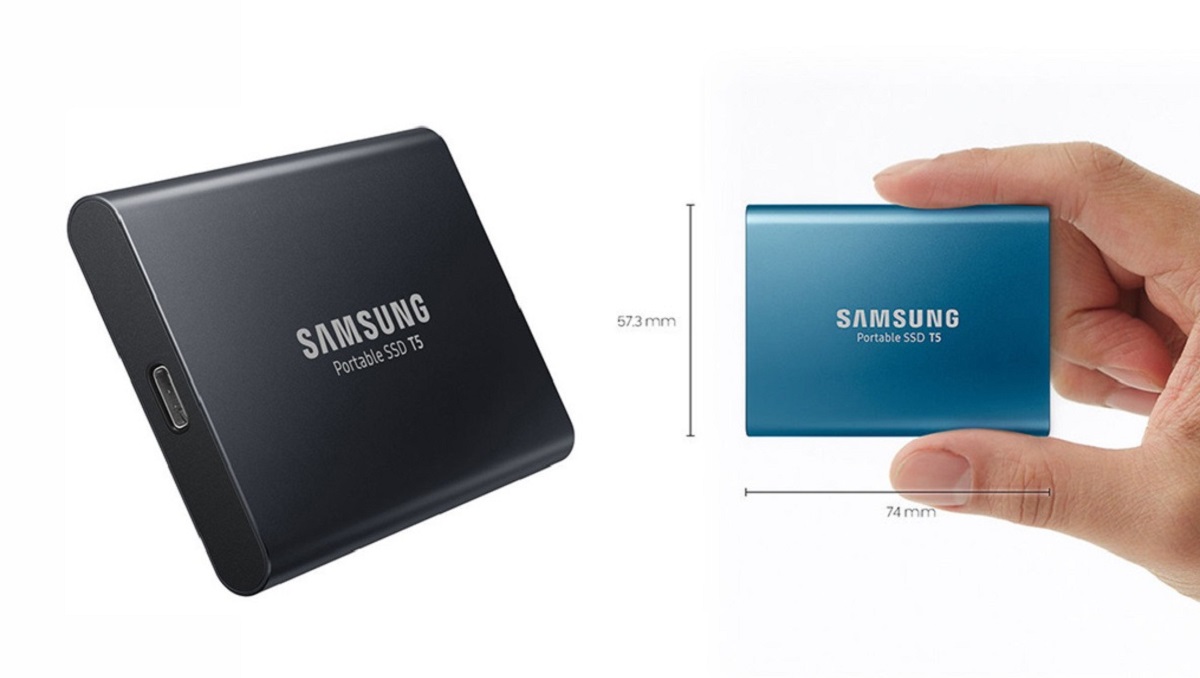
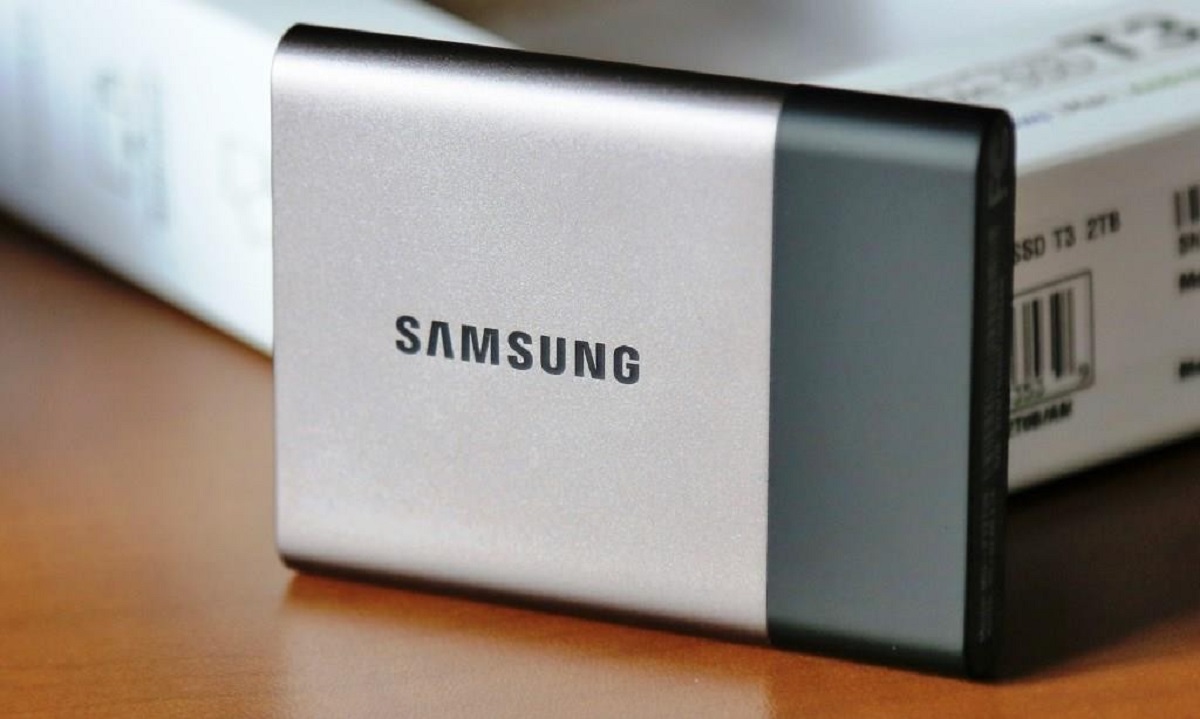
Before we dive into the installation process, let’s take a moment to highlight some of the key features of the Samsung Portable SSD T3. With its sleek and durable design, this portable SSD offers exceptional performance and versatility. It is equipped with a USB 3.1 interface, allowing for blazing-fast data transfer speeds up to 450 MB/s, making it perfect for transferring large files or running applications directly from the SSD.
The Samsung Portable SSD T3 is also compatible with both Windows and Mac operating systems, providing seamless connectivity and file sharing options between different platforms. Additionally, it features AES 256-bit hardware encryption, ensuring that your files are securely stored and protected from unauthorized access.
So, whether you are a professional who needs a reliable storage solution for work files, a photographer who wants to keep their precious memories safe, or a student looking for extra storage for study materials, the Samsung Portable SSD T3 is a fantastic choice.
Now that you’re familiar with the features of the Samsung Portable SSD T3, let’s proceed to the next step and learn how to connect the SSD to your PC.
Step 1: Connecting the Samsung Portable SSD T3 to your PC
Before you can start installing files on your Samsung Portable SSD T3, you need to establish a connection between the SSD and your PC. Follow these simple steps to get started:
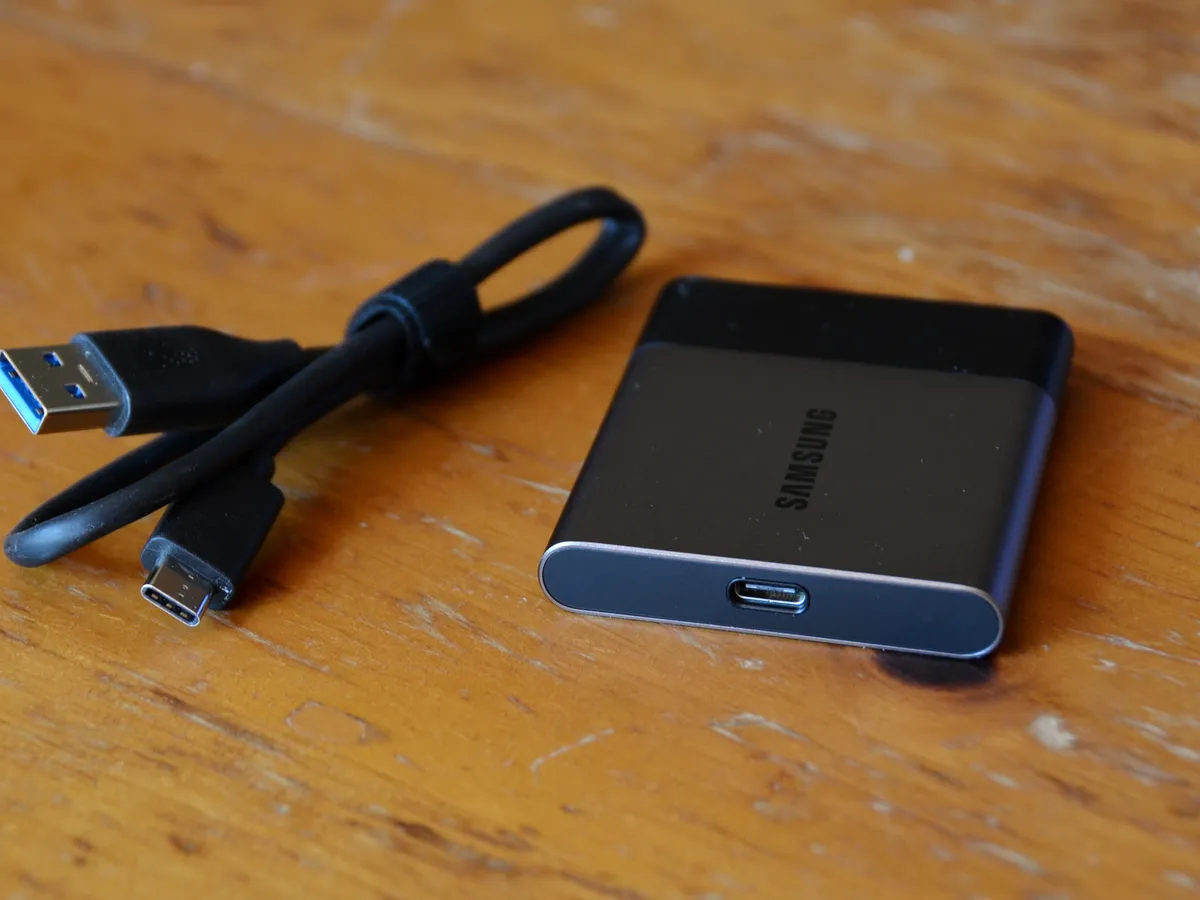
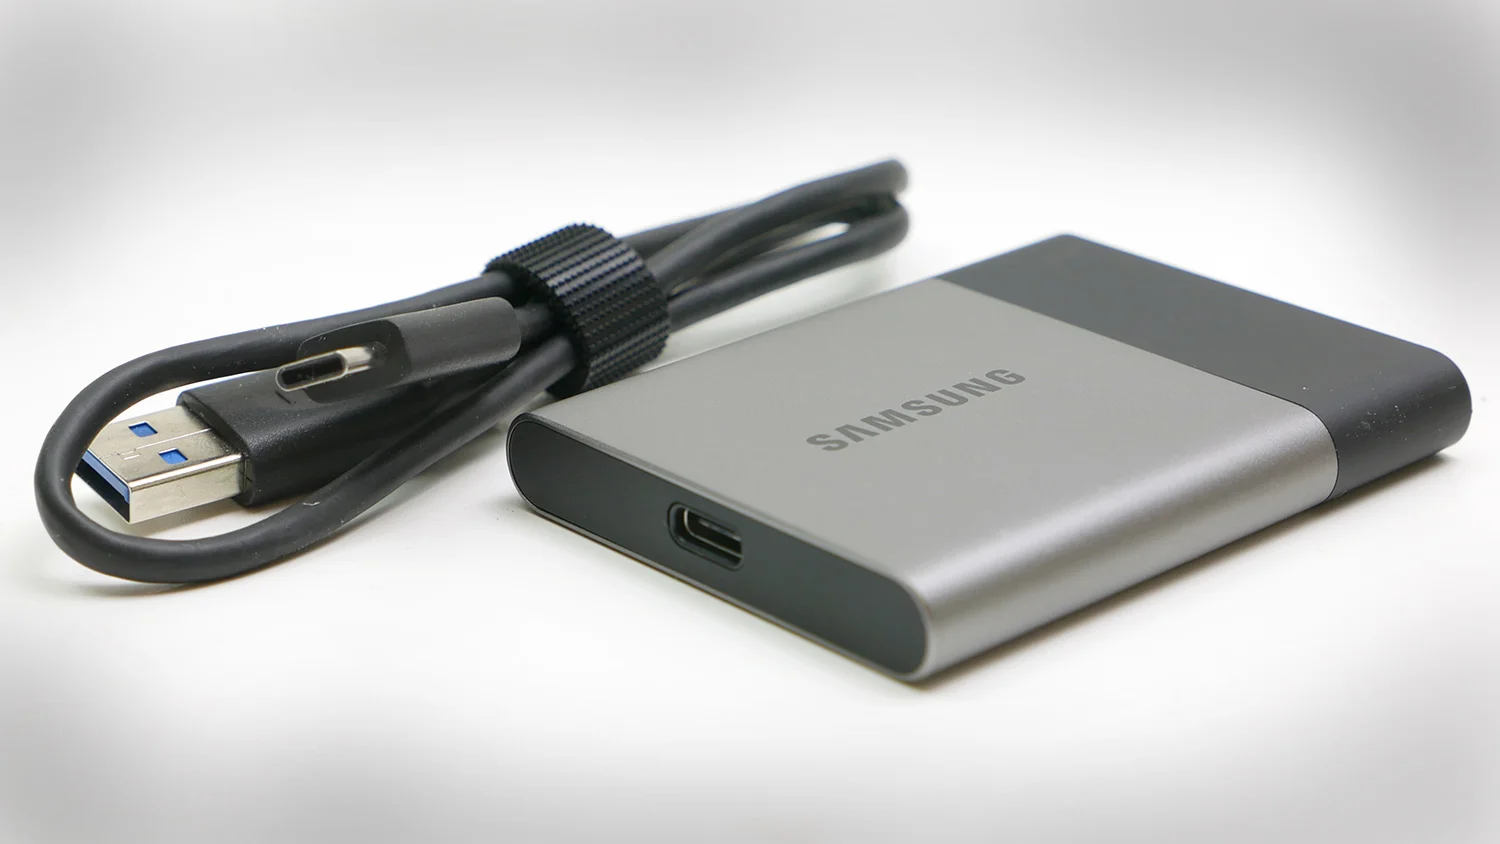
- First, locate the USB 3.1 Type-C cable that came with your Samsung Portable SSD T3.
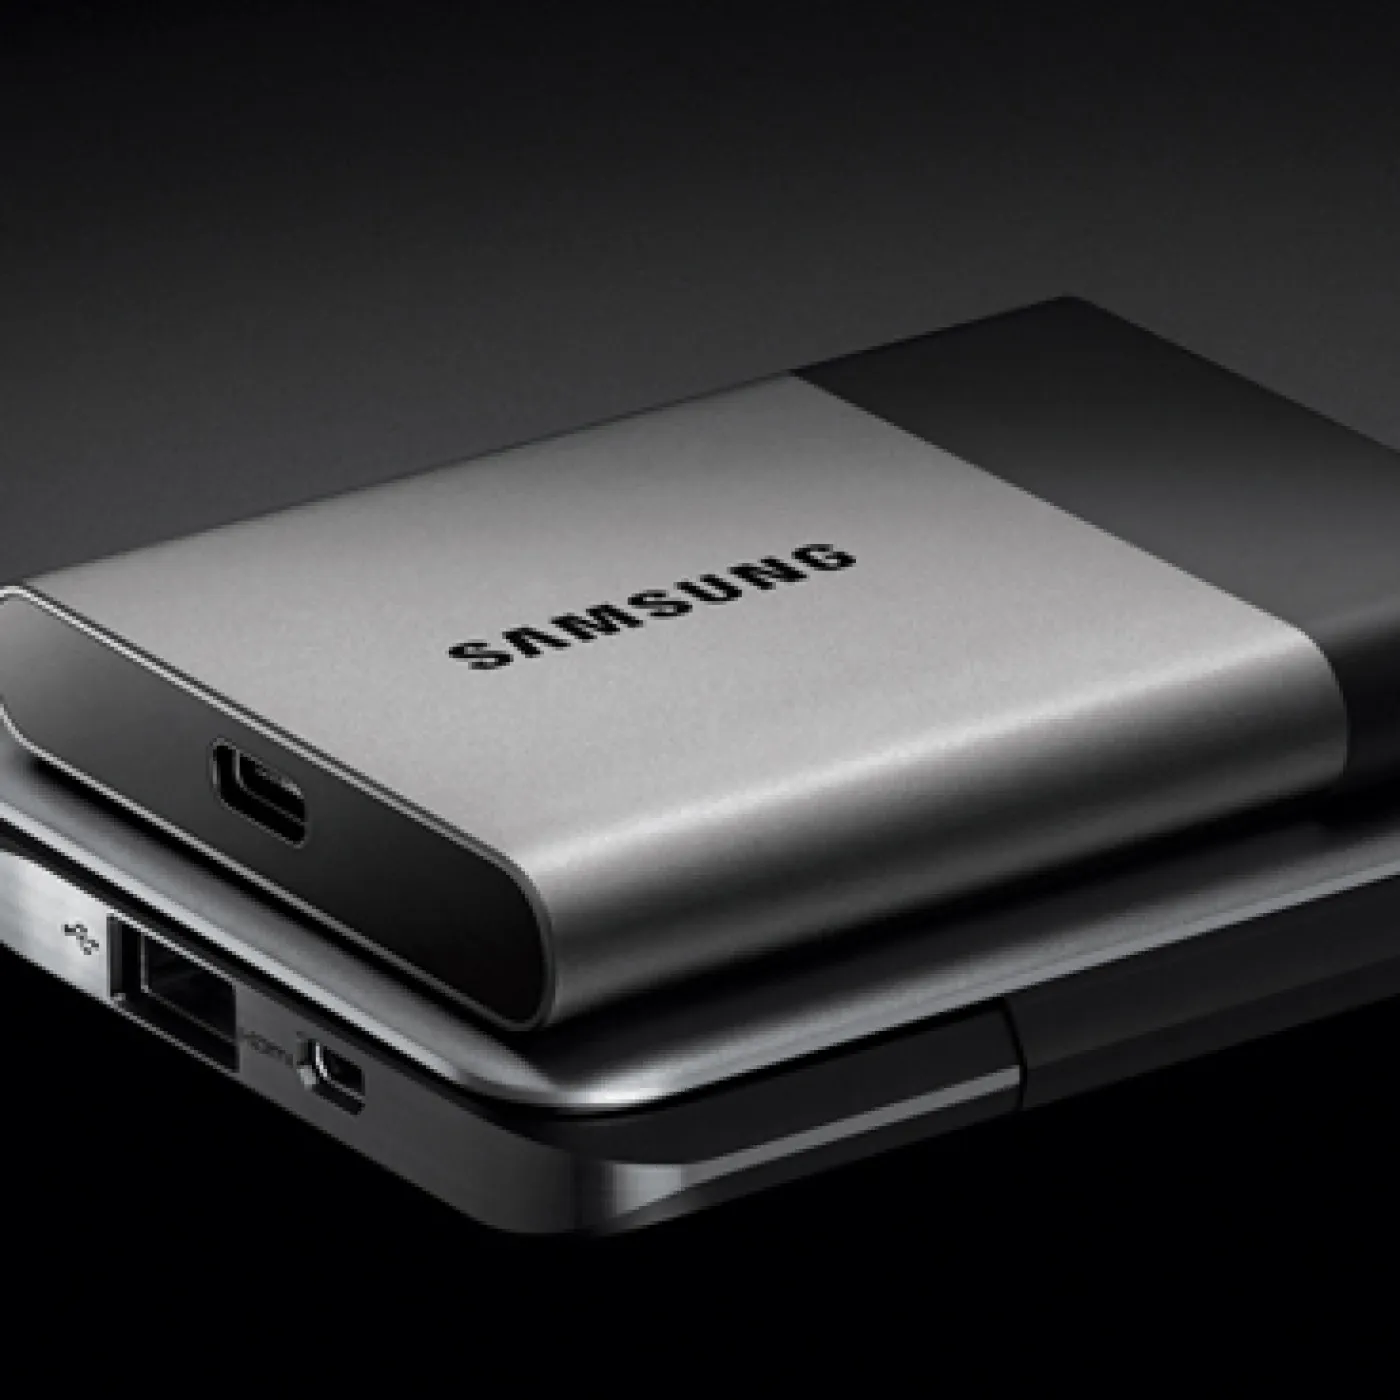
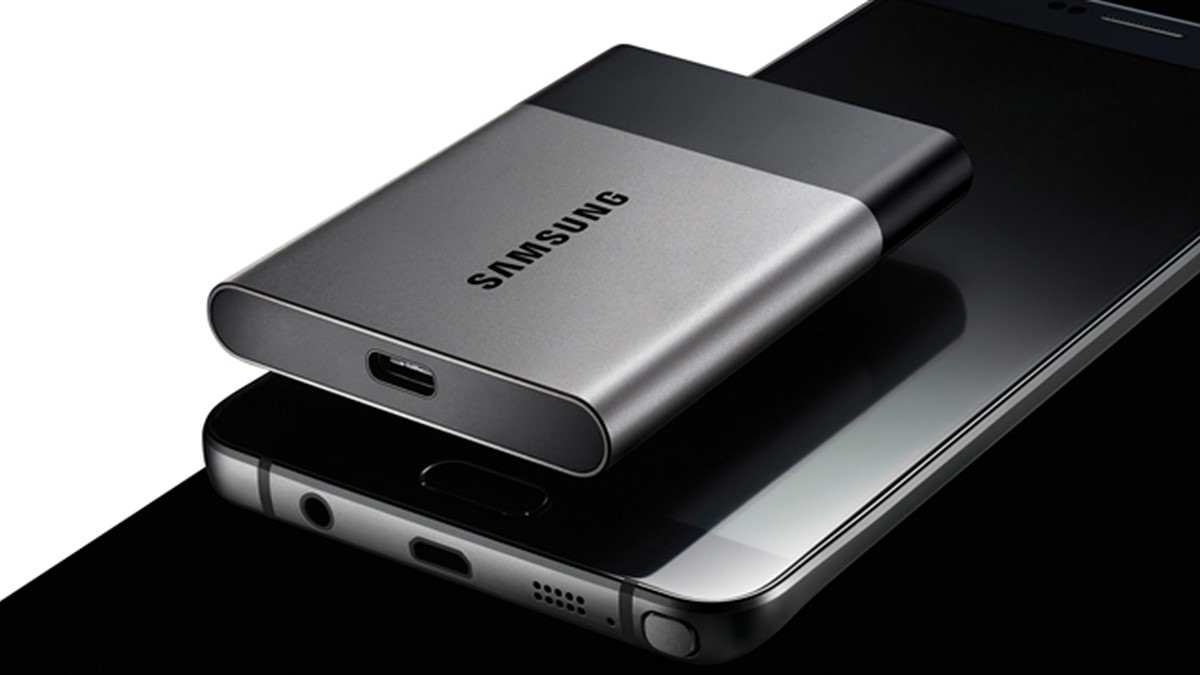
- Connect one end of the USB cable to the USB 3.1 Type-C port on the Samsung Portable SSD T3. This port is marked with a small “C” symbol.
- Next, plug the other end of the USB cable into an available USB port on your PC. Make sure to use a USB 3.1 or higher port for optimal performance.
- Once the connection is made, you will see the LED indicator on the Samsung Portable SSD T3 light up, indicating that it is powered on and connected to your PC.
It’s important to note that the Samsung Portable SSD T3 is compatible with both USB 3.0 and USB 2.0 ports, but using a USB 3.1 port will provide you with faster data transfer speeds. If your PC doesn’t have a USB 3.1 port, don’t worry! You can still use the SSD with a USB 3.0 or USB 2.0 port, but the transfer speeds may be slightly slower.
Now that you’ve successfully connected your Samsung Portable SSD T3 to your PC, you’re ready to move on to the next step: downloading the Samsung Portable SSD software.
Step 2: Downloading the Samsung Portable SSD Software
In order to fully utilize the features and functionality of your Samsung Portable SSD T3, you will need to download and install the Samsung Portable SSD software. Here’s how you can do it:
- Visit the official Samsung website and navigate to the support section.
- Search for the Samsung Portable SSD T3 software and driver downloads.
- Select the appropriate software version based on your computer’s operating system (Windows or Mac).
- Click on the download link to start the download process.
- Once the download is complete, locate the downloaded file on your computer and run the installer.
- Follow the on-screen instructions to complete the installation of the Samsung Portable SSD software.
- Once the installation is finished, launch the Samsung Portable SSD software.
The Samsung Portable SSD software provides additional features such as firmware updates, drive diagnostics, and secure data encryption. It also allows you to customize settings and manage your files and folders on the SSD. By downloading and installing this software, you will be able to optimize the performance of your Samsung Portable SSD T3 and access its full range of features.
After successfully installing the Samsung Portable SSD software, you’re ready to move on to the next step: connecting your Samsung Portable SSD T3 to the software.
Step 3: Installing the Software
Now that you have downloaded the Samsung Portable SSD software, it’s time to install it on your computer. The installation process is straightforward and user-friendly. Follow these steps to get the software up and running:
- Locate the downloaded software installer on your computer.
- Double-click on the installer file to launch the installation wizard.
- Read and accept the license agreement, and then click on the “Next” button.
- Choose the destination folder where you want the software to be installed. You can either accept the default location or specify a different folder.
- Click on the “Install” button to begin the installation process.
- The installer will now copy the necessary files and folders to your computer.
- Once the installation is complete, click on the “Finish” button to exit the installer.
After installing the Samsung Portable SSD software, you may be prompted to restart your computer. If so, go ahead and restart your PC to ensure that all the necessary changes take effect.
Once your computer has restarted, you can now proceed to the next step: connecting your Samsung Portable SSD T3 to the software.
It’s worth noting that the installation steps may vary slightly depending on your computer’s operating system. However, the overall process is similar, and you should be able to install the software without any major issues.
Step 4: Connecting the Samsung Portable SSD T3 to the Software
Now that you have installed the Samsung Portable SSD software, it’s time to connect your Samsung Portable SSD T3 to the software. Follow these steps to establish the connection:
- Ensure that your Samsung Portable SSD T3 is connected to your computer via the USB cable.
- Launch the Samsung Portable SSD software from your computer’s application menu or desktop shortcut.
- The software will automatically detect the connected Samsung Portable SSD T3.
- Click on the device name or icon in the software interface to establish the connection.
- You may be prompted to enter a password if you have enabled the security feature on your Samsung Portable SSD T3. Enter the password to unlock the drive.
- Once the connection is established, you will have access to various features and settings provided by the Samsung Portable SSD software.
By connecting your Samsung Portable SSD T3 to the software, you can conveniently manage your files, perform firmware updates, enable data encryption, and access other advanced features. The software interface provides an intuitive and user-friendly experience, allowing you to make the most of your Samsung Portable SSD T3.
If you encounter any issues while connecting your Samsung Portable SSD T3 to the software, make sure that the USB connection is secure and that the SSD is properly recognized by your computer. You may also refer to the software documentation or consult the Samsung support website for troubleshooting assistance.
Now that your Samsung Portable SSD T3 is connected to the software, you’re ready to proceed to the next step: transferring files to the SSD.
Step 5: Transferring Files to the Samsung Portable SSD T3
With your Samsung Portable SSD T3 connected to the software, you can now start transferring files to the SSD. Here’s how you can do it:
- Open the Samsung Portable SSD software on your computer.
- Navigate to the file management section or the designated area for transferring files.
- Select the files or folders that you want to transfer to the Samsung Portable SSD T3.
- Drag and drop the selected files or folders to the designated area or click on the “Add Files” button to browse for the files on your computer.
- Review the files and folders to ensure that you have selected the correct ones for transfer.
- Click on the “Transfer” or “Start” button to initiate the file transfer process.
- Wait for the transfer to complete. The duration may vary depending on the size and number of files being transferred.
- Once the transfer is finished, you can disconnect the Samsung Portable SSD T3 from your computer.
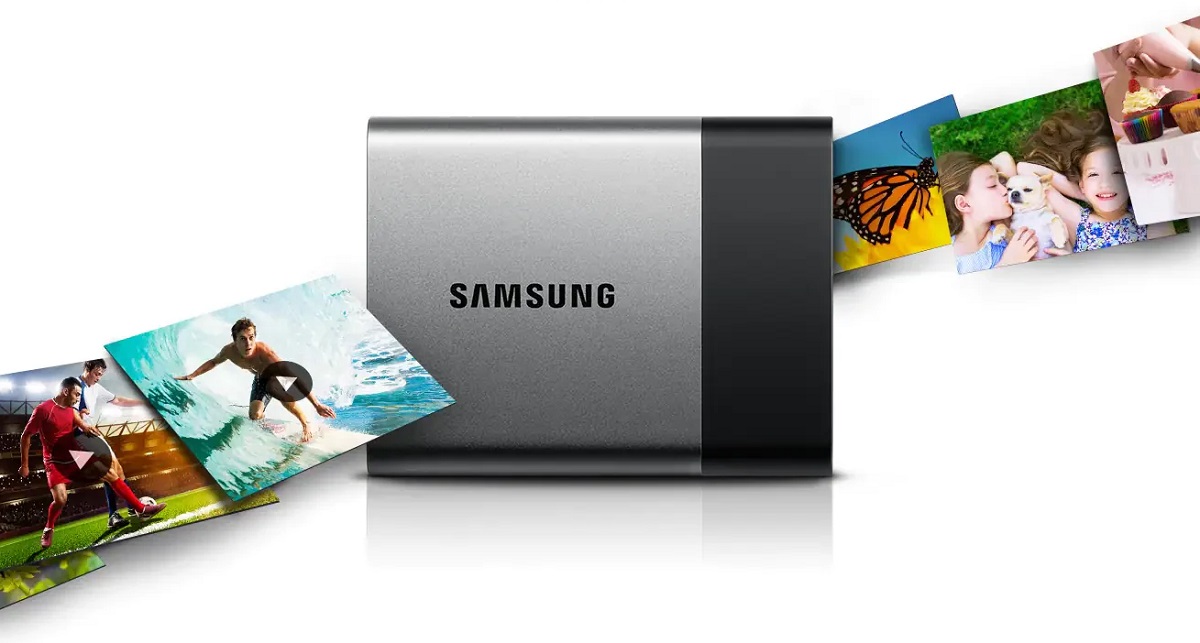
The Samsung Portable SSD T3 offers high-speed data transfer, so even large files can be transferred quickly and efficiently. You can transfer a variety of file types, including documents, photos, videos, and music.
It’s important to note that after transferring your files to the Samsung Portable SSD T3, it’s advisable to double-check and ensure that the files have been successfully copied. You can do this by opening the SSD on your computer, navigating to the transferred files, and verifying their presence and integrity.
Transferring files to the Samsung Portable SSD T3 not only provides you with a reliable backup solution but also allows you to carry your important files with you wherever you go. Whether you’re working on a project, traveling, or simply need a portable storage option, the Samsung Portable SSD T3 has got you covered.
Now that you’ve successfully transferred your files to the Samsung Portable SSD T3, you’re ready to proceed to the final step: safely ejecting the SSD.
Step 6: Safely Ejecting the Samsung Portable SSD T3
Once you have finished transferring your files and are ready to disconnect the Samsung Portable SSD T3 from your computer, it’s important to follow the proper procedure to safely eject the SSD. This will help prevent data loss or corruption. Here’s how you can safely eject the Samsung Portable SSD T3:
- Make sure that all file transfer operations to and from the SSD are completed.
- Locate the Samsung Portable SSD T3 icon on your computer’s desktop or in the file explorer window.
- Right-click on the icon and select the option to safely eject or safely remove the SSD.
- Wait for the system to confirm that it is safe to remove the device.
- Once you receive the confirmation, you can safely disconnect the USB cable from your computer.
- Store the Samsung Portable SSD T3 in a safe and dry place, away from extreme temperatures or physical damage.
By safely ejecting the Samsung Portable SSD T3, you ensure that all the data is properly written to the SSD and that there is no risk of data loss or corruption. This step is crucial, especially when files are being actively read from or written to the SSD, as abruptly disconnecting the device can cause data inconsistencies or even file system damage.
It’s worth noting that the ejecting process may vary slightly depending on your computer’s operating system or file manager. However, the principle remains the same: you need to ensure that the system has finished all operations and is ready for the SSD to be safely ejected.
By following this final step and safely ejecting the Samsung Portable SSD T3, you have successfully completed the installation process and ensured the integrity of your stored files. The Samsung Portable SSD T3 offers a reliable and convenient storage solution, allowing you to securely store and access your data whenever you need it.
Now that you’re familiar with the steps involved in installing files on the Samsung Portable SSD T3 from a PC, you’re ready to enjoy the benefits of this powerful storage device. Whether you’re a student, professional, or casual user, the Samsung Portable SSD T3 is designed to meet your storage needs with speed, security, and portability.
Conclusion
Installing files on your Samsung Portable SSD T3 from a PC is a straightforward process that allows you to take advantage of the speed, security, and portability of this powerful storage solution. By following the steps outlined in this guide, you can ensure a seamless and efficient experience.
We started by connecting the Samsung Portable SSD T3 to your PC and downloading the necessary software. The Samsung Portable SSD software provides additional features and settings to optimize your experience with the SSD.
Once the software was installed, we moved on to connecting the Samsung Portable SSD T3 to the software. This step allowed us to access advanced features, manage files, and perform firmware updates conveniently.
Transferring files to the Samsung Portable SSD T3 was made simple by using the file management capabilities of the software. With high-speed data transfer, you can quickly and efficiently back up your important files or carry them with you on the go.
Finally, we learned how to safely eject the Samsung Portable SSD T3 from your computer to prevent data loss or corruption. This step ensures the integrity of your stored files and protects them from potential damage.
The Samsung Portable SSD T3 offers a reliable and convenient storage solution for a wide range of users, including professionals, students, and casual users. Its compact design, fast transfer speeds, and robust security features make it an excellent choice for storing and accessing your data.
So, whether you need to back up important files, transfer large media files, or carry your data with you wherever you go, the Samsung Portable SSD T3 is a reliable and efficient storage solution. Follow the steps outlined in this guide, and you’ll be on your way to maximizing the potential of your Samsung Portable SSD T3.
Thank you for reading this guide, and we hope it has been helpful in guiding you through the process of installing files on your Samsung Portable SSD T3 from a PC. Enjoy the speed, security, and convenience of your Samsung Portable SSD T3!