Introduction
When it comes to setting up a perfect home theater experience, a projector screen plays a crucial role. However, over time, projector screens can develop unsightly wrinkles that can negatively impact the overall viewing experience. Not only do they cause distortions in the projected image, but they can also be a distraction during movie nights or important presentations.
Fortunately, there are several methods you can use to effectively remove wrinkles from your projector screen and restore its smooth surface. In this article, we will explore different techniques to help you get those pesky wrinkles out, ensuring a crisp and flawless display every time.
Before diving into the wrinkle removal methods, it’s essential to understand the different types of projector screens available in the market. This knowledge will help you determine the appropriate approach for dealing with wrinkles based on the specific screen material.
Projector screens come in various types, including fixed frame, manual pull-down, motorized, and portable screens. Fixed frame screens have a solid frame that holds the screen taut and prevents wrinkles from forming. Manual pull-down screens can retract into a case when not in use, while motorized screens can be controlled remotely. Portable screens, on the other hand, are lightweight and easy to transport but are more prone to wrinkling.
Now that we have a basic understanding of the different types of projector screens, let’s move on to preparing your screen for wrinkle removal. This step is essential to ensure that the methods you use are effective and do not cause any damage to the screen.
Understanding the Different Types of Projector Screens
Before we dive into the methods of removing wrinkles from a projector screen, it’s important to have a clear understanding of the different types of screens available. Each type of screen has its own unique characteristics and properties that can affect the wrinkle removal process.
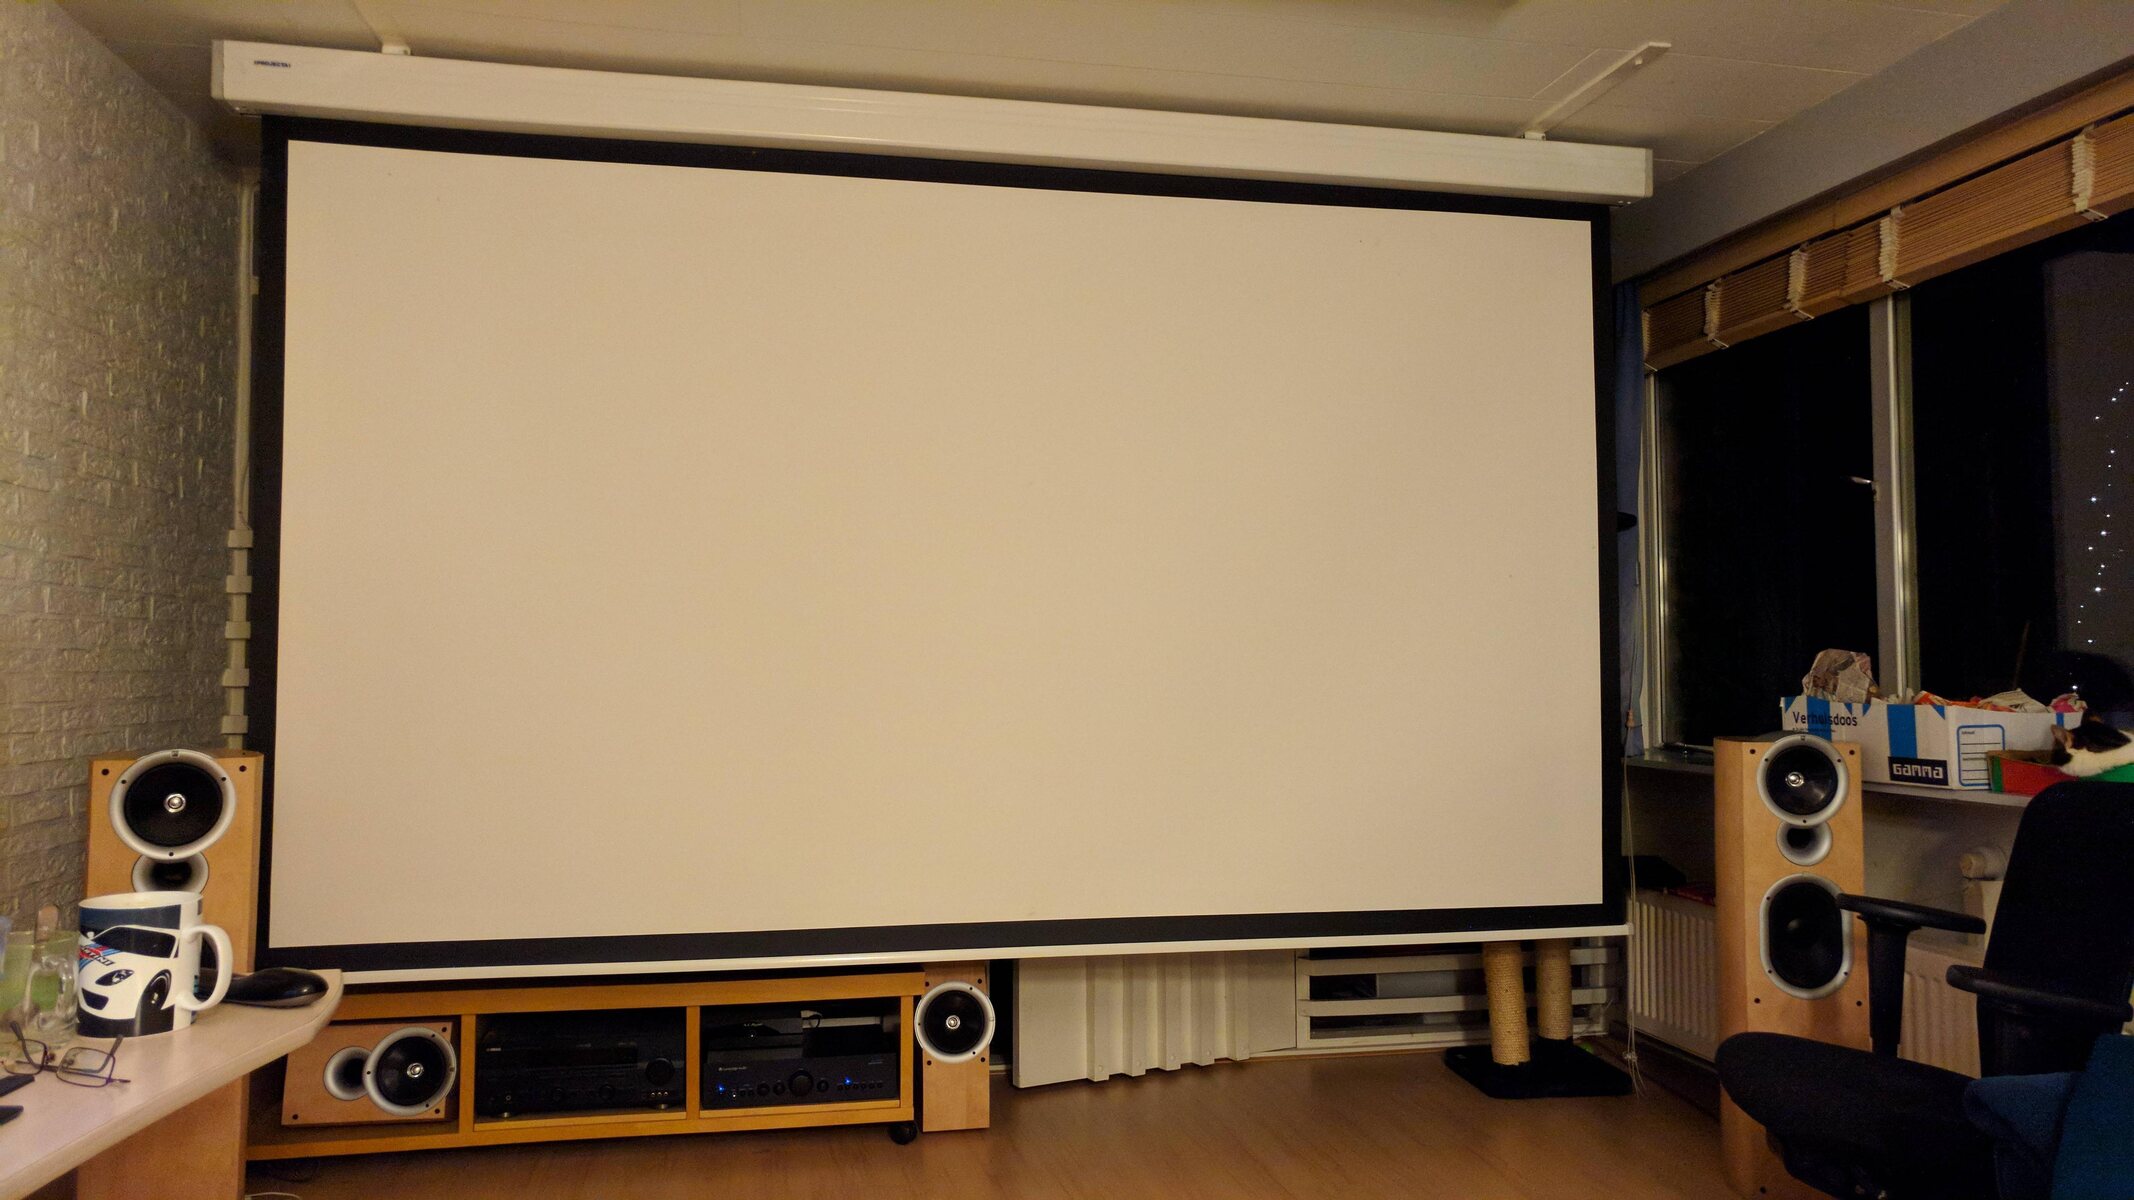
1. Fixed Frame Screens: Fixed frame projector screens are known for their stability and excellent tensioning system. These screens have a rigid frame that holds the screen material taut, minimizing the chances of wrinkles. If you own a fixed frame screen, you’ll likely have minimal issues with wrinkles and can skip ahead to the next section on preparing your screen for wrinkle removal.
2. Manual Pull-Down Screens: Manual pull-down screens are among the most common types of projector screens. These screens can be easily operated by hand, allowing you to pull them down when needed and retract them into a case when not in use. However, the constant pulling and retracting motion can sometimes lead to wrinkles over time. It’s important to be cautious and follow the wrinkle removal methods mentioned in the upcoming sections to effectively eliminate wrinkles from your manual pull-down screen.
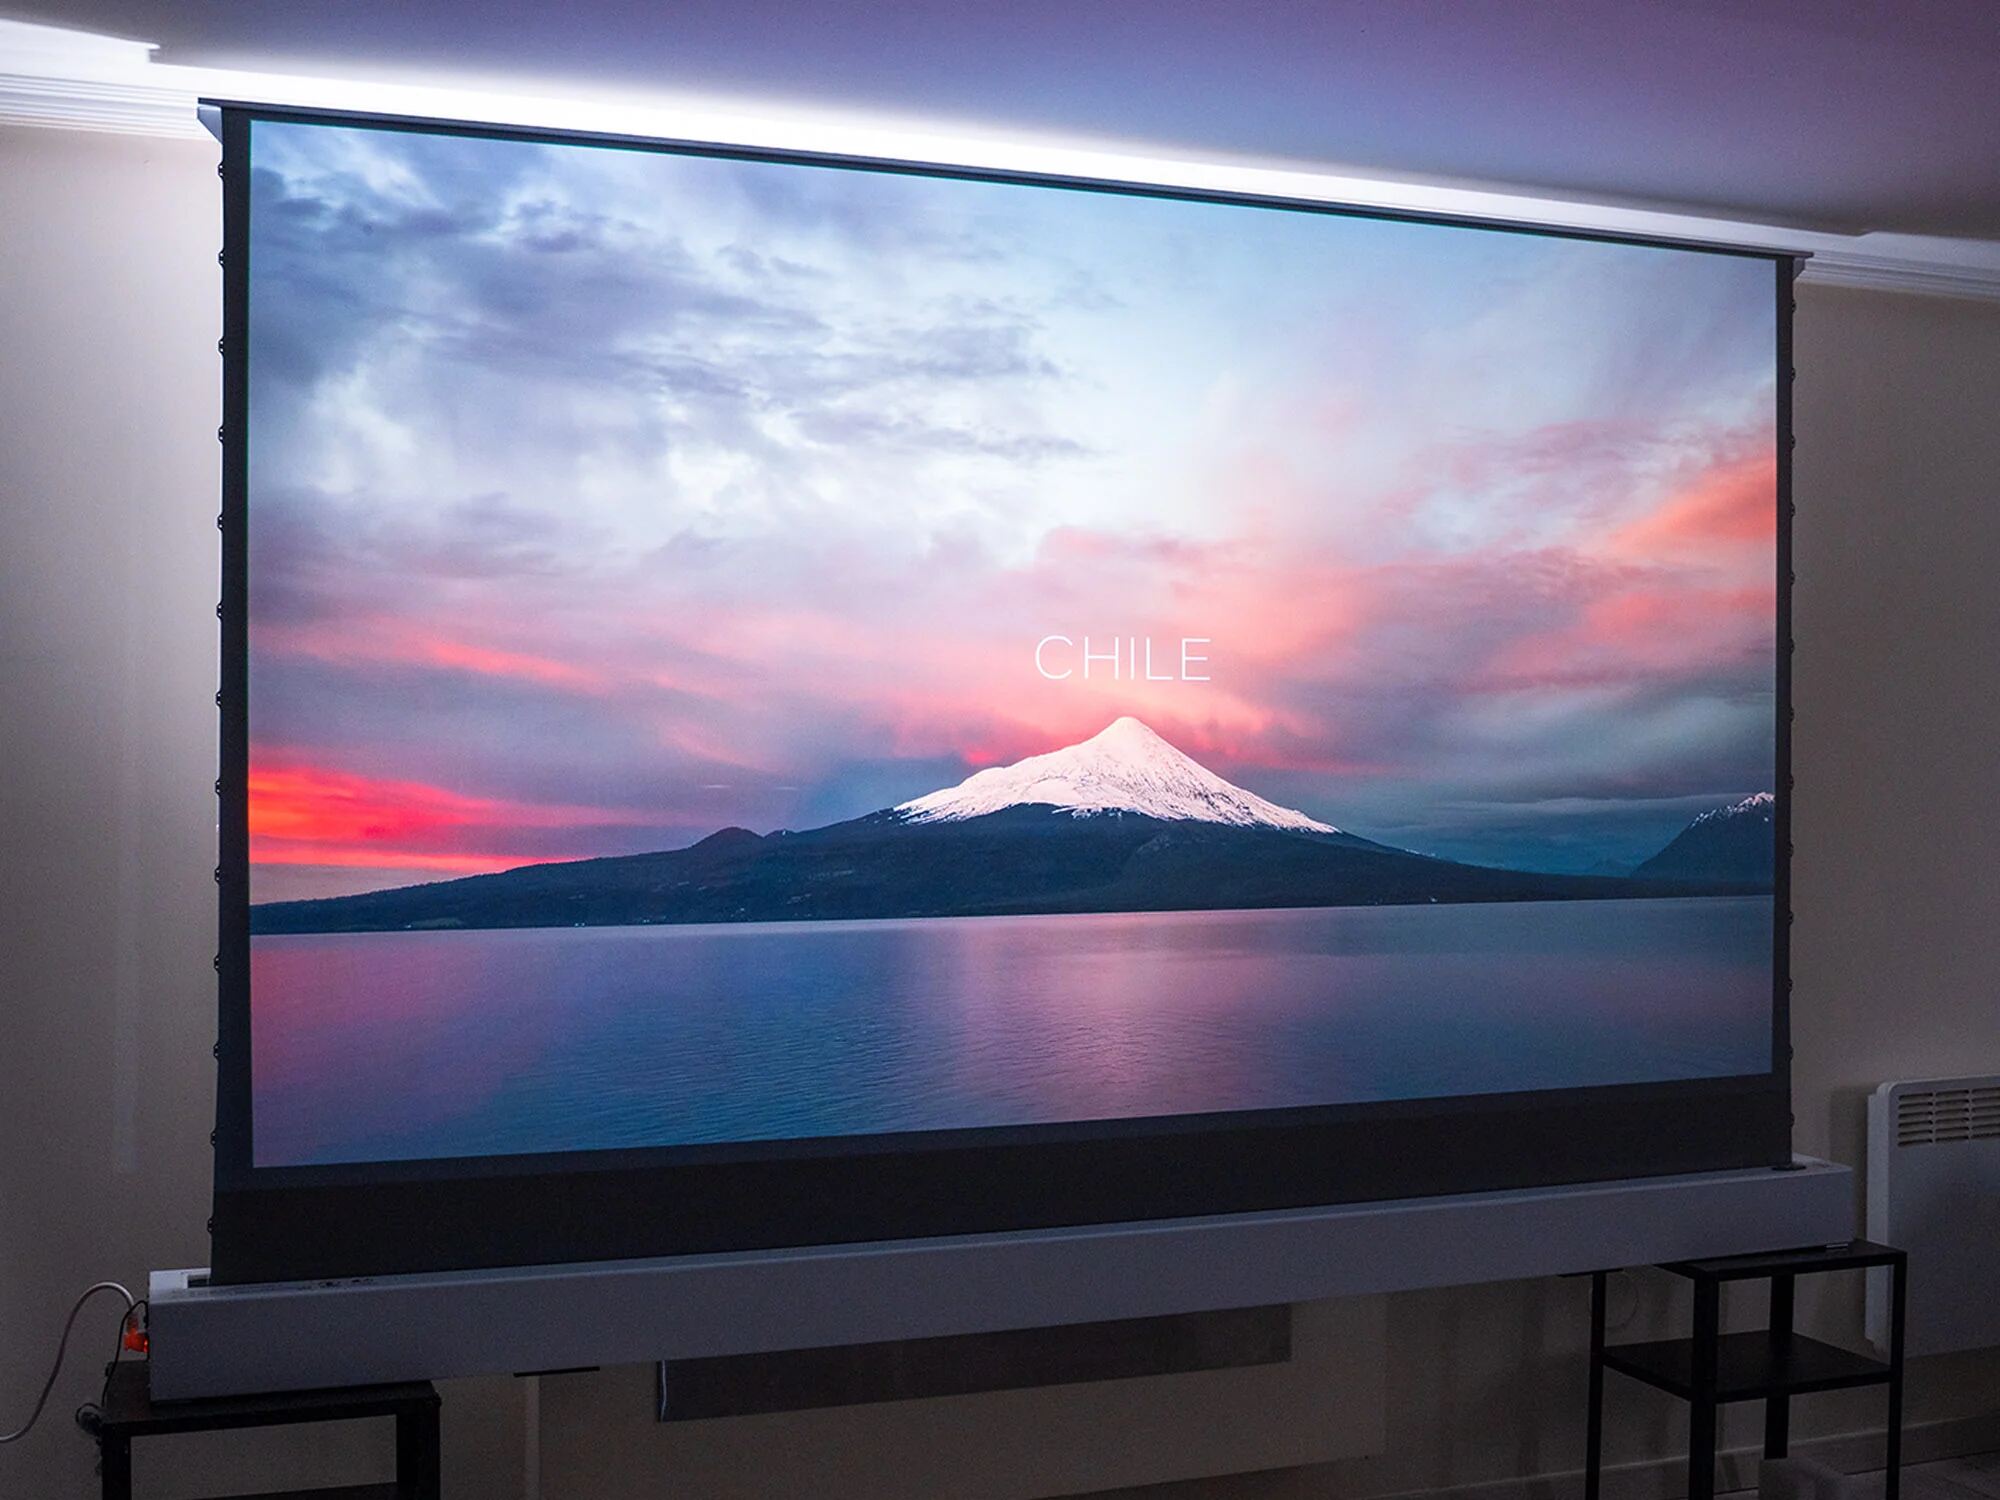
3. Motorized Screens: Motorized projector screens offer the convenience of remote-controlled operation. These screens are equipped with an electric motor that allows you to raise or lower the screen with just a push of a button. While motorized screens are generally less prone to wrinkles due to their advanced tensioning systems, occasional wrinkles may still occur. It’s important to address them promptly using the wrinkle removal methods outlined later in this article.
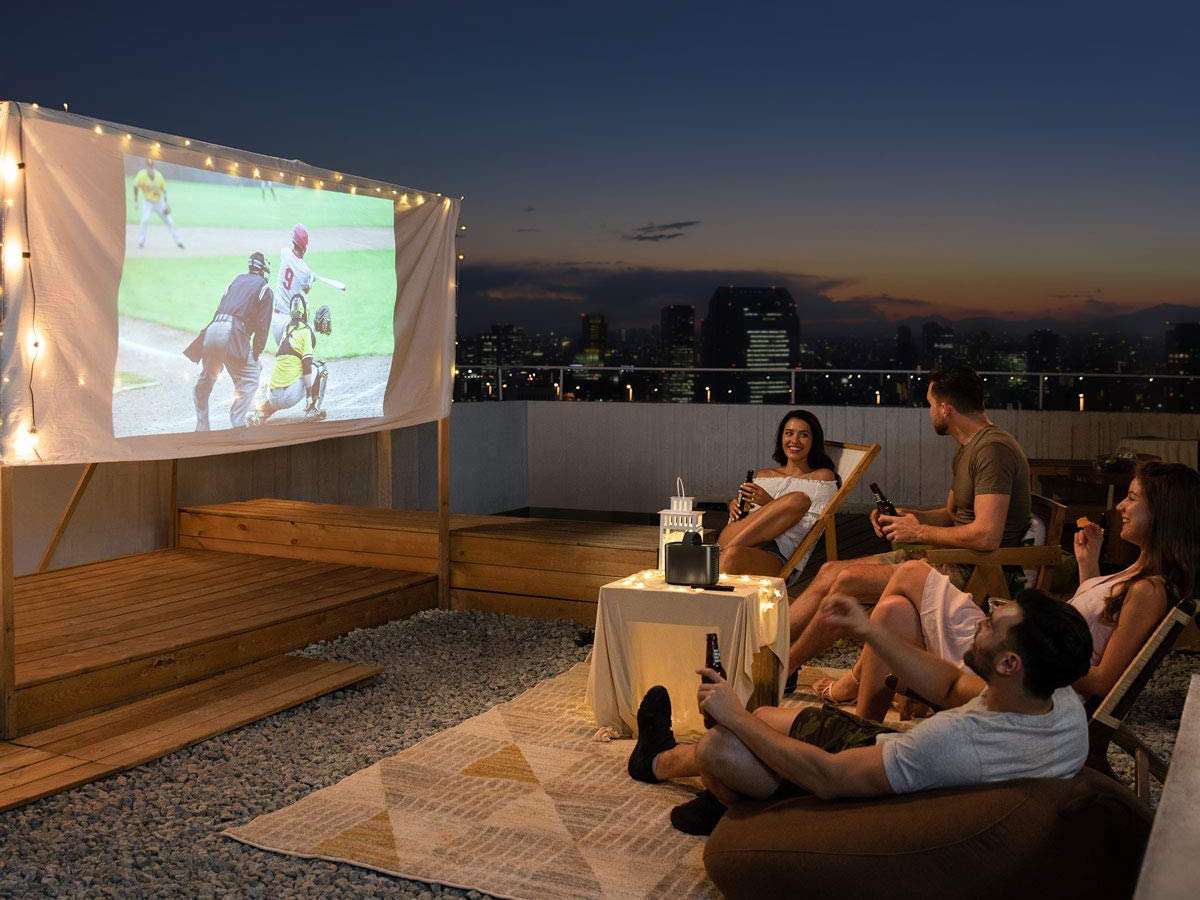
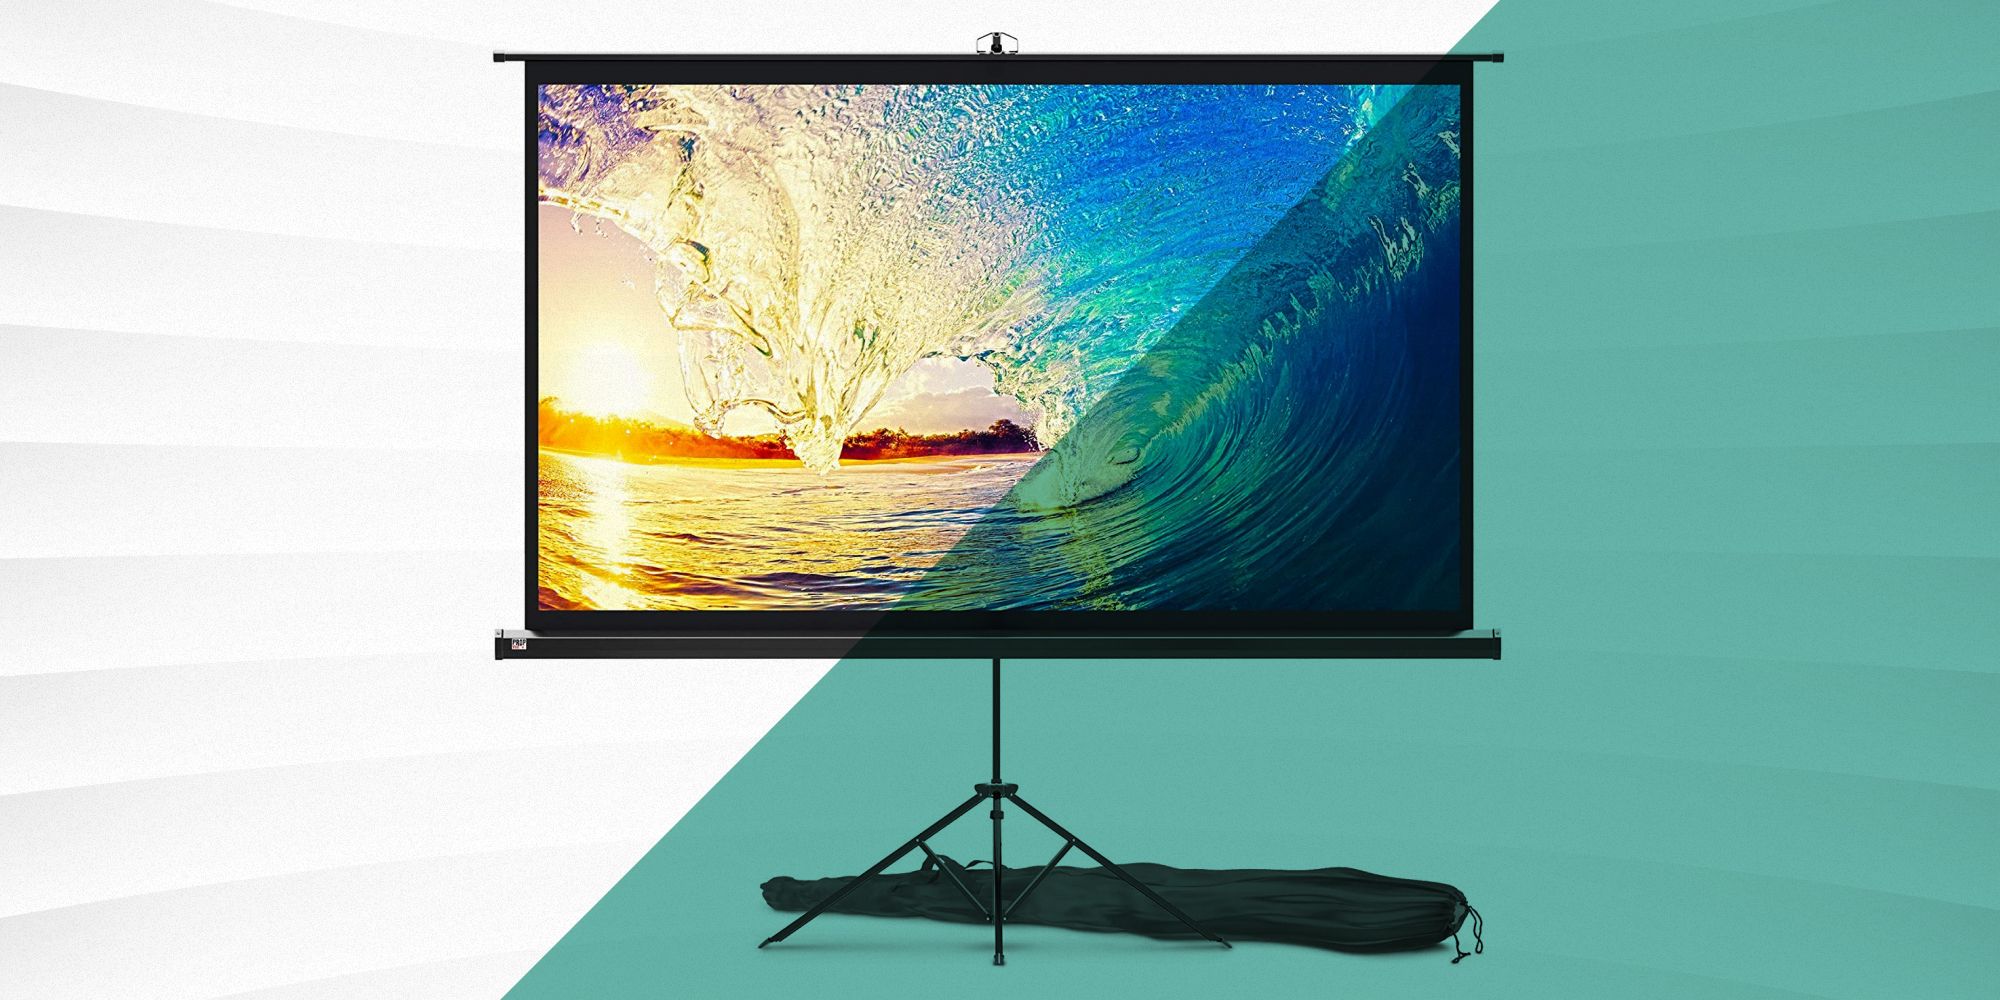
4. Portable Screens: Portable projector screens are designed to be lightweight and easily transportable. These screens are often made of flexible fabric materials, making them more susceptible to wrinkles. If you own a portable screen, it’s crucial to take extra care during installation and storage to prevent wrinkles. Regularly inspecting your screen and promptly addressing any wrinkles that may develop will help maintain a smooth and wrinkle-free display.
Preparing Your Projector Screen for Wrinkle Removal
Before you begin the process of removing wrinkles from your projector screen, it’s important to properly prepare the screen to ensure the best results. Here are a few essential steps you should follow:
1. Clean the Screen: Start by cleaning the projector screen to remove any dust, fingerprints, or debris. Use a soft, lint-free cloth or a screen cleaning solution specifically designed for projector screens. Gently wipe the screen in a smooth, sweeping motion to avoid causing any damage or additional wrinkles during the cleaning process.
2. Identify the Wrinkled Areas: Carefully inspect the screen and identify the areas where wrinkles are present. Take note of any large or deep wrinkles that may require special attention during the wrinkle removal process.
3. Stretch the Screen: If you notice minor wrinkles or a general lack of tension on the screen, stretching it can help alleviate the problem. Start by gently pulling the screen material towards each corner of the frame to create tension. Be cautious not to apply excessive force, as this may lead to damage. Repeat this process on all sides of the screen, ensuring that the material is evenly stretched.
4. Warm up the Room: Temperature can play a role in the wrinkle removal process. If possible, warm up the room where the projector screen is located. Warmer temperatures can help relax the screen material and make it easier to remove wrinkles.
By following these preparation steps, you will create an optimal environment for wrinkle removal and increase the effectiveness of the methods you choose to employ. Now, let’s move on to the different methods to remove wrinkles from your projector screen.
Method 1: Using a Steamer to Remove Wrinkles
One effective method for removing wrinkles from a projector screen is by using a steamer. Steamers generate hot steam that can help relax the screen material and eliminate wrinkles. Here’s how you can use a steamer to get your screen looking smooth and wrinkle-free:
1. Set up the Steamer: Fill the steamer with water according to the manufacturer’s instructions. Allow it to heat up and produce a steady stream of steam. Make sure to position the steamer in a safe and stable location, away from the screen, to avoid any accidental contact or damage.
2. Start Steaming: Hold the steamer at a safe distance from the screen and direct the steam towards the wrinkled areas. Move the steamer in a sweeping motion across the screen, working from top to bottom. Be careful not to expose the screen to direct contact with the hot steam, as this can cause damage.
3. Smooth Out the Wrinkles: As you direct the steam onto the screen, you will notice the wrinkles starting to relax. Use a clean, lint-free cloth or a soft brush to gently smooth out the wrinkles as the steam works its magic. Continue steaming and smoothing the screen until the wrinkles are significantly reduced or completely eliminated.
4. Allow the Screen to Dry: After the wrinkles have been removed, give the screen ample time to dry completely before using it again. This will prevent any moisture from trapping and causing new wrinkles to form. Avoid touching or putting pressure on the screen while it’s drying to maintain the smoothness you’ve achieved.
Using a steamer is an efficient and safe method to remove wrinkles from most types of projector screens. However, it’s essential to follow the manufacturer’s instructions for your specific steamer and exercise caution to prevent any damage to the screen. If you’re unsure about using a steamer, you may want to consider trying alternative methods to remove wrinkles, which we will explore in the following sections.
Method 2: Using a Hair Dryer to Remove Wrinkles
If you don’t have access to a steamer or prefer a different approach, you can use a hair dryer to remove wrinkles from your projector screen. This method allows you to apply targeted heat to the wrinkled areas, helping to relax the screen material. Here’s how you can effectively use a hair dryer to eliminate wrinkles:
1. Set up the Hair Dryer: Plug in the hair dryer and set it to a medium heat setting. Ensure that the airflow is directed towards the wrinkled areas on the screen. It’s important to use a medium heat setting to prevent overheating or damaging the screen material.
2. Maintain a Safe Distance: Hold the hair dryer at a safe distance from the screen, usually around 6-8 inches away. This distance will allow the heat to reach the wrinkles without causing any damage. Avoid placing the hair dryer too close to the screen, as this can lead to overheating or melting of the material.
3. Apply Heat and Smooth Out the Wrinkles: Aim the hair dryer at the wrinkled areas and move it back and forth, gently sweeping over the screen. As the heat reaches the wrinkles, use a clean, lint-free cloth or your hand to smooth out the wrinkles. Apply light pressure while smoothing to avoid creating new creases or stretching the screen material too much.
4. Allow the Screen to Cool: Once you have successfully smoothed out the wrinkles, allow the screen to cool down completely before using it again. This will ensure that the material has regained its tension and will help prevent new wrinkles from forming.
Using a hair dryer is a convenient and accessible method for removing wrinkles from your projector screen. However, it’s important to exercise caution to avoid overheating or causing damage to the screen material. Make sure to maintain a safe distance, use a moderate heat setting, and regularly check the screen to ensure it’s not being exposed to excessive heat. If you’re not comfortable using a hair dryer, don’t worry! There are still alternative methods to remove wrinkles, which we’ll explore in the upcoming sections.
Method 3: Using a Wet Cloth and Iron to Remove Wrinkles
If you’re looking for an alternative method to remove wrinkles from your projector screen, using a wet cloth and an iron can be an effective option. This method allows you to combine heat and moisture to relax the screen material and smooth out the wrinkles. Here’s a step-by-step guide to using a wet cloth and iron for wrinkle removal:
1. Prepare the Cloth: Start by dampening a clean cloth with water. Make sure the cloth is not dripping wet, as excess moisture can damage the screen. Gently wring out any excess water so that the cloth is damp but not soaked.
2. Set up the Iron: Set your iron to a low or medium-low heat setting, avoiding the steam function. It’s essential to use a lower heat setting to prevent overheating or causing damage to the screen material. Wait for the iron to reach the desired temperature.
3. Place the Cloth and Iron: Lay the projector screen on a flat and heat-resistant surface. Place the damp cloth on top of the wrinkled areas of the screen. Make sure the cloth covers the entire wrinkle, ensuring that there is a protective barrier between the screen and the iron.
4. Apply Heat and Pressure: Take the iron and gently press it onto the cloth, directly over the wrinkled areas. Apply light pressure and move the iron in a back-and-forth or circular motion. The heat and moisture from the cloth will work together to relax the screen material and reduce the wrinkles. Be careful not to leave the iron in one spot for too long, as this can cause damage.
5. Check the Results: Lift the cloth from time to time to check the progress. If the wrinkles haven’t completely disappeared, repeat the process by dampening the cloth again and applying more heat. Be patient and avoid excessive heat or pressure, as this can lead to further damage or new wrinkles.
6. Allow the Screen to Cool: Once you have successfully removed the wrinkles, allow the screen to cool down completely before using it again. This will help the material regain its tension and prevent new wrinkles from forming.
Using a wet cloth and iron can be an effective method for removing wrinkles from your projector screen. However, it’s crucial to be cautious and use a low or medium-low heat setting to avoid damaging the screen material. Regularly check the screen and the cloth to ensure they remain damp and not too wet. If you’re hesitant to use this method or if it doesn’t yield the desired results, don’t worry! We have one more method to explore in the next section.
Method 4: Using Tensioning Techniques to Remove Wrinkles
If you prefer a non-heat method for removing wrinkles from your projector screen, employing tensioning techniques can be a viable option. This approach focuses on stretching and tightening the screen material to eliminate wrinkles. Here’s how you can use tensioning techniques to achieve a smooth, wrinkle-free screen:
1. Remove the Screen: Start by carefully removing the screen from its frame or mounting. Lay it flat on a clean and smooth surface, ensuring that there is enough room to work around the entire screen.
2. Identify the Wrinkled Areas: Inspect the screen and locate the areas with wrinkles. Note any particularly large or deep wrinkles that may require special attention.
3. Stretch the Material: Begin by gently pulling the screen material towards each corner of the frame, creating tension and stretching the material. Work your way around the entire screen, pulling and stretching evenly on each side to distribute the tension.
4. Use Clips or Clamps: If necessary, secure the stretched screen material with clips or clamps along the edges. This will help hold the tension in place and prevent the material from sagging or returning to its original wrinkled state.
5. Leave it for Some Time: Allow the screen to sit in its stretched and secured position for a period of time, usually overnight or for several hours. This will give the material a chance to adjust to the tension and help the wrinkles gradually smooth out.
6. Reinstall the Screen: Once the desired time has passed, carefully remove the clips or clamps and inspect the screen. If the wrinkles have been successfully eliminated, it’s time to reinstall the screen back into its frame or mounting.
If the wrinkles persist or there are areas that still require attention, repeat the tensioning process or combine it with other wrinkle removal methods like steaming or using a hairdryer. Remember to be patient and avoid applying excessive force, as this can cause damage to the screen material.
Using tensioning techniques to remove wrinkles is a safe and non-heat method that works well for various types of projector screens. It can be particularly beneficial for screens that have a flexible fabric material or are prone to developing wrinkles easily. However, it’s important to follow the instructions carefully and assess the tension on the screen to avoid overstretching or causing any damage in the process.
Additional Tips and Tricks for Maintaining a Wrinkle-Free Projector Screen
Once you have successfully removed the wrinkles from your projector screen, it’s important to take proactive steps to maintain its smooth and wrinkle-free appearance. Here are some additional tips and tricks to help you keep your projector screen in optimal condition:
1. Proper Storage: When not in use, store your projector screen in a designated storage case or bag that is specifically designed to protect the screen. Make sure to fold or roll the screen carefully, following the manufacturer’s instructions, to avoid creating new wrinkles. Avoid placing heavy objects on top of the screen while it’s in storage to prevent any unnecessary pressure or creasing.
2. Avoid Excessive Tension: While tensioning techniques can help remove wrinkles, it’s important not to apply excessive tension to the screen for extended periods. Overstretching the material can cause it to lose its elasticity and create new wrinkles. Find a balance between enough tension to keep the screen taut and smooth, without putting excessive strain on the material.
3. Regular Inspections: Routinely inspect your projector screen for any signs of wrinkles or tension loss. Catching and addressing wrinkles early on can minimize the effort and time required for removal. Regular inspections also allow you to identify and address any potential issues, such as loose frames or mounting components, that may contribute to the development of wrinkles.
4. Use Proper Installation Techniques: When setting up your projector screen, carefully follow the manufacturer’s instructions for installation. Avoid pulling or tugging the screen material excessively during the setup process, as this can cause unintended wrinkles. Take your time to ensure that the screen is mounted or set up securely and evenly to promote proper tension distribution.
5. Avoid Direct Sunlight and Moisture: Protect your projector screen from direct sunlight, as prolonged exposure to harsh sunlight can weaken the material and lead to wrinkles over time. Similarly, keep the screen away from areas with excessive moisture or humidity, as this can cause material distortion and wrinkling. Optimal environmental conditions will help maintain the screen’s integrity and minimize the risk of future wrinkles.
By following these additional tips and tricks, you can prolong the life of your projector screen and enjoy a consistently smooth and wrinkle-free viewing experience. Maintaining a proactive approach to screen care and staying mindful of the environmental factors that can contribute to wrinkle development will help ensure optimal performance and longevity for your projector screen.
Conclusion
Having wrinkles on your projector screen can be frustrating and can negatively impact your viewing experience. However, with the right techniques and methods, you can effectively remove wrinkles and restore your screen to its smooth and flawless condition.
In this article, we explored various methods for removing wrinkles from projector screens, including using a steamer, a hair dryer, a wet cloth and iron, as well as tensioning techniques. Each method has its own advantages and considerations, so choose the one that suits your screen type and personal preference.
Remember to start by cleaning the screen and preparing it properly before attempting to remove wrinkles. Take care to follow the instructions for each method, being cautious not to apply excessive heat, pressure, or tension to the screen, as this can cause damage.
Additionally, we provided additional tips and tricks to help you maintain a wrinkle-free projector screen, such as proper storage, regular inspections, and avoiding direct sunlight and moisture exposure.
By implementing these methods and practices, you can enjoy a seamless and immersive viewing experience, free from distracting wrinkles. Take the time to care for your projector screen, and it will continue to deliver high-quality visuals for all your movie nights, presentations, and entertainment needs.
So don’t let wrinkles mar your projector screen’s performance. Follow the steps outlined in this article, and get ready to enjoy a smooth and wrinkle-free projection every time.