Introduction
Welcome to the world of Call of Duty: Warzone! If you’re an avid PC gamer looking to experience the thrilling battles and intense gameplay of Warzone, you’re in the right place. This guide will walk you through the step-by-step process of getting Warzone up and running on your PC.
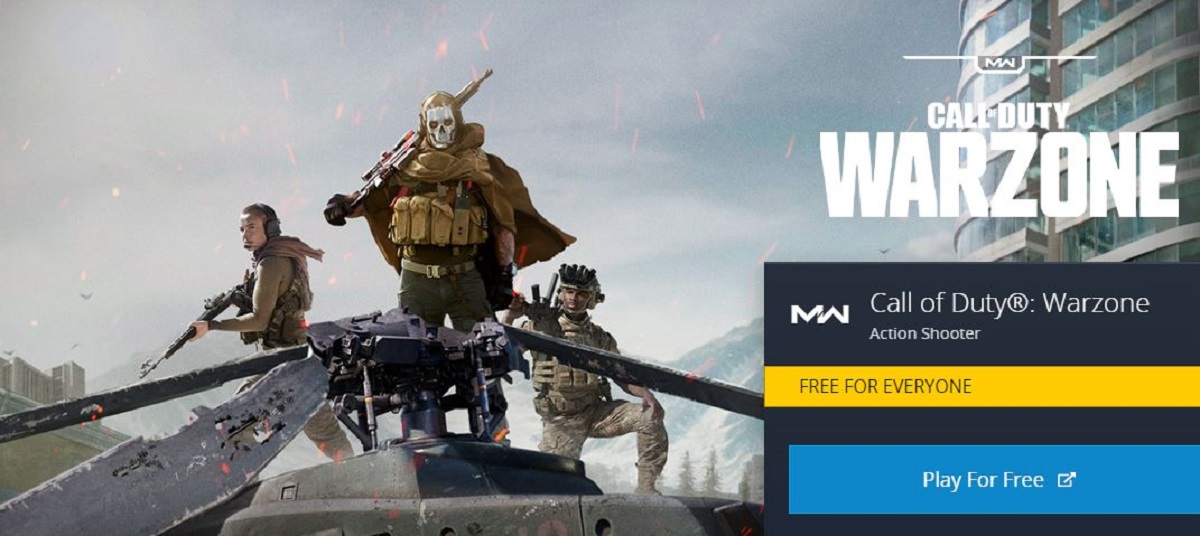
Call of Duty: Warzone is a free-to-play battle royale game that has taken the gaming community by storm. Developed by Infinity Ward and Raven Software, Warzone immerses players in a massive map with up to 150 competitors, where they fight to be the last person or team standing. With its stunning visuals, intense gunfights, and strategic gameplay, Warzone offers an unforgettable gaming experience.
In order to embark on this exhilarating adventure, there are a few requirements and steps you need to follow. Don’t worry, we’ll guide you through each one. By the end of this guide, you’ll be ready to jump into the action-packed world of Warzone and showcase your skills to the world.
So, if you’re ready to join the ranks of the most elite combatants in Warzone, let’s get started on setting up the game on your PC. Prepare yourself for heart-pounding battles, adrenaline-fueled moments, and the sheer thrill of emerging victorious in the ultimate battle royale.
Requirements for playing Warzone on PC
Before diving into the world of Warzone, it’s important to ensure that your PC meets the necessary requirements to run the game smoothly. Here are the minimum and recommended system requirements:
Minimum System Requirements:
- Operating System: Windows 10 64-bit
- Processor: Intel Core i3-4340 or AMD FX-6300
- Memory: 8GB RAM
- Graphics: NVIDIA GeForce GTX 670 / GeForce GTX 1650 or AMD Radeon HD 7950
- DirectX: Version 12
- Storage: 175GB available space
Recommended System Requirements:
- Operating System: Windows 10 64-bit
- Processor: Intel Core i5-2500K or AMD Ryzen R5 1600X
- Memory: 12GB RAM
- Graphics: NVIDIA GeForce GTX 970 / GeForce GTX 1660 or AMD Radeon R9 390 / Radeon RX 580
- DirectX: Version 12
- Storage: 175GB available space
Note that these are the bare minimum and recommended specifications, and to truly enjoy the immersive Warzone experience, you might consider having a more powerful system. This will ensure smooth gameplay, high frame rates, and stunning graphics.
Make sure your PC meets the requirements before proceeding further. If your system falls short of the minimum requirements, you may experience performance issues or be unable to run the game altogether. It’s crucial to have the appropriate hardware and software to fully enjoy the game without any limitations.
Now that you have checked your PC’s compatibility, it’s time to move on to the next step: creating a Battle.net account. Don’t worry; we will guide you through the entire process.
Step 1: Creating a Battle.net account
Before you can begin your Warzone journey, you’ll need to create a Battle.net account. Battle.net is Blizzard Entertainment’s online gaming platform that serves as the hub for various games, including Call of Duty: Warzone. Follow these steps to create your Battle.net account:
- Visit the official Battle.net website: https://www.battle.net.
- Click on the “Create a free account” button located at the top right corner of the website. This will take you to the account creation page.
- Fill in the required information, including your email address, desired password, and country of residence. Make sure to choose a strong and secure password to protect your account.
- Read and accept the terms of service and privacy policy by checking the respective boxes.
- Optionally, you can sign up for promotional emails and newsletters by checking the box if you wish to receive updates and offers from Blizzard Entertainment.
- Complete the reCAPTCHA verification to prove that you’re not a robot.
- Once you’ve filled in all the necessary information and completed the verification, click on the “Create Account” button to finalize the process.
After creating your Battle.net account, you’ll have access to a range of Blizzard games, including Warzone. Your account will serve as your gateway to the Call of Duty world, where you can connect with friends, join multiplayer matches, and track your progress.
Make sure to keep your Battle.net account credentials secure. This will protect your personal information, as well as avoid unauthorized access to your account. It’s recommended to enable two-factor authentication for an extra layer of security.
With your Battle.net account ready to go, it’s time for the next step: downloading and installing the Battle.net client. We’ll walk you through the process in the next section.
Step 2: Downloading and installing Battle.net
Now that you have created your Battle.net account, the next step is to download and install the Battle.net client. This client acts as a platform for accessing and managing your Blizzard games, including Call of Duty: Warzone. Follow the steps below to get started:
- Visit the official Battle.net website: https://www.battle.net.
- Click on the “Download for Windows” or “Download for Mac” button, depending on your operating system. This will initiate the download of the Battle.net installer to your computer.
- Once the installer is downloaded, locate the file and double-click on it to launch the installation process.
- Follow the on-screen prompts to proceed with the installation. You may need to grant the necessary permissions for the installer to make changes to your system.
- Choose the destination folder where you want to install the Battle.net client or simply use the default location.
- Once the installation is complete, the Battle.net client will launch automatically.
- Sign in to your Battle.net account using the credentials you created in the previous step.
- After logging in, you’ll have access to the Battle.net platform, where you can explore various games, including Warzone.
The Battle.net client serves as your gateway to the gaming world, allowing you to install, update, and launch your favorite Blizzard games with ease. It also provides a social aspect, enabling you to connect with friends, join communities, and chat with other players.
Remember to keep the Battle.net client updated to ensure the best gaming experience and access to the latest features. The client will automatically download and install updates, or you can manually check for updates in the client’s settings.
With the Battle.net client successfully installed, you’re one step closer to experiencing the epic battles of Warzone. The next step is to create an Activision account, which we’ll cover in detail in the next section.
Step 3: Creating an Activision account
In order to fully immerse yourself in the world of Call of Duty: Warzone, you’ll need to create an Activision account. The Activision account serves as the bridge between your Battle.net platform and the game itself. Follow the steps below to create your Activision account:
- Visit the official Activision website: https://www.activision.com.
- Hover over the “Account” option on the top menu bar and click on “Sign Up.”
- Fill in the required information, including your email address, password, and display name. Choose a unique display name that will represent you in the Call of Duty community.
- Scroll down to the “Opt-In” section and select the checkboxes for any optional communication preferences you’d like to receive from Activision.
- Read and accept the terms of service and privacy policy by checking the respective boxes.
- Complete any further steps prompted by the website to finalize your account creation.
After creating your Activision account, you’ll have access to a range of features and benefits, such as tracking your in-game progress, participating in events, joining clans, and more.
Make sure to keep your Activision account credentials secure, just like your Battle.net account. This will protect your personal information and ensure the integrity of your gaming experience.
With your Activision account in place, you’re ready to move on to the next step: downloading and installing Call of Duty: Warzone itself. We’ll guide you through the process in the next section, so let’s keep the momentum going!
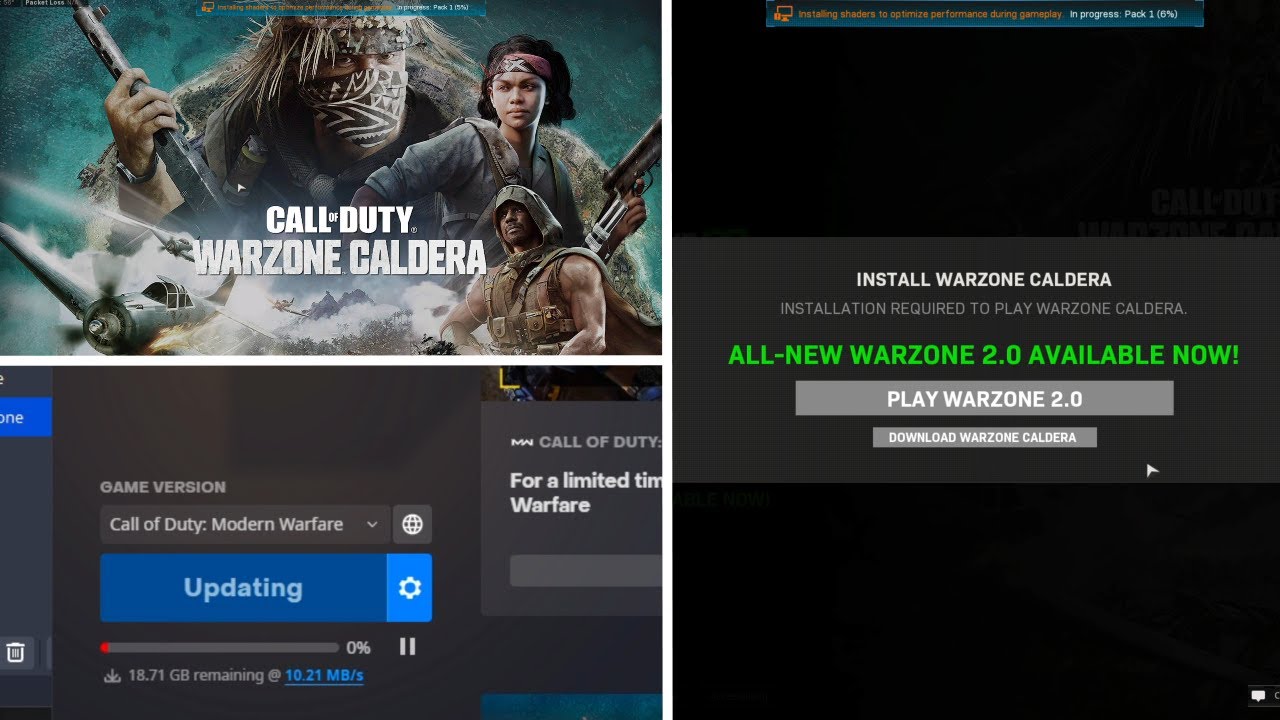
Step 4: Downloading and installing Warzone
With your Battle.net and Activision accounts set up, it’s time to download and install the heart-pounding action of Call of Duty: Warzone on your PC. Follow the steps below to get started:
- Launch the Battle.net client that you installed in the previous steps.
- Sign in to your Battle.net account using the credentials you created earlier.
- In the Battle.net client, navigate to the “Games” tab located at the top of the client.
- Scroll through the list of available games or use the search bar to find “Call of Duty: Warzone.”
- Click on the “Install” button next to Warzone to begin the download and installation process.
- Choose the location where you want to install Warzone or use the default location recommended by the client.
- Wait for the download and installation to complete. The time taken may vary depending on your internet connection speed and system specifications.
- Once the installation is finished, you can launch Warzone from the Battle.net client.
During the installation process, the Battle.net client will download all the necessary files and updates required to run Warzone smoothly on your PC. Make sure you have enough storage space available to accommodate the game, as Warzone has a large file size.
Warzone is a dynamic and ever-evolving game, so regular updates will be released to introduce new content, fix bugs, and improve gameplay. The Battle.net client will automatically download and install these updates, ensuring you’re always ready for the latest action on the battlefield.
With Warzone installed on your PC, you’re just a few steps away from joining epic battles and experiencing the intense thrill of the battlefield. The next step is to ensure that your graphics drivers are up to date for optimal performance, which we’ll cover in the next section.
Step 5: Updating your graphics drivers
Updating your graphics drivers is crucial for ensuring smooth and optimal performance while playing Call of Duty: Warzone on your PC. Graphics drivers act as a bridge between your operating system and your graphics card, enabling it to render the game’s graphics accurately. Follow the steps below to update your graphics drivers:
- Identify your graphics card model. You can usually find this information in the Windows Device Manager or by visiting the manufacturer’s website.
- Visit the website of your graphics card manufacturer, such as NVIDIA or AMD.
- Navigate to the driver downloads or support section of the website.
- Use the search or filtering options to find the latest driver for your specific graphics card model and the version of your operating system.
- Download the driver installer file to your computer.
- Once the download is complete, run the installer file and follow the on-screen instructions to update your graphics drivers.
- Restart your computer after the installation is finished.
Updating your graphics drivers ensures that your PC is utilizing the latest optimizations and enhancements provided by the graphics card manufacturer. This can result in improved graphics quality, better performance, and fewer compatibility issues while playing Warzone.
It’s also a good practice to periodically check for driver updates and install them in a timely manner. Graphics card manufacturers often release new drivers to address performance issues, add support for new games, and fix bugs or security vulnerabilities.
Remember to always download drivers from official and trustworthy sources, such as the manufacturer’s website, to avoid potential malware or compatibility issues.
Now that your graphics drivers are up to date, you’re ready to optimize Warzone’s settings for your PC in the next step. Let’s dive into the details!
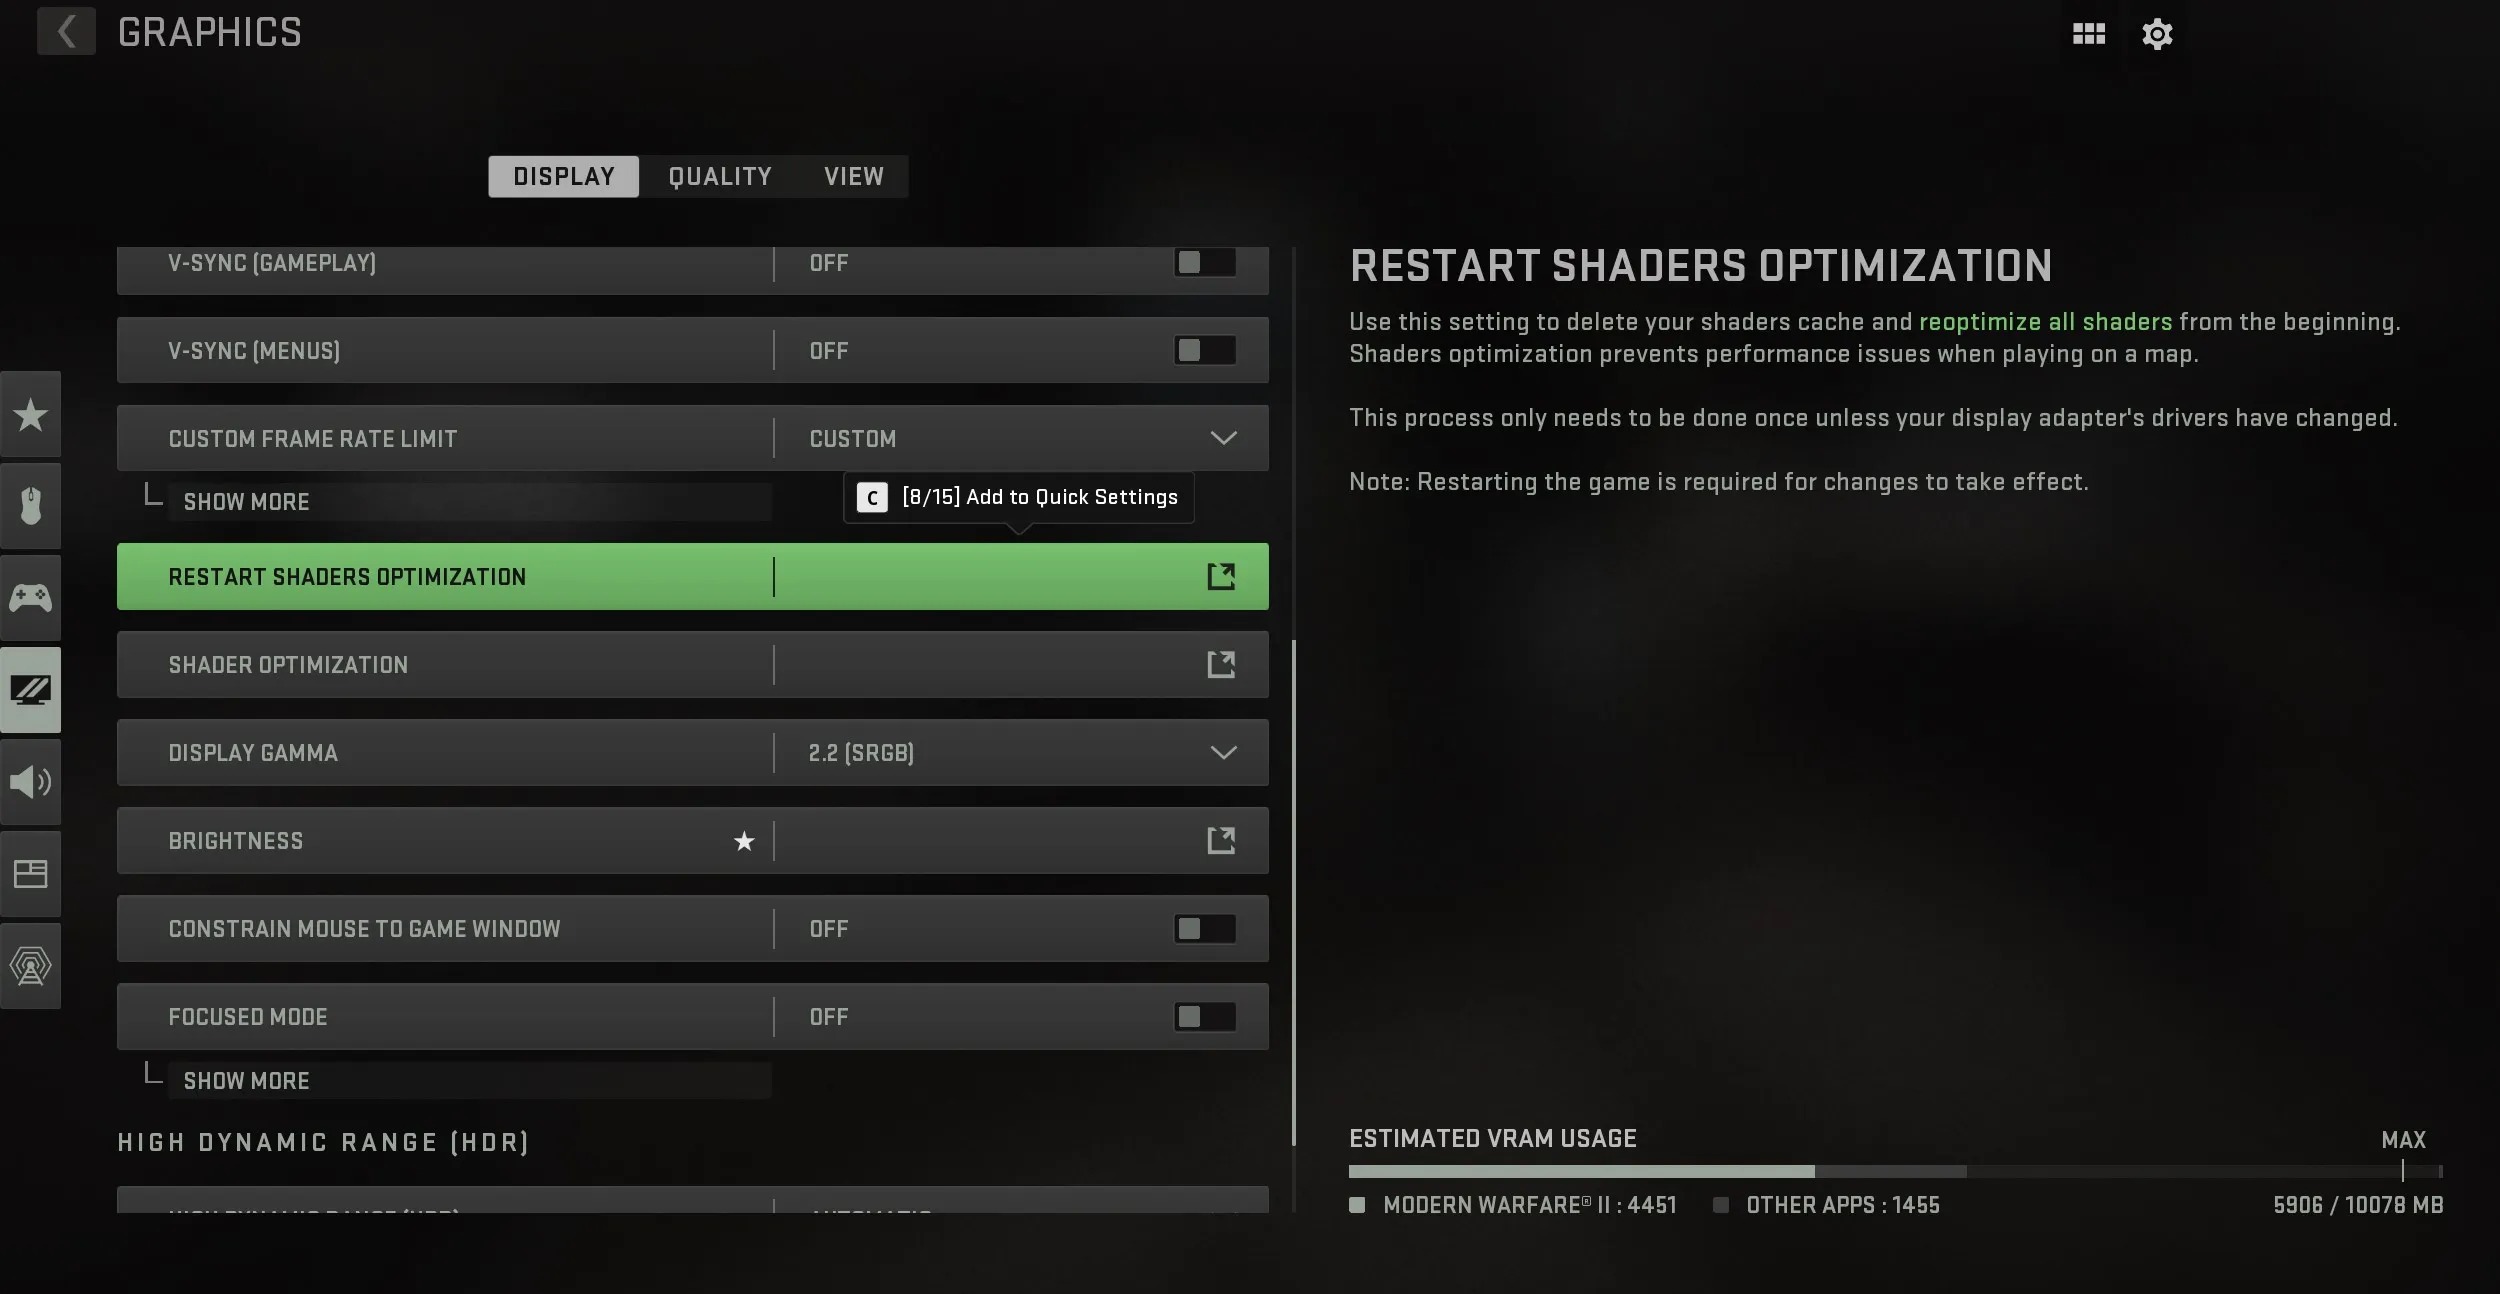
Step 6: Optimizing Warzone settings for your PC
Once you’ve installed Call of Duty: Warzone and updated your graphics drivers, it’s time to optimize the game settings to ensure the best performance and visual experience on your PC. Adjusting these settings can help you achieve smooth gameplay and avoid any potential lag or stuttering. Follow the steps below to optimize Warzone settings:
- Launch Warzone from the Battle.net client.
- Go to the game’s settings by clicking on the gear icon located at the bottom right corner of the main menu screen.
- Switch to the “Graphics” tab to access the graphics settings.
- Set the Display Mode to Fullscreen for the best performance.
- Adjust the Screen Refresh Rate to match your monitor’s native refresh rate, if available.
- Set the Render Resolution to a value that suits your preference and PC capabilities. Lower values can improve performance, but may affect visual quality.
- Customize other graphics settings such as Texture Quality, Shadow Quality, and Anti-Aliasing based on your PC’s abilities. Experiment with different settings to find the right balance between performance and visual quality.
- Enable or disable Vertical Sync (V-Sync) depending on whether you want to eliminate screen tearing or prioritize performance.
- Apply the changes and exit the settings menu.
Additionally, consider optimizing other system settings that can impact the performance of Warzone:
- Closing any unnecessary background applications to free up system resources.
- Disabling any overlay programs or software (e.g., Discord overlay, Nvidia Shadowplay) that may interfere with the game.
- Keeping your operating system and other drivers up to date for optimal compatibility and performance.
Optimizing Warzone settings can be a trial-and-error process. It’s recommended to start with lower settings and gradually increase them until you find the perfect balance between performance and visual quality that suits your PC configuration.
With Warzone settings optimized, it’s time to familiarize yourself with the controls of the game. We’ll guide you through this next step to ensure you’re ready to jump into the action with confidence.
Step 7: Familiarizing yourself with the controls
Before you dive into the intense battles of Call of Duty: Warzone, it’s important to familiarize yourself with the game’s controls. Getting comfortable with the controls will enable you to navigate the environment, execute various actions, and engage in combat seamlessly. Here are the key controls to be aware of:
- Movement: Use the W, A, S, and D keys to move forward, left, backward, and right, respectively. You can sprint by holding down the Shift key, and crouch or go prone using the C or Z key, respectively.
- Aiming and shooting: Use the right mouse button to aim down sights (ADS), and the left mouse button to shoot. You can switch between different weapons or equipment slots using the 1-6 keys on the keyboard.
- Interaction: To interact with objects or perform actions, use the F key. This includes picking up weapons, opening doors, reviving teammates, and looting items from supply boxes.
- Inventory: Access your inventory by pressing the Tab key. Here, you can manage your weapons, attachments, equipment, and consumables. Drag and drop items to equip or drop them.
- Communication: Communicate with your teammates using voice chat, which can be activated by pressing the assigned key (default is T). Additionally, you can ping locations or enemies using the middle mouse button.
- Map and objectives: Open the map by pressing the M key. The map displays the game area, objectives, and important landmarks. Use it to plan your movements and coordinate with your team.
- Vehicle controls: If you come across a vehicle in the game, you can enter or exit it using the F key. Vehicle controls may vary, but typically you’ll use the WASD keys for movement and the spacebar for handbrake or to jump over obstacles.
Remember, these are just the basic controls. Warzone also has additional features, such as operator abilities and killstreaks, which may require specific inputs. Take some time to explore these features in the game’s controls settings or through the tutorial mode.
Practice makes perfect! Spend some time in training mode or play a few matches to get comfortable with the controls and improve your gameplay skills. With practice, you’ll become more adept at navigating the map, engaging in firefights, and making strategic decisions.
Now that you’re familiar with the controls, it’s time to join your first Warzone game and put your skills to the test. Let’s move on to the final step of this guide.
Step 8: Joining your first Warzone game
After all the preparation, it’s time to jump into the heart-pounding action of your first Call of Duty: Warzone game. Here’s how you can join a match and start your Warzone adventure:
- Launch the Call of Duty: Warzone through the Battle.net client.
- In the main menu, select the “Warzone” game mode.
- Choose whether you want to play as part of a squad (with friends or random players) or play solo.
- Before your first match, you’ll be prompted to complete a brief tutorial that introduces you to the game’s mechanics. It’s highly recommended to complete this tutorial to get acquainted with the basics of Warzone.
- Select your preferred loadout and operator before the match starts. You can choose from pre-customized loadouts or create your own with unlocked weapons and attachments.
- Once you’re ready, click on the “Play” button to start matchmaking. The game will search for other players or squads to join.
- When the matchmaking process is complete, you’ll be deployed into the Warzone map. Follow the prompts to coordinate with your team, gather resources, and strategize your approach.
- Use your skills, firepower, and teamwork to outlast and eliminate opponents as you strive to be the last person or team standing.
- Throughout the game, stay aware of the closing circle, which limits the playable area. Make sure you’re inside the safe zone to avoid taking damage or being eliminated.
- As you progress in the game, collect cash to purchase useful items from Buy Stations, engage in epic firefights, and strategically position yourself to seize victory in the Warzone.
- Remember to communicate with your teammates, adapt to the ever-changing conditions, and make bold decisions to secure your success in the game.
Every Warzone game is a unique and thrilling experience, filled with action, tension, and teamwork. Don’t be discouraged if your first attempts don’t result in victory. Learning from each match and refining your strategies will help you improve and achieve greatness on the battlefield.
So, gear up, embrace the chaos, and get ready for an incredible time in the vast and unforgiving world of Call of Duty: Warzone!
Conclusion
Congratulations! You’ve successfully gone through the process of getting Call of Duty: Warzone up and running on your PC. From creating Battle.net and Activision accounts to downloading the game and optimizing its settings, you’re now ready to embark on thrilling battles and intense gameplay.
By familiarizing yourself with the controls and joining your first Warzone match, you’ll begin an exciting journey that will test your skills, communication, and strategic thinking. Remember to continuously refine your gameplay, adapt to the ever-changing battlefield, and work closely with your teammates to secure victory.
Warzone offers endless opportunities for incredible experiences, whether you’re conquering the battlefield solo or with friends. Explore the vast map, engage in adrenaline-pumping firefights, and embrace the unpredictable nature of battle royale gameplay.
As you progress and become more experienced, consider delving deeper into Warzone’s mechanics, such as mastering different weapon loadouts, utilizing operator abilities effectively, and strategizing your tactics based on the game’s evolving meta.
Lastly, always stay engaged with the Call of Duty community, whether through forums, social media, or in-game interactions. Joining clans, competing in tournaments, and sharing your memorable gaming moments all contribute to the vibrant player community that makes Warzone a truly immersive experience.
Now, it’s time to gear up, lock and load, and make your mark on the battlefield. Good luck, soldier, and may victory be yours in Call of Duty: Warzone!