Introduction
Welcome to the world of graphics card control panels! Your graphics card is an essential component of your computer system, responsible for rendering and displaying images on your screen. The control panel of your graphics card is where you can access various settings and options to fine-tune your graphics performance, adjust display properties, and more.
Whether you’re a gamer, a digital artist, or simply want to explore the capabilities of your graphics card, being able to access the control panel is essential. In this article, we will explore several methods that you can use to access the graphics card control panel on your Windows computer.
We will cover different methods, each suited to different scenarios and preferences. Whether you prefer using the context menu, the start menu search, the system tray, the control panel, or the device manager, we’ve got you covered. So, let’s dive in and explore how you can get to the graphics card control panel on your computer!
Method 1: Using the Desktop Context Menu
One of the quickest and most convenient ways to access the graphics card control panel is through the desktop context menu. This method allows you to directly access the control panel with just a few clicks. Here’s how you can do it:
- Start by right-clicking on your computer’s desktop. A context menu will appear.
- Look for an option related to your graphics card or display settings. This option may vary depending on the graphics card manufacturer and the drivers you have installed. For example, you might find an option like “Graphics Options,” “NVIDIA Control Panel,” or “AMD Radeon Settings.”
- Click on the graphics card control panel option in the context menu. This will open the control panel window, giving you access to a wide range of settings and options for your graphics card.
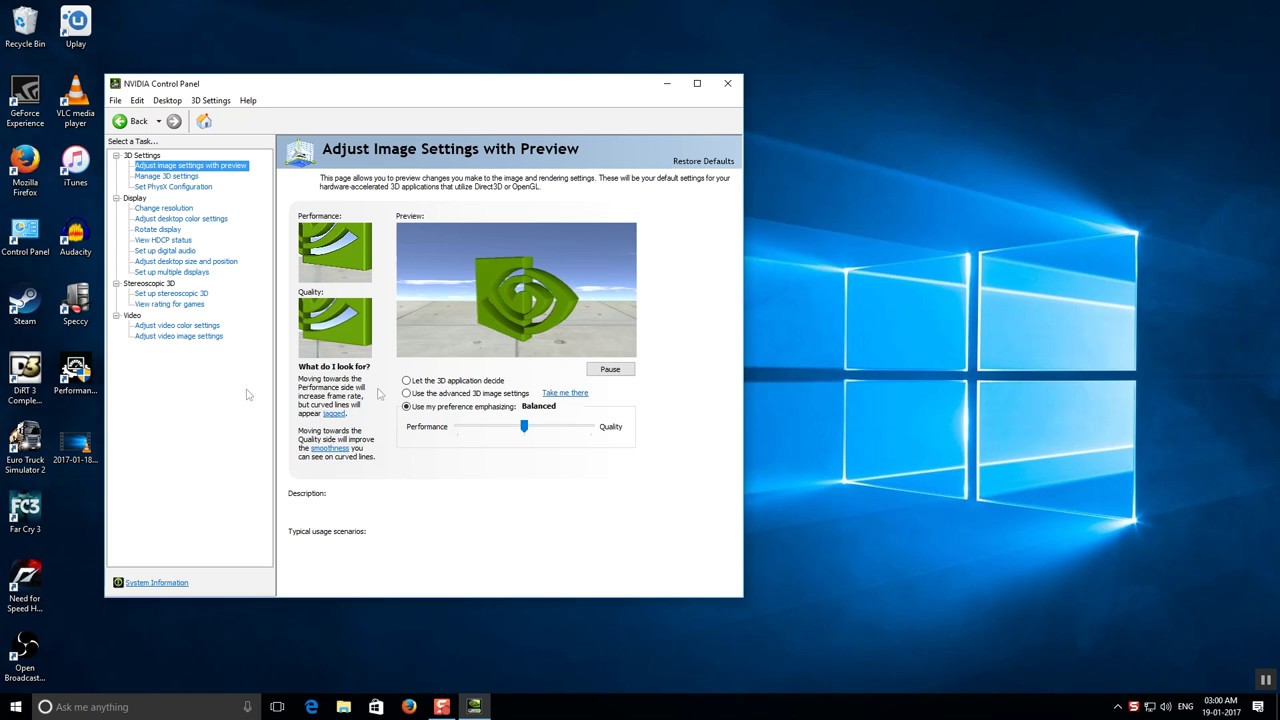
Once you have the graphics card control panel open, take some time to explore the different tabs and settings available. You’ll often find options to adjust display resolutions, refresh rates, color settings, and other advanced graphics settings. Experiment with these settings to optimize your graphics performance based on your preferences and the requirements of the applications or games you use.
Using the desktop context menu to access the graphics card control panel is a convenient and straightforward method. It allows for quick access without the need to navigate through multiple menus or search for specific options. However, keep in mind that the availability and naming of the graphics card control panel option in the context menu can vary depending on your system configuration and installed drivers.
Method 2: Using the Start Menu Search
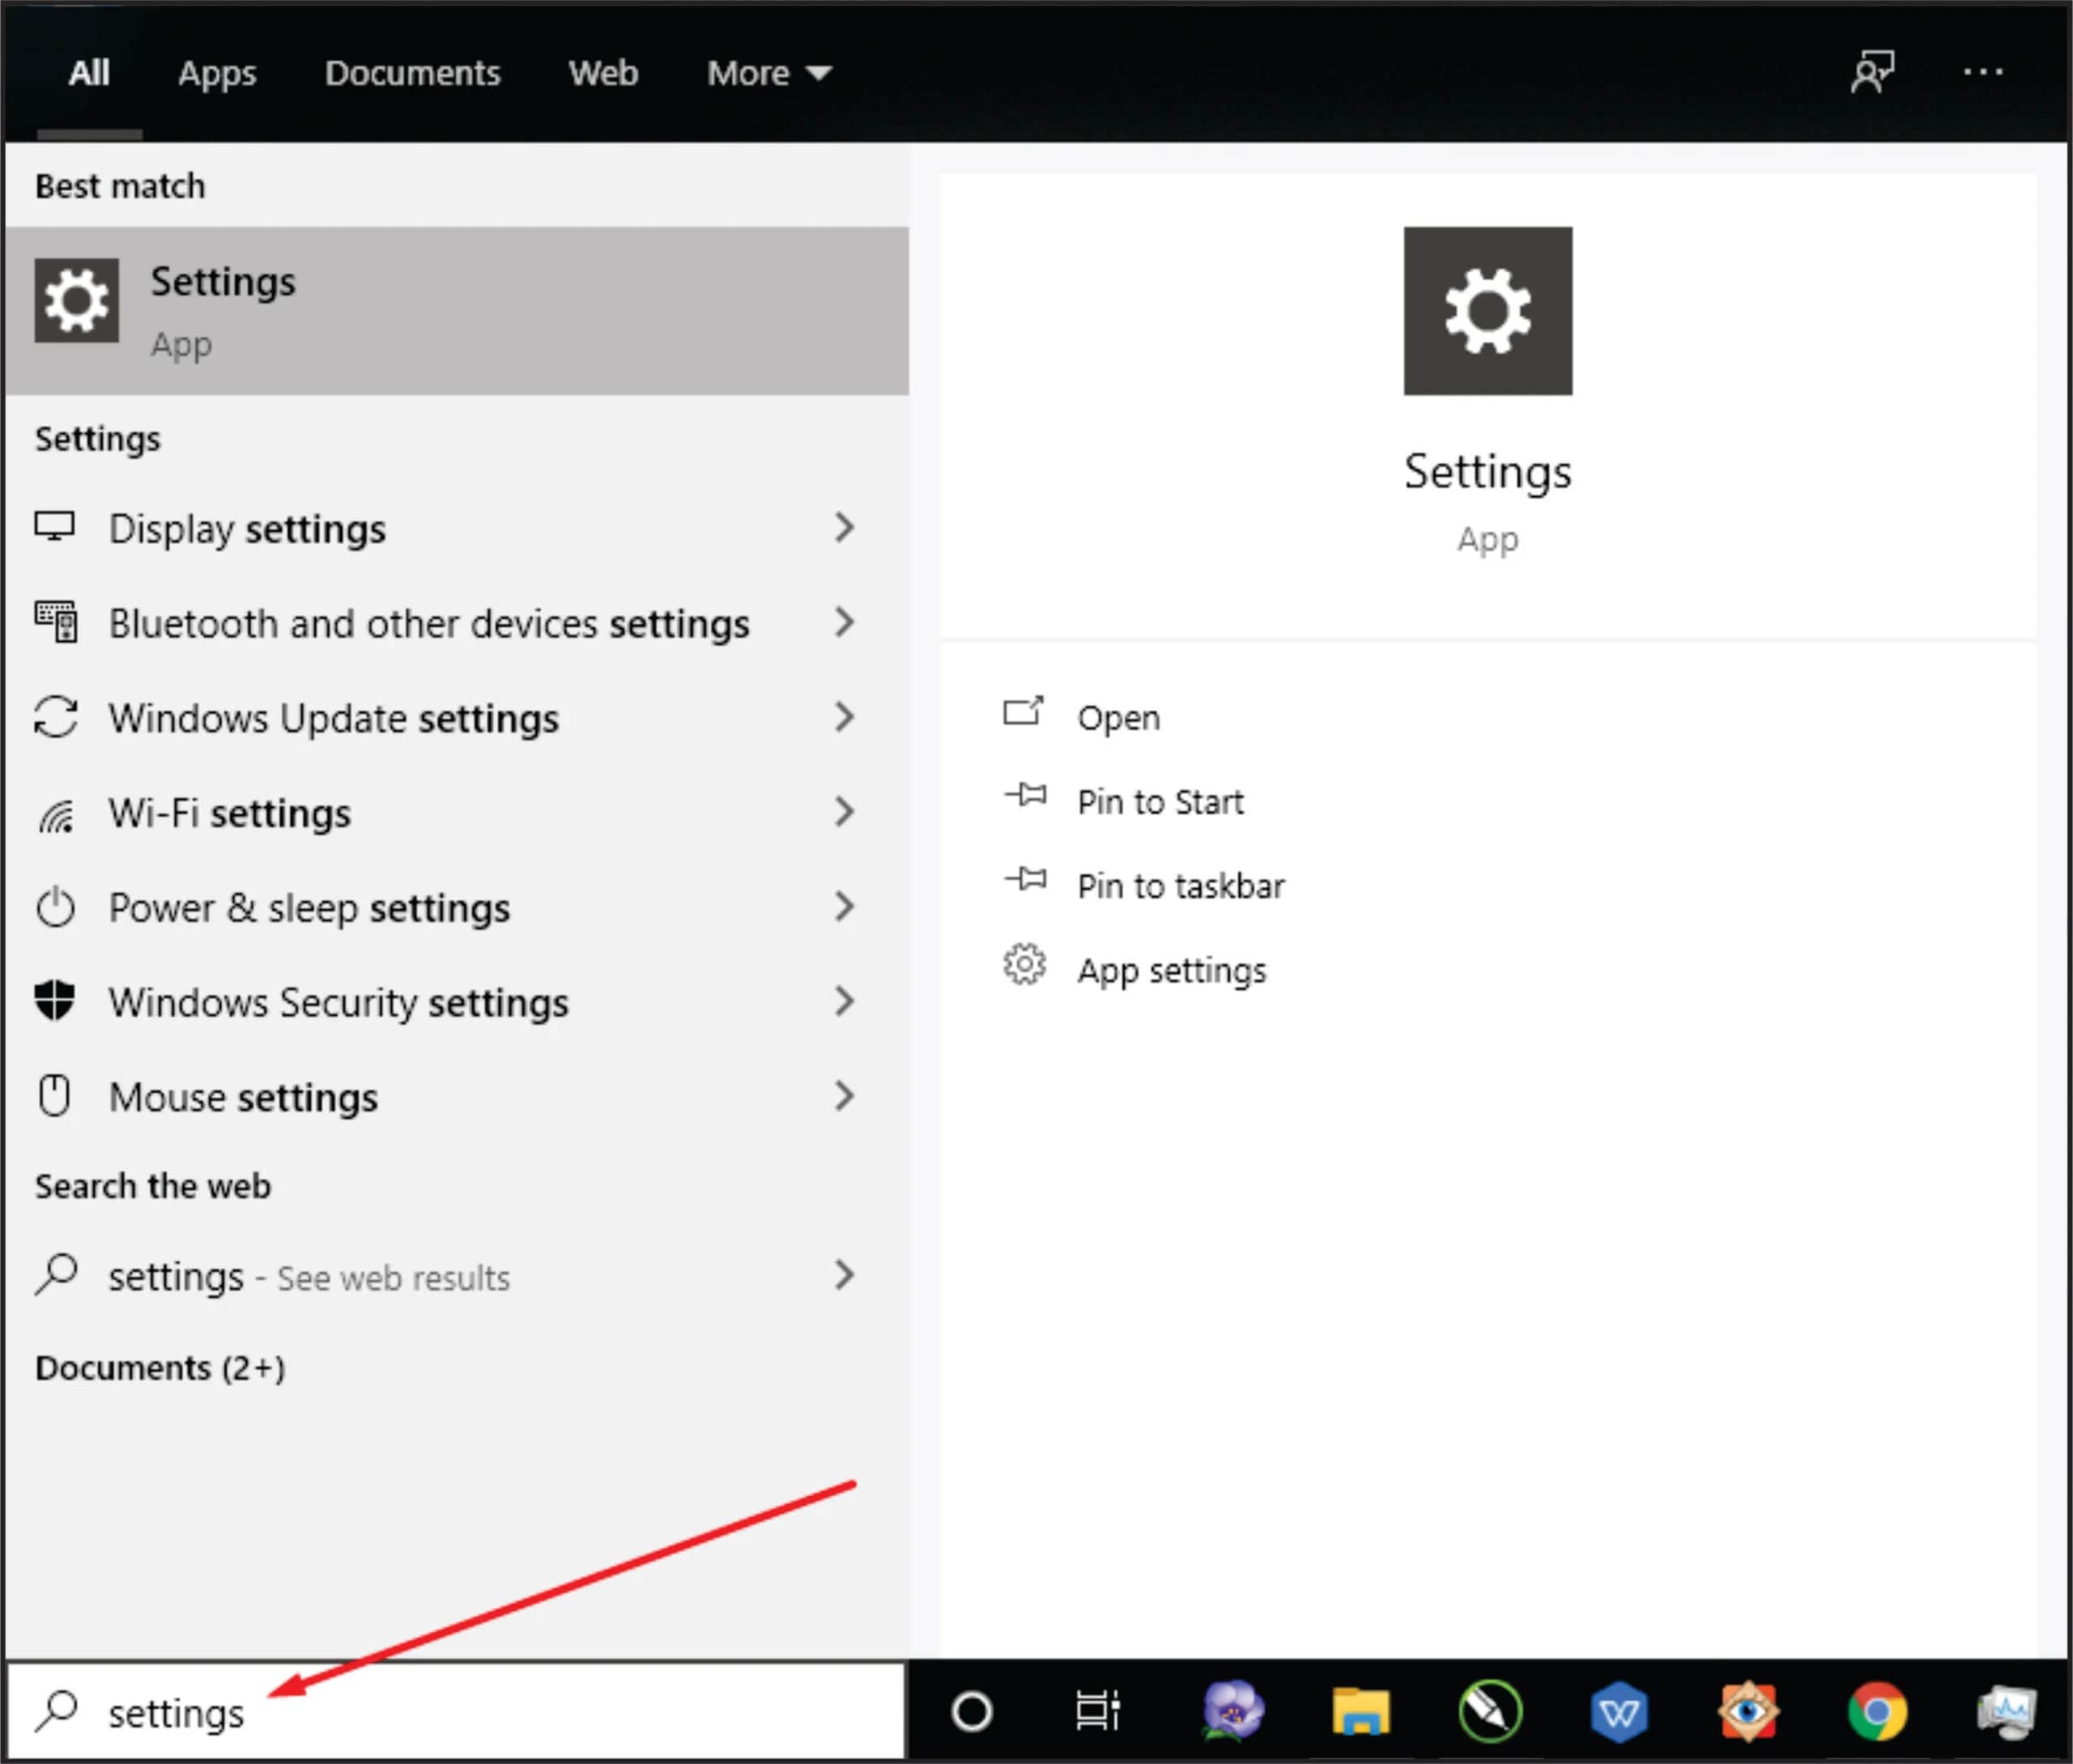
If you prefer using the search function to find and access applications on your computer, you’ll be glad to know that you can also utilize the start menu search to access the graphics card control panel. Here’s how you can do it:
- Click on the Windows start button located in the bottom-left corner of your screen or press the Windows key on your keyboard to open the start menu.
- In the search bar, type in keywords related to your graphics card or the control panel. For example, you can try typing phrases like “graphics card settings,” “control panel,” or the specific name of your graphics card manufacturer.
- As you type, you’ll notice that the start menu search will display relevant suggestions. Look for an option that specifically mentions the graphics card control panel, such as “NVIDIA Control Panel” or “AMD Radeon Settings.”
- Click on the search result that corresponds to your graphics card control panel. This will open the control panel window on your computer.
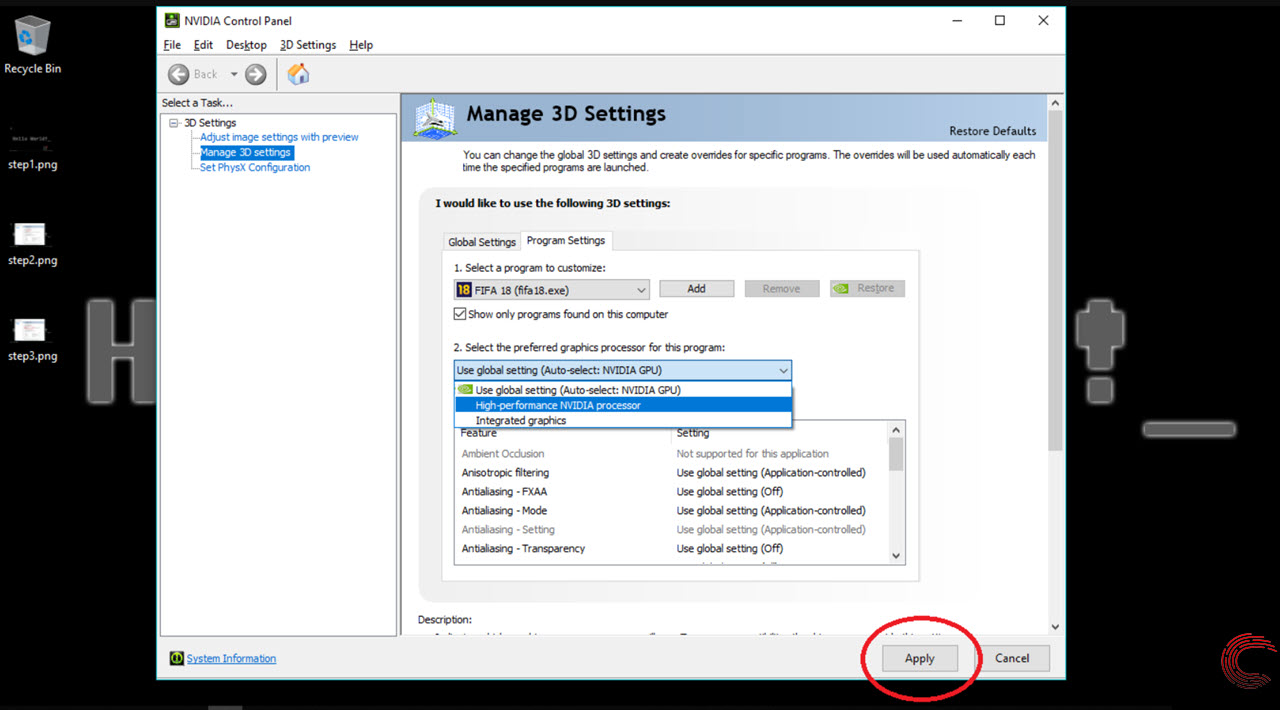
Once the graphics card control panel opens, you’ll have access to a range of settings and options that you can tweak to enhance your graphics performance. Explore the different tabs and options available to customize display properties, manage 3D settings, and optimize your graphics card for specific applications or games.
Using the start menu search to access the graphics card control panel is a convenient method, especially if you’re already accustomed to using the search function to find applications on your computer. It allows you to quickly access the control panel without having to navigate through various menus or remember specific shortcuts. However, keep in mind that the availability and naming of the graphics card control panel in the start menu search results may vary depending on your system configuration and installed graphics card drivers.
Method 3: Using the System Tray
If you prefer having quick access to your graphics card control panel right from your system tray, you’re in luck! Many graphics card drivers provide an option to access the control panel directly from the system tray. Here’s how you can do it:
- Look for the graphics card driver icon in your system tray, which is usually located in the bottom-right corner of your screen, near the clock.
- The icon can vary depending on your graphics card manufacturer, but it typically resembles the logo of the manufacturer. For example, you might see an NVIDIA or AMD logo.
- Right-click on the graphics card driver icon in the system tray. A context menu will appear.
- Look for an option that mentions the graphics card control panel, such as “Open NVIDIA Control Panel” or “Open AMD Radeon Settings.”
- Click on the option that corresponds to your graphics card control panel. This will open the control panel window on your computer.
Once the graphics card control panel is open, you can explore the various settings and options available to fine-tune your graphics performance. From adjusting display settings to optimizing your graphics card for specific applications or games, the control panel provides a convenient way to customize your graphics experience.
Using the system tray to access the graphics card control panel is a handy method as it gives you quick and easy access right from your desktop. You don’t need to search for the control panel or navigate through menus. However, remember that the presence and functionality of the graphics card driver icon in the system tray may depend on your system configuration and installed graphics card drivers.
Method 4: Using the Control Panel
If you prefer accessing system settings and preferences through the classic Control Panel interface, you can also find the graphics card control panel within this centralized hub. Here’s how you can access it:
- Click on the Windows start button located in the bottom-left corner of your screen or press the Windows key on your keyboard to open the start menu.
- In the search bar, type “Control Panel” and click on the corresponding search result to open the Control Panel window.
- Within the Control Panel, ensure that the view is set to “Category” mode, which is the default view for most systems. If you’re using the “Small icons” or “Large icons” view, you’ll already have access to all the settings without additional steps.
- Scroll through the list of available options and locate the category related to your graphics card. The exact name of this category may vary depending on your graphics card manufacturer, but it is usually something like “NVIDIA Control Panel” or “AMD Radeon Settings.”
- Click on the category related to your graphics card control panel. This will open the control panel window, allowing you to configure your graphics settings.
Once you’re inside the graphics card control panel, you can explore the various tabs and settings available. These settings allow you to customize display properties, adjust 3D settings, manage multiple displays, and more. Take some time to experiment with different configurations to optimize your graphics performance according to your preferences and specific needs.
Using the Control Panel to access the graphics card control panel provides a more traditional approach for users who prefer the classic Windows interface. It allows you to access a wide range of system settings, including your graphics card control panel, from a centralized location. Keep in mind that the availability and accessibility of the graphics card control panel within the Control Panel may vary depending on your system configuration and installed graphics card drivers.
Method 5: Using the Device Manager
For those who prefer a more technical approach, accessing the graphics card control panel through the Device Manager can be a viable option. The Device Manager is a powerful Windows tool that allows you to manage and control various hardware devices on your computer. Here’s how you can access the graphics card control panel through the Device Manager:
- Right-click on the Windows start button located in the bottom-left corner of your screen or press the Windows key + X on your keyboard to open the Quick Access menu.
- From the Quick Access menu, select “Device Manager” to open the Device Manager window.
- Within the Device Manager, locate the “Display adapters” category and expand it by clicking on the arrow next to it.
- You should now see your graphics card listed under the “Display adapters” category. Right-click on your graphics card and select “Properties” from the context menu.
- In the Properties window, navigate to the “Driver” tab and look for a button labeled “Properties” or “Advanced.”
- Click on the “Properties” or “Advanced” button. This will open the graphics card control panel window where you can configure your graphics card settings.
Once you’re in the graphics card control panel, you can explore various settings and options available to optimize your graphics performance. You can adjust display properties, manage 3D settings, update drivers, and more. Take your time to experiment with different settings to enhance your graphics experience according to your preferences and requirements.
Using the Device Manager to access the graphics card control panel is a more technical approach, suitable for users who are familiar with managing hardware devices through this tool. It provides a deeper level of control over your graphics card settings and allows for advanced configurations. Keep in mind that the availability of the graphics card control panel through the Device Manager may vary depending on your system configuration and installed graphics card drivers.
Conclusion
In this article, we have explored five different methods to access the graphics card control panel on your Windows computer. Whether you prefer using the desktop context menu, the start menu search, the system tray, the control panel, or the Device Manager, there’s a method that suits your preference and workflow.
The graphics card control panel is a powerful tool that allows you to fine-tune your graphics performance, adjust display properties, and optimize your graphics card for specific applications or games. By accessing the control panel, you gain the ability to customize your graphics experience according to your preferences and needs.
If you like quick and direct access, using the desktop context menu or the system tray is ideal. These methods allow you to reach the control panel within a few clicks, making it convenient for frequent use. On the other hand, if you prefer a more search-oriented approach, the start menu search offers a quick way to find and open the control panel.
For those who prefer the classic Windows interface, accessing the graphics card control panel through the Control Panel provides a familiar experience. It allows for centralized management of various system settings, including the graphics card control panel.
Lastly, for users who are more technically inclined and like to delve deeper into system configurations, using the Device Manager to access the graphics card control panel offers a more advanced approach. It grants detailed control over graphics card settings and provides the ability to manage drivers and other related configurations.
Regardless of the method you choose, exploring the graphics card control panel opens up a world of possibilities to enhance your graphics performance and tailor it to your specific needs. So, go ahead and dive into the control panel to unleash the full potential of your graphics card!


