Introduction
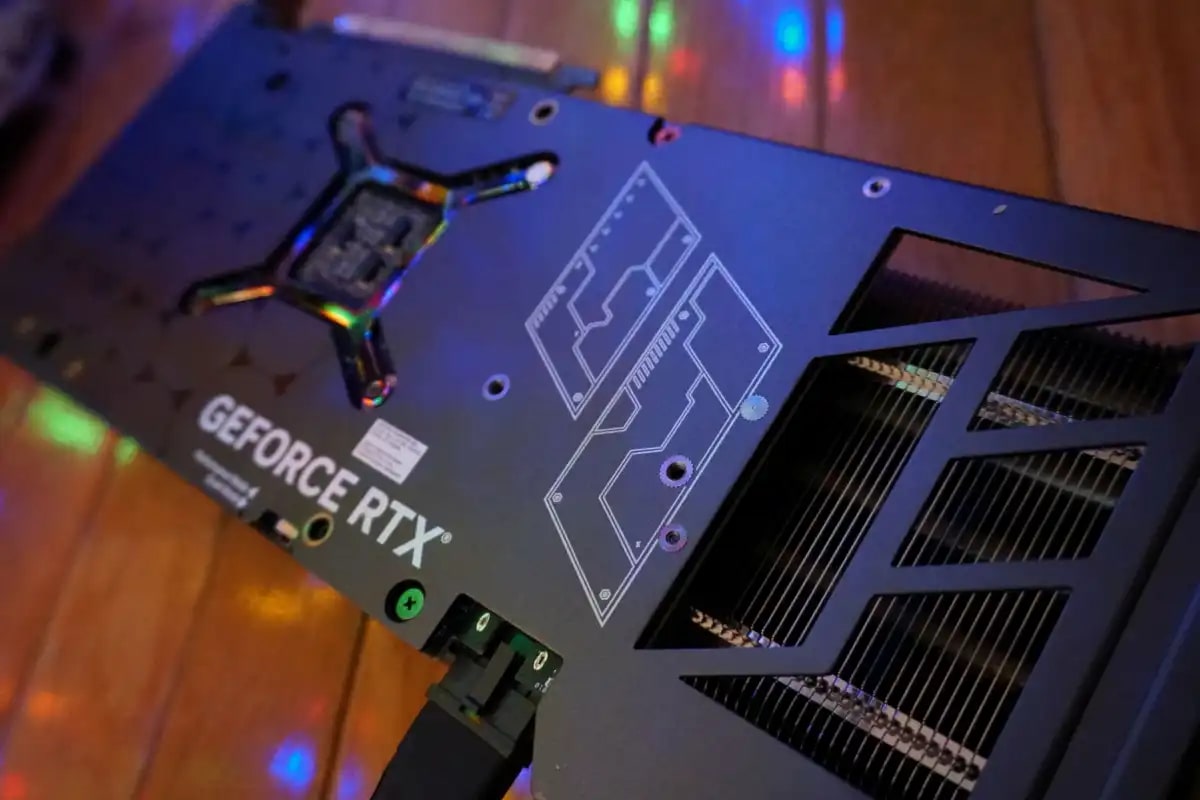
Graphics cards are crucial components in any computer system, especially for those who engage in gaming, graphic design, or video editing. These dedicated pieces of hardware are responsible for rendering and displaying graphics on your monitor. However, knowing how much memory your graphics card has is essential, as it directly affects its performance and capabilities.
The amount of memory on a graphics card, often referred to as VRAM (Video Random Access Memory), determines how much graphical data can be stored and accessed by the GPU (Graphics Processing Unit). More VRAM allows for higher resolution textures, smoother graphics, and improved overall performance, especially when running graphics-intensive applications and games.
In this article, we’ll explore various methods to determine how much memory your graphics card has. Whether you’re troubleshooting a technical issue, considering an upgrade, or simply curious about your computer’s specifications, these methods will help you find the information you need.
We’ll cover both methods available for Windows operating systems, as they are the most common in desktop and laptop computers. So, let’s dive into the various techniques you can use to check the memory capacity of your graphics card!
Method 1: Checking through Device Manager
One of the easiest ways to find out the memory capacity of your graphics card is by using the Device Manager. This built-in tool in Windows allows you to manage and view information about all the hardware devices connected to your computer.
To access the Device Manager, you can right-click on the Start menu and choose “Device Manager” from the list of options. Once you have the Device Manager window open, expand the “Display adapters” category to see the graphics card(s) installed on your system.
Double-click on the graphics card name to open its properties. Within the properties window, navigate to the “Adapter” tab. Here, you’ll find detailed information about your graphics card, including the amount of dedicated video memory (VRAM). The value displayed here indicates the total memory capacity of your graphics card.
It’s important to note that the Device Manager provides the information about the graphics card installed on your system, but there may be slight variations in the way the information is displayed depending on your Windows version or the graphics card manufacturer.
In addition to the memory size, you can also access other important details about your graphics card through the Device Manager, such as the driver version, device status, and hardware IDs. This information can be helpful when troubleshooting graphics-related issues or when searching for specific driver updates.
Using the Device Manager provides a quick and simple way to check the memory capacity of your graphics card without the need for any additional software. However, if you prefer a more detailed analysis of your graphics card’s specifications, you may want to explore other methods we will discuss in the following sections.
Method 2: Using the DirectX Diagnostic Tool
Another convenient method to determine the memory capacity of your graphics card is by utilizing the DirectX Diagnostic Tool. This tool is part of the DirectX software package, which is a collection of application programming interfaces (APIs) designed to handle multimedia-related tasks on Windows.
To access the DirectX Diagnostic Tool, you can follow these steps:
1. Press the Windows key + R on your keyboard to open the Run dialog box.
2. Type “dxdiag” (without quotation marks) in the Run box and press Enter.
3. The DirectX Diagnostic Tool window will open, providing you with detailed information about your system’s DirectX components.
Within the DirectX Diagnostic Tool window, select the “Display” tab. Here, you will find various details related to your graphics card, including the card’s name, manufacturer, driver version, and the approximate total memory.
Under the “Device” section, you’ll find the “Approx. Total Memory” field, which displays the memory capacity of your graphics card in kilobytes (KB). Keep in mind that DirectX reports the memory size in KB, so you may need to divide the value by 1024 to get the size in megabytes (MB) or by 1048576 to get the size in gigabytes (GB).
This method provides a quick way to check the approximate memory capacity of your graphics card using the DirectX Diagnostic Tool’s user-friendly interface. While it may not provide as precise information as some other methods, it offers a useful overview of your graphics card’s capabilities.
The DirectX Diagnostic Tool also provides additional information, such as the current display mode, display driver details, and other system settings that can help with troubleshooting graphics-related issues.
Whether you’re a gamer, graphic designer, or simply curious about your system’s specifications, utilizing the DirectX Diagnostic Tool is a valuable way to gain insight into your graphics card’s memory capacity without the need for third-party software.
Method 3: Using GPU-Z Software
If you’re looking for a more comprehensive analysis of your graphics card’s specifications, GPU-Z is a powerful third-party software that provides in-depth information about your GPU. This free tool is widely used by enthusiasts, overclockers, and system builders to monitor and analyze graphics cards.
To use GPU-Z to determine the memory capacity of your graphics card, follow these steps:
1. Download and install GPU-Z from the official website (https://www.techpowerup.com/gpuz/).
2. Launch GPU-Z after installation. It will automatically detect and display information about your graphics card.
Once GPU-Z is up and running, you’ll find detailed information about your graphics card on the main interface. Look for the “Memory Size” field under the “Graphics Card” section. This field displays the total memory capacity of your graphics card in gigabytes (GB).
GPU-Z provides additional information, such as the memory type (e.g., GDDR6, DDR4), bus width, clock speeds, and GPU temperature, allowing you to get a comprehensive overview of your graphics card’s specifications.
Furthermore, GPU-Z offers advanced features like real-time monitoring of GPU usage, fan speed, and voltage, which can be useful for monitoring system performance during high-demand tasks such as gaming or rendering.
Overall, GPU-Z is an excellent tool for detailed monitoring and analysis of your graphics card specifications, including the memory capacity. It is highly recommended for users who require precise information about their GPU and its performance characteristics. Whether you’re an advanced user or a beginner, GPU-Z is a reliable way to gather comprehensive data about your graphics card.
Method 4: Checking through the Nvidia Control Panel
If you have an Nvidia graphics card installed on your system, you can easily check its memory capacity through the Nvidia Control Panel. This control panel software allows you to configure and customize various settings related to your Nvidia graphics card.
To access the Nvidia Control Panel and find the memory capacity of your graphics card, follow these steps:
1. Right-click on your desktop to open the context menu.
2. Select “Nvidia Control Panel” from the options list. This will launch the Nvidia Control Panel window.
Within the Nvidia Control Panel, navigate to the “System Information” section. Here, you’ll find detailed information about your system’s hardware, including the graphics card.
Under the “Display” tab, you’ll see the name of your graphics card along with its memory capacity. The memory size is displayed in megabytes (MB) or gigabytes (GB), depending on the graphics card model and the amount of memory it has.
The Nvidia Control Panel provides additional information, such as the driver version, CUDA cores (for advanced users), and other settings related to your graphics card. It also allows you to adjust various display and performance settings to optimize your graphics experience.
By using the Nvidia Control Panel, you can quickly and easily find out the memory capacity of your Nvidia graphics card without the need for additional software or technical knowledge. It’s a convenient method for Nvidia users to gather essential information about their graphics card’s specifications.
Remember that the Nvidia Control Panel is specific to Nvidia graphics cards, so if you have an AMD or Intel graphics card, you’ll need to use alternative methods to check the memory capacity of your graphics card, which we will discuss in the following sections.
Method 5: Checking through AMD Radeon Settings
If you have an AMD Radeon graphics card installed on your system, you can easily check its memory capacity through the AMD Radeon Settings software. This powerful control panel software allows you to configure and customize various settings related to your AMD graphics card.
To access AMD Radeon Settings and find the memory capacity of your graphics card, follow these steps:
1. Right-click on your desktop to open the context menu.
2. Select “AMD Radeon Settings” or “Radeon Settings” from the options list. This will launch the AMD Radeon Settings window.
Within the AMD Radeon Settings, you’ll find a variety of tabs and options for customizing your graphics card settings. To check the memory capacity, navigate to the “System” tab.
Under the “System” tab, you’ll find various information about your system and graphics card, including the model name and memory capacity. The memory size is displayed in megabytes (MB) or gigabytes (GB), depending on the graphics card model and the amount of memory it has.
The AMD Radeon Settings software provides additional features and settings, allowing you to fine-tune your graphics card’s performance, adjust display settings, enable gaming optimizations, and more. It’s a comprehensive tool for managing your AMD graphics card and optimizing your gaming and multimedia experience.
By using the AMD Radeon Settings software, you can quickly and easily find out the memory capacity of your AMD Radeon graphics card. This method is specific to AMD Radeon graphics cards and provides a user-friendly interface for accessing detailed information about your graphics card’s specifications.
If you have a different brand of graphics card installed on your system, such as Nvidia or Intel, make sure to refer to the specific methods we discussed earlier for checking the memory capacity of those cards.
Remember, keeping track of the memory capacity of your graphics card is important for understanding its performance capabilities and ensuring that it meets the requirements for your desired applications and games.
Conclusion
Knowing the memory capacity of your graphics card is essential for understanding its performance capabilities and ensuring optimal usage. In this article, we explored several methods for checking the memory capacity of your graphics card.
First, we discussed using the Device Manager, which provides a quick and easy way to check the memory capacity directly within Windows. This method allows you to access essential information about your graphics card, including the dedicated video memory.
Next, we explored the DirectX Diagnostic Tool, which provides an overview of your graphics card’s memory capacity and additional specifications. This built-in Windows tool offers a user-friendly interface for accessing a range of information related to your system’s DirectX components.
We also looked at GPU-Z, a powerful third-party software specifically designed for monitoring and analyzing graphics cards. GPU-Z provides detailed information about your graphics card, including memory capacity, memory type, clock speeds, and more. This tool is particularly useful for advanced users and enthusiasts who require in-depth analysis of their GPU specifications.
For Nvidia graphics card users, we discussed checking the memory capacity through the Nvidia Control Panel. This control panel software offers a convenient way to access information about your Nvidia graphics card, including memory size and other relevant details.
Finally, for AMD Radeon graphics card users, we explored checking the memory capacity through AMD Radeon Settings. This software provides a comprehensive control panel for managing and customizing AMD graphics cards, including the ability to view memory capacity and other specifications.
By leveraging these methods, you can confidently determine the memory capacity of your graphics card, enabling you to make informed decisions regarding system upgrades, hardware optimizations, and software compatibility.
Remember to consider the memory capacity of your graphics card when engaging in graphic-intensive tasks, such as gaming or video editing, as it directly impacts the performance and visual quality of these applications.
Keeping track of the memory capacity of your graphics card empowers you to optimize your system’s performance and ensure a smooth and enjoyable computing experience. So, use these methods to gather the necessary information and make the most of your graphics card’s capabilities!