Introduction
Welcome to our guide on how to get rid of icons in Quick Access on your Galaxy Tab 4 Tablet. Quick Access is a convenient feature that allows you to access your most frequently used apps and functions with just a tap. It provides quick and easy access to your favorite apps, contacts, and settings, helping you save time and effort.
While Quick Access can be incredibly helpful, it’s not uncommon to accumulate a lot of icons over time, making it cluttered and confusing. If you find yourself struggling to locate specific apps or functions amidst the multitude of icons, don’t worry – we’ve got you covered.
In this article, we will walk you through the steps to customize and organize the icons in Quick Access. Whether you want to remove icons that you no longer use or rearrange them to suit your preferences, we will provide you with the information and guidance you need to declutter your Quick Access and optimize its functionality.
So, if you’re ready to take control of your Quick Access and streamline your Galaxy Tab 4 Tablet experience, let’s get started!
Accessing Quick Access on Galaxy Tab 4 Tablet
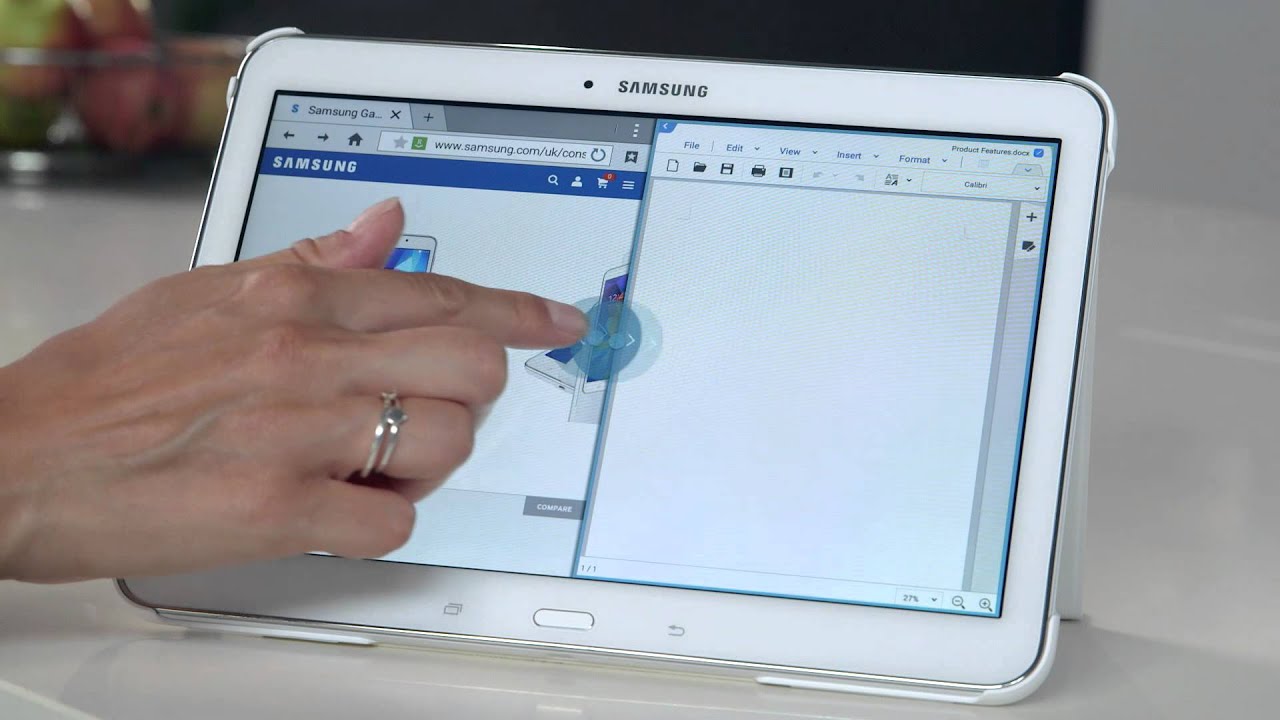
To begin customizing and organizing the icons in Quick Access, you first need to access the Quick Access panel on your Galaxy Tab 4 Tablet. Follow the steps below to do so:
- Unlock your Galaxy Tab 4 Tablet by entering your passcode or using the fingerprint scanner.
- From your home screen, locate the Quick Access panel. It is usually located at the bottom of the screen, in the form of a dock or a row of icons.
- Swipe up from the bottom of the screen or tap on the Quick Access panel to open it.
- You should now see a collection of icons representing various apps, contacts, and settings.
Once you have accessed the Quick Access panel, you can proceed to customize and organize the icons according to your preferences.
Note: The steps mentioned above may vary slightly depending on the Android version installed on your Galaxy Tab 4 Tablet. If you are using a different version, the location and appearance of the Quick Access panel may be slightly different.
Now that you know how to access the Quick Access panel on your Galaxy Tab 4 Tablet, let’s move on to understanding the icons in Quick Access and how to customize them.
Understanding Icons in Quick Access
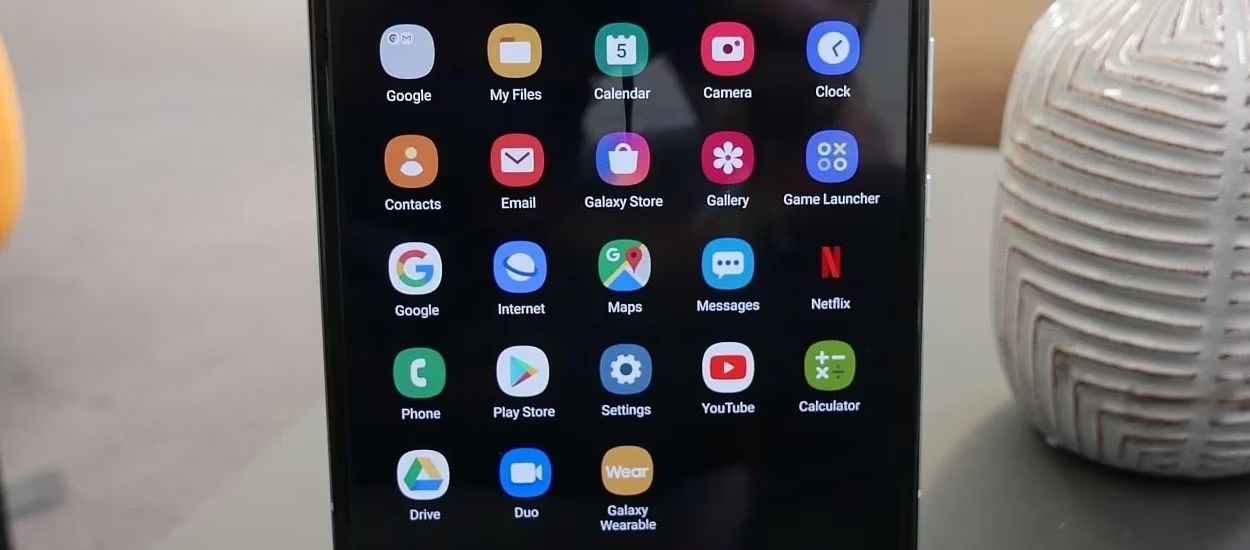
Before you start customizing the icons in Quick Access on your Galaxy Tab 4 Tablet, it’s important to understand the different types of icons you might come across. Here are the main categories of icons you will find in Quick Access:
- App Icons: These icons represent the apps installed on your Galaxy Tab 4 Tablet. They provide quick access to your favorite apps, enabling you to launch them with a single tap.
- Contact Icons: Contact icons allow you to quickly reach out to your favorite contacts. You can add contacts to Quick Access, making it effortless to make calls or send messages to your most frequently contacted individuals.
- Settings Icons: Quick Access also includes icons for various frequently used settings. These icons provide instant access to features such as Wi-Fi, Bluetooth, screen brightness, and more, allowing you to make adjustments on the go.
- Folder Icons: You also have the option to create folders within Quick Access. Folder icons can be used to group related apps or contacts together, providing a more organized and streamlined experience.
By understanding the different types of icons available, you can better organize and customize your Quick Access panel to suit your needs and preferences. Now that you know the basics of Quick Access icons, let’s move on to the next section and learn how to customize them.
Customizing Quick Access Icons
Now that you have a good understanding of the icons in Quick Access on your Galaxy Tab 4 Tablet, let’s explore how you can customize them to tailor your Quick Access panel to your liking. Follow the steps below to customize Quick Access icons:
- Access the Quick Access panel on your Galaxy Tab 4 Tablet using the steps mentioned in Section 1.
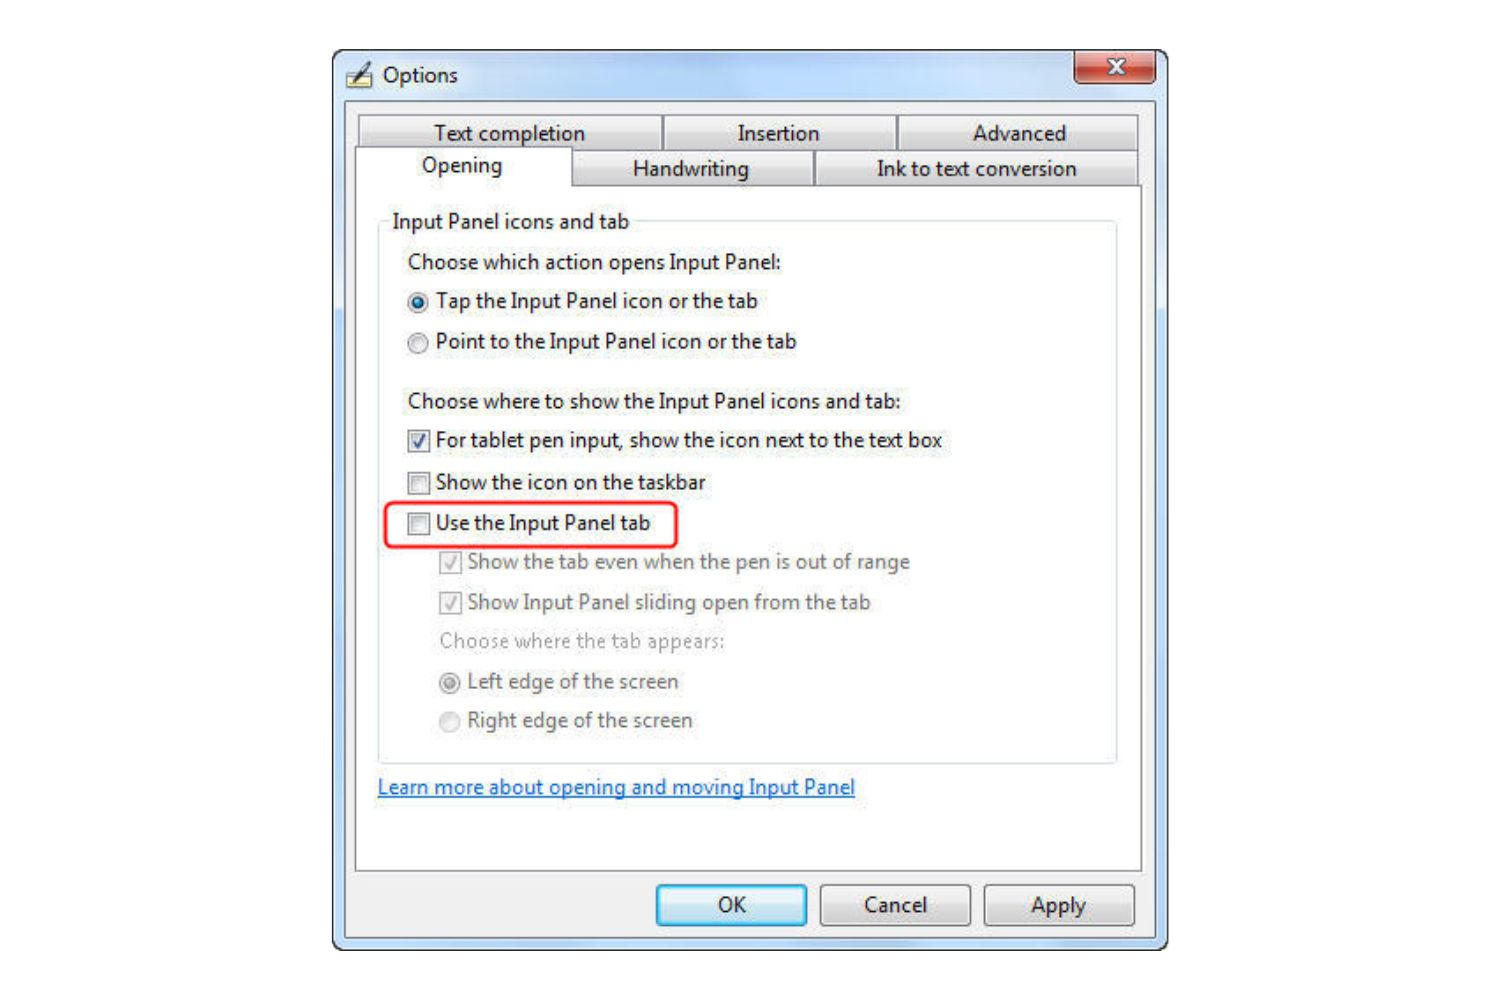
- Long-press on the icon you want to customize. A menu will appear with various options.
- Select the “Edit” or “Customize” option from the menu. This will open a editing screen where you can make changes to the selected icon.
- On the editing screen, you can do the following:
- Change the icon: Tap on the icon image to select a different image from the available options or choose an image from your gallery.
- Change the label: Modify the label or name associated with the icon. This can be useful if you want to give the icon a more descriptive or personalized title.
- Change the position: Drag and drop the icon to rearrange its position in the Quick Access panel. This allows you to organize the icons in a way that makes the most sense to you.
- Once you have made the desired changes, tap on the “Save” or “Apply” button to save your customized icon.
- Repeat the process for any other icons you want to customize in Quick Access.
By customizing the icons in Quick Access, you can create a personalized and efficient experience on your Galaxy Tab 4 Tablet. Move on to the next section to learn how to remove icons from Quick Access.
Removing Icons from Quick Access
If you want to declutter your Quick Access panel on your Galaxy Tab 4 Tablet, removing icons that you no longer use is a simple and effective method. Follow the steps below to remove icons from Quick Access:
- Access the Quick Access panel on your Galaxy Tab 4 Tablet using the steps mentioned in Section 1.
- Locate the icon you want to remove and long-press on it.
- A menu will appear with various options. Select the “Remove” or “Delete” option.
- Confirm the removal by tapping “Yes” or “OK” on the confirmation prompt that appears.
- The icon will be removed from the Quick Access panel.
Repeat these steps for any other icons you wish to remove from Quick Access. This way, you can keep your Quick Access panel clean and organized, with only the most relevant apps, contacts, and settings at your fingertips.
Remember, removing an icon from Quick Access does not uninstall or delete the app or contact from your device. It simply removes the shortcut from the Quick Access panel. If you want to access the app or contact in the future, you can still find it in the app drawer or contacts list, or you can add it back to Quick Access if needed.
Now that you know how to remove icons from Quick Access, let’s move on to the next section where we will discuss organizing the remaining icons.
Organizing Quick Access Icons
Keeping your Quick Access panel organized is essential for easy navigation and quick access to your most frequently used apps, contacts, and settings. Here are some tips for organizing Quick Access icons on your Galaxy Tab 4 Tablet:
- Group similar apps together: To create a more logical and organized Quick Access panel, group apps that serve a similar purpose. For example, you can place all your social media apps in one section, productivity apps in another, and entertainment apps in a separate section.
- Create folders: If you have a large number of apps or contacts in Quick Access, consider creating folders to group related items. Long-press on an icon, drag it onto another icon, and release it to create a folder. You can then name the folder and add more icons to it.
- Arrange icons by frequency of use: Place the most frequently used icons in the front section of Quick Access so that they are readily accessible. This way, you won’t have to scroll through multiple screens to find the apps or contacts you use most often.
- Use color coding or labels: You can assign colors or labels to different types of icons to give your Quick Access panel a visually appealing and organized look. For example, you can use one color for work-related apps, another for personal apps, and so on.
- Regularly review and update: As your app usage and preferences change over time, it’s a good idea to regularly review and update your Quick Access panel. Remove icons for apps or contacts that you no longer use and add new ones that are more relevant.
By implementing these organizing techniques, you can create a streamlined and personalized Quick Access panel that enhances your productivity and makes it easier to find what you need on your Galaxy Tab 4 Tablet.
Now that you have learned how to organize Quick Access icons, let’s move on to the final section where we will discuss resetting Quick Access to its default settings.
Resetting Quick Access to Default Settings
If you want to start fresh with a clean slate or if you have made extensive changes to your Quick Access panel and want to revert back to its original state, you can reset Quick Access to its default settings. Follow the steps below to reset Quick Access on your Galaxy Tab 4 Tablet:
- Access the Quick Access panel on your Galaxy Tab 4 Tablet using the steps mentioned in Section 1.
- Tap on the “More Options” icon, which is typically represented by three dots or lines, located either at the top or bottom of the Quick Access panel.
- From the options menu that appears, select the “Reset Quick Access” or “Reset to Default” option.
- A confirmation prompt will appear asking if you want to reset Quick Access. Tap on “Yes” or “OK” to confirm your selection.
- Your Quick Access panel will now be reset to its default settings, removing any customized icons or changes you made.
Keep in mind that resetting Quick Access to its default settings will not uninstall any apps or delete any contacts. It simply restores the Quick Access panel to its original layout and icons, allowing you to start again from scratch or customize it as per your preferences.
By resetting Quick Access, you can have a fresh start and reorganize your Quick Access panel in a way that suits your current needs and preferences on your Galaxy Tab 4 Tablet.
Now that you know how to reset Quick Access to its default settings, you have all the tools to effectively customize, organize, and maintain your Quick Access panel. Experiment with different layouts and configurations to find a setup that optimizes your productivity and enhances your overall tablet experience.
Conclusion
Customizing and organizing the icons in Quick Access on your Galaxy Tab 4 Tablet can greatly enhance your productivity and make your device usage more efficient. By following the steps outlined in this guide, you can take control of your Quick Access panel and tailor it to suit your preferences and needs.
We have covered various aspects of Quick Access customization, from accessing the Quick Access panel to understanding the different types of icons and how to customize, remove, and organize them. Remember, the process of organizing your Quick Access panel is an ongoing one, as your app usage and preferences may change over time.
By grouping similar apps, creating folders, arranging icons by frequency of use, and using color coding or labels, you can create a personalized and organized Quick Access panel that reflects your unique workflow. Additionally, the option to reset Quick Access to its default settings allows you to start fresh whenever needed.
With a clean and optimized Quick Access panel, you can easily access your most commonly used apps, contacts, and settings, saving time and effort. Enjoy the convenience and efficiency of a personalized Quick Access panel on your Galaxy Tab 4 Tablet!
Take some time to experiment with different layouts and configurations until you find the setup that works best for you. Embrace the flexibility and versatility of Quick Access and make it a valuable tool in your day-to-day tablet usage.
Thank you for reading our guide on how to get rid of icons in Quick Access on your Galaxy Tab 4 Tablet. We hope you found this information helpful, and we wish you a seamless and enjoyable experience on your Galaxy Tab 4 Tablet as you customize and organize your Quick Access panel.