Introduction
Welcome to the world of Smart TVs, where you can enjoy a multitude of entertainment options at the touch of a button. One of the most popular features of Smart TVs is the ability to access Freeview, a highly sought-after service that provides access to a wide range of digital channels and on-demand content. In this article, we will guide you through the process of getting Freeview on your Smart TV, transforming your viewing experience and opening up a world of entertainment possibilities.
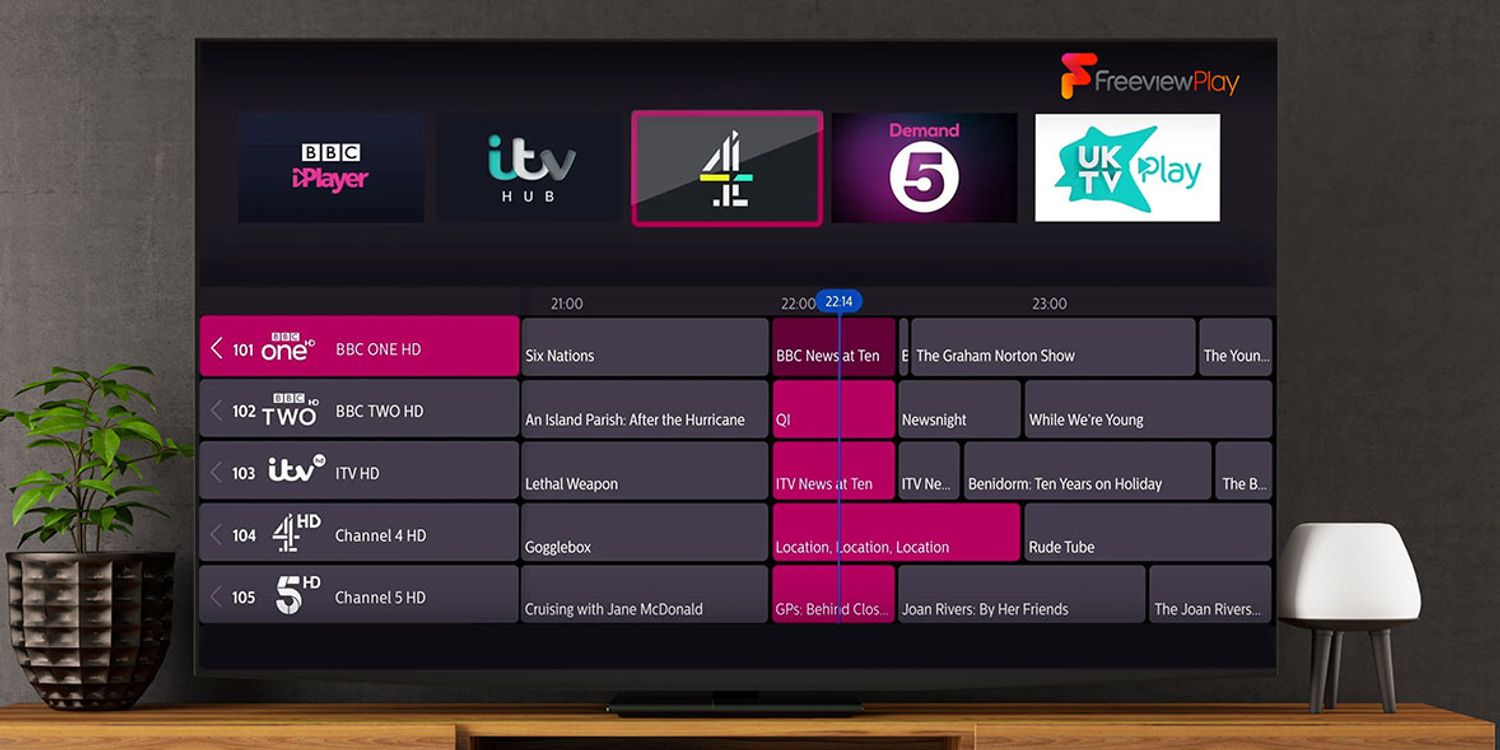
But first, let’s clarify what Freeview actually is. Freeview is a digital terrestrial television service that offers a variety of channels without the need for a subscription. It allows you to enjoy your favorite TV shows, movies, and even on-demand content, all through a single platform. With Freeview, you can access popular channels like BBC, ITV, Channel 4, and many more, ensuring you never miss out on your favorite programs.
If you recently purchased a new Smart TV, chances are it already has Freeview capabilities built-in. However, it’s always good to double-check to ensure you can take full advantage of this service.
Stay tuned as we walk you through the steps to check if your TV has Freeview and guide you on how to set it up. Soon, you’ll be enjoying a vast range of entertainment options from the comfort of your own home!
What is Freeview?
If you’re new to the world of digital television, you may be wondering what exactly Freeview is and how it differs from other TV services. Freeview is a popular digital terrestrial television service available in the United Kingdom. It provides viewers with access to a wide range of TV channels and on-demand content, all without a subscription fee.
With Freeview, you can say goodbye to expensive cable or satellite subscriptions and still enjoy a diverse selection of channels. Some of the channels available on Freeview include popular terrestrial channels like BBC, ITV, Channel 4, Channel 5, and many more. Whether you’re a fan of drama, news, documentaries, or sports, Freeview has something for everyone.
Aside from the traditional TV channels, Freeview also offers an array of digital radio stations, so you can enjoy your favorite music, chat shows, and podcasts through your TV.
One of the key advantages of Freeview is its ease of setup and use. Unlike other TV services that require additional equipment and complex installation, Freeview is available on most modern TVs. All you need is a television with built-in Freeview capabilities or a compatible set-top box to access the service.
With Freeview, you can also enjoy a range of on-demand programming, giving you the flexibility to watch your favorite shows at a time that suits you. Many channels on Freeview offer catch-up services, allowing you to watch recently aired episodes or even entire series at your convenience. This means you never have to worry about missing out on your favorite shows.
Whether you’re a casual TV viewer or a dedicated binge-watcher, Freeview provides a cost-effective solution to satisfy your entertainment needs. Now that you know what Freeview is all about, let’s move on to the next section, where we’ll explain how to check if your TV has Freeview capabilities.
How to Check if Your TV has Freeview
Before diving into the process of setting up Freeview on your Smart TV, it’s important to confirm whether your TV already has Freeview capabilities. Luckily, checking this is a quick and straightforward task.
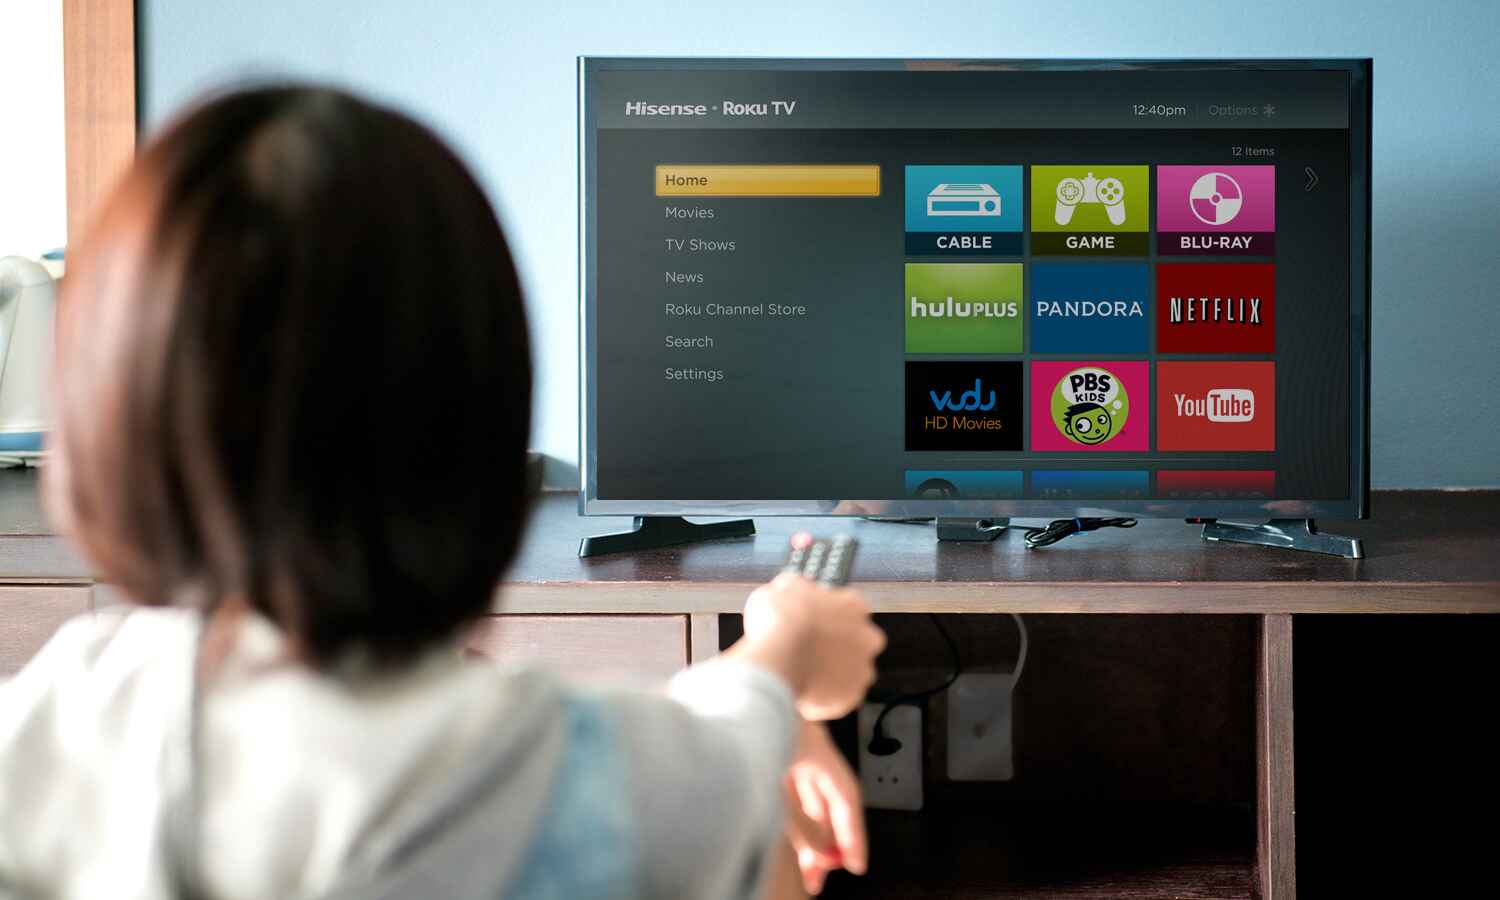
First, locate your TV’s remote control. Look for a dedicated Freeview button or a Menu button that will allow you to access the settings. Press the Freeview button or the Menu button, depending on your TV’s remote control layout.
Once the menu is displayed on your screen, navigate through the options until you find a channel list or channel setup option. This may vary depending on the TV brand and model, so refer to your TV’s user manual if needed.
In the channel list or setup menu, look for the presence of channels like BBC, ITV, Channel 4, Channel 5, and other popular terrestrial channels. If you can access these channels, then congratulations! Your TV already has Freeview capabilities.
If you don’t see these channels listed or can’t access them, it’s possible that your TV does not have built-in Freeview. Not to worry though, as you can still enjoy Freeview by using an external set-top box or Freeview receiver. These devices can be connected to your TV to provide the Freeview service.
Another option to check if your TV has Freeview is to consult the TV’s user manual. Look for the section related to TV specifications or features. Here, you should find information about whether Freeview is included as a built-in feature.
If you’ve confirmed that your TV has Freeview capabilities, you’re ready to move on to the next section, where we will guide you step-by-step on how to set up Freeview on a Smart TV. If your TV does not have built-in Freeview, don’t worry, as we will also explain how to connect an external device to enjoy the Freeview service.
Steps to Get Freeview on a Smart TV
Now that you’ve confirmed that your Smart TV has Freeview capabilities, it’s time to get it set up and start enjoying a wide range of digital channels and on-demand content. Follow these simple steps to get Freeview on your Smart TV:
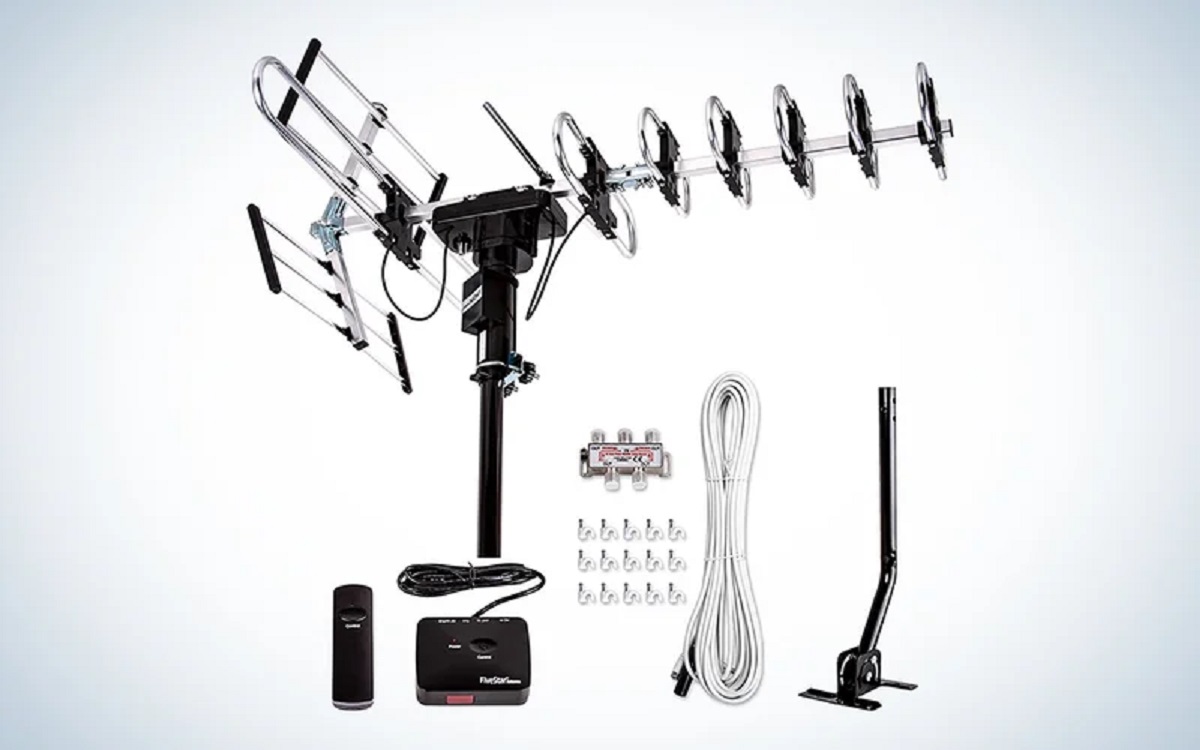
- Connect to an Aerial or Antenna: Start by connecting an aerial or antenna to your Smart TV. This is essential for receiving the digital terrestrial signals that Freeview broadcasts. Make sure your aerial is securely connected to the TV’s aerial input port.
- Perform Channel Scan: Once your TV is connected to the aerial, navigate to the settings menu using your TV’s remote control. Look for an option such as “Channels” or “Channel Setup” and select it. Then, choose the “Scan” or “Auto-tune” option to search for available channels. The TV will scan and detect the digital channels in your area.
- Set up the TV Guide: After the channel scan is complete, you may be prompted to set up the TV guide. This guide provides program listings, show descriptions, and other helpful information. Follow the prompts to complete the setup process. This will allow you to easily navigate and select the channels and shows you want to watch.
- Accessing On-Demand Services: Once you have Freeview set up on your Smart TV, you can also access on-demand services. Many channels on Freeview offer catch-up services and on-demand content. Look for an option on your TV’s menu that says “On-Demand” or “Catch-Up.” From there, you can browse through a variety of shows and movies to watch at your convenience.
That’s it! Following these steps will enable you to enjoy Freeview on your Smart TV. You’ll have access to a wide range of channels, live broadcasts, and on-demand content, allowing you to customize your viewing experience to suit your preferences.
If you encounter any issues or need further assistance during the setup process, refer to your TV’s user manual or contact the manufacturer’s customer support for guidance. Now that you have Freeview set up on your Smart TV, sit back, relax, and enjoy the multitude of entertainment options available at your fingertips.
Connect to an Aerial or Antenna
To set up Freeview on your Smart TV, the first step is to connect an aerial or antenna. This is crucial for receiving the digital terrestrial signals that Freeview broadcasts. Follow these steps to ensure a successful connection:
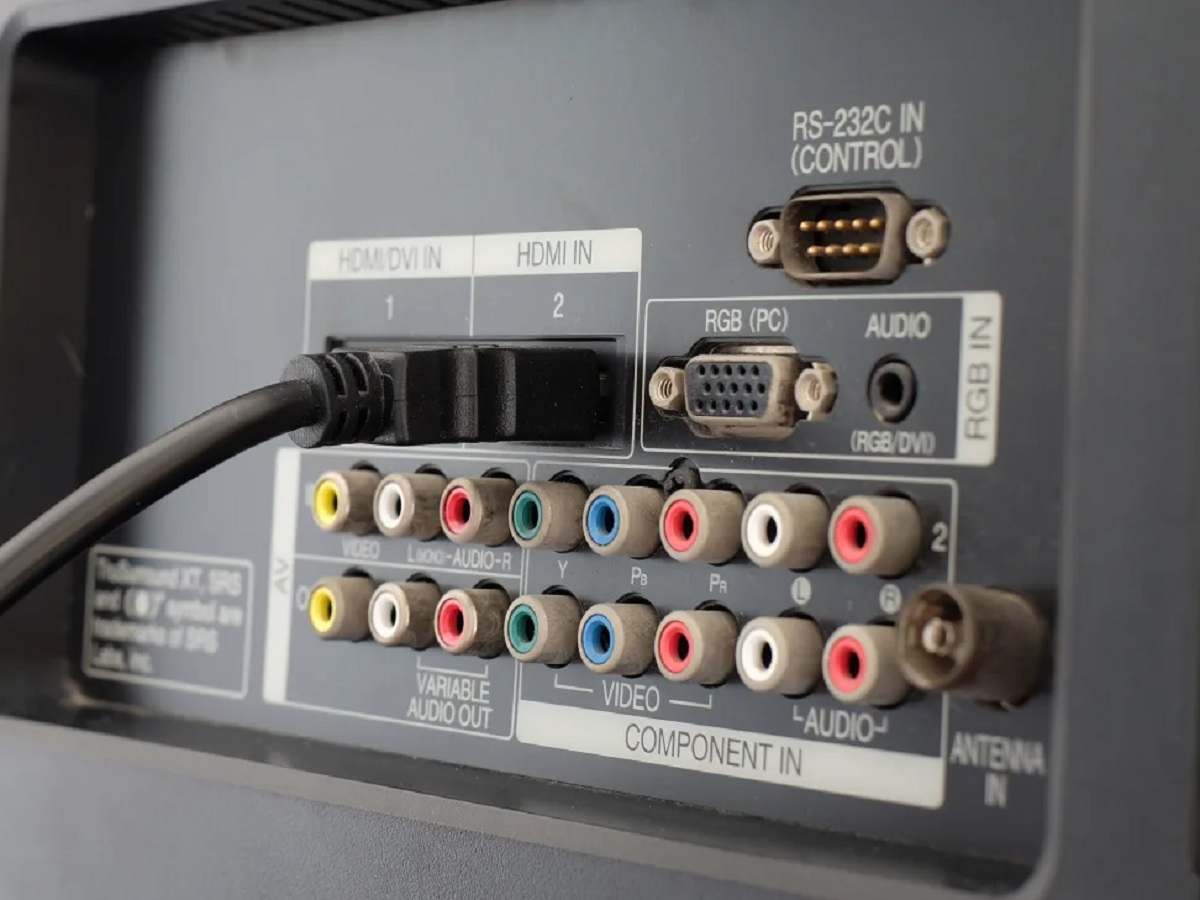
- Locate the Aerial Input Port: Look for the aerial input port on your Smart TV. It is usually labeled “Antenna In” or “RF In” and resembles a small circular socket. Refer to your TV’s user manual if you’re having trouble finding it.
- Prepare the Aerial Cable: Ensure you have an aerial cable ready for connection. This cable typically has a coaxial connector at each end. One end connects to the aerial input port on your TV, while the other end attaches to the aerial or wall socket.
- Connect the Aerial Cable: Take one end of the aerial cable and plug it into the aerial input port on your Smart TV. Insert it firmly until it clicks into place. Make sure the connection is secure to avoid any signal loss.
- Position the Aerial: If you’re using an outdoor aerial, position it on the roof or an elevated area for optimal reception. Ensure it is securely mounted and facing in the direction of the nearest transmitter. If you’re using an indoor aerial, place it in a position where it can receive the strongest signal, such as near a window or on a high shelf.
- Secure the Aerial Cable: Once the aerial is in place, route the aerial cable along the wall or floor to prevent any tripping hazards. Use cable clips or ties to secure the cable in place and keep it tidy.
- Check the Signal Strength: After connecting the aerial, turn on your Smart TV and access the settings or menu using the remote control. Look for the signal or reception strength indicator. This will allow you to gauge the quality of the signal and make adjustments if needed.
By following these steps and ensuring a proper aerial or antenna connection, you’ll be ready to move on to the next stage of setting up Freeview on your Smart TV. Don’t worry if the signal strength is low at first; you can adjust the positioning of the aerial or consider using a signal booster to enhance the reception. Now, let’s move on to the next step!
Perform Channel Scan
Once you have connected your aerial or antenna to your Smart TV, the next step to get Freeview is to perform a channel scan. This process allows your TV to search for and detect the available digital channels in your area. Follow these steps to perform a channel scan:
- Access the Settings Menu: Using your TV’s remote control, navigate to the settings or menu option. The exact location of this option may vary depending on your TV’s brand and model. Look for an icon or label that represents the settings menu.
- Select the Channel Setup Option: Within the settings menu, locate the option for channel setup or installation. This may be labeled as “Channels,” “Channel Setup,” “Installation,” or similar. Use the arrow keys on your remote control to highlight and select this option.
- Choose the Scan or Auto-Tune Function: Once you’re in the channel setup menu, look for the scan or auto-tune function. This function allows your TV to scan for available channels. Select this option to initiate the channel scan process.
- Wait for the Scan to Complete: Once you’ve started the channel scan, your Smart TV will begin searching for digital channels in your area. This process may take a few minutes to complete, so be patient and wait for the scan to finish.
- Review the Channel List: After the scan is complete, your TV will display a list of channels that it has detected. You should see a variety of digital channels, including popular terrestrial channels like BBC, ITV, Channel 4, and more. Take a moment to review the channel list to ensure that all the desired channels are present.
- Save the Channel List: Once you’re satisfied with the channel list, select the option to save or store the channels. This will ensure that the TV remembers the detected channels and provides easy access to them in the future.
By following these steps and performing a channel scan, you’ll have successfully identified and stored the available digital channels on your Smart TV. Now that the channel scan is complete, you’re ready to set up the TV guide and start exploring the wide range of content that Freeview has to offer. Let’s move on to the next step in getting Freeview on your Smart TV!
Set up the TV Guide
After performing the channel scan and identifying the available digital channels on your Smart TV, the next step is to set up the TV guide. The TV guide provides program listings, show descriptions, and other essential information to enhance your viewing experience. Follow these steps to set up the TV guide:
- Access the TV Guide Settings: Using your TV’s remote control, navigate to the settings or menu option. Look for a section specifically related to the TV guide or electronic program guide (EPG). This might be labeled as “Guide,” “EPG,” or similar.
- Select the Set up or Configuration Option: Within the TV guide settings, locate the option for set up or configuration. This option allows you to customize the TV guide according to your preferences. Choose this option to proceed.
- Choose Your Location or Region: Depending on your TV’s software, you may be prompted to select your location or region. This is important to ensure that the TV guide displays accurate program listings based on your location. Select your location from the provided options.
- Customize the Channel Display: In the TV guide settings, you may have the option to customize the channel display. You can choose whether to display all available channels or only your favorite channels. Adjust this setting according to your preference.
- Explore the TV Guide: Once you have completed the initial set up, navigate to the TV guide menu on your Smart TV. Use the arrow keys on your remote control to browse through the program listings. You can view channel schedules, program descriptions, and even set reminders for your favorite shows.
- Configure Additional TV Guide Features: Depending on your TV’s capabilities, you may have additional options to configure within the TV guide settings. This could include setting up parental controls, adjusting display preferences, or enabling additional features like search functionality.
By following these steps, you’ll have successfully set up the TV guide on your Smart TV. The TV guide provides a convenient way to explore the available channels, view program listings, and plan your TV viewing schedule. Now that you have the TV guide configured, you’re ready to access on-demand services and make the most of your Freeview experience. Let’s proceed to the next step!
Accessing On-Demand Services
One of the benefits of Freeview on a Smart TV is the ability to access on-demand services. These services give you the flexibility to watch your favorite shows and movies at a time that suits you. Follow these steps to access on-demand services on your Smart TV:
- Check for On-Demand Apps: Navigate to the app store or content platform on your Smart TV. Look for popular on-demand apps such as BBC iPlayer, ITV Hub, All 4, My5, and other catch-up services. These apps provide access to a variety of on-demand content from their respective channels.
- Install and Open the Apps: Select the desired on-demand apps and follow the on-screen prompts to install them on your Smart TV. Once installed, open the apps to access their content libraries.
- Browse On-Demand Content: Once you have opened the on-demand apps, you can browse through the available content. Most apps offer a range of TV shows, movies, documentaries, and even exclusive content. Use the remote control or on-screen menus to search, browse, and select the content you want to watch.
- Select and Play: Once you have found the desired content, select it and choose the play option. The on-demand app will start streaming the content directly to your Smart TV. Sit back, relax, and enjoy the on-demand experience.
- Utilize Additional Features: Depending on the on-demand app, you may have access to additional features. This could include creating watchlists, saving favorite shows for later, or even downloading content for offline viewing. Explore the app’s settings or menus to take full advantage of these features.
With the on-demand services available through Freeview on your Smart TV, you can catch up on missed episodes, watch entire series, and discover a wealth of content to suit your interests. Whether you’re in the mood for a gripping drama, a hilarious comedy, or an insightful documentary, the on-demand services have got you covered.
Keep in mind that some on-demand services may require you to create an account or sign in using your Freeview credentials. This allows you to personalize your experience, keep track of your viewing history, and access additional features exclusive to registered users.
With these steps, you’ll be able to seamlessly access and enjoy on-demand services through Freeview on your Smart TV. Make the most of your viewing experience by exploring the vast array of content available at your fingertips. Now, it’s time to sit back, relax, and indulge in the world of on-demand entertainment.
Troubleshooting Common Issues
While setting up Freeview on your Smart TV is generally straightforward, you may encounter some common issues along the way. Don’t worry, as these issues can usually be resolved with a few simple troubleshooting steps. Here are some of the common issues you may come across and how to resolve them:
No Signal or Weak Signal: If you’re experiencing a “No Signal” message or have a weak signal, try adjusting the position of your aerial or antenna. Ensure it is facing the nearest transmitter and is securely connected to your Smart TV. Additionally, check for any loose or damaged cables that may be affecting the signal quality.
Missing Channels: If certain channels are missing from the channel list, perform a channel scan again on your Smart TV. This will refresh the channel list and detect any missing channels. Check that your aerial is properly connected and positioned for optimal reception.
Poor Picture or Sound Quality: If your picture or sound quality is poor, it may be due to a weak signal. Check your signal strength indicator in the TV settings menu. If the signal strength is low, consider installing a signal booster or repositioning your aerial for better reception.
App or On-Demand Service Issues: If you’re having trouble with a specific on-demand app, try troubleshooting steps such as clearing the app cache, updating the app to the latest version, or restarting your Smart TV. If the problem persists, check if there are any known service outages or contact the app provider for further assistance.
TV Guide Not Displaying Correctly: If your TV guide is not displaying accurate program listings, ensure that your TV’s location or region settings are correctly set. If the issue persists, perform a software update on your Smart TV, as this can often resolve any compatibility issues.
Remote Control Not Working: If your remote control is not functioning properly, check the batteries and replace them if necessary. Make sure there are no obstructions between the remote control and the TV’s sensor. If the problem still persists, try pairing the remote control with your Smart TV again according to the manufacturer’s instructions.
If you encounter any other issues during the setup or usage of Freeview on your Smart TV, consult the TV’s user manual or contact the manufacturer’s customer support for further assistance. They will be able to provide you with specific troubleshooting steps tailored to your TV model.
By addressing these common issues, you can overcome any challenges that may arise and enjoy a smooth and seamless Freeview experience on your Smart TV. Now that you’re equipped with troubleshooting knowledge, you can confidently navigate and resolve any issues that come your way.
Conclusion
Setting up Freeview on your Smart TV is a fantastic way to access a wide array of digital channels and on-demand content without the need for a subscription. By following the steps outlined in this guide, you can enjoy a seamless and immersive viewing experience from the comfort of your home.
We began by discussing what Freeview is and how it provides access to a range of TV channels and on-demand services without any subscription fees. We then walked through the steps to check if your Smart TV has Freeview capabilities, ensuring that you can make the most of this service.
Next, we covered the essential steps involved in getting Freeview on your Smart TV, which included connecting to an aerial or antenna, performing a channel scan to identify available digital channels, setting up the TV guide for easy navigation, and accessing on-demand services to enjoy a wealth of content at your convenience.
We also addressed common troubleshooting issues that you may encounter during the setup process and provided some tips to resolve them effectively.
By completing these steps, you’re now ready to embark on an entertainment journey with Freeview on your Smart TV. Whether you’re catching up on your favorite TV shows, exploring new channels, or indulging in on-demand content, Freeview offers a vast range of options to cater to your viewing preferences.
Remember, if you ever need further support or encounter any challenges, refer to your TV’s user manual or reach out to the manufacturer’s customer support for assistance specific to your TV model.
Now it’s time to sit back, relax, and dive into the world of Freeview on your Smart TV. Enjoy the endless entertainment possibilities and make the most of your viewing experience!