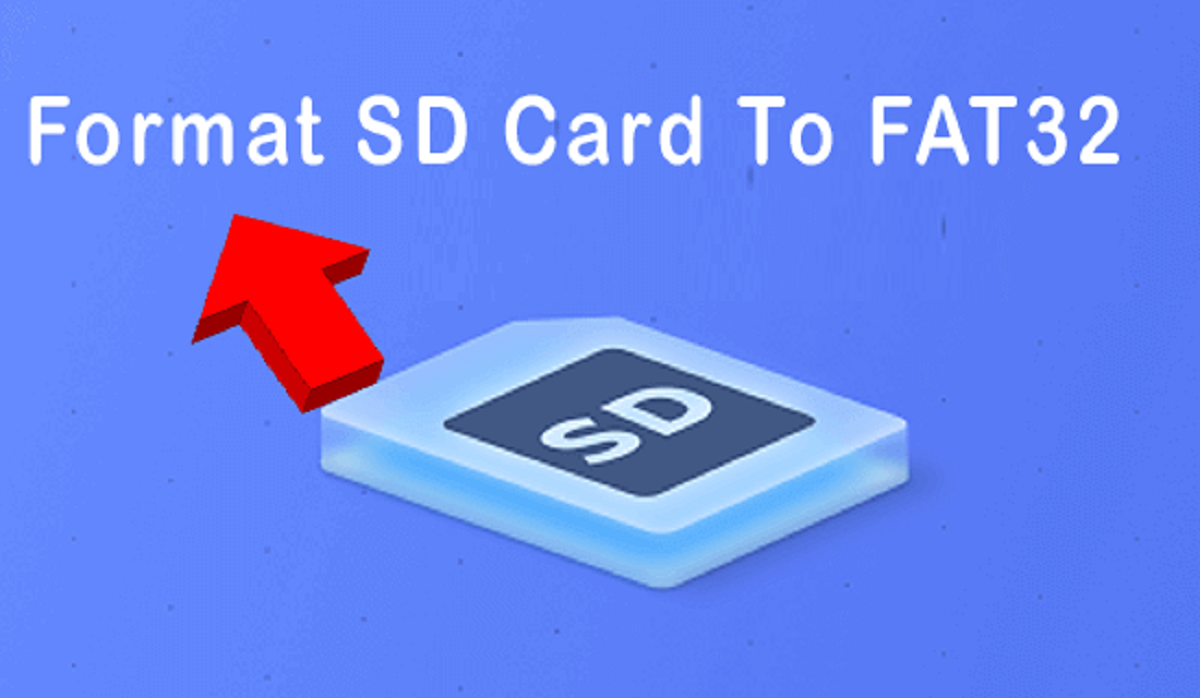
Introduction
When using an SD card on Linux, it may be necessary to format it for various reasons such as preparing it for a new file system, resolving file system errors, or reclaiming lost storage space. Formatting an SD card on Linux can be done using different tools and methods, depending on your requirements and preferences. In this guide, we will explore the steps involved in formatting an SD card on Linux.
Before proceeding with the formatting process, it is essential to understand that formatting will erase all data stored on the SD card. Therefore, ensure that you have backed up any important files or data before proceeding with the formatting steps. Additionally, ensure that the SD card you intend to format is inserted into the Linux system and recognized by the operating system.
In the following sections, we will walk you through the necessary steps to format an SD card on Linux. We will cover multiple methods, allowing you to choose the one that best suits your needs.
By the end of this guide, you will have the knowledge to confidently format your SD card on Linux and ensure that it functions optimally for your specific requirements. Let’s get started with the first step: identifying the SD card.
Step 1: Identify the SD Card
Before formatting an SD card on Linux, it is essential to identify the correct device path assigned to the SD card by the operating system. This step is crucial to ensure that you do not accidentally format the wrong storage device and lose important data.
To identify the SD card, you can use the command line or graphical tools available on Linux. The following methods will help you identify the correct device path:
- Using the command line: Open a terminal and enter the command
lsblk. This command displays a list of available storage devices connected to your Linux system. Look for the SD card, which is typically labeled asmmcblk0orsdb. Note down the device path, which will be something like/dev/mmcblk0or/dev/sdb. - Using graphical tools: On Linux distributions with a graphical user interface, you can use disk management tools like GParted or Disks. These tools provide a visual representation of the storage devices connected to your system. Launch the tool and look for the SD card, which is usually displayed as a separate device or partition. Note down the device path displayed in the tool.
Once you have identified the correct device path of the SD card, you are ready to proceed with the formatting process. Remember to double-check the device path to avoid any mistakes that could lead to data loss. In the next step, we will learn how to unmount the SD card before formatting it.
Step 2: Unmount the SD Card
Before formatting the SD card on Linux, it is crucial to unmount it to ensure that no active processes or applications are accessing the card. Unmounting the SD card prevents data corruption during the formatting process.
To unmount the SD card, you can use either the command line or a graphical tool. Here are two methods to consider:
- Using the command line: Open a terminal and enter the following command, replacing
/dev/sdXwith the device path of your SD card identified in the previous step:
sudo umount /dev/sdX
- Using graphical tools: If you prefer a graphical interface, you can use file managers like Nautilus or Dolphin. Open the file manager and navigate to the SD card location. Right-click on the SD card’s icon and select the “Unmount” or “Eject” option.
Once you have successfully unmounted the SD card, it is now safe to proceed with the formatting process. Unmounting ensures that no active processes are using the card and allows you to perform the formatting without any conflicts.
In the next step, we will explore the use of GParted, a popular graphical partition manager, to format the SD card on Linux.
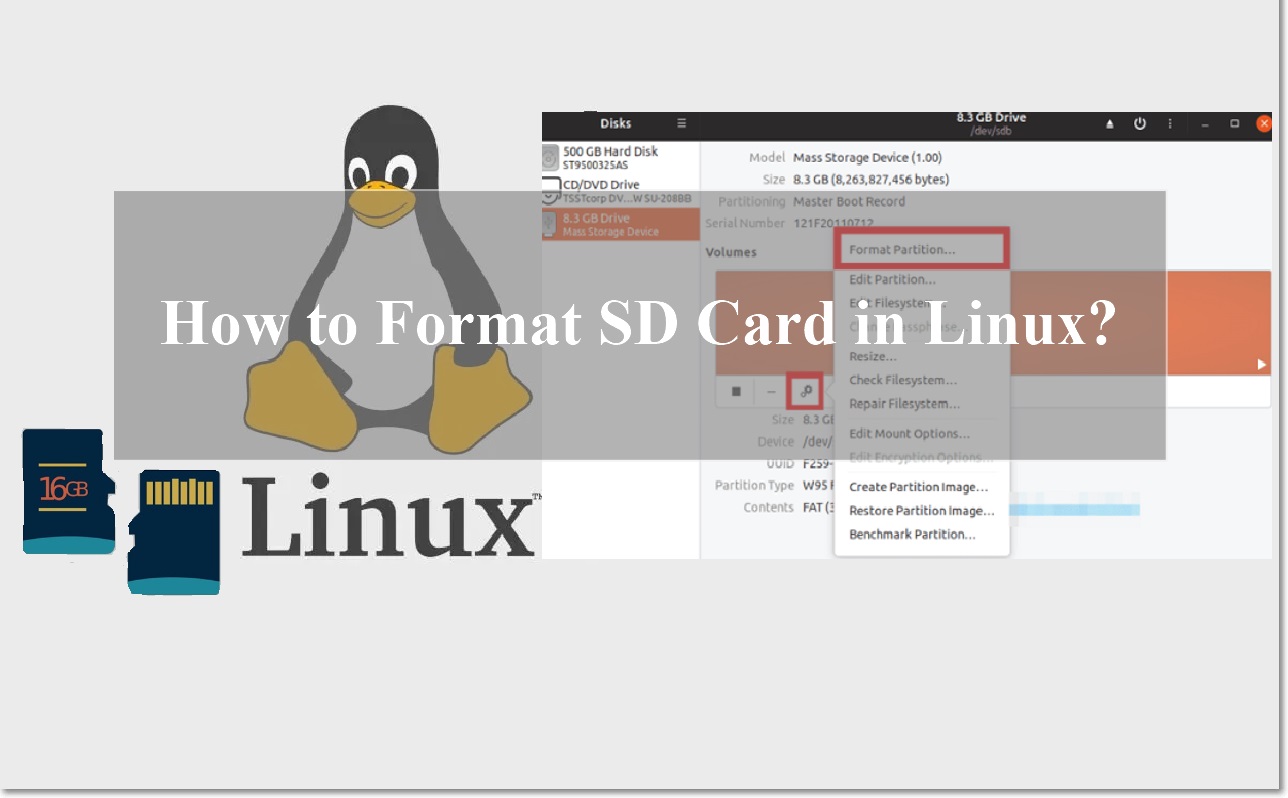
Step 3: Use GParted to Format the SD Card
GParted is a commonly used graphical partition manager available on Linux that provides a user-friendly interface to format storage devices, including SD cards. Follow the steps below to format the SD card using GParted:
- Launch GParted: Open the Applications menu or press the Super key and search for GParted. Launch the GParted application.
- Select the SD card: In the GParted window, select the SD card from the device drop-down menu in the top-right corner. Ensure that you have selected the correct SD card based on its device path.
- Delete existing partitions: If the SD card already has partitions, you may need to delete them before formatting. Right-click on each partition and select “Delete” for each one.
- Create a new partition: Once all existing partitions are deleted, right-click on the unallocated space and select “New.” Customize the partition size, file system type (such as FAT32 or ext4), and label according to your preferences.
- Apply the changes: After configuring the new partition, click on the “Apply” button to apply the changes to the SD card. GParted will ask for confirmation before proceeding with the formatting process. Once confirmed, GParted will format the SD card with the specified file system.
Once GParted completes the formatting process, you can close the application. Your SD card is now ready for use with the newly created file system. Ensure that you safely remove the SD card from your computer before physically disconnecting it.
In the next step, we will explore an alternative method using the command line to format the SD card on Linux using the fdisk utility.
Step 4: Use fdisk to Format the SD Card
If you prefer using the command line interface, you can format the SD card on Linux using the fdisk utility. Follow the steps below:
- Open the terminal: Launch the terminal on your Linux system. You can typically find it in the Applications menu or by using the shortcut key combination Ctrl+Alt+T.
- Identify the SD card: Use the following command to identify the device path of the SD card. Replace
/dev/sdXwith the device path of your SD card:sudo fdisk -l
Note down the device path of the SD card, which will be something like
/dev/sdX. - Run fdisk: Enter the following command, replacing
/dev/sdXwith the device path of your SD card: - Delete existing partitions: Once inside the fdisk utility, use the
dcommand to delete any existing partitions on the SD card. If prompted for the partition number, enter the appropriate number for the partition you want to delete. - Create a new partition: After deleting all existing partitions, use the
ncommand to create a new partition. Specify the partition type, the size, and other options when prompted. Alternatively, you can use the default values if they meet your requirements. - Write changes and exit: Once you have configured the new partition, use the
wcommand to write the changes to the SD card’s partition table and exit the fdisk utility.
sudo fdisk /dev/sdX
After successfully formatting the SD card using fdisk, it is now ready for use with the new partition. Ensure that you safely remove the SD card from your computer before physically disconnecting it.
In the next step, we will explore an alternative method using the mkfs command to format the SD card on Linux.
Step 5: Use mkfs Command to Format the SD Card
If you prefer using the command line interface and want a quick method to format the SD card without any partitioning, you can use the mkfs command. Follow the steps below:
- Open the terminal: Launch the terminal on your Linux system. You can typically find it in the Applications menu or by using the shortcut key combination Ctrl+Alt+T.
- Identify the SD card: Use the following command to identify the device path of the SD card. Replace
/dev/sdXwith the device path of your SD card:sudo fdisk -l
Note down the device path of the SD card, which will be something like
/dev/sdX. - Format the SD card: In the terminal, use the following command to format the SD card, replacing
/dev/sdXwith the device path of your SD card andfilesystem_typewith the desired file system type (e.g.,ext4,FAT32, etc.):sudo mkfs.
/dev/sdX
Make sure to double-check the device path of the SD card to avoid any mistakes while running the mkfs command. Once executed, the command will format your SD card with the specified file system type.
After successfully formatting the SD card using the mkfs command, the card is now ready for use with the newly created file system. Remember to safely remove the SD card from your computer before physically disconnecting it.
Congratulations! You have now learned multiple methods to format an SD card on Linux. Choose the method that best suits your requirements and preferences.
Conclusion
Formatting an SD card on Linux might seem like a daunting task, but it is a straightforward process once you understand the steps involved. In this guide, we explored several methods to format an SD card on Linux, including using graphical tools like GParted, the command-line utility fdisk, and the mkfs command.
By following the steps outlined in this guide, you can safely and effectively format your SD card to meet your specific needs. Remember to back up any important data before proceeding with the formatting process, as it will erase all information on the SD card.
Whether you prefer a graphical interface or the command-line environment, you now have the knowledge to format an SD card on Linux with confidence. From identifying the SD card and unmounting it to using tools like GParted or the command-line utilities fdisk and mkfs, you have a range of options to choose from.
Remember to always exercise caution when formatting an SD card and double-check the device path to avoid accidentally formatting the wrong storage device. Additionally, ensure that you safely remove the SD card from your computer before physically disconnecting it.
Now that you have learned how to format an SD card on Linux, you can easily prepare it for a new file system, resolve file system errors, or reclaim lost storage space. Enjoy the benefits of a properly formatted SD card for your data storage and transfer needs!