Introduction
A virtual machine (VM) is a software emulation of a physical computer that allows you to run multiple operating systems on a single physical machine. It provides a flexible and convenient way to test, develop, and run applications without the need for separate physical hardware. In this article, we will explore the process of formatting a virtual machine, which involves resetting it to its original state.
Formatting a virtual machine can be necessary for various reasons. It may be required when you want to start fresh with a clean operating system installation, troubleshoot software issues, or prepare the virtual machine for a new project. Just like formatting a physical computer, formatting a virtual machine involves wiping out the existing data and starting anew.
Formatting a virtual machine requires careful preparation and execution to ensure a smooth transition. It is essential to back up your data, choose the right formatting tool, reinstall the operating system, restore the backed-up data, and configure the virtual machine settings. Following these steps will help you successfully format your virtual machine while minimizing the risk of data loss or system errors.
If you’re new to formatting virtual machines, fear not. In this article, we will guide you through each step, providing clear instructions and tips to help you along the way. Whether you’re a seasoned IT professional or a curious enthusiast, this article will equip you with the knowledge and confidence to format virtual machines with ease.
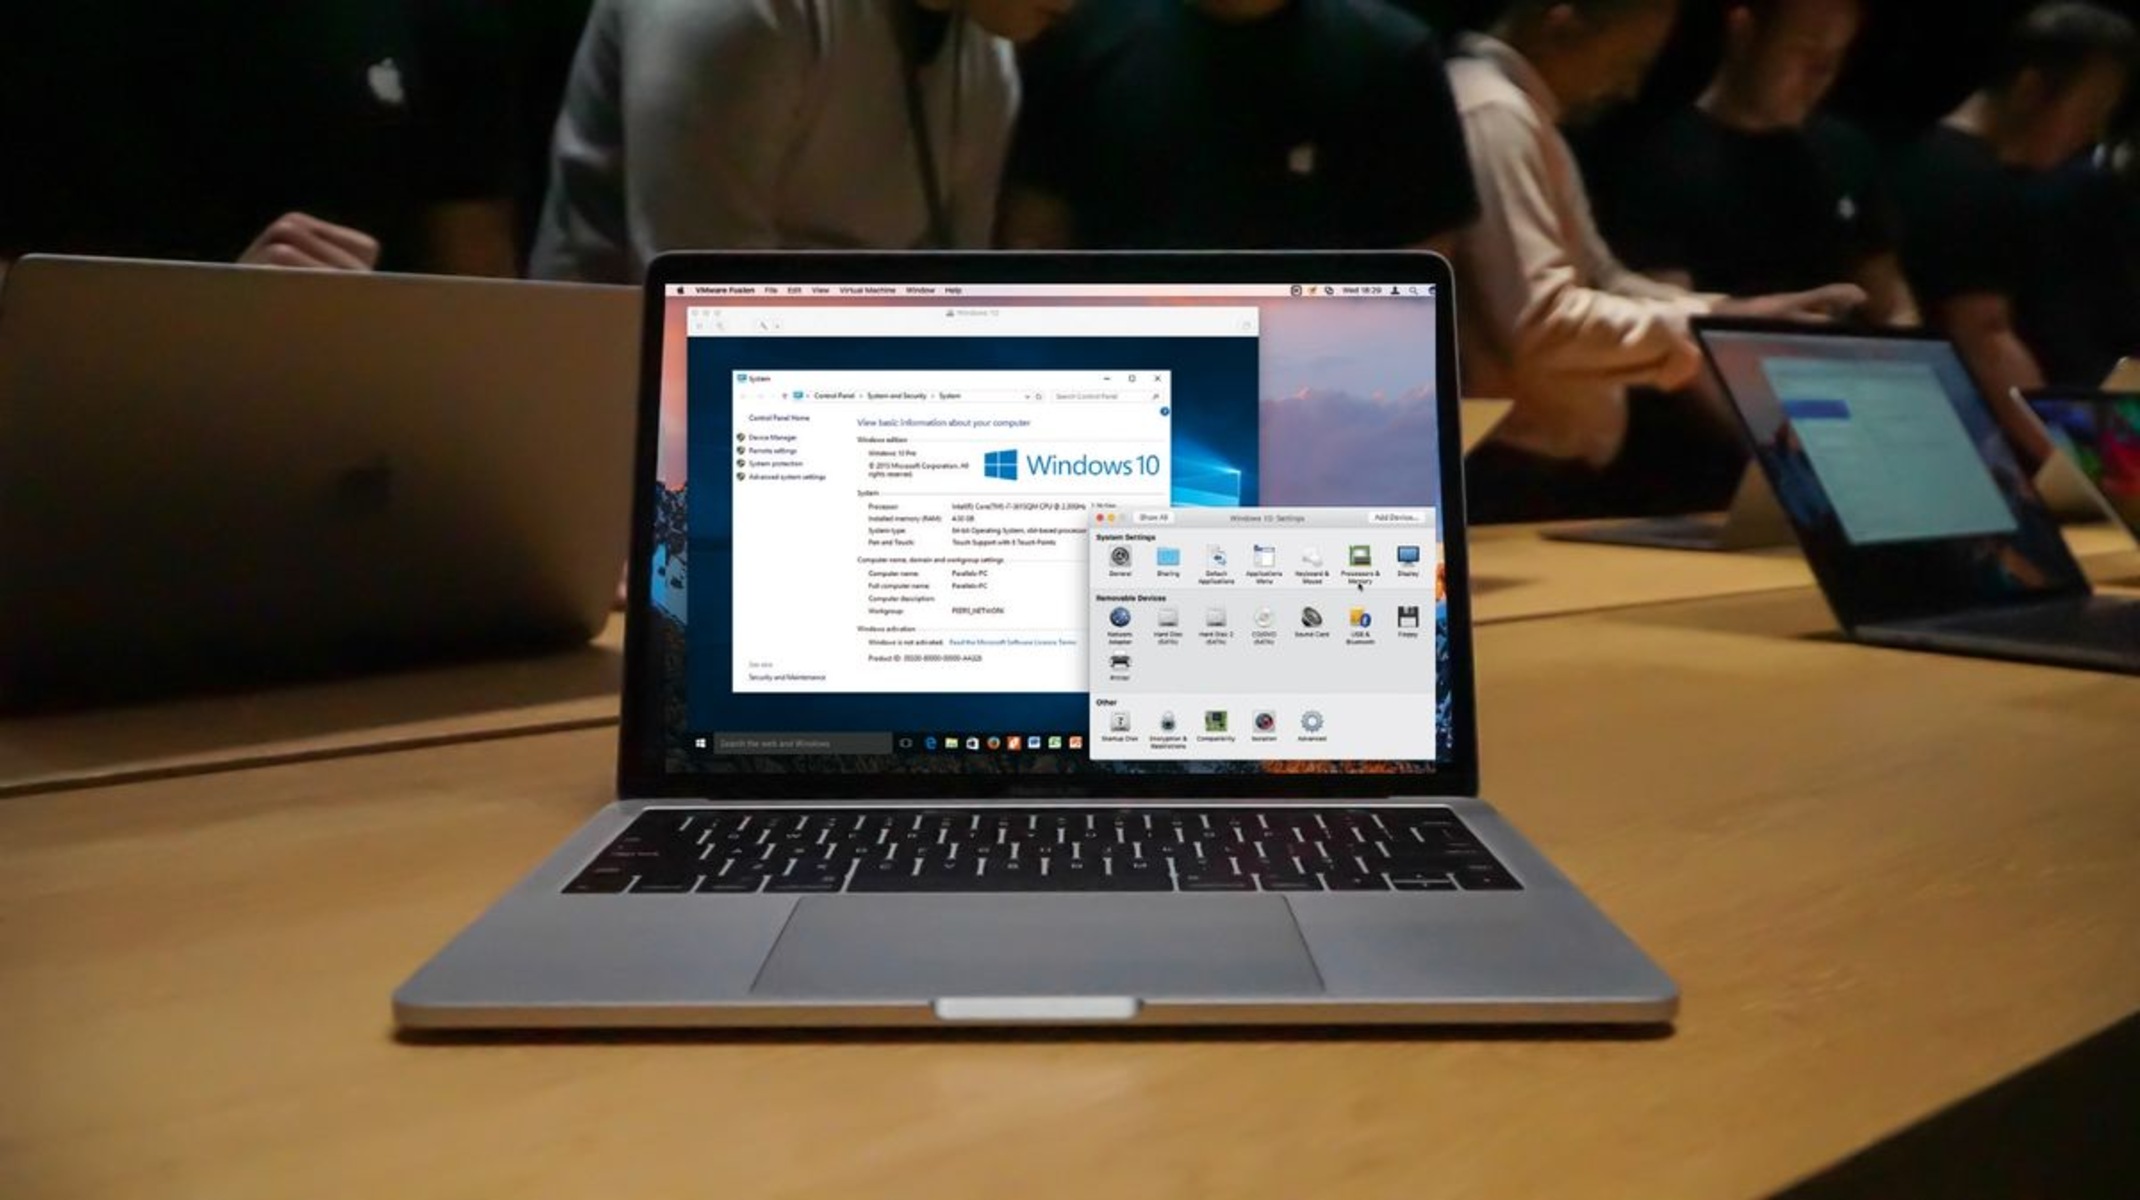
Please note that the specific steps and tools described in this article may vary depending on the virtualization software you are using, such as VMware, VirtualBox, or Hyper-V. Be sure to consult the documentation and support resources for your specific virtualization software to ensure compatibility and learn any additional steps or considerations.
Definition of a Virtual Machine
A virtual machine (VM) is a software emulation of a physical computer system that allows you to run multiple operating systems on a single physical machine. It simulates the hardware components and provides a virtual environment for installing and running software applications, just like a physical computer.
A virtual machine consists of two main components: the host machine and the guest machine. The host machine refers to the physical computer or server that runs the virtualization software, while the guest machine refers to the virtual instance of the operating system running within the virtual machine.
Virtual machines are created using virtualization software, such as VMware, VirtualBox, or Hyper-V. These software solutions enable you to allocate system resources, such as processor cores, memory, and storage, to the virtual machine. This allows for efficient utilization of hardware resources, as multiple virtual machines can run simultaneously on a single physical machine.
Each virtual machine has its own isolated environment, including its own operating system, applications, and settings. This isolation ensures that changes made within one virtual machine do not affect the others. It also enables you to create different configurations for various purposes, such as testing software compatibility, developing applications, or running legacy operating systems.
Virtual machines offer numerous benefits, including:
- Resource optimization: By running multiple virtual machines on a single physical machine, you can make the most of your hardware resources and avoid underutilization.
- Cost savings: Virtual machines eliminate the need for dedicated hardware for each operating system, reducing hardware costs and energy consumption.
- Flexibility: Virtual machines allow you to easily configure and reconfigure operating systems and applications without the need for additional physical equipment.
- Isolation and security: Each virtual machine operates independently, ensuring that any issues or security breaches in one virtual machine do not affect others.
- Backup and recovery: Virtual machines can be easily backed up and restored, providing fast recovery in case of system failures or data loss.
In summary, a virtual machine is a software-based emulation of a physical computer system that enables running multiple operating systems on a single physical machine. It offers resource optimization, cost savings, flexibility, isolation and security, and efficient backup and recovery capabilities. Understanding the concept of virtual machines is essential for successfully formatting and managing these virtual environments.
Benefits of Using a Virtual Machine
Using a virtual machine (VM) provides a multitude of benefits that make it a valuable tool for various purposes, from software development and testing to running legacy applications. Let’s explore some of the key advantages of utilizing virtual machines.
1. Resource Optimization: Virtual machines allow for efficient utilization of hardware resources by running multiple operating systems simultaneously on a single physical machine. This not only saves on hardware costs but also optimizes energy consumption.
2. Cost Savings: By consolidating multiple virtual machines onto one physical server, organizations can significantly reduce hardware and maintenance costs. Virtualization eliminates the need for separate physical servers for each operating system, making it a cost-effective solution.
3. Flexibility and Scalability: Virtual machines offer the flexibility to easily configure and reconfigure operating systems and applications, making it convenient for testing different software versions and configurations. The ability to quickly clone and deploy virtual machine instances allows for easy scalability and resource allocation.
4. Isolation and Security: Each virtual machine operates independently, providing strong isolation between different operating systems and applications. This isolation prevents issues or security breaches in one virtual machine from affecting others. It also helps in creating a secure environment for testing potentially unsafe software or browsing the internet within a sandboxed virtual machine.
5. Workload Consolidation: Virtual machines enable organizations to consolidate multiple workloads onto a single physical server. This results in improved resource utilization and better overall performance. It also simplifies management and maintenance tasks, reducing administrative overhead.
6. Easy Backup and Recovery: Virtual machines can be easily backed up and restored, allowing for efficient disaster recovery in case of system failures or data loss. Virtual machine snapshots and replication techniques provide additional protection against data loss and downtime.
7. Legacy Application Support: Virtual machines are particularly useful for running legacy applications that may be incompatible with modern operating systems. By virtualizing an older operating system environment, organizations can continue to run critical legacy software without the need for dedicated hardware or risking the stability of their primary system.
8. Training and Education: Virtual machines are widely used in educational and training environments. They provide a safe and controlled environment for students to learn and experiment with different operating systems, software applications, and networking setups without the risk of damaging physical hardware.
In summary, virtual machines offer resource optimization, cost savings, flexibility, isolation and security, workload consolidation, easy backup and recovery, legacy application support, and enhanced training and education opportunities. These benefits have made virtual machines a valuable tool for businesses, developers, educators, and individuals alike in various industries.
Preparing for Virtual Machine Formatting
Before you begin the process of formatting a virtual machine, it is essential to make the necessary preparations to ensure a smooth and successful transition. Taking the time to back up your data, shut down the virtual machine properly, and choose the right formatting tool can greatly reduce the chances of data loss or system errors. Let’s explore the key steps to prepare for virtual machine formatting.
Step 1: Backing Up Data: Before formatting the virtual machine, it is crucial to back up any important data or files that you want to preserve. This includes documents, configurations, databases, and any other critical information stored within the virtual machine. By creating a backup, you can easily restore your data after formatting and avoid losing valuable information.
Step 2: Shutting Down the Virtual Machine: Properly shutting down the virtual machine is essential to prevent data corruption or unexpected errors during the formatting process. Use the operating system’s shutdown option or the virtualization software’s tools to gracefully shut down the virtual machine. This ensures that all data is safely stored, and any pending tasks or operations are completed before the virtual machine is turned off.
Step 3: Choosing the Right Formatting Tool: There are various tools available for formatting virtual machines, depending on the virtualization software you are using. Some virtualization software, such as VMware and VirtualBox, provide built-in formatting options that you can use. Alternatively, you can use third-party software or specialized formatting tools specifically designed for virtual machine formatting. Research and choose the tool that best suits your requirements and is compatible with your virtualization software.
Step 4: Creating a Formatting Plan: Before proceeding with the formatting process, it is essential to have a clear plan in place. Decide the desired configuration for the virtual machine after formatting, such as the operating system version, software applications, and any specific settings or configurations. This will help streamline the formatting process and ensure that you have all the necessary resources and installation files ready.
Step 5: Allocating Sufficient Resources: Check the resource allocation for the virtual machine, such as processor cores, memory, and storage. Ensure that you have enough resources available to install and operate the post-formatted virtual machine. If necessary, adjust the resource allocation in the virtualization software to meet the requirements of the new configuration.
Step 6: Documentation and Configuration Backup: Take note of the current virtual machine’s settings, configurations, and network setup. This documentation will help in reconfiguring the virtual machine after formatting. Additionally, take a backup or export the current virtual machine’s configuration and settings so that you have a reference point for future troubleshooting or restoration purposes.
Step 7: Testing the Backup and Restoration Process: Before proceeding with the actual formatting, test the backup and restoration process on a separate system or in a controlled environment. This will ensure that your backup is functioning correctly and will allow you to recover your data effectively in case any issues arise during the formatting process.
By following these preparation steps, you can minimize the risk of data loss, streamline the formatting process, and ensure a smooth transition to the newly formatted virtual machine. Proper preparation is key to successfully formatting virtual machines and maintaining the integrity of your data and settings.
Step 1: Backing Up Data
Before formatting a virtual machine, it is crucial to back up your data to ensure that no valuable information is lost. By creating a backup, you can easily restore your files and configurations after the formatting process. Follow these steps to safely back up your data from the virtual machine:
1. Identify Critical Data: Take some time to identify the important files, documents, databases, or any other data that you want to preserve. Consider the specific applications or projects running on the virtual machine and determine which data is essential for your operations.
2. Choose a Backup Method: There are various methods to back up data from a virtual machine. One common approach is to use a file-level backup, which involves copying the desired files and folders to an external storage device or network location. Another option is to use disk-level backup tools that create a complete image of the virtual machine, including the operating system, applications, and data.
3. Select Backup Location: Determine where you want to store the backup files. Consider using an external hard drive, network-attached storage (NAS), cloud storage, or a combination of these options. Ensure that the chosen storage medium is secure and accessible when you need to restore the backup.
4. Decide on Backup Frequency: Depending on the criticality of your data and the frequency of changes, establish a backup schedule. Consider daily, weekly, or monthly backups to ensure that your data remains up to date and protected.
5. Execute the Backup: Use the chosen backup method to create a backup of your data from the virtual machine. Follow the instructions provided by the backup tool or software. Make sure to verify the backup after its completion to ensure data integrity.
6. Test the Backup: It is crucial to test the backup to ensure that your data is recoverable. Attempt to restore the backup files to a separate system or in a controlled environment to ensure that the backup process is functioning correctly. Testing the backup allows you to identify and address any issues before formatting the virtual machine.
7. Store Backup Securely: Once the backup is successfully created and tested, store it in a secure location. If using physical storage devices, keep them in a safe place where they are protected from physical damage, theft, or other risks. If utilizing cloud storage, ensure that the backup is encrypted and stored with a reputable and reliable provider.
By diligently performing a thorough backup of your data from the virtual machine, you can mitigate the risk of data loss during the formatting process. This step ensures that you have a secure copy of your valuable information and allows for smooth data restoration once the virtual machine is formatted.
Step 2: Shutting Down the Virtual Machine
Properly shutting down the virtual machine is crucial before formatting to avoid data corruption or unexpected errors. By following the appropriate shutdown procedure, you can ensure that all data is safely stored, and any pending tasks or operations are completed. Here are the steps to shut down a virtual machine:
1. Save and Close Applications: Exit any open applications or programs running within the virtual machine. This ensures that any unsaved data or pending tasks are completed or saved before shutting down.
2. Graceful Shutdown: Use the operating system’s shutdown option or the virtualization software’s tools to initiate a graceful shutdown of the virtual machine. This method allows the operating system to perform necessary tasks, such as closing open files, terminating processes, and saving system settings, before shutting down.
3. Wait for Shutdown: Give the virtual machine sufficient time to complete the shutdown sequence. This allows any background tasks or processes to finish before powering off the virtual machine.
4. Verify Shutdown: Confirm that the virtual machine has indeed shut down fully. You can check the virtualization software’s management interface or the virtual machine’s display status. Ensure that the virtual machine is not in a suspended or hibernated state.
5. Close Virtualization Software: Once the virtual machine has shut down, close the virtualization software application. This ensures that the virtual machine’s resources are released and the software is ready for the formatting process.
6. Backup Configuration: Before proceeding, consider saving a backup or exporting the current virtual machine’s configuration and settings. This backup can serve as a reference point for future troubleshooting or restoration purposes.
7. Document Network Settings: Take note of the virtual machine’s network configuration, including IP addresses, MAC addresses, and any specific network settings. This documentation will be essential when reconfiguring the virtual machine after formatting.
It is crucial to ensure a proper shutdown of the virtual machine before formatting to avoid data loss or potential system errors. By following these steps to gracefully shut down the virtual machine, you can minimize the risk of data corruption and ensure a smooth formatting process.
Step 3: Choosing the Right Formatting Tool
When formatting a virtual machine, it is important to select the appropriate formatting tool that aligns with your virtualization software and requirements. The chosen tool will play a crucial role in executing the formatting process effectively and efficiently. Here are the steps to help you choose the right formatting tool:
1. Assess Virtualization Software Compatibility: Consider the virtualization software you are using, such as VMware, VirtualBox, or Hyper-V. Different virtualization platforms may have specific formatting tools or built-in features that are specifically designed to format virtual machines within their ecosystem. Research your virtualization software’s documentation to identify the compatible formatting options available.
2. Review Built-in Formatting Tools: Check if your virtualization software provides native formatting tools. These tools are often recommended as they are designed to work seamlessly with the virtualization platform. Explore the software’s management interface or command-line options to identify the formatting tools and features available for your virtual machine.
3. Consider Third-Party Formatting Tools: If the built-in formatting tools in your virtualization software are limited or not suitable for your requirements, consider exploring third-party formatting tools. These tools are specifically designed for virtual machine formatting and may offer additional features or customization options. Research and compare different third-party tools to find one that matches your needs.
4. Evaluate Features and Functionality: Assess the features and functionality offered by the formatting tools under consideration. Look for features such as the ability to format different file systems (e.g., NTFS, FAT32), support for disk partitioning, options for customizing formatting settings, and compatibility with various operating system versions. Choose a tool that provides the necessary features for your specific formatting requirements.
5. Consider Ease of Use and User Interface: Evaluate the user-friendliness and intuitiveness of the formatting tools. A tool with a user-friendly interface and straightforward instructions will simplify the formatting process and reduce the chances of errors. Look for tools that offer clear documentation, user guides, or tutorials to help you navigate through the formatting process smoothly.
6. Read Reviews and Seek Recommendations: Read reviews and seek recommendations from trusted sources or online communities that specialize in virtualization. User reviews and recommendations can provide valuable insights into the usability, reliability, and performance of different formatting tools. Consider the experiences and feedback of others to make an informed decision.
7. Test the Tool: Before proceeding with the actual formatting, consider testing the selected formatting tool on a non-production environment or a separate virtual machine. This will allow you to familiarize yourself with the tool’s functionality, verify its compatibility with your virtualization software, and assess the formatting process.
By following these steps, you can choose the right formatting tool for your virtual machine. A compatible and reliable formatting tool will ensure a smooth formatting process, minimizing the risk of data loss or system errors.
Step 4: Formatting the Virtual Machine
Once you have prepared your virtual machine and chosen the right formatting tool, it’s time to proceed with formatting the virtual machine. Formatting involves wiping out the existing data and preparing the virtual machine for a fresh installation of the operating system. Follow these steps to format the virtual machine:
1. Launch the Formatting Tool: Open the chosen formatting tool or access the built-in formatting options within your virtualization software. Ensure that you have administrative privileges or necessary permissions to perform the formatting operation.
2. Select the Virtual Machine: Identify and select the virtual machine that you intend to format. This ensures that the formatting process targets the correct virtual machine while avoiding any accidental formatting of other virtual machines or physical drives.
3. Choose the Formatting Options: Configure the formatting options according to your requirements. Specify the desired file system (such as NTFS or FAT32) and the partitioning scheme (such as MBR or GPT). Consider any specific formatting settings suggested by your operating system’s installation requirements.
4. Confirm the Formatting Process: Before proceeding with the formatting, carefully review the specified settings, selected virtual machine, and the consequences of formatting. Double-check that you have a backup of any critical data or configurations. Once you are confident in your choices, confirm the formatting process.
5. Start the Formatting Process: Initiate the formatting process by clicking the appropriate button or issuing the necessary command. The formatting tool will now begin formatting the virtual machine’s storage, removing all existing data and preparing it for a fresh installation.
6. Monitor the Formatting Progress: While the formatting process is underway, monitor the progress to ensure that it proceeds as expected. Depending on the virtual machine’s size and the formatting tool used, the process may take varying amounts of time. Avoid interrupting or shutting down the virtual machine during formatting to prevent potential data corruption or system errors.
7. Complete the Formatting Process: Once the formatting process is complete, the virtual machine’s storage will be formatted, leaving it in a clean state ready for a fresh installation. At this point, the virtual machine is devoid of any previous data or operating system. You can proceed to the next step of reinstalling the operating system.
By following these steps, you can effectively format the virtual machine, wiping out existing data and preparing it for a fresh installation of the operating system. It is crucial to proceed with caution and double-check your choices to minimize the risk of data loss or system errors.
Step 5: Reinstalling the Operating System
After formatting the virtual machine, the next step is to reinstall the operating system. This process involves installing a fresh copy of the operating system on the formatted virtual machine. Follow these steps to reinstall the operating system:
1. Obtain the Installation Media: Obtain the installation media, which could be a bootable USB drive, an installation disc, or an ISO image of the operating system you wish to install. Ensure that the installation media is compatible with your virtualization software and the virtual machine’s architecture.
2. Configure Boot Order: Configure the virtual machine’s boot order to prioritize the installation media. This ensures that the virtual machine boots from the installation media instead of the formatted storage. Adjust the settings in the virtualization software to set the appropriate boot order.
3. Mount or Insert the Installation Media: Mount the ISO image or insert the installation disc into the virtual machine’s virtual CD/DVD drive. This will make the installation media accessible to the virtual machine during the boot process.
4. Start the Virtual Machine: Power on the virtual machine and allow it to boot from the installation media. Follow the prompts and instructions provided by the operating system installation wizard. These instructions typically involve selecting the language, agreeing to the software license terms, and specifying the installation type.
5. Choose the Installation Type: Select the appropriate installation type based on your needs. You may choose a custom installation to specify the installation location and partitioning options, or opt for a default installation where the operating system handles the installation settings automatically.
6. Specify the Installation Location: During the installation process, select the location where the operating system will be installed. Choose the formatted storage volume or partition as the installation destination. Be cautious not to inadvertently select any other volumes or partitions that contain data you wish to preserve.
7. Follow the Installation Wizard: Proceed with the installation by following the prompts provided by the installation wizard. These prompts may include configuring settings such as username, passwords, time zone, and network configuration. Ensure that you provide accurate and appropriate information to complete the installation process.
8. Complete the Installation: Once the installation process is complete, the virtual machine will restart. Remove the installation media or unmount the ISO image from the virtual CD/DVD drive to prevent the virtual machine from booting into the installation media again. The operating system is now installed on the formatted virtual machine.
By following these steps, you can reinstall the operating system on the formatted virtual machine. It is essential to carefully follow the installation instructions and provide accurate information to ensure a successful operating system installation.
Step 6: Restoring Backed Up Data
After reinstalling the operating system on the virtual machine, it’s time to restore the backed-up data. This step involves transferring the previously backed-up files and configurations back onto the virtual machine. Follow these steps to restore your backed-up data:
1. Access the Backup: Locate the backup of your data that you created before formatting the virtual machine. Ensure that the backup is accessible from the virtual machine, whether it is stored in an external storage device, a network location, or a cloud storage platform.
2. Identify Critical Data: Based on your backup, identify the files, documents, configurations, databases, or any other critical data that you want to restore. Consider the specific applications or projects running on the virtual machine and determine which data is essential for your operations.
3. Copy Data to the Virtual Machine: Copy the backed-up data from the backup location to the appropriate locations within the newly installed operating system. This may involve copying files to specific folders, restoring databases, or importing configurations using the appropriate tools or methods.
4. Verify Data Integrity: After copying the data, verify the integrity of the restored files and configurations. Check that the files are complete and not corrupted. If any data is missing or damaged, refer back to your backup to ensure a complete restoration.
5. Test Applications and Services: Test the applications, services, or projects that depend on the restored data. Ensure that they function correctly and that the necessary configurations are in place. Perform any required setup or configuration adjustments to maintain the proper functioning of the restored applications.
6. Update or Recreate Settings: Check the settings and configurations of any applications or services that were not restored from the backup. Update or recreate these settings to match your desired setup. This may involve configuring network settings, user preferences, or any custom configurations.
7. Validate Data Integrity: Before considering the restoration process complete, validate the integrity and accuracy of the restored data. Cross-check the restored files and configurations against your records or documentation to confirm that they are complete and accurate.
By following these steps, you can effectively restore your backed-up data to the virtual machine. It is important to diligently verify the integrity of the restored data to ensure that critical information is properly recovered and that the virtual machine is functional with the restored data.
Step 7: Configuring the Virtual Machine Settings
Once the operating system is reinstalled and the data has been restored, it’s time to configure the virtual machine settings. This step involves adjusting various settings to optimize the virtual machine’s performance and functionality. Follow these steps to configure the virtual machine settings:
1. Hardware Allocation: Assess the virtual machine’s hardware allocation, such as processor cores, memory, and storage. Ensure that the resources allocated are appropriate for the operating system and the applications running on the virtual machine. Adjust the resource allocation in the virtualization software’s management interface to meet the needs of the virtual machine.
2. Network Configuration: Review and configure the virtual machine’s network settings. This includes assigning network interface cards (NICs), configuring IP addresses, DNS settings, and any other necessary network configurations. Ensure that the virtual machine is connected to the appropriate network and can communicate with other devices as intended.
3. Security Settings: Consider the security settings of the virtual machine. Configure firewalls, enable encryption if necessary, and implement security measures such as disabling unnecessary services or enabling multi-factor authentication. Follow best practices and guidelines specific to your operating system and virtualization software for optimal security configurations.
4. Updates and Patches: Check for and install any available updates or patches for the operating system and applications running on the virtual machine. Regularly updating your system helps ensure that you have the latest security fixes, bug fixes, and new features, providing a more stable and secure environment.
5. Backup and Recovery Measures: Set up regular backup and recovery measures to safeguard your virtual machine and its data. Configure automated backup schedules, choose a backup storage location, and test the restoration process periodically. This ensures that you are prepared for any potential data loss or system failures.
6. Performance Optimization: Fine-tune the virtual machine’s performance settings. Adjust settings such as CPU usage, memory allocation, and disk caching to optimize performance based on your specific requirements. Monitor system performance regularly to identify any bottlenecks or issues that may impact the virtual machine’s performance.
7. Application and Service Configurations: Review and configure any specific settings, configurations, or preferences for the applications and services running on the virtual machine. Ensure that they are properly configured to meet your needs and requirements. Refer to the documentation or support resources of the respective applications for guidance on optimal settings.
8. Testing and Validation: Validate the virtual machine’s configuration by testing its functionality. Verify that all applications, services, and networking functionalities are working as intended. Perform functional and performance tests to ensure that the virtual machine meets the desired requirements.
By following these steps, you can effectively configure the settings of the virtual machine. Proper configuration ensures the optimum performance, security, and functionality of the virtual machine, allowing you to make the most out of your virtual environment.
Conclusion
Formatting a virtual machine can be a complex process, but with careful preparation and a systematic approach, it can be successfully accomplished. In this article, we explored the steps involved in formatting a virtual machine, starting from the crucial backup of data to reinstalling the operating system and configuring the virtual machine settings.
By backing up your data before formatting, you can ensure the preservation of critical information and simplify the restoration process. Properly shutting down the virtual machine and selecting the right formatting tool helps minimize the risk of data corruption and system errors.
Reinstalling the operating system provides a fresh start, allowing you to enjoy the benefits of a clean and optimized virtual machine environment. Restoring the backed-up data ensures that your valuable files and configurations are recovered and properly integrated into the newly formatted virtual machine.
Configuring the virtual machine settings, such as hardware allocation, network configuration, and security settings, allows for optimal performance, security, and functionality. Regular updates, proper backup and recovery measures, performance optimization, and application/service configurations contribute to maintaining a well-functioning virtual machine.
It’s important to remember that the specific steps and tools may vary depending on the virtualization software being used. Always consult the official documentation and support resources for your specific virtualization software to ensure compatibility and learn any additional considerations or steps that may be required.
With the guidance provided in this article, you should now have a clear understanding of the essential steps involved in formatting a virtual machine. By following these steps and taking the necessary precautions, you can confidently format your virtual machines while minimizing the risk of data loss or system errors.