Introduction
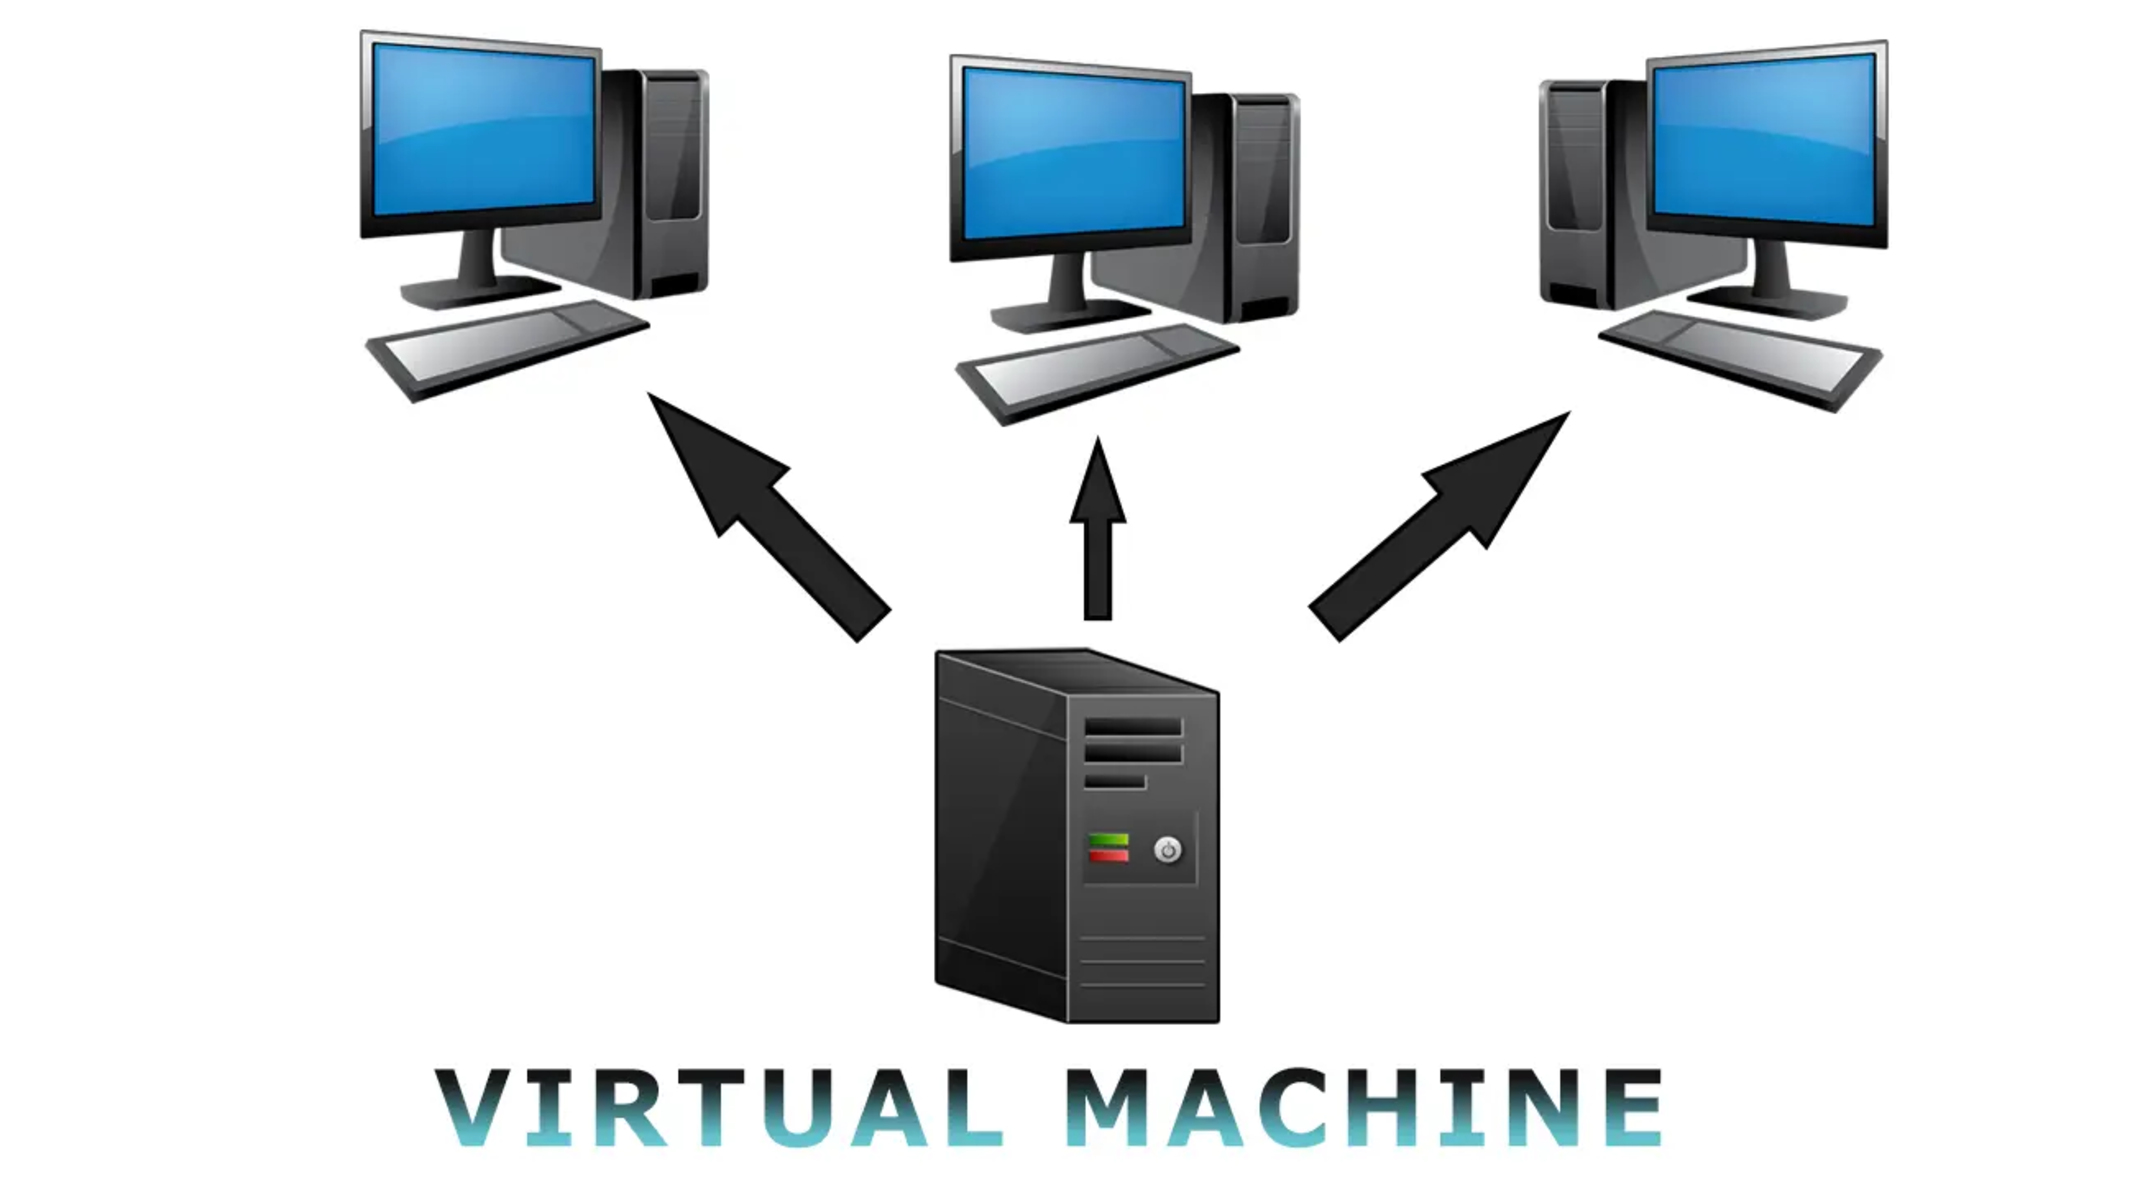
Virtual machines (VMs) have revolutionized the field of computing by allowing users to run multiple operating systems simultaneously on a single physical machine. This technology has paved the way for increased efficiency, cost savings, and flexibility in the IT industry.
When it comes to managing VMs, one essential task is the ability to clone them. Cloning a virtual machine involves creating an exact replica of an existing VM, including its operating system, applications, configurations, and data. This process allows you to quickly and easily deploy identical VMs, saving time and effort.
Virtual machine cloning can be accomplished using various methods and tools, such as VMware’s vSphere Client, vSphere Web Client, or PowerCLI. These tools offer a user-friendly interface, enabling both experienced administrators and novice users to perform cloning operations with ease.
In this article, we will explore the concept of virtual machine cloning and delve into the reasons why it is a valuable technique for IT professionals. We will also provide step-by-step instructions on how to clone a virtual machine using different methods supported by VMware.
Whether you are an IT administrator working in a large enterprise or an individual experimenting with virtualization at home, understanding the process and benefits of virtual machine cloning will greatly enhance your efficiency and productivity. So, let’s dive in and explore the world of VM cloning!
What is Virtual Machine Cloning
Virtual machine cloning is the process of creating an exact duplicate or replica of an existing virtual machine. It involves copying all the necessary files, settings, and configurations from the source VM to create an identical copy that can be used independently.
Cloning a virtual machine provides several benefits. First and foremost, it allows you to quickly provision new VMs with pre-configured settings and software installations. Instead of starting from scratch and going through the entire installation process, cloning allows you to create multiple VMs with the same setup in just a few clicks.
Furthermore, virtual machine cloning enables you to create isolated environments for testing and development purposes. You can clone an existing VM and make modifications or run experiments without affecting the original VM. This is especially useful when you need to test software updates, new configurations, or changes to your network infrastructure.
Another advantage of virtual machine cloning is enhanced disaster recovery capabilities. By creating regular clones of critical VMs, you can ensure that you have up-to-date backups in case of system failures, data corruption, or other unexpected events. Cloning allows you to restore VMs to a known working state quickly and efficiently.
Additionally, virtual machine cloning simplifies the process of scaling your infrastructure. When you need to deploy multiple instances of the same VM, such as in a web server farm or a virtual desktop infrastructure, cloning provides a rapid and consistent method for expanding your resources without starting from scratch.
It is important to note that virtual machine cloning creates an exact copy of the VM at the time of cloning. Any changes made to the original VM after cloning will not be reflected in the cloned VM. Therefore, it is essential to plan your cloning strategy carefully and consider factors such as software updates and data synchronization.
Overall, virtual machine cloning offers significant benefits in terms of time savings, resource provisioning, testing, disaster recovery, and scalability. It is a powerful tool that allows IT professionals to streamline their operations and maximize the efficiency of their virtualized environments.
Why Clone a Virtual Machine
Cloning a virtual machine brings several advantages and benefits to IT professionals and organizations. Let’s explore why you should consider cloning a virtual machine:
1. Rapid Deployment: Cloning allows for quick and efficient provisioning of new virtual machines. Instead of starting from scratch and installing the operating system and applications manually, you can simply clone an existing VM with all the necessary configurations and settings. This saves time and effort, especially when you need to deploy multiple instances of the same VM.
2. Consistency and Standardization: Cloning ensures consistency in your virtual infrastructure. By creating identical copies of VMs, you can maintain uniformity in software versions, configurations, and security settings. This is particularly useful in environments where compliance and standardization are critical.
3. Testing and Development: Cloning provides an isolated environment for testing, development, and experimentation. You can clone a production VM and make changes or run experiments without impacting the original VM. This allows for safe testing of software updates, configuration changes, or new applications.
4. Disaster Recovery: Cloning plays a crucial role in disaster recovery strategies. By regularly cloning critical VMs, you can create up-to-date backups that can be used for quick restoration in case of system failures or data corruption. Cloning adds an extra layer of protection to ensure business continuity.
5. Scaling Infrastructure: Cloning facilitates the process of scaling your infrastructure. When you need to increase resources, such as deploying additional web servers or virtual desktops, cloning allows you to replicate the existing VMs and create new instances quickly and consistently.
6. Resource Optimization: By cloning VMs, you can optimize resource allocation. You can tailor the clone’s configuration to meet specific workload requirements while ensuring efficient utilization of hardware resources. This flexibility enables you to achieve better performance and cost-efficiency.
Overall, cloning a virtual machine simplifies and accelerates various IT tasks, including provisioning, testing, disaster recovery, and scalability. It offers enhanced efficiency, flexibility, and reliability in managing virtualized environments. Whether you are a system administrator, developer, or IT manager, virtual machine cloning is a valuable technique that can significantly improve your productivity and streamline your operations.
Preparing for Cloning
Before proceeding with the cloning process, there are a few steps you need to take to ensure a smooth and successful cloning operation. Here are the essential preparations for cloning a virtual machine:
1. Check Compatibility: Ensure that the virtual machine you intend to clone is compatible with the virtualization platform and the target host where the clone will be deployed. Check the supported versions of the hypervisor and any specific requirements or restrictions for cloning.
2. Review Storage and Resource Availability: Verify that you have sufficient storage space in your datastores to accommodate the cloned VM. Consider the size of the virtual disks, snapshot files, and any additional data associated with the VM. Also, ensure that you have enough CPU, memory, and network resources available on the target host.
3. Clean Up the Source VM: Before cloning, it’s a good practice to clean up the source VM by removing unnecessary files, temporary data, and any unused applications or configurations. This helps to reduce the size of the cloned VM and improves performance.
4. Power Off the Source VM: It is important to power off the source VM before initiating the cloning process. Cloning a running VM can lead to inconsistent data and unexpected results. Ensure that the source VM is gracefully shutdown or powered off before proceeding.
5. Snapshot Considerations: If the source VM has any active snapshots, carefully evaluate whether you want to include them in the clone. Snapshots can significantly increase the clone’s size and may introduce performance overhead. It is recommended to consolidate or discard snapshots before cloning to ensure a clean and efficient cloned VM.
6. Plan for IP and Networking: If the cloned VM will be connected to the same network as the source VM, make sure to allocate a unique IP address to avoid conflicts. Additionally, consider any DNS, gateway, or DHCP settings that need to be adjusted for the cloned VM to function correctly in your network environment.
7. Documenting Configurations: Keep a record of the source VM’s configurations, including network settings, software installations, and customized configurations. Having this documentation will help you quickly verify and adjust settings on the cloned VM to ensure consistent functionality.
By following these preparation steps, you can ensure a seamless cloning process and avoid potential issues or conflicts. Proper planning and thorough consideration of these factors will contribute to the success of the virtual machine cloning operation.
Cloning a Virtual Machine
There are several methods available for cloning a virtual machine, depending on the virtualization platform and tools you are using. Here, we will explore three common methods for cloning a virtual machine: using vSphere Client, vSphere Web Client, and PowerCLI.
Method A: Cloning using vSphere Client
The vSphere Client is a graphical user interface (GUI) tool provided by VMware for managing virtual machines. Here are the steps to clone a VM using the vSphere Client:
- Launch the vSphere Client and connect to your vCenter server or ESXi host.
- Select the source VM you want to clone from the inventory.
- Right-click on the VM and choose “Clone to Virtual Machine” from the context menu.
- Follow the cloning wizard, providing a name and location for the clone, selecting the clone type (full clone or linked clone), and customizing any additional settings.
- Review the summary and click “Finish” to start the cloning process.
Method B: Cloning using vSphere Web Client
The vSphere Web Client is a web-based management interface that allows you to manage VMware vSphere resources. Here’s how you can clone a VM using the vSphere Web Client:
- Open the vSphere Web Client and connect to your vCenter server or ESXi host.
- Navigate to the VM you want to clone in the inventory.
- Right-click on the VM and select “Clone…” from the context menu.
- Provide a name and location for the clone, select the clone type, and customize any additional settings.
- Click “Next” and review the summary page.
- Click “Finish” to start the cloning process.
Method C: Cloning using PowerCLI
PowerCLI is a command-line interface tool that allows you to automate and manage VMware vSphere environments using PowerShell. Here’s an example of cloning a VM using PowerCLI:
- Open the PowerCLI console or PowerShell with the VMware PowerCLI module loaded.
- Connect to your vCenter server or ESXi host using the Connect-VIServer cmdlet.
- Run the following command to clone the VM:
New-VM -VM SourceVM -VMHost TargetHost -Name ClonedVM -Datastore TargetDatastoreReplace SourceVM, TargetHost, ClonedVM, and TargetDatastore with the respective names or variables in your environment.
- Customize any additional cloning options as needed.
- Press Enter to execute the cloning command.
Remember to monitor the cloning process and verify the successful completion of the operation. Once the clone is created, you can power on, customize, and manage it as a separate virtual machine.
By leveraging these methods, you can easily clone VMs to meet your specific requirements and streamline your virtual infrastructure management tasks.
Method A: Cloning using vSphere Client
The vSphere Client is a user-friendly graphical interface provided by VMware for managing virtual machines. It is widely used for various virtualization tasks, including cloning VMs. Here, we will walk through the step-by-step process of cloning a VM using the vSphere Client:
- Open the vSphere Client and connect to your vCenter server or ESXi host.
- In the inventory pane, select the source VM that you want to clone.
- Right-click on the VM and choose “Clone to Virtual Machine” from the context menu. The cloning wizard will open.
- In the clone wizard, provide a name and select a location for the cloned VM. You can choose to put it in the same folder as the source VM or a different location.
- Select the clone type. You can choose either a full clone or a linked clone. A full clone is an independent copy of the source VM, while a linked clone shares virtual disks with the source VM, resulting in a smaller footprint.
- Customize the cloning options based on your requirements. This includes configuring network settings, guest OS customization, and advanced options such as storage and resource allocation.
- Review the summary page to ensure that all the settings are correct. Make any necessary adjustments if needed.
- Click “Finish” to start the cloning process. The vSphere Client will create a new VM based on the source VM’s configuration and disk files.
- Monitor the progress of the cloning process. Once completed, you will have a cloned VM that is an exact replica of the source VM.
It is worth noting that the cloning process can take some time, depending on the size of the VM and the performance of your storage and network infrastructure. Ensure that you have enough resources to accommodate the cloning operation.
Once the cloning is finished, you can power on the cloned VM and perform any necessary customization or configuration changes. Keep in mind that the cloned VM is independent of the source VM, and any modifications made to one will not affect the other.
The vSphere Client provides a straightforward method for cloning VMs, making it accessible to both seasoned administrators and those new to virtualization. It is a versatile tool that simplifies management tasks and enhances the efficiency of your virtual infrastructure.
Method B: Cloning using vSphere Web Client
The vSphere Web Client is a web-based management interface provided by VMware for managing virtual machines. It offers a user-friendly and feature-rich environment for managing your virtual infrastructure, including the ability to clone virtual machines. Here’s a step-by-step guide on how to clone a VM using the vSphere Web Client:
- Launch your web browser and open the vSphere Web Client. Connect to your vCenter server or ESXi host using the appropriate URL.
- In the inventory pane, navigate to the folder or datacenter where the source VM is located.
- Locate the source VM in the inventory and right-click on it to open the context menu.
- Select “Clone…” from the context menu. This will open the cloning wizard.
- In the cloning wizard, provide a name and select a location for the cloned VM. You can choose to place it in the same folder as the source VM or specify a different location.
- Select the clone type. You can choose between a full clone or a linked clone. A full clone is an independent copy of the source VM, while a linked clone shares virtual disks with the source VM, resulting in a smaller storage footprint.
- Configure any additional cloning options based on your needs. This includes customizing the network settings, specifying guest OS customization options, and adjusting advanced settings like storage and resource allocation.
- Review the summary page to ensure that all the settings are accurate. Make any necessary modifications if needed.
- Click “Finish” to initiate the cloning process. The vSphere Web Client will begin creating a new VM based on the source VM’s configuration and disk files.
- Monitor the progress of the cloning operation. Once completed, you will have a cloned VM that is an identical copy of the source VM.
After cloning, you can power on the cloned VM and perform any additional configuration or customization as required. Remember that the cloned VM is completely separate from the source VM, and any changes made to one will not affect the other.
The vSphere Web Client provides a user-friendly and intuitive method for cloning virtual machines. It simplifies the process and allows you to efficiently manage your virtual infrastructure, enhancing productivity and flexibility.
Method C: Cloning using PowerCLI
PowerCLI is a powerful command-line interface (CLI) tool that allows you to automate and manage VMware vSphere environments using PowerShell. With PowerCLI, you can perform various operations, including cloning virtual machines. Here’s a step-by-step guide on how to clone a VM using PowerCLI:
- Open the PowerCLI console or launch PowerShell with the VMware PowerCLI module loaded.
- Connect to your vCenter server or ESXi host using the Connect-VIServer cmdlet. Provide the necessary credentials when prompted.
- Use the Get-VM cmdlet to retrieve information about the VM you want to clone. Note down the name or variable representing the source VM.
- Run the following command to clone the VM:
New-VM -VM SourceVM -VMHost TargetHost -Name ClonedVM -Datastore TargetDatastoreReplace
SourceVM,TargetHost,ClonedVM, andTargetDatastorewith the respective names or variables in your environment. This command creates a new VM calledClonedVMon the specifiedTargetHostusing theTargetDatastorefor storage. - Customize any additional cloning options as needed. You can specify the network, guest OS customization, virtual hardware, and more using the available parameters in the New-VM cmdlet.
- Press Enter to execute the cloning command. PowerCLI will create a clone of the source VM with the specified configurations.
- Monitor the progress of the cloning process. Once completed, you will have a cloned VM that is an exact replica of the source VM.
Using PowerCLI for VM cloning offers the advantage of automation and scriptability. You can easily incorporate this method into your existing scripting or automation workflows, allowing you to clone VMs in a repeatable and efficient manner.
Remember to validate the successful creation of the cloned VM and perform any necessary post-cloning operations, such as powering on the VM, configuring networking settings, or customizing the guest OS to match your requirements.
PowerCLI empowers administrators to manage their virtual infrastructure using scripting and automation, providing a powerful and flexible method for cloning virtual machines.
Post-Cloning Tasks
After successfully cloning a virtual machine, there are a few essential post-cloning tasks that you should consider to ensure the cloned VM functions properly and aligns with your specific requirements. Here are some key tasks to consider:
1. Review VM Settings: Double-check the settings of the cloned VM, including CPU, memory, disk, and networking configurations. Ensure that they match your desired configuration and align with the purpose of the cloned VM.
2. Power On the Cloned VM: Start the cloned VM and verify that it powers on without any issues. Monitor the bootup process to ensure that the cloned VM starts up correctly and reaches a stable state.
3. Update IP and Network Settings: If the cloned VM is connected to the same network as the source VM, update its IP address and network settings to avoid conflicts. Make any necessary changes to DNS, gateway, or DHCP configurations to ensure proper network connectivity.
4. Customize Guest OS: Depending on your requirements, customize the guest operating system of the cloned VM. This may include installing software updates, configuring applications, or adjusting settings specific to the cloned VM’s role or purpose.
5. Validate Network Connectivity: Test network connectivity from within the cloned VM to ensure it can communicate with other systems and access necessary resources. Troubleshoot and resolve any connectivity issues that may arise.
6. Review Security Settings: Assess the security settings of the cloned VM, including firewall rules, antivirus software, and access control policies. Adjust these settings as needed to align with your organization’s security requirements.
7. Rename the Cloned VM: Consider renaming the cloned VM to accurately reflect its purpose or role within your environment. This helps maintain clear identification and organization within your virtual infrastructure.
8. Remove Unnecessary Cloned Snapshots: If the cloned VM was created with snapshots, evaluate their necessity. If they are no longer required, remove the snapshots to conserve storage and optimize VM performance.
9. Review and Update Documentation: Update your documentation to reflect the creation and configuration details of the cloned VM. This includes recording any specific customizations, networking details, and associated applications or services.
10. Monitor and Test: Regularly monitor the performance and functionality of the cloned VM. Test its behavior under different workloads and validate that it meets the desired performance and reliability expectations.
By completing these post-cloning tasks, you can ensure that the cloned VM is properly configured, secure, and optimized for its intended purpose. Performing these steps will help you maintain a well-functioning and manageable virtual infrastructure.
Conclusion
Virtual machine cloning is a powerful technique that provides numerous benefits for managing virtualized environments. Whether you are looking to quickly provision new VMs, create isolated environments for testing, enhance disaster recovery capabilities, or scale your infrastructure, cloning offers a convenient and efficient solution.
In this article, we explored the concept of virtual machine cloning and discussed the reasons why it is valuable. We walked through the preparation steps necessary before cloning a virtual machine, as well as three different methods of cloning using vSphere Client, vSphere Web Client, and PowerCLI.
Using the appropriate tools, you can easily clone virtual machines, creating identical copies with just a few clicks or lines of code. The vSphere Client and vSphere Web Client provide intuitive graphical user interfaces, while PowerCLI offers scriptability and automation for more advanced users.
After cloning a virtual machine, there are important post-cloning tasks to consider. These tasks involve reviewing VM settings, updating network configurations, customizing the guest operating system, and ensuring network connectivity and security. By following these steps, you can ensure that the cloned VM functions properly and aligns with your requirements.
Virtual machine cloning is a valuable tool that saves time, enhances efficiency, and improves the management of virtualized environments. Understanding the cloning process and utilizing the appropriate methods will empower you to streamline your operations and better utilize your virtual infrastructure resources.
So, embrace the power of virtual machine cloning and take advantage of the benefits it offers. Whether you are an IT administrator, developer, or system engineer, incorporating cloning into your virtualization workflows will enhance your productivity and enable you to achieve your goals more effectively.