Introduction
Welcome to the world of solid-state drives (SSDs) and the wonders they bring to your computing experience. If you are planning to install a new SSD on your Windows 10 system or upgrade an existing one, it is important to properly format it to ensure optimal performance and longevity.
Formatting a SSD involves preparing the drive for use by your operating system, creating a file system, and organizing the drive’s storage space. It is a necessary step to initialize the SSD and ensure that it is ready to store and retrieve your data effectively.
In this article, we will guide you through the process of formatting a SSD on Windows 10. Whether you are a seasoned computer enthusiast or a beginner looking to upgrade your storage solution, rest assured that the steps outlined here will help you successfully format your SSD and unleash its full potential.
Before we dive into the step-by-step guide, it is essential to note that formatting a SSD will erase all data on the drive. Therefore, it is crucial to back up any important files or documents before proceeding with the formatting process.
Now that you are aware of the importance of formatting your SSD and have prepared your data backup, let’s get started with the step-by-step instructions on how to format your SSD on Windows 10.
Step 1: Back up your data
Before beginning the formatting process, it is crucial to back up all your important data from the SSD. Formatting will erase all the files and partitions on the drive, so it’s essential to have a backup to prevent any data loss.
To back up your data, you have several options. You can choose to back up your files to an external hard drive, a cloud storage service, or even to another internal drive on your computer.
If you prefer a manual backup, you can copy and paste your files from the SSD to an external device. Make sure to create a new folder on the external device to keep your files organized. Alternatively, you can use backup software that automatically creates a backup of your files and folders.
Another popular option is to use cloud storage services like Google Drive, Dropbox, or Microsoft OneDrive. These services allow you to upload your files to the cloud, keeping them safe and accessible from any device with an internet connection. Simply sign up for the service, install the desktop application, and sync your files to the cloud.
If you have another internal drive on your computer, you can also use it as a temporary storage solution while formatting your SSD. Simply transfer your important files to the internal drive, ensuring that they are safe during the formatting process.
Remember to double-check that all your important files are successfully backed up before proceeding to format your SSD. It’s better to be cautious and ensure that you have multiple copies of your data before making any changes to your storage device.
Now that you have successfully backed up your data, you can proceed to the next step, where we will guide you through determining the disk number of your SSD.
Step 2: Determine the disk number of the SSD
Before you can format your SSD on Windows 10, you need to determine the disk number assigned to the drive. This will help you identify the correct SSD when performing the formatting process.
To determine the disk number of your SSD, you can use the Disk Management utility built into Windows 10. Here’s how:
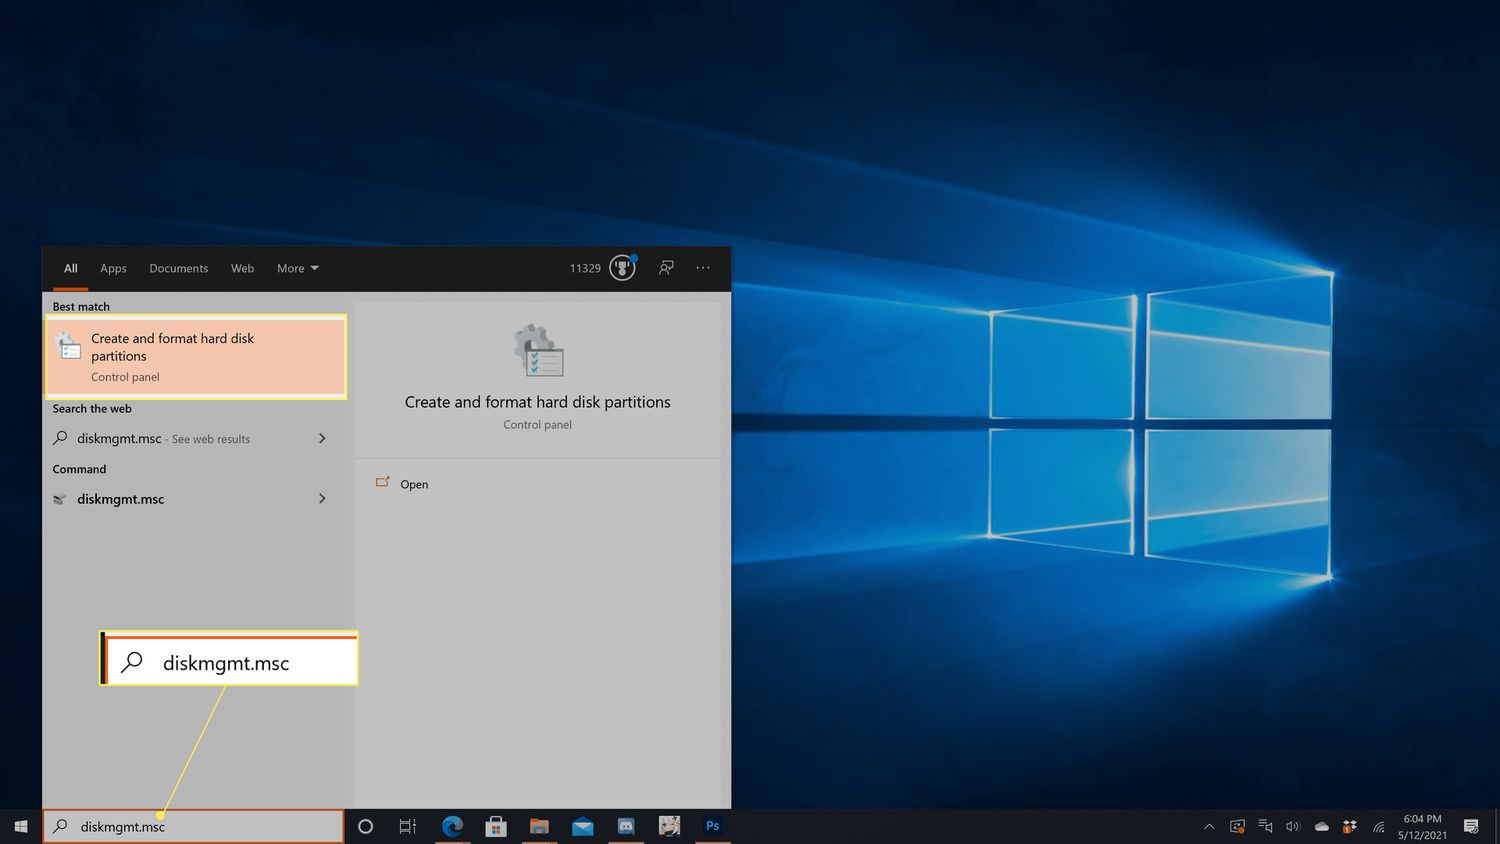
- Right-click on the Start menu button and select “Disk Management” from the context menu. Alternatively, you can press Windows key + X and choose “Disk Management” from the list.
- In the Disk Management window, locate your SSD. The SSD will typically be labeled with a “Disk X” notation, where “X” represents the disk number.
- Note down the disk number assigned to your SSD. You will need this information in the subsequent steps when formatting the drive.
If you have multiple disks connected to your computer, make sure to identify the correct disk number corresponding to your SSD. It’s important to avoid accidentally formatting the wrong drive, as it can result in data loss.
Once you have determined the disk number of your SSD by following the steps above, you are ready to proceed to the next step, where we will guide you through opening the Disk Management utility.
Step 3: Open Disk Management
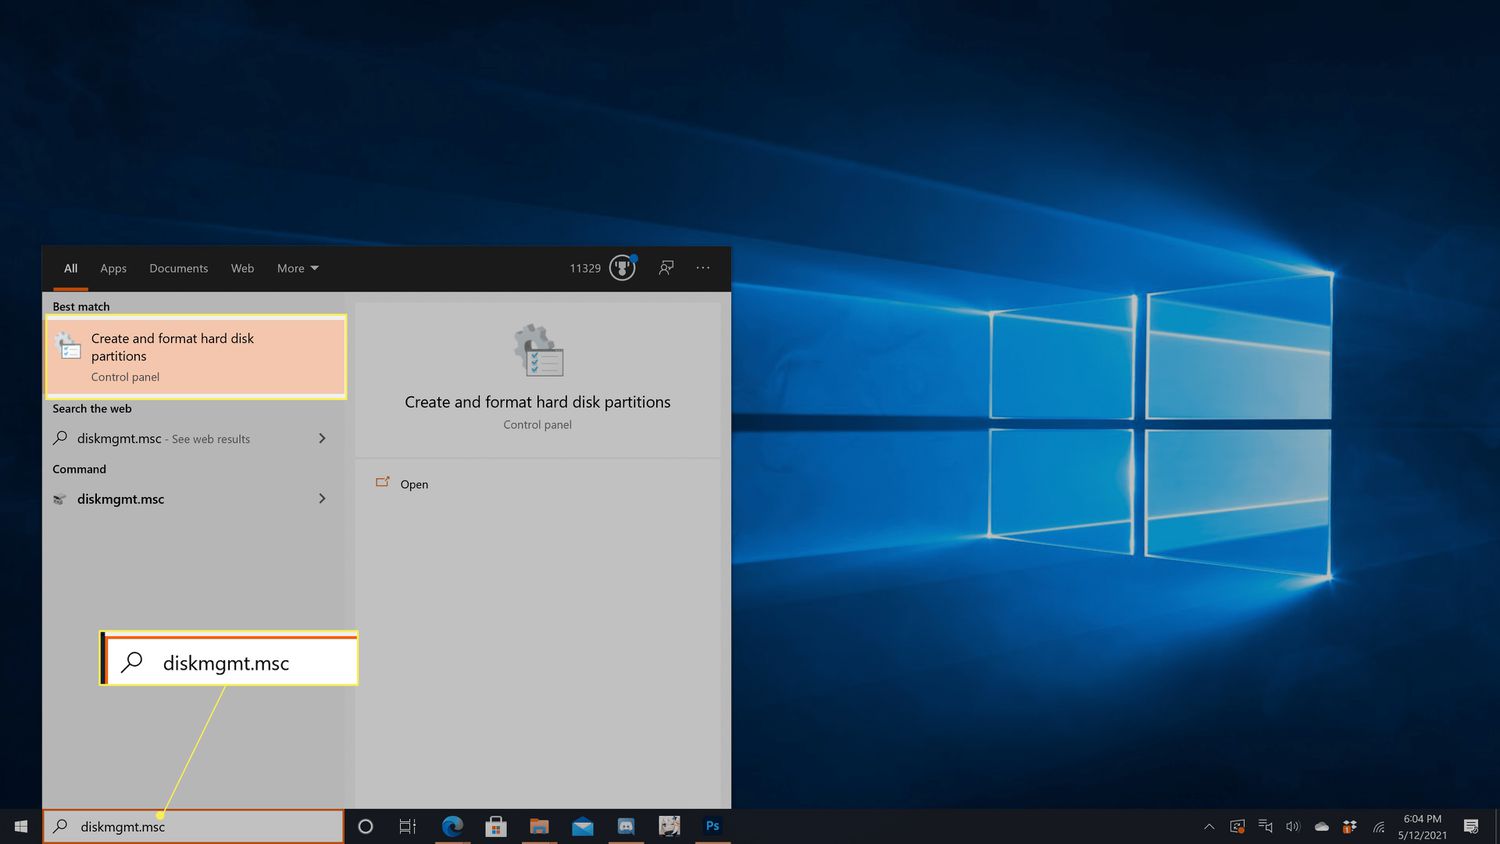
Once you have determined the disk number of your SSD, the next step is to open the Disk Management utility on your Windows 10 system. Disk Management allows you to manage and manipulate disk partitions, including formatting drives.
Here’s how you can open Disk Management:
- Right-click on the Start menu button and select “Disk Management” from the context menu. Alternatively, you can press Windows key + X and choose “Disk Management” from the list.
- The Disk Management window will open, displaying a visual representation of all connected drives on your computer.
- Take a moment to familiarize yourself with the Disk Management interface. You will see a list of drives labeled with their assigned disk numbers, as well as their partition layout.
Once you have opened Disk Management, you are now ready to proceed with the formatting process in the next steps. From Disk Management, you will be able to delete existing partitions, create new volumes, and format your SSD.
It’s important to ensure that you are making changes to the correct disk number that corresponds to your SSD. Double-checking the disk number is crucial to avoid accidentally formatting the wrong drive.
With Disk Management open and the correct disk identified, let’s move on to the next step, where we will guide you through selecting the SSD and deleting any existing partitions.
Step 4: Select the SSD and delete existing partitions
Now that you have opened the Disk Management utility and identified your SSD, it’s time to select the SSD and delete any existing partitions. Deleting existing partitions is necessary to prepare the SSD for formatting.
Follow these steps to select the SSD and delete existing partitions:
- In the Disk Management window, locate your SSD. It will be labeled with the disk number you identified in the previous step.
- Right-click on the SSD and select “Delete Volume” from the context menu.
- Confirm the deletion by clicking “Yes” when prompted.
- Repeat this process for any additional partitions on the SSD until you have deleted all of them.
Deleting existing partitions will remove all data on the SSD, so it’s crucial to ensure that you have backed up any important files before proceeding. Make sure you double-check that you are deleting the correct partitions on the correct disk number to avoid any accidental data loss.
Once you have deleted all the existing partitions on the SSD, you are now ready to create a new volume in the next step. This will allow you to format the SSD and prepare it for use.
Now that you have successfully selected the SSD and deleted the existing partitions, let’s move on to the next step, where we will guide you through creating a new volume for your SSD.
Step 5: Create a new volume
After deleting the existing partitions on your SSD, the next step is to create a new volume. Creating a new volume will allow you to format the SSD and prepare it for use by your operating system.
Follow these steps to create a new volume:
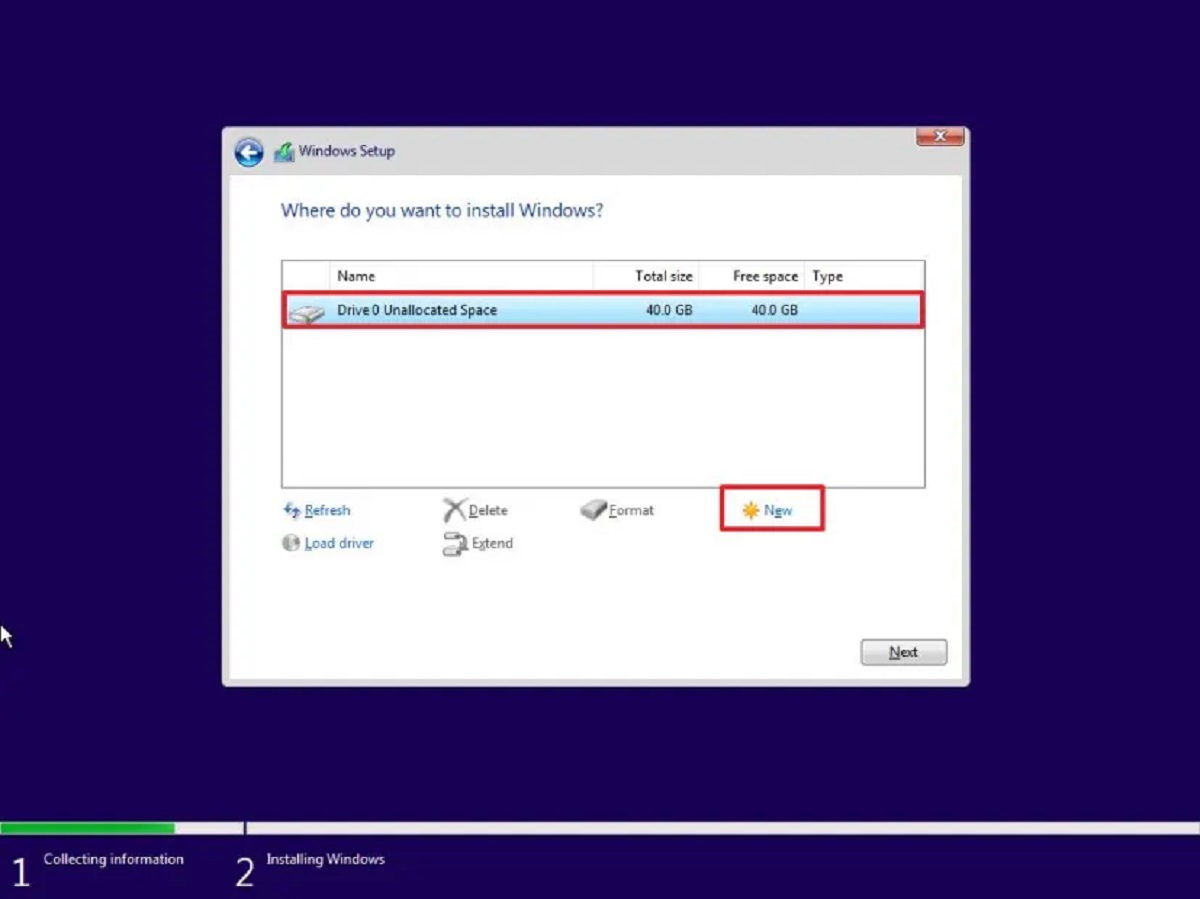
- In the Disk Management window, right-click on the unallocated space of your SSD.
- Select “New Simple Volume” from the context menu.
- The New Simple Volume Wizard will open. Click “Next” to proceed.
- Specify the volume size for your SSD. By default, the maximum size will be selected, which is recommended for most users. Click “Next” to continue.
- Assign a drive letter or mount point to the volume. You can select an available letter or choose to mount the volume in an empty NTFS folder. Click “Next” to proceed.
- Format the volume by selecting the file system (typically NTFS) and providing a volume label (optional). Quick format is recommended for faster formatting. Click “Next” to continue.
- Review the summary of the new volume’s settings and click “Finish” to create the volume.
The Disk Management utility will now create the new volume and format your SSD with the specified settings. The process may take some time, depending on the size of the SSD.
Once the new volume is created and formatted, your SSD is ready for use. You can start storing and retrieving data on your freshly formatted SSD.
With a new volume created on your SSD, you are one step closer to harnessing the full potential of your storage solution. In the next step, we will guide you through the final step of formatting the SSD itself.
Step 6: Format the SSD
After creating a new volume on your SSD, the final step is to format the SSD itself. Formatting the SSD will initialize the file system, making it ready to store and retrieve data effectively.
Follow these steps to format the SSD:
- Open the Disk Management utility by right-clicking on the Start menu button and selecting “Disk Management”.
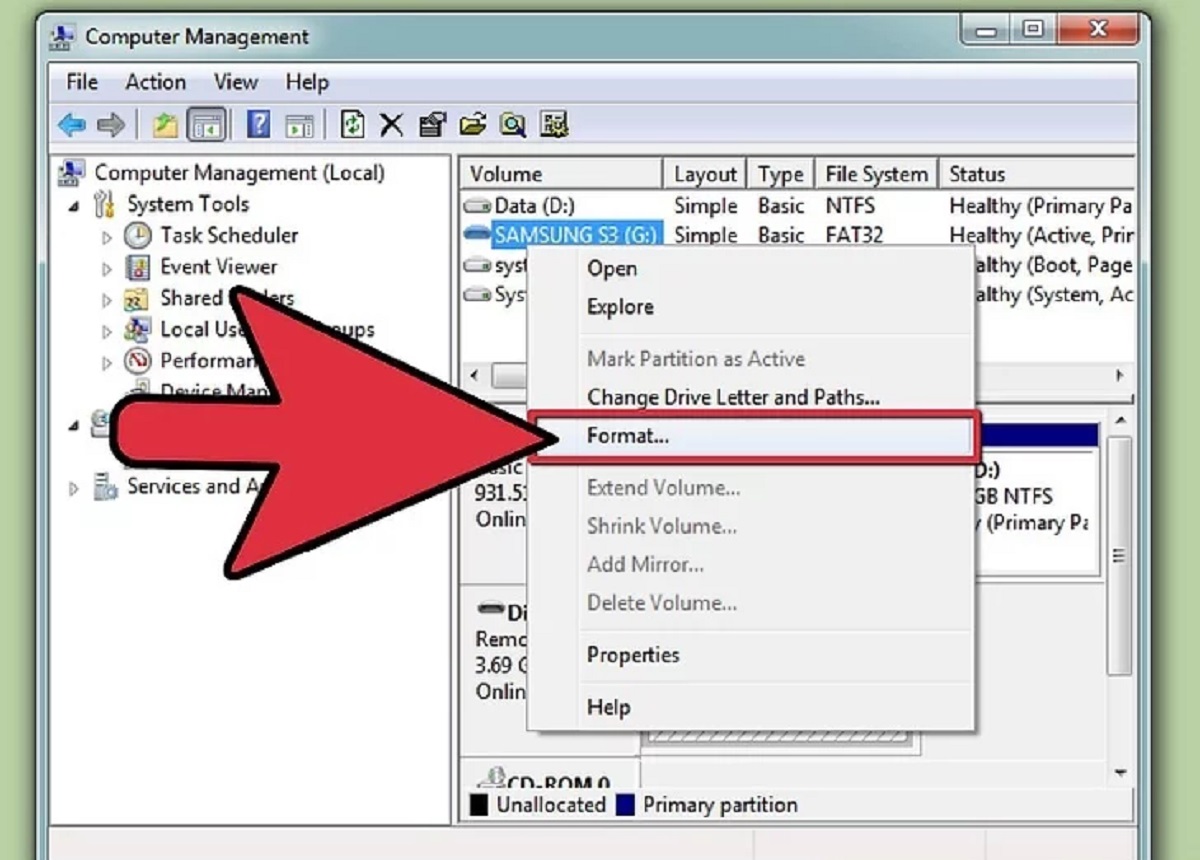
- Locate your SSD in the Disk Management window and right-click on the volume you created in the previous step.
- From the context menu, select “Format”.
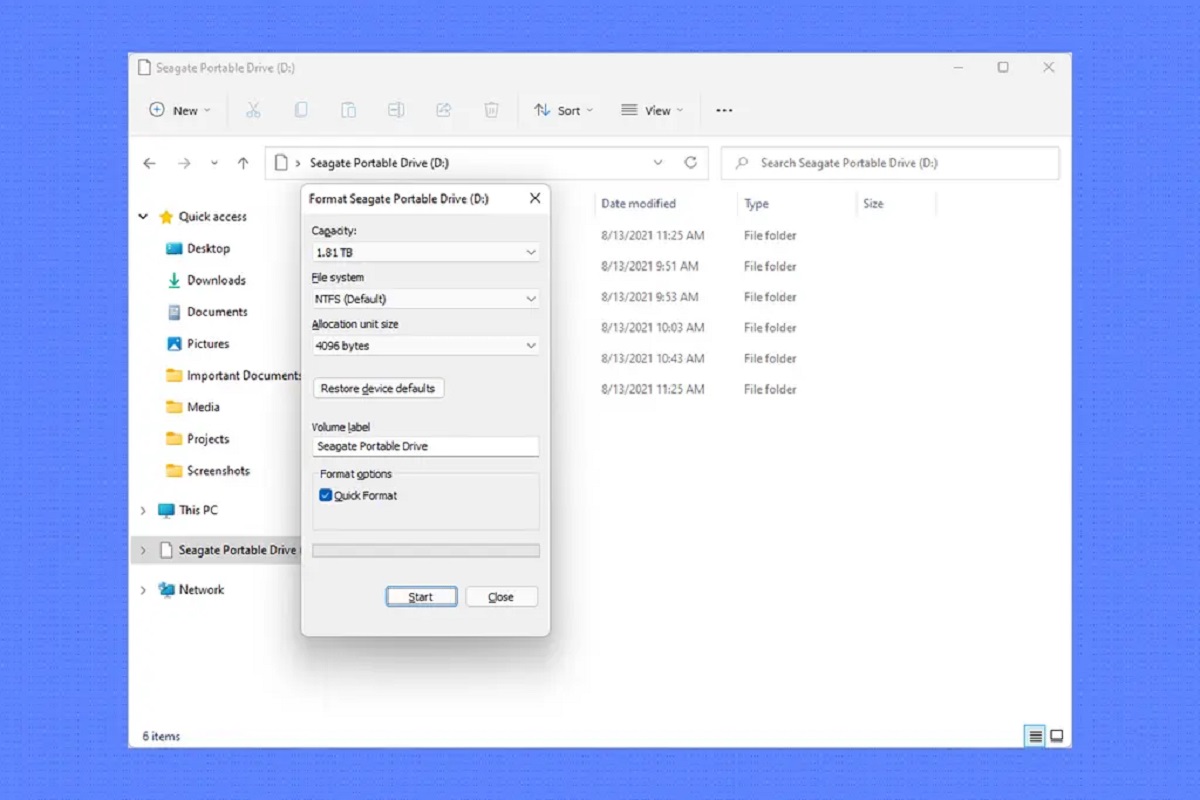
- In the Format window, choose the desired file system for your SSD. The default choice is typically NTFS, which is suitable for most users.
- You can also specify a volume label for your SSD (optional).
- Check the “Perform a quick format” option for faster formatting.
- Click “OK” to start the formatting process.
The Disk Management utility will now format the SSD according to the specified settings. The formatting process might take some time, depending on the size of the SSD.
Once the formatting is complete, your SSD is ready for use. You can start using it to store files, install applications, and enjoy the increased speed and performance that SSDs offer.
With the SSD successfully formatted, you have completed the formatting process. Ensure that you have backed up your important data, determined the correct disk number, opened Disk Management, deleted existing partitions, created a new volume, and finally, formatted the SSD.
Congratulations! You can now enjoy the enhanced speed, reliability, and storage capacity of your newly formatted SSD on Windows 10.
Conclusion
Formatting a solid-state drive (SSD) on Windows 10 is an important step to maximize its performance, longevity, and storage capabilities. By following the step-by-step guide in this article, you have learned how to properly format a SSD on your Windows 10 system.
We began by emphasizing the significance of backing up your data before proceeding with the formatting process. Creating backups ensures that your important files are safe and can be easily restored after formatting the SSD.
Next, we guided you through determining the disk number of your SSD and opening the Disk Management utility, which is a built-in tool in Windows 10. Disk Management allows you to manage your drives and perform various disk operations, including formatting.
Then, we walked you through selecting the SSD and deleting any existing partitions on the drive. This step is essential for preparing the SSD for formatting and erasing any existing data.
After that, we explained how to create a new volume on the SSD, which enables you to allocate storage space and format the drive. Creating a new volume is a crucial step in organizing the SSD and making it usable.
Finally, we concluded the process by explaining how to format the SSD itself. Formatting initializes the file system, making the SSD ready to store and retrieve data efficiently.
Now that you have successfully completed the formatting process, you can enjoy the benefits of your newly formatted SSD. Whether you are using it for increased storage, faster boot times, or improved system performance, the formatted SSD will elevate your computing experience.
Remember, formatting erases all the data on the drive, so it’s important to have backups and exercise caution when making any changes to your storage devices. Regularly backing up your important files is always recommended to prevent data loss.
Thank you for following this guide on how to format a SSD on Windows 10. We hope this article has helped you successfully format your SSD and optimize its performance for years to come.


