Introduction
Welcome to the world of SSDs! If you’re looking to format your SSD for Windows 7, you’re in the right place. Solid State Drives (SSDs) have become increasingly popular due to their faster performance and improved reliability compared to traditional hard disk drives. By properly formatting your SSD, you can maximize its potential and ensure smooth operation on your Windows 7 system.
Before we dive into the steps of formatting your SSD, it’s important to understand the significance of this process. Formatting a drive involves preparing it for data storage and organizing its file system. It essentially wipes out any existing data and sets up the SSD to be recognized and utilized by your operating system.
Whether you’ve just purchased a new SSD or want to reformat an existing one, this guide will walk you through the necessary steps to get your SSD up and running on your Windows 7 machine. By following these instructions, you’ll be able to achieve optimal performance and ensure compatibility with your system.
It’s worth mentioning that formatting your SSD will erase all existing data on it. Therefore, it’s crucial to back up any important files or documents before proceeding with the formatting process. This way, you won’t risk losing any valuable information.
Are you ready to embark on the journey of formatting your SSD for Windows 7? Let’s get started with step one: backing up your data!
Step 1: Back up your data
The first and most crucial step before formatting your SSD is to back up all your important data. Formatting will erase all data on the drive, so it’s important to make sure you have a copy of everything you need.
You have a few options for backing up your data. One option is to manually copy and paste your important files onto an external hard drive, USB flash drive, or cloud storage service. This method allows you to have direct control over which files you want to backup.
Alternatively, you can use a backup software to automate the process. There are many reliable backup software options available, some of which offer features like scheduled backups and incremental backups. These programs can make the backup process quicker and more convenient.
When backing up your data, make sure to include all important documents, photos, videos, music, and any other files that you cannot afford to lose. Take the time to carefully review your files and ensure that everything is included in the backup.
Once you have successfully backed up your data and confirmed that everything is safely stored, you can proceed with confidence to the next step of formatting your SSD.
Remember, data loss can be devastating, so it’s essential to double-check your backups to ensure nothing is missing. Taking the time to back up your data will provide peace of mind and protect you from any potential loss during the formatting process.
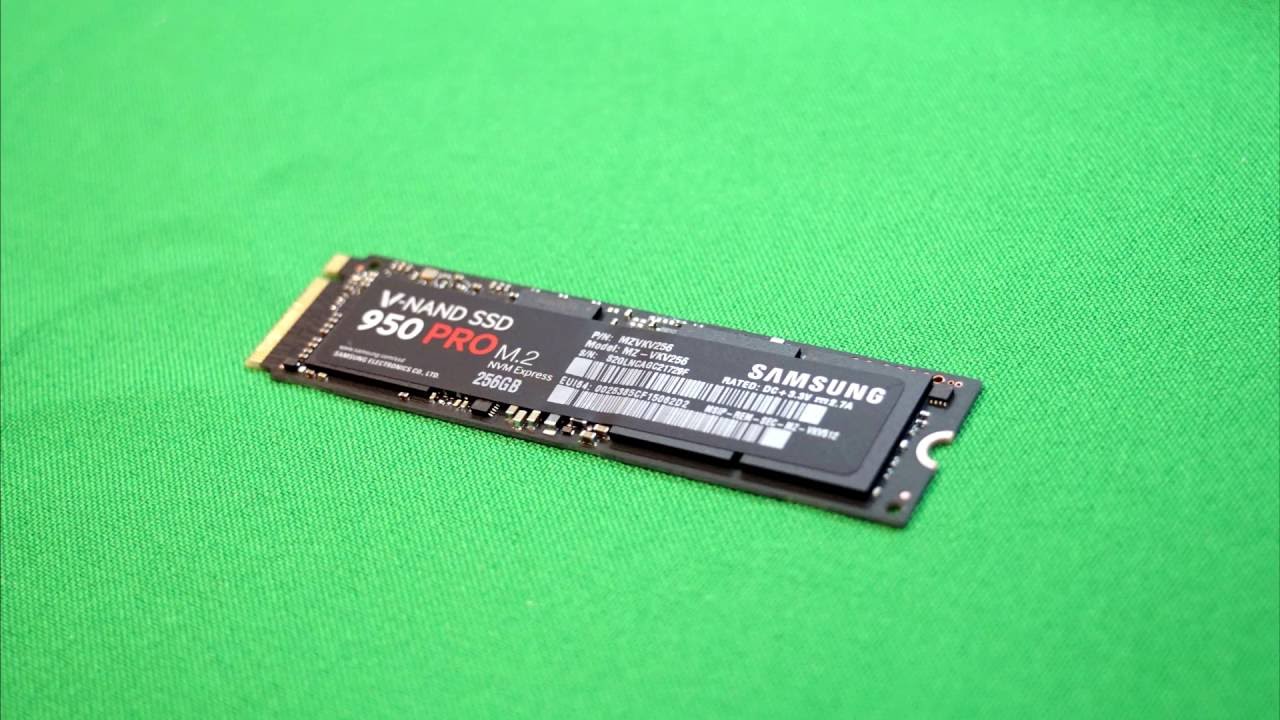
Step 2: Prepare your SSD
Before diving into the formatting process, it’s important to properly prepare your SSD. This step involves physically connecting the SSD to your computer and ensuring that it is ready to be accessed and formatted.
The first thing you need to do is gather the necessary tools. You’ll need a SATA cable, which is the most common type of cable used to connect SSDs. If your computer doesn’t have an available SATA cable, you may need to purchase one separately.
Next, locate the appropriate slot on your computer where the SSD will be installed. Depending on your system, this could be a 2.5-inch or M.2 slot. Refer to your computer’s manual or documentation to determine the exact location and specifications of the SSD slot.
Once you have identified the slot, power down your computer and unplug it from the wall outlet. This step is crucial to prevent any electrical damage while connecting the SSD.
Carefully open your computer case and locate the SATA ports on your motherboard. Insert one end of the SATA cable into an available SATA port. The SATA ports are usually labeled, making it easy to identify the correct one.
Now it’s time to connect the other end of the SATA cable to your SSD. Align the cable connector with the matching port on the SSD and gently push it in until it clicks into place. This ensures a secure connection between the SSD and the motherboard.
If you’re using an M.2 SSD, the installation process may be slightly different. M.2 SSDs are installed directly onto the motherboard, typically using screws or retention clips. Again, consult your computer’s manual for specific instructions on installing an M.2 SSD.
After successfully connecting your SSD to the computer, it’s time to close the computer case and plug it back into the power outlet.
With your SSD properly prepared and securely connected to your computer, you’re now ready to move on to the next step of formatting your SSD in Windows 7.
Step 3: Connect your SSD to your computer
Now that you have prepared your SSD by physically installing it in your computer, it’s time to connect it to your computer and ensure it is recognized properly. Connecting your SSD involves a few simple steps to establish a connection between the SSD and your computer’s operating system.
First, power on your computer and wait for it to fully boot up. Once your computer is powered on, it’s time to check if your SSD is being detected. To do this, you’ll need to access your computer’s BIOS or UEFI settings.
To enter the BIOS/UEFI settings, you typically need to press a specific key during the boot-up process. Common keys to enter the BIOS/UEFI settings include Esc, Del, F2, or F10, but it can vary depending on your computer’s manufacturer.
Once you’ve accessed the BIOS/UEFI settings, navigate to the “Storage” or “Drives” section. Here, you should see a list of connected drives, including your SSD. If your SSD appears in the list, it means that it is properly connected and recognized by your computer.
If your SSD is not detected in the BIOS/UEFI settings, double-check the physical connections. Ensure that the SATA cable is securely connected to both the SSD and the motherboard, and that the power cable is connected if required.
If you have confirmed that the physical connections are correct, try restarting your computer and accessing the BIOS/UEFI settings again. Sometimes, a simple reboot can resolve detection issues.
If you’re still experiencing problems with SSD detection, consult your computer or motherboard’s manual for troubleshooting steps specific to your system. Additionally, you may want to check for any firmware or driver updates for your SSD that could help resolve compatibility issues.
Once your SSD is properly connected and recognized by your computer, you’re ready to move on to the next step of formatting your SSD in Windows 7.
Step 4: Open Disk Management
With your SSD connected and recognized by your computer, it’s time to open Disk Management, a built-in Windows utility that allows you to manage and format your storage devices.
To open Disk Management, right-click on the Windows Start button and select “Disk Management” from the menu that appears. Alternatively, you can press the Windows key + X and choose “Disk Management” from the Power User menu.
Once Disk Management is open, you’ll see a list of all the drives connected to your computer, including your SSD. The SSD will likely be labeled as “Disk X” or “unallocated” if it hasn’t been formatted yet.
Take a moment to verify that the SSD you want to format is indeed listed in Disk Management. Double-check the size and other details to ensure you’re working with the correct drive. It’s important not to accidentally format the wrong drive, as it will result in irreversible data loss.
If your SSD is not showing up in Disk Management, ensure that it is properly connected and detected by your computer. In some cases, you may need to restart your computer or try a different SATA port or cable to ensure a proper connection.
Once you have confirmed that your SSD is present in Disk Management, you’re ready to proceed to the next step of initializing your SSD.
Keep in mind that Disk Management provides a range of options for managing your drives, such as creating partitions and assigning drive letters. For now, our focus is on formatting the SSD, but feel free to explore these options for future use and customization.
In the next step, we will guide you through the process of initializing your SSD to prepare it for formatting and use with Windows 7.
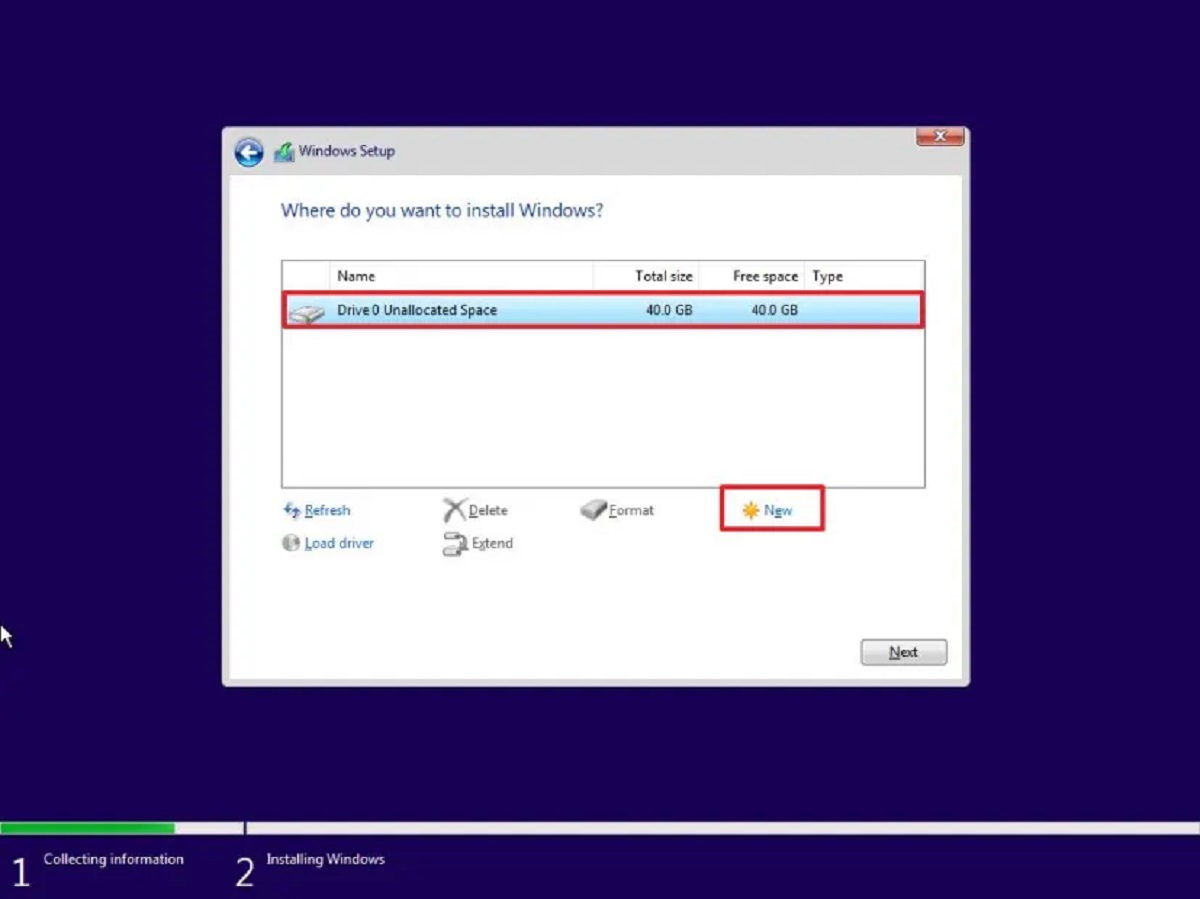
Step 5: Initialize your SSD
Now that you have opened Disk Management and confirmed that your SSD is listed, the next step is to initialize your SSD. Initialization is the process of preparing the drive for use and creating a partition table, which helps your operating system recognize and organize the storage space on the SSD.
To initialize your SSD, right-click on the unallocated space of your SSD in Disk Management and select “Initialize Disk” from the context menu. A dialog box will appear, prompting you to choose the partition style for the disk.
In most cases, you’ll want to select the “Master Boot Record (MBR)” partition style if your SSD is 2 terabytes or smaller. If your SSD is larger than 2 terabytes, you’ll need to select the “GUID Partition Table (GPT)” partition style. Make your selection and click “OK” to continue.
Once the initialization process is complete, you’ll see that the SSD is labeled as “Basic” and the previously unallocated space will now be marked as “Healthy (Primary Partition)”. At this point, you’re ready to create a partition on your SSD.
It’s important to note that initializing the SSD will not erase any data on the drive. The initialization process simply prepares the drive for formatting and sets up the partition table. However, if you have any existing data on the SSD, make sure you have backed it up before proceeding, as formatting the drive in the next step will erase all data.
With your SSD initialized and ready to go, it’s time to move on to the next step: creating a partition on your SSD.
Remember, take your time and make sure you have selected the correct partition style based on the size of your SSD. Incorrectly initializing your SSD can lead to compatibility issues and data loss in the future.
Step 6: Create a partition
Now that you have successfully initialized your SSD, the next step is to create a partition on the drive. A partition is a logical section of a hard drive that functions as if it were a separate drive. By creating a partition, you can organize your SSD’s storage space and allocate it for specific purposes.
To create a partition on your SSD, right-click on the “Healthy (Primary Partition)” area of your SSD in Disk Management and select “New Simple Volume” from the context menu. The New Simple Volume Wizard will open, guiding you through the partition creation process.
Click “Next” to start the wizard and specify the size of the partition you want to create. If you want to use the entire SSD for this partition, simply accept the default maximum size. Alternatively, you can enter a specific size if you want to allocate a certain amount of space for the partition.
After specifying the partition size, you’ll be prompted to assign a drive letter or path to the partition. Choose a letter that is not already in use by another drive and click “Next” to continue.
In the next step, you’ll have the option to format the partition. Choose the file system you want to use for your SSD. For compatibility with Windows 7, select “NTFS” as the file system. You can also choose the volume label, which is the name that will be displayed for the partition in Windows Explorer.
Finally, on the last step of the wizard, review the selected settings and click “Finish” to create the partition on your SSD. The New Simple Volume Wizard will format the partition and assign the drive letter you specified earlier.
Once the partition creation process is complete, you’ll see your SSD’s partition listed in Disk Management with the assigned drive letter. Congratulations! You’ve successfully created a partition on your SSD.
Keep in mind that you can create multiple partitions on your SSD if you want to separate your data or have different file systems. However, for most users, a single partition will suffice for general storage.
In the next step, we’ll guide you through the process of formatting the newly created partition on your SSD.
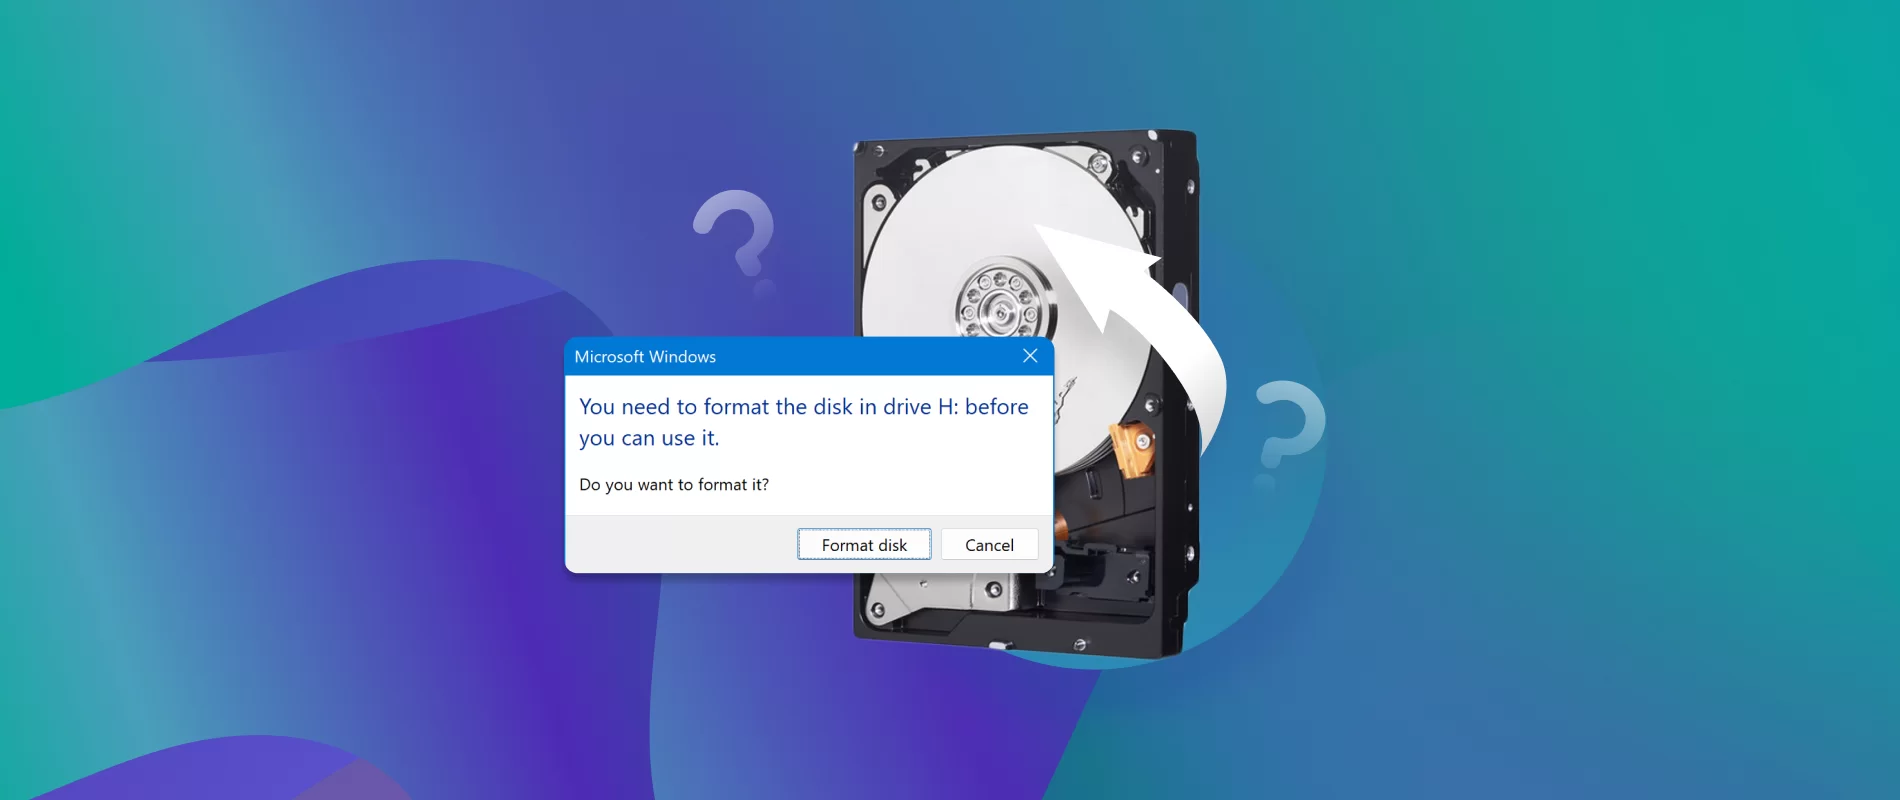
Step 7: Format your SSD
Now that you have created a partition on your SSD, the next step is to format it. Formatting a partition prepares it for data storage by setting up the file system and initializing the data structure. This ensures that your SSD can effectively store and retrieve files.
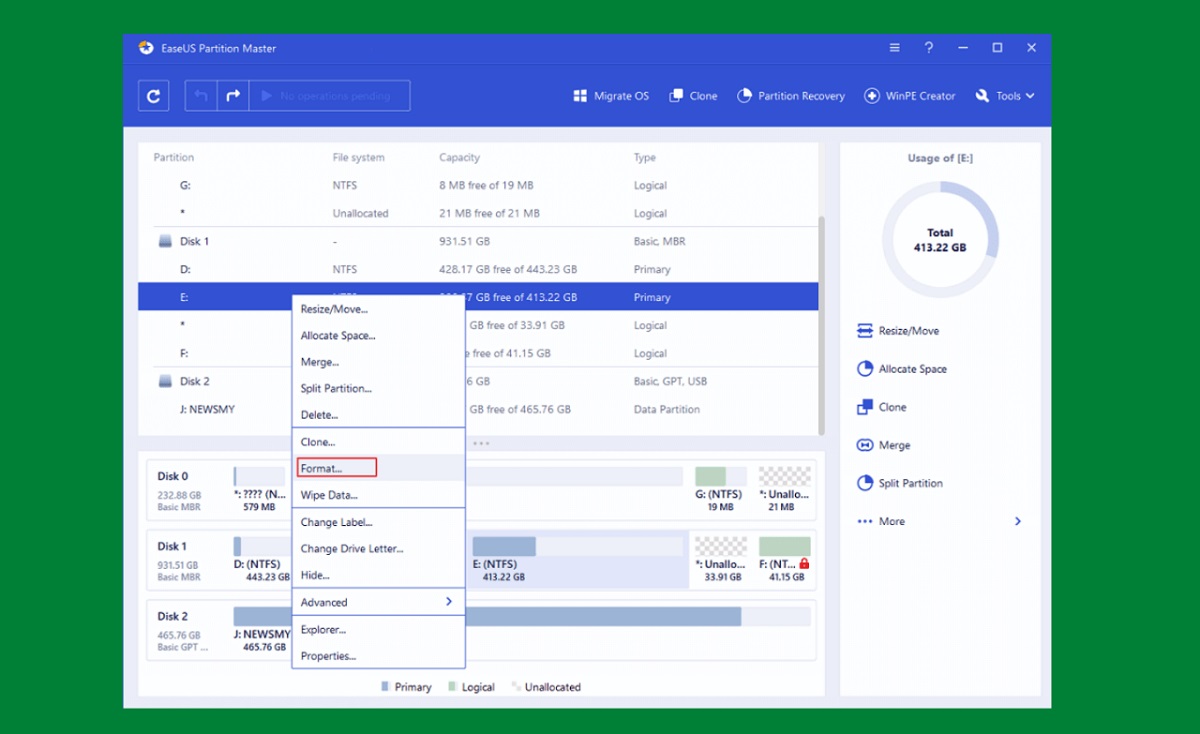
To format your SSD’s partition, right-click on the partition in Disk Management and select “Format” from the context menu. The Format window will appear, allowing you to customize the formatting settings.
In the Format window, you can choose the file system for your SSD. For Windows 7 compatibility, select “NTFS” as the file system. You can also assign a volume label, which is the name that will be displayed for the partition in Windows Explorer.
Under the “Allocation unit size” section, it’s usually best to leave the option set to “Default” unless you have specific requirements or knowledge about the allocation unit sizes. The default option ensures optimal performance and compatibility.
If you want to perform a quick format, leave the “Perform a quick format” box checked. This option speeds up the formatting process by not scanning the entire drive for bad sectors. However, if you want a more thorough format that checks for bad sectors, uncheck this box.
Once you have chosen your formatting options, click “OK” to start the formatting process. A warning message will appear, reminding you that formatting will erase all data on the SSD. If you have made sure to back up your data, click “OK” to confirm and proceed with the formatting.
The formatting process may take a few moments to complete, depending on the size of your SSD and the formatting options selected. Once it’s done, you’ll receive a notification that the format was successful.
Now, your SSD’s partition is properly formatted, and you can begin using it to store your files and data. The partition will now be listed as a “Healthy” partition in Disk Management.
Congratulations! You have successfully formatted your SSD, and it is ready to be used with Windows 7.
In the next step, we’ll guide you through the process of assigning a drive letter to your SSD’s partition.
Step 8: Assign a drive letter
After formatting your SSD, the next step is to assign a drive letter to the partition. A drive letter is a unique identifier that allows your operating system to access and manage the partition like a separate storage device.
To assign a drive letter to your SSD’s partition, right-click on the partition in Disk Management and select “Change Drive Letter and Paths” from the context menu. The Change Drive Letter and Paths window will open, displaying the current drive letter or path assigned to the partition.
Click on the “Change” button to proceed with assigning a new drive letter. In the next window, click on the “Assign the following drive letter” option and select an available letter from the drop-down menu. Choose a letter that is not already in use by another drive.
After selecting the new drive letter, click “OK” to save the changes. The drive letter will be assigned to the partition, and you can now access the SSD’s partition with that assigned letter in Windows Explorer or any other file management tool.
Assigning a drive letter is an important step as it allows you to easily identify and access your SSD’s partition. It’s particularly crucial if you plan to use the partition for storing and accessing files regularly.
With a drive letter assigned, you can now start using your formatted SSD’s partition as a storage device, just like any other drive. You can copy files to it, create folders, and organize your data as needed.
Keep in mind that the assigned drive letter will remain the same each time you connect the SSD to your computer. If you disconnect and reconnect the SSD, it will automatically be recognized with the assigned drive letter.
In case you want to change or remove the drive letter in the future, you can access the same “Change Drive Letter and Paths” window in Disk Management and make the necessary adjustments.
Now that you have successfully assigned a drive letter to your SSD’s partition, you’re all set to enjoy the convenience and benefits of using your newly formatted SSD with Windows 7.
In the next step, we’ll guide you through the process of checking the formatting results and confirming that your SSD is functioning correctly.
Step 9: Check the formatting results
After formatting your SSD and assigning a drive letter to the partition, it’s important to verify the formatting results to ensure that your SSD is functioning correctly. This step allows you to confirm that the formatting process was successful and that your SSD is ready for use with Windows 7.
To check the formatting results, open Windows Explorer or any other file management tool and navigate to the drive letter assigned to your SSD’s partition. Double-click on the drive letter, and you should be able to access the partition and see its contents.
Take a moment to browse through the partition and verify that it appears empty or only contains the files and folders you expect. This will ensure that the formatting process was completed successfully and that the partition is ready for use.
You can also perform a quick test by creating a new folder or copying a small file onto the partition. Check if the operation is successful and the file or folder appears in the partition. These tests help confirm that the SSD is functioning correctly and that you have read and write access to the partition.
If you encounter any issues or error messages when accessing the partition or performing tests, double-check the formatting process, the assigned drive letter, and the connectivity of your SSD. Ensure that all the steps from the previous sections were followed correctly.
If you have confirmed that the formatting results are as expected, congratulations! Your SSD is now properly formatted, and you’re ready to fully utilize its storage capacity for your Windows 7 system.
Keep in mind that maintaining regular backups of your important data is always recommended, regardless of the formatting results. Backing up your data helps protect against potential data loss due to unforeseen circumstances or errors.
Now that you have checked the formatting results, you can enjoy the benefits of your properly formatted and functional SSD. Take advantage of its improved performance and reliability to store and access your files with ease.
With all the formatting steps completed, you’ve successfully formatted your SSD for use with Windows 7. Congratulations on reaching the end of this guide!
Remember, if you ever need to format your SSD again or work with other storage devices, you can refer back to this guide for guidance.
Conclusion
Congratulations! You have successfully formatted your SSD for Windows 7. By following the steps outlined in this guide, you have prepared your SSD, connected it to your computer, initialized, created a partition, formatted, and assigned a drive letter to it. Your SSD is now ready to be used as a reliable and high-performance storage device.
Properly formatting your SSD is essential for optimal performance and compatibility with your Windows 7 system. It ensures that your SSD is recognized, organized, and ready to store and retrieve data efficiently.
Remember, always back up your important data before formatting your SSD or making any other significant changes to your storage devices. This precaution guarantees that you won’t lose any crucial information during the formatting process.
Now that your SSD is formatted and ready, you can take advantage of its higher speed and improved reliability compared to traditional hard disk drives. It’s the perfect time to install your favorite applications, store important files, and enjoy faster system boot and data transfer speeds.
Whenever you need to format or work with SSDs in the future, refer back to this guide for a step-by-step reference. The knowledge and skills you’ve gained will ensure successful formatting experiences in the future.
Thank you for following along with this guide. We hope it has been informative and helpful in formatting your SSD for Windows 7. If you have any further questions or need additional assistance, feel free to consult online resources or seek guidance from technical experts.
Wishing you seamless and efficient use of your newly formatted SSD!