Introduction
Welcome to the world of laser engraving! If you’ve recently acquired a Chinese Benbox laser engraver, congratulations! You’re in possession of a powerful tool that can create intricate designs on various materials. However, to achieve the best results, it’s crucial to understand and properly focus the laser.
Proper laser focusing is essential for two main reasons: achieving optimal engraving quality and ensuring safety. When the laser is accurately focused, the lines and details of your designs will be sharp and precise. On the other hand, an out-of-focus laser can result in blurry or distorted engravings.
Additionally, focusing the laser is crucial for safety purposes. A well-focused laser beam is directed precisely onto the material, reducing the risk of accidental eye exposure or damage to surrounding objects.
In this guide, we will delve into the process of focusing the laser on your Benbox laser engraver. Whether you’re a beginner or have some experience with laser engraving, this article will provide you with step-by-step instructions to achieve proper laser focusing and troubleshoot common issues.
So, let’s get started and dive into the world of laser engraving with your Chinese Benbox laser engraver!
Understanding the Importance of Focusing the Laser
To grasp the significance of laser focusing, it’s vital to comprehend the role it plays in achieving optimal engraving results. When the laser beam emitted by the engraver is focused correctly, it becomes concentrated and powerful, enabling it to cut or engrave with precision.
By focusing the laser, you are essentially adjusting the focal point, which determines the depth and intensity of the engraving. If the laser is not properly focused, the focal point may be too shallow or too deep, resulting in subpar engraving quality.
Moreover, laser focusing impacts the overall safety of the engraving process. A misaligned or unfocused laser beam can scatter, potentially causing harm to your eyes or damaging the surrounding area. Proper focusing ensures that the laser remains concentrated on the material, minimizing the risk of accidents.
Another crucial aspect to consider is the material’s thickness. Different materials require different laser focus settings. Thin materials, for instance, necessitate a shallower focal point to prevent excessive burning or cutting through. Conversely, thicker materials must be engraved with a deeper focal point to achieve the desired results.
Ultimately, the importance of laser focusing boils down to the quality and safety of your engraving endeavors. By taking the time to understand the mechanics and intricacies of focusing the laser, you can enhance the precision and clarity of your engravings while ensuring the protection of yourself and your surroundings.
Getting Familiar with the Benbox Laser Engraver
Before diving into the process of focusing the laser on your Benbox laser engraver, it’s important to become acquainted with the basic components and functions of the machine.
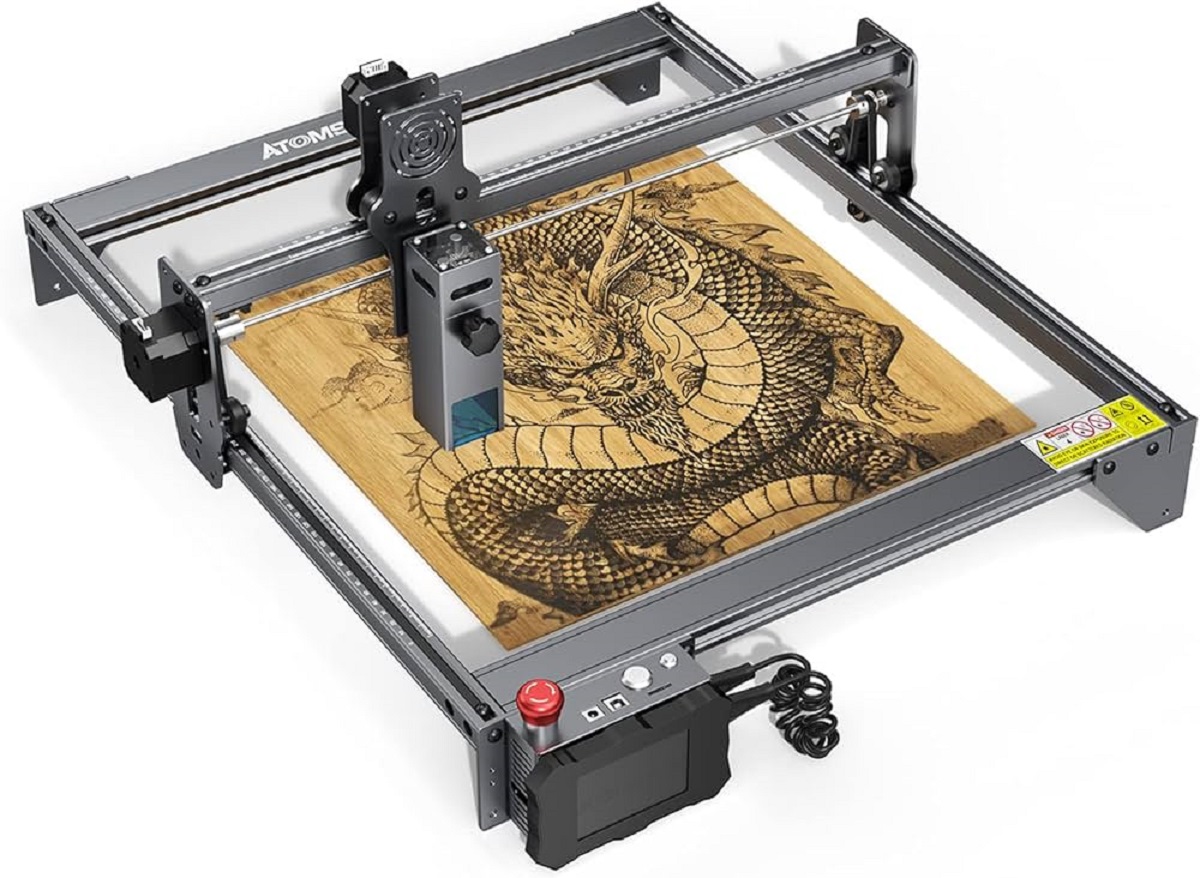
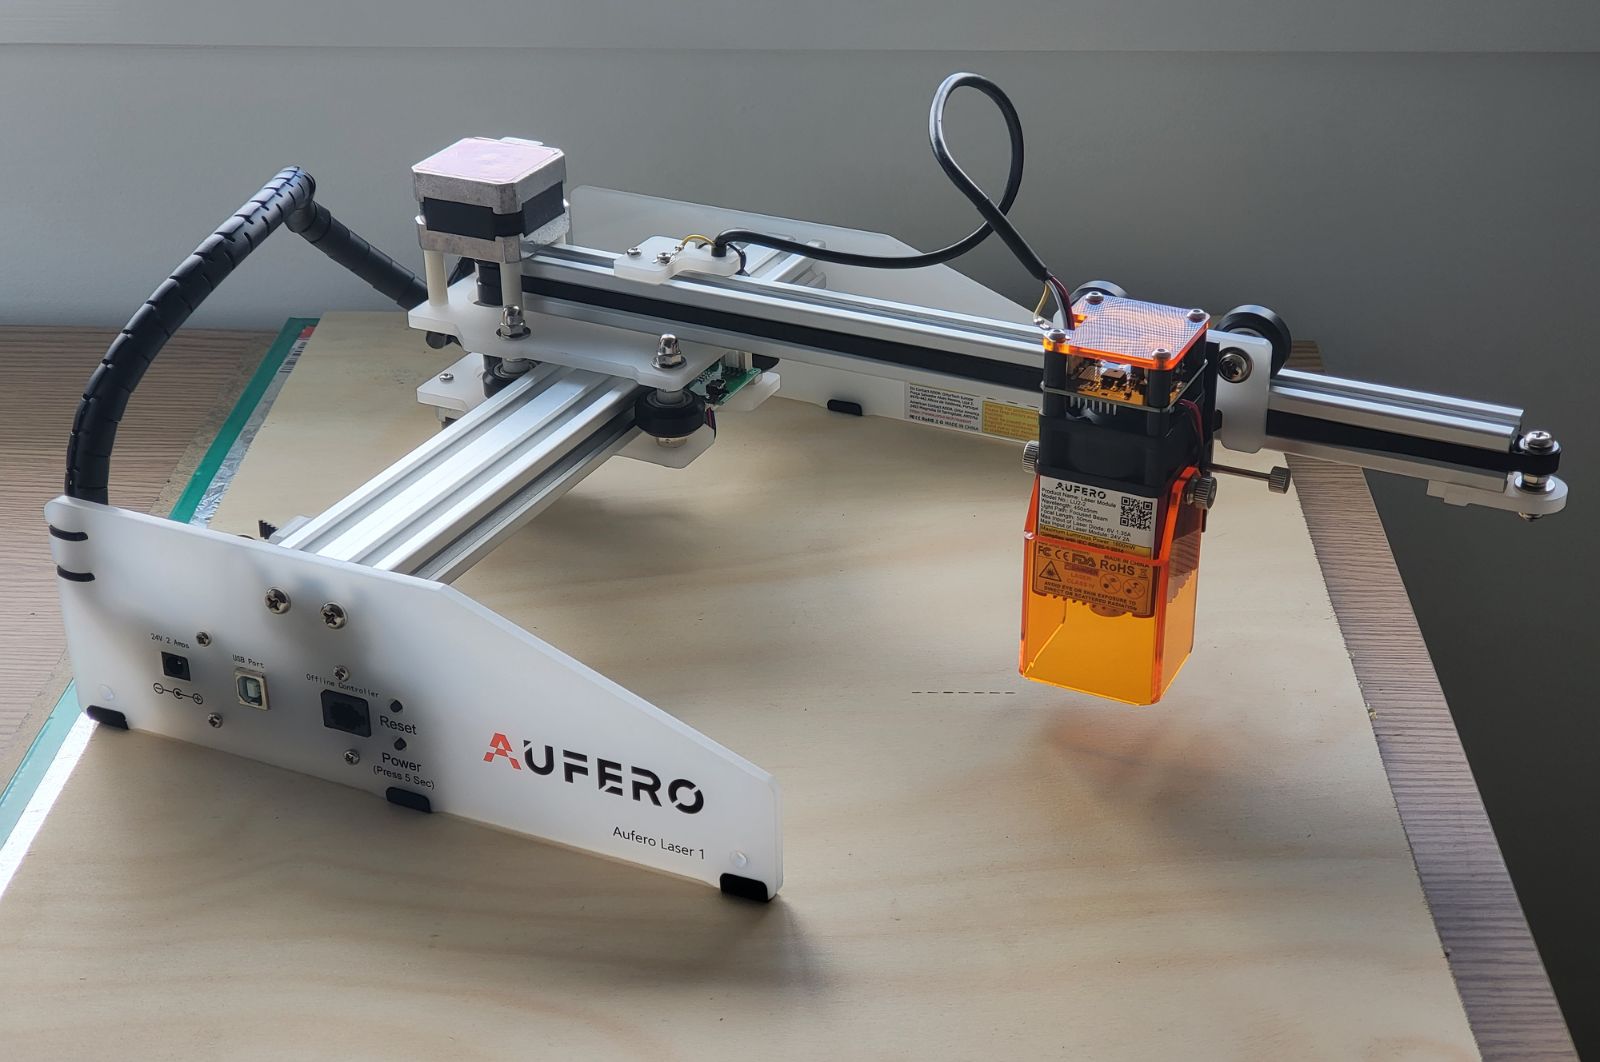
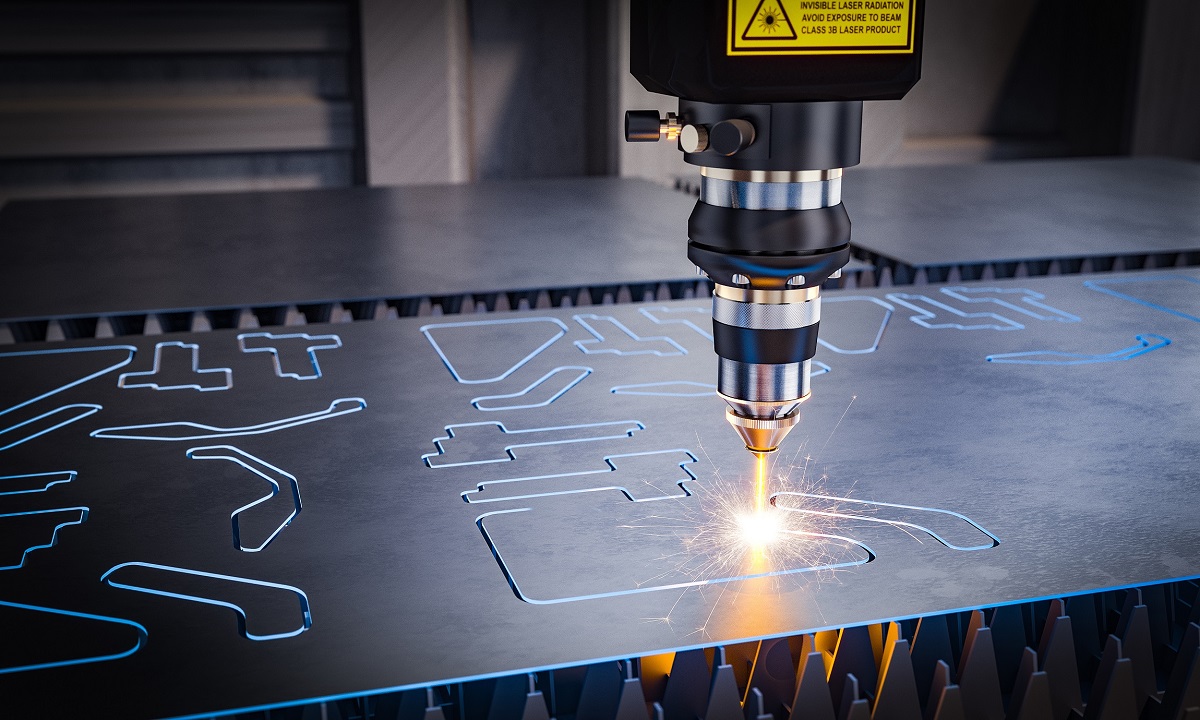
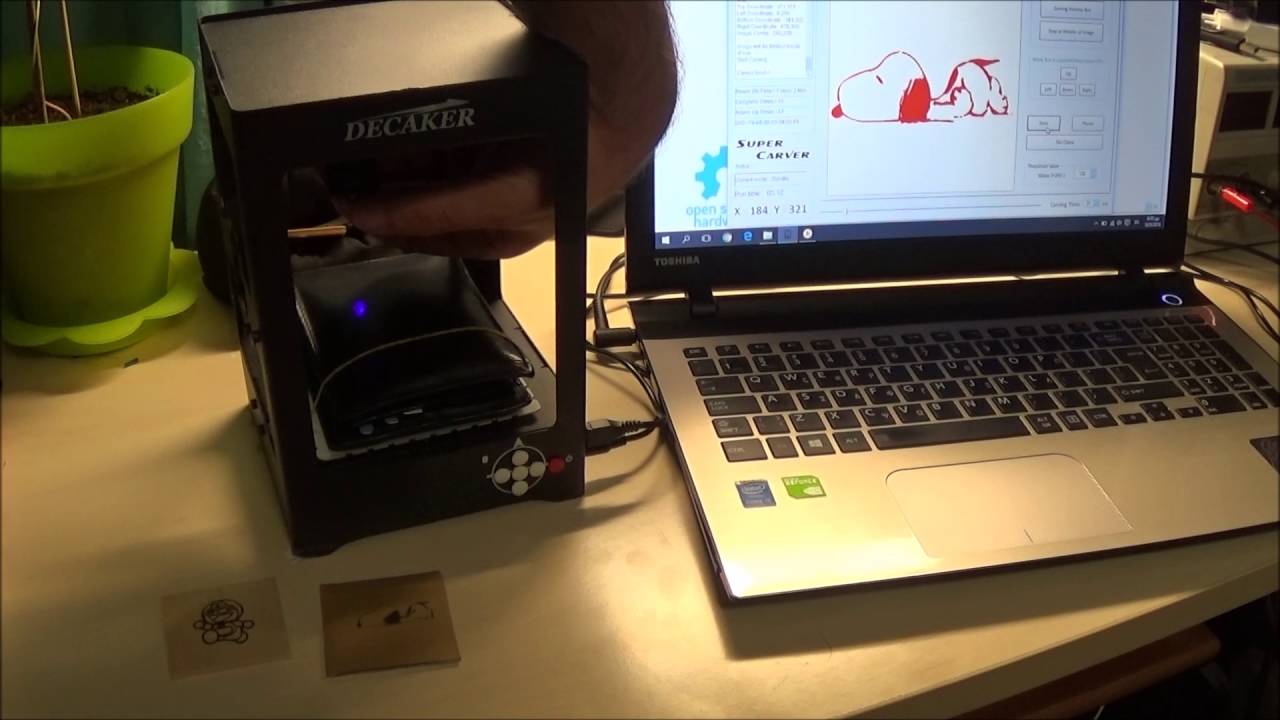
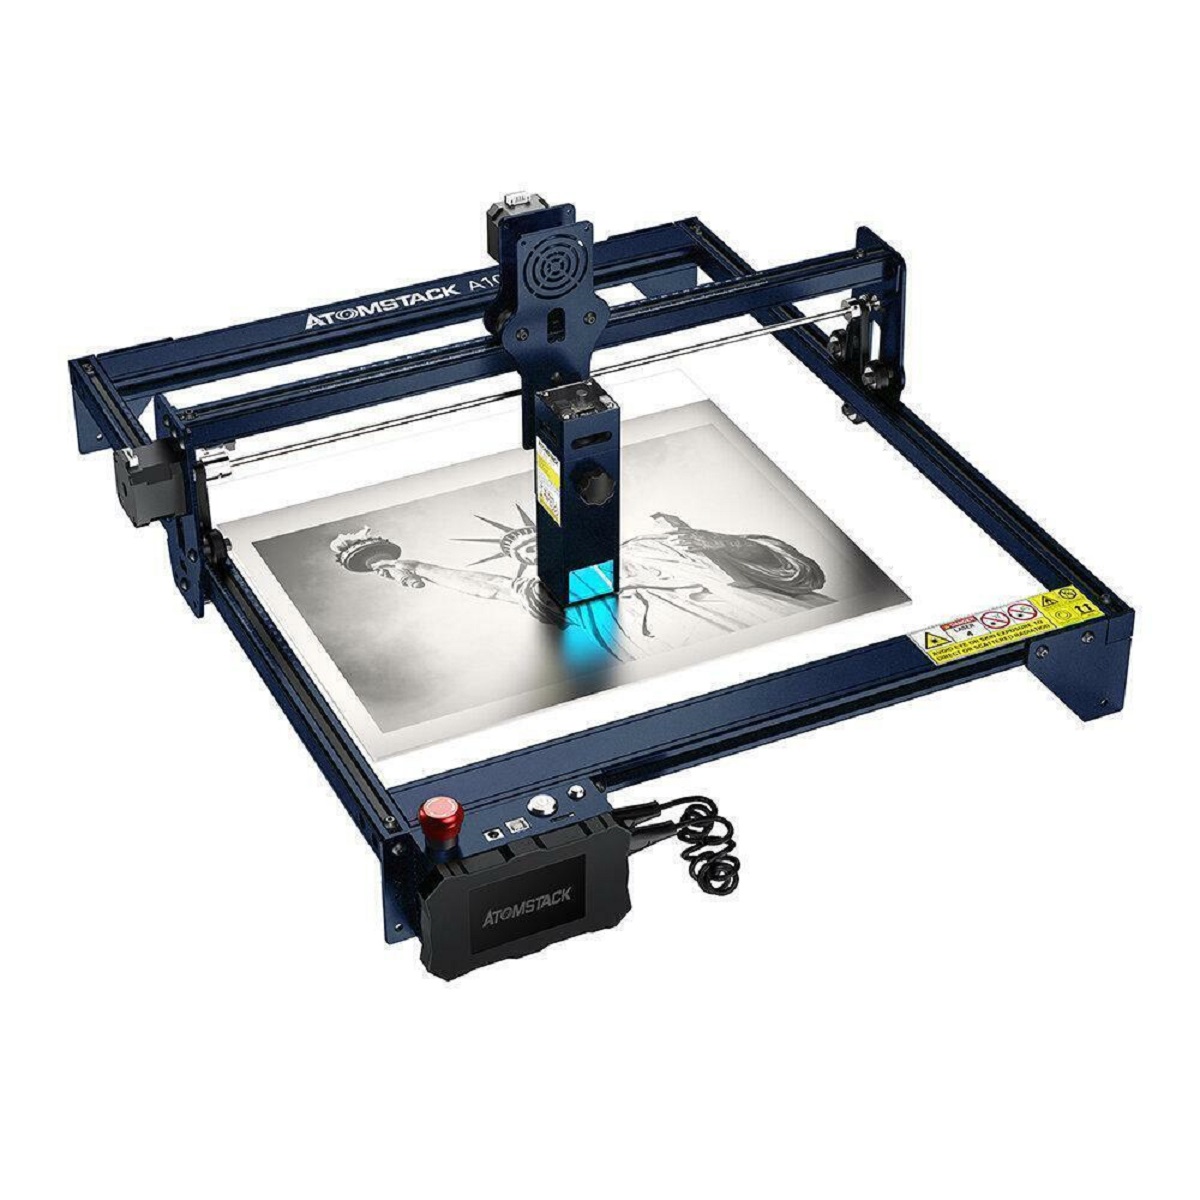
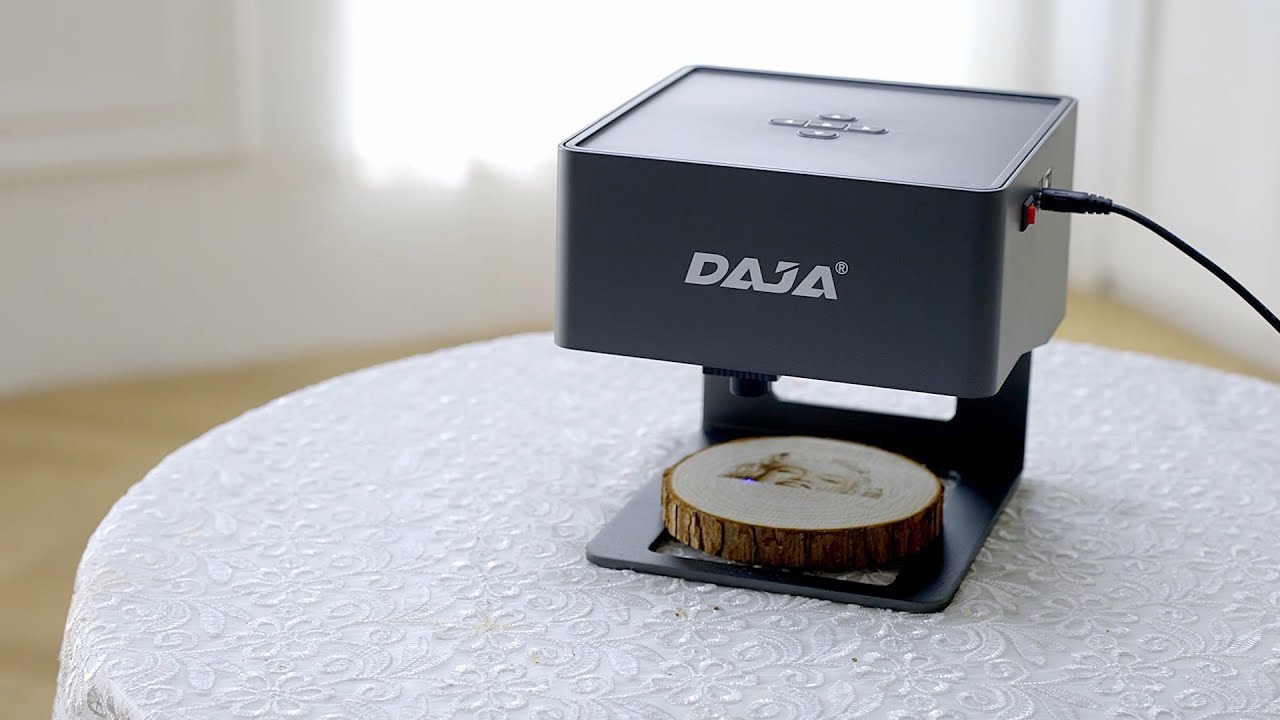
The Benbox laser engraver is a popular choice among hobbyists and small businesses due to its affordability and versatility. It is a desktop-sized engraving machine that utilizes a powerful laser beam to engrave or cut a wide variety of materials such as wood, acrylic, leather, and more.
The main components of the Benbox laser engraver include:
- Laser Module: This is the core component of the engraver that emits the laser beam. The laser module is adjustable and can be focused to achieve optimal engraving results.
- X and Y-Axis: These are the two axes that control the movement of the laser module horizontally (X-axis) and vertically (Y-axis). They allow you to position the laser accurately on the material.
- Z-Axis: The Z-axis is responsible for adjusting the distance between the laser module and the material. It is used to fine-tune the focus of the laser.
- Control Panel: The control panel consists of buttons and a display that allows you to adjust various settings such as laser power, engraving speed, and operating modes.
- Bed or Work Area: This is the surface where you place the material to be engraved. It should be level and sturdy to ensure accurate engraving.
Prior to focusing the laser, it’s crucial to ensure that your Benbox laser engraver is properly set up and calibrated. Familiarize yourself with the machine’s user manual and follow the manufacturer’s instructions for initial setup, software installation, and connecting to a computer.
By familiarizing yourself with the components and functionality of the Benbox laser engraver, you’ll have a solid foundation for successfully focusing the laser and achieving stunning engraving results.
Preparing the Laser Engraver for Focusing
Before you can begin focusing the laser on your Benbox laser engraver, there are a few important steps to prepare the machine for the process. By ensuring that everything is set up correctly, you can optimize the accuracy and safety of the laser engraving.
Here are the essential steps to follow when preparing your laser engraver for focusing:
- Ensure a Stable Work Surface: Place your laser engraver on a stable and level surface to prevent any unwanted movement or vibrations during the focusing process.
- Power On the Engraver: Connect the engraver to a reliable power source and turn on the machine. Allow it to fully initialize and reach the ready state.
- Ensure Proper Ventilation: Laser engraving produces smoke and fumes, so it’s crucial to ensure proper ventilation in your workspace. Open windows or use a ventilation system to minimize the amount of smoke and fumes in the environment.
- Secure the Material: Place the material you wish to engrave on the work area or bed of the engraver. Use clamps or any other appropriate method to secure the material in place and prevent it from moving during the engraving process.
- Inspect the Laser Module: Check the laser module for any signs of damage or debris. Ensure that the lens is clean and free from any obstructions. If necessary, clean the lens with a soft, lint-free cloth or a specialized cleaning solution recommended by the manufacturer.
By following these preparatory steps, you can create a suitable environment for laser focusing and minimize potential issues that may arise during the process. Remember to always prioritize safety by wearing appropriate protective gear such as safety goggles to shield your eyes from the laser beam.
With your Benbox laser engraver properly prepared, it’s time to move on to the next steps of focusing the laser.
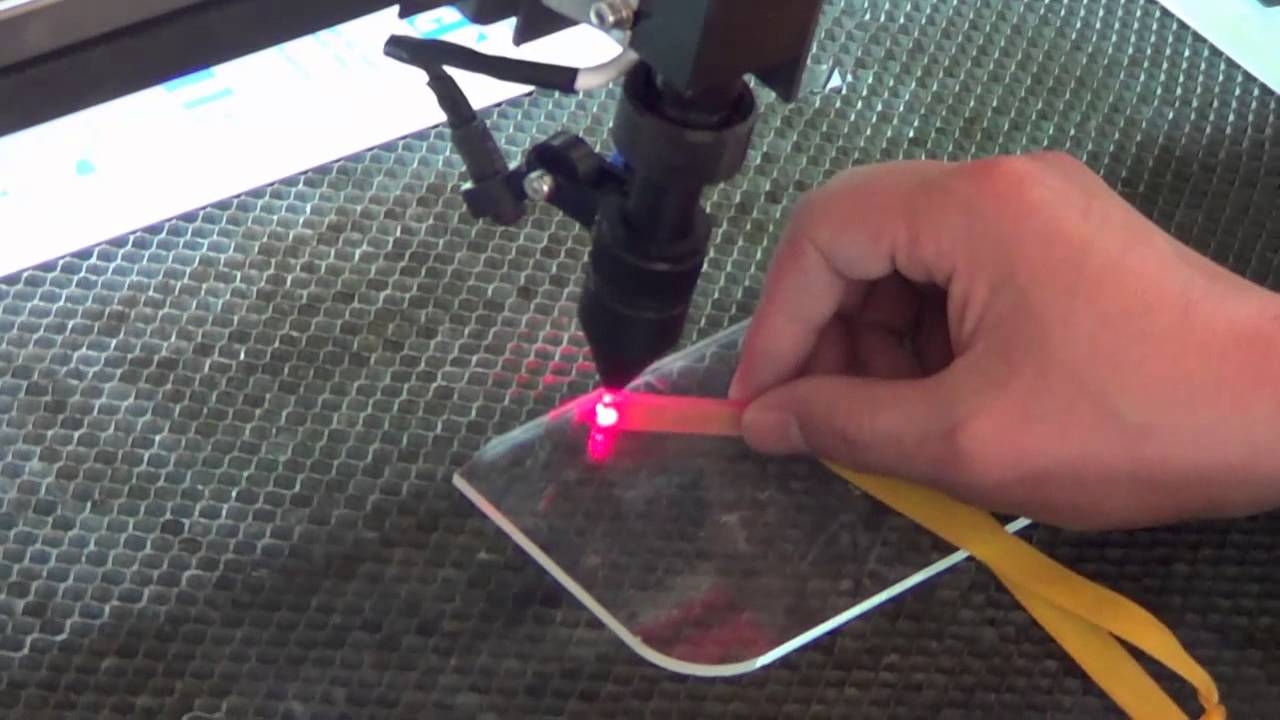
Using the Focusing Cap to Adjust the Laser
Now that your Benbox laser engraver is ready, it’s time to focus the laser beam using the focusing cap. The focusing cap is a removable attachment that helps you adjust the laser beam’s focal point for optimal engraving results.
Follow these steps to use the focusing cap to adjust the laser:
- Locate the Focusing Cap: The focusing cap is usually included with your Benbox laser engraver. It is a cylindrical attachment with a small opening at the top.
- Attach the Focusing Cap: Place the focusing cap on top of the laser module, aligning it with the laser beam’s path. Gently screw it into place, ensuring it is secure but not overly tight.
- Adjust the Laser Module Height: Use the Z-axis control on your engraver to adjust the laser module’s height. Lower it until the focusing cap’s top opening is as close as possible to the surface of the material you intend to engrave. This allows the laser beam to pass through the focusing cap and onto the material.
- Turn on the Laser: With the focusing cap in place and the laser module at the desired height, turn on the laser using the control panel.
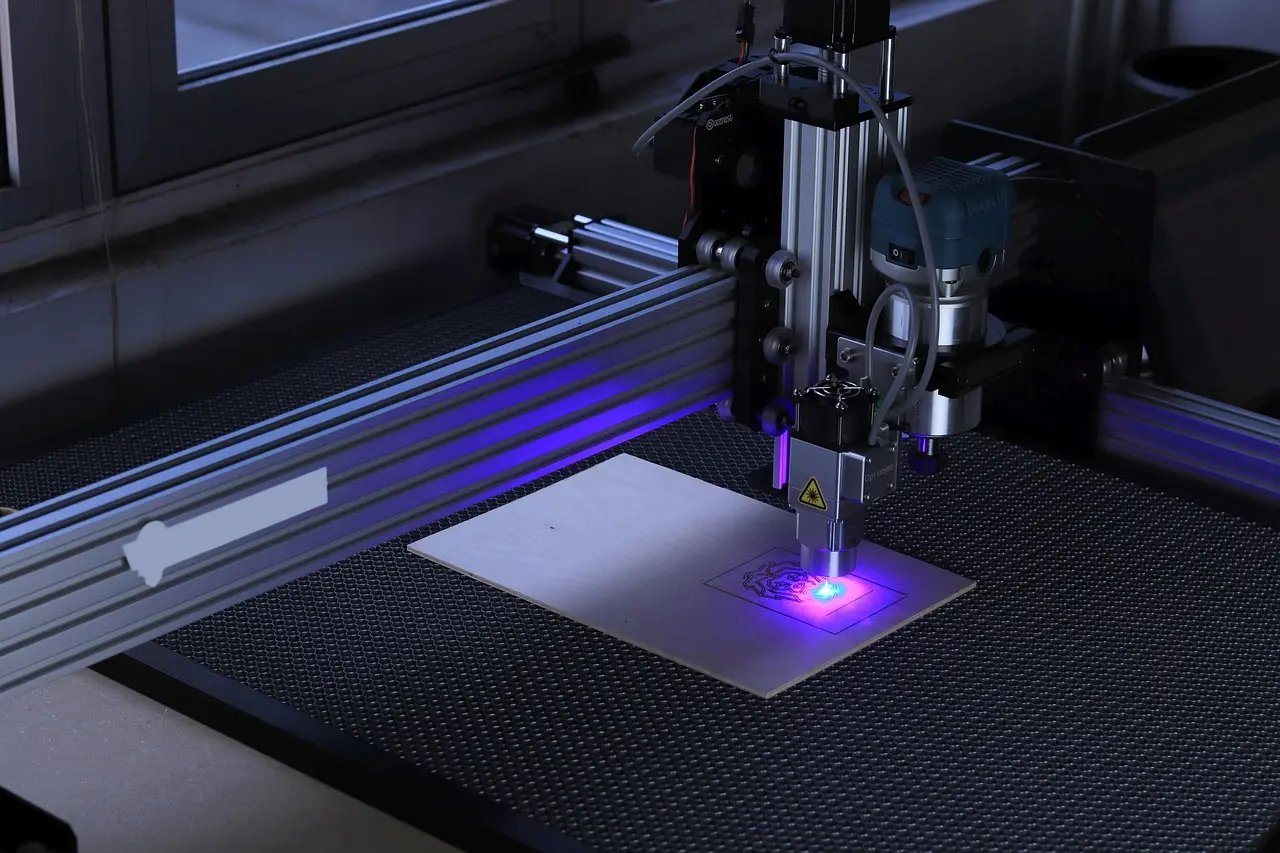
- Focus the Laser: Look through the focusing cap’s opening and adjust the laser module’s position or angle until you see a small, concentrated laser dot on the material. Rotate the focusing cap slightly to fine-tune the laser’s focus.
- Lock the Laser Module: Once you have achieved the desired laser focus, lock the laser module in place using any locking mechanism provided by your engraver. This ensures that the laser beam remains properly aligned during the engraving process.
It’s important to note that different materials may require slight adjustments to the laser focus. Some trial and error may be necessary to find the optimal focus settings for your specific material and desired engraving depth.
By utilizing the focusing cap and following these steps, you can achieve a well-focused laser beam that will result in precise and clear engravings.
Fine-Tuning the Focusing Using the Z-axis
While the focusing cap provides a starting point for laser focusing, the Z-axis allows for fine-tuning the laser beam’s focus on your Benbox laser engraver. The Z-axis controls the distance between the laser module and the material, allowing you to make precise adjustments to achieve the desired engraving depth.
Follow these steps to fine-tune the focus using the Z-axis:
- Study the Material: Take a close look at the material you are working with. Determine its thickness and the desired depth of engraving. This information will help you make informed adjustments to the Z-axis.
- Start at a Safe Distance: Begin by raising the Z-axis to ensure the laser beam is at a safe distance from the material. This initial positioning prevents any accidental damage or scorching during setup.
- Lower the Z-axis Incrementally: Gradually lower the Z-axis in small increments, typically around 0.1mm at a time. Pause after each adjustment and observe the laser beam’s impact on the material.
- Monitor the Engraving Depth: As you lower the Z-axis, pay close attention to the depth of the laser engraving. Keep adjusting until you achieve the desired depth based on the material’s thickness and your engraving requirements.
- Test Engrave a Sample: To ensure optimal focus, test engrave a small sample on the material you intend to use. This will provide a clear indication of whether the focus is accurate or if further adjustments are necessary.
- Make Fine Adjustments: Based on the test engraving results, make any necessary fine adjustments to the Z-axis. Raise or lower it in smaller increments to achieve the perfect focus for your specific material and engraving needs.
Remember, different materials may require slight variations in focus settings. Take your time and experiment with different Z-axis positions to achieve the best engraving results.
By utilizing the Z-axis and following these steps, you can fine-tune the laser focus and ensure that your engraving depth matches your desired specifications.
Testing the Laser Focusing
Once you have adjusted the laser focus using the focusing cap and fine-tuned it using the Z-axis, it’s time to test the focusing to ensure optimal engraving results. Testing the laser focus allows you to verify the quality, precision, and clarity of the engraving before moving forward with your actual project.
Follow these steps to test the laser focusing on your Benbox laser engraver:
- Select a Test Design: Choose a simple design or pattern to test the laser focus. This can be a basic shape, text, or a small image that highlights different engraving intricacies.
- Prepare the Material: Place a piece of the material you intend to use for your project onto the engraver’s work area. Ensure that it is securely fastened and positioned correctly.
- Load the Design and Adjust Settings: Load your chosen test design into the engraving software or controller, and adjust the engraving settings such as power, speed, and resolution based on the material and desired outcome.
- Start the Engraving Process: Initiate the engraving process and observe the laser’s performance on the material. Pay attention to the clarity and precision of the engraving lines, as well as the overall depth and consistency of the design.
- Evaluate the Test Engraving: Once the engraving is complete, carefully inspect the test engraving. Look for any imperfections, such as smudges, inconsistent lines, or incorrect depth. Assess whether the laser focus meets your expectations and desired level of quality.
- Make Necessary Adjustments: Based on the test engraving results, identify any areas in need of improvement. If the laser focus is not optimal, you may need to readjust the focusing cap or make further fine-tuning adjustments to the Z-axis.
- Repeat the Test if Needed: If you made adjustments to the laser focus, repeat the test engraving process to ensure the changes have resulted in an improved outcome. Continue refining the focus until you are satisfied with the engraving quality.
By testing the laser focusing, you can identify and address any issues or inconsistencies early on, ensuring that your final engraving projects will meet your standards. Remember, testing is an essential step in achieving the best possible engraving results.
Troubleshooting Common Issues
Even with careful preparation and adjustments, you may encounter some common issues while focusing the laser on your Benbox laser engraver. Understanding these issues and their potential solutions can help you resolve problems and achieve optimal laser focusing results.
Here are some common issues you may encounter and troubleshooting steps to address them:
- Blurred Engravings: If your engravings appear blurry or out of focus, it may indicate that the laser module is not aligned properly. Check the positioning of the laser module and the focusing cap to ensure they are securely attached and aligned with the work surface.
- Inconsistent Depth: If your engraving depth varies or appears uneven, it could be due to an incorrect Z-axis position. Ensure that the Z-axis is adjusted gradually in small increments, following the material’s thickness and desired engraving depth.
- Sudden Power Loss: If your laser engraver experiences sudden power loss during the engraving process, check the power connections and ensure that they are secure. Additionally, confirm that the power source can support the laser engraver’s requirements.
- Material Burning: If the material is burning excessively during the engraving process, it may indicate that the laser power is too high or the laser beam is concentrated in one spot for too long. Adjust the power settings and engraving speed to reduce the burning effect.
- Inconsistent Engraving Lines: Inconsistent engraving lines can be a result of improper material placement or uneven material surface. Ensure the material is securely fixed to the engraver’s work area and that the surface is smooth and level.
- Unresponsive Controls: If the control panel or software is not responding, check the connection between the engraver and the computer. Ensure that the appropriate drivers and software are installed and up to date.
Remember, troubleshooting may involve a process of trial and error. Make one adjustment at a time and test the results before moving on to the next. Additionally, consult your Benbox laser engraver’s user manual or contact customer support for specific troubleshooting guidance.
By addressing these common issues and applying appropriate troubleshooting techniques, you can overcome challenges and achieve the desired laser focusing results on your Benbox laser engraver.
Conclusion
Focusing the laser on your Chinese Benbox laser engraver is a critical step in achieving high-quality and precise engraving results. By understanding the importance of laser focusing and following the steps outlined in this guide, you can optimize the engraving process and ensure the safety of both yourself and your surroundings.
Throughout this article, we explored the significance of laser focusing and the role it plays in achieving optimal engraving quality. We discussed the basic components of the Benbox laser engraver and how to familiarize yourself with its functionalities. We also provided step-by-step instructions for preparing the laser engraver, using the focusing cap and Z-axis to adjust the laser, and testing the laser focusing for optimal results.
Moreover, we covered some common issues that may arise during the laser focusing process and provided troubleshooting steps to overcome these challenges. Remember, troubleshooting may require patience and experimentation, but by addressing these issues, you can ensure a smooth and successful engraving experience.
As you continue your journey with laser engraving, always prioritize safety first. Wear appropriate protective gear, ensure proper ventilation, and follow manufacturer guidelines for operating the Benbox laser engraver. Additionally, consider experimenting with different materials, power settings, and engraving techniques to unlock the full potential of your engraver.
With the knowledge and skills you’ve gained through this guide, you are now equipped to focus the laser on your Chinese Benbox laser engraver with confidence and precision. Enjoy the process of creating beautiful and intricate engravings on a wide range of materials, and let your creativity flourish in this exciting world of laser engraving!