Introduction
Welcome to the guide on how to fix the screen issue on your Samsung Galaxy S4. Dealing with a malfunctioning screen can be frustrating and can significantly hinder your smartphone experience. However, with the right troubleshooting steps and solutions, you can resolve the screen problems and get back to using your device smoothly.
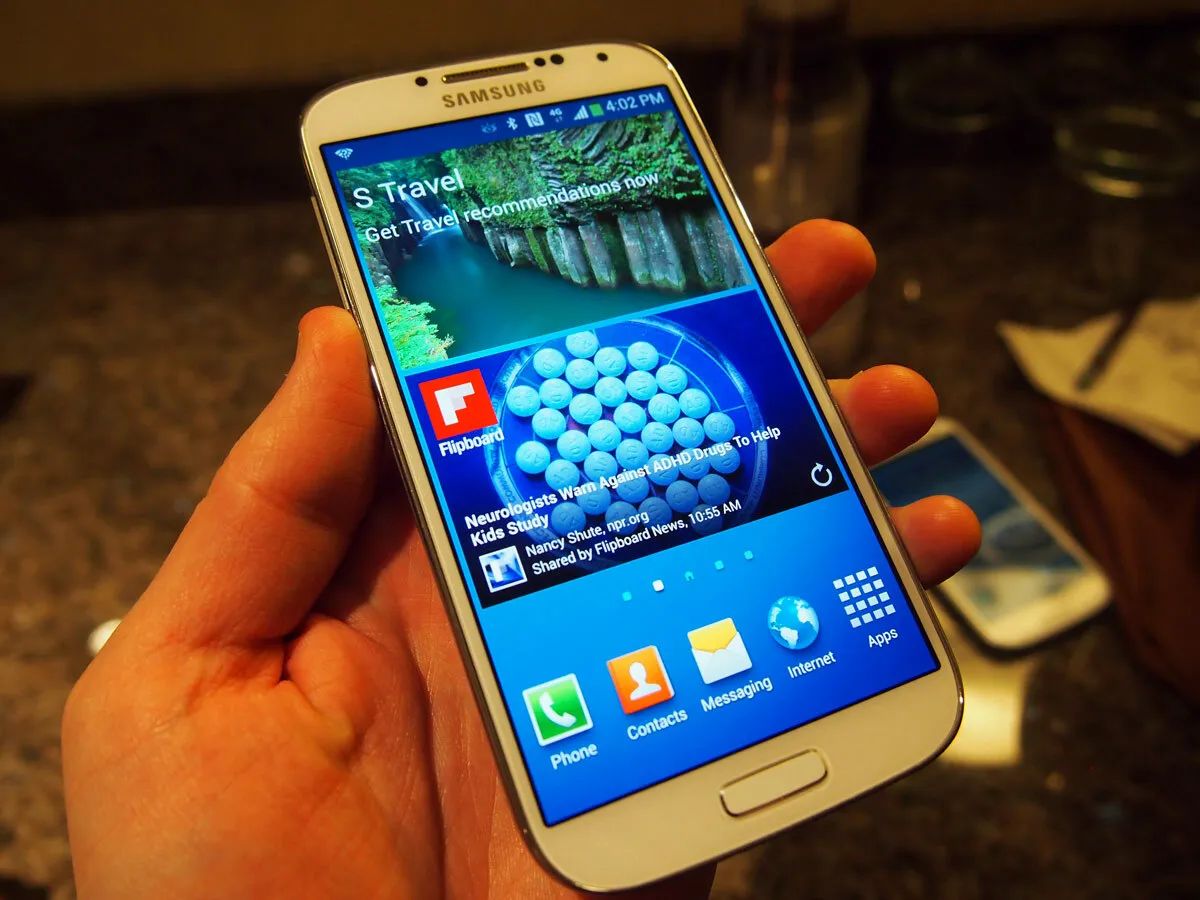
The Samsung Galaxy S4, released in 2013, was a revolutionary smartphone that boasted a vibrant display and a range of features. However, over time, users may encounter screen-related issues such as unresponsive touch, black screen, or flickering display. There could be different reasons behind these problems, including software glitches, improper settings, or even hardware malfunctions.
Before diving into the solutions, it’s essential to determine the cause of the screen issue. It could be a temporary software glitch that can be fixed with a simple restart or a more complex problem that requires a factory reset or even hardware repair. By following the troubleshooting steps, you will be able to diagnose and resolve the screen issue on your Samsung Galaxy S4.
It’s worth noting that while the provided solutions have helped many users fix their screen problems, results may vary. If you’re not comfortable performing any of the troubleshooting steps or the issue persists, it’s best to seek professional assistance or visit a certified Samsung service center.
Without further ado, let’s get started with troubleshooting the screen issue on your Samsung Galaxy S4.
Part 1: Troubleshooting the Screen Issue
When faced with a screen issue on your Samsung Galaxy S4, it’s important to start by troubleshooting the problem. This will help you identify the root cause of the issue and determine the appropriate solution. Here are some steps you can take:
- Check for Physical Damage: Examine the screen for any visible cracks, scratches, or damage. If you notice any physical damage, it may be the cause of the screen issue. In such cases, you may need to replace the screen or seek professional assistance.
- Clean the Screen: Sometimes, a dirty or greasy screen can cause touch sensitivity issues. Use a soft, lint-free cloth to gently clean the screen and remove any smudges or fingerprints. Ensure that the device is turned off before cleaning to avoid accidental actions.
- Remove Screen Protectors or Cases: If you have a screen protector or a case covering your Galaxy S4, try removing them temporarily. Sometimes, these accessories can interfere with the touch sensitivity or cause display problems. Testing the device without them might help pinpoint the issue.
- Restart the Device: A simple restart can work wonders in fixing minor software glitches. Press and hold the power button until the restart menu appears, and then tap on “Restart.” Once the device turns back on, check if the screen issue persists.
- Connect to a Different Power Source: Sometimes, problems with the screen can be caused by insufficient power supply. Try connecting your Galaxy S4 to a different power source or a computer using a USB cable. If the screen functions properly when connected to an alternate source, it could indicate a problem with the charger or the power outlet.
- Check for System Updates: Software updates often include bug fixes and enhancements that can address screen-related issues. Go to the settings menu on your Galaxy S4, scroll down to “About Device” or “Software Update,” and check for any available updates. If an update is available, download and install it, and then monitor if the screen issue is resolved.
By following these troubleshooting steps, you can determine if the screen issue on your Samsung Galaxy S4 is a result of physical damage, software glitches, or other factors. In the next section, we will explore the solution of restarting the device in more detail.
Part 2: Restarting the Device
Restarting your Samsung Galaxy S4 can often resolve software-related issues and restore normal functionality to the screen. This simple yet effective step can help eliminate any temporary glitches or conflicts that may be causing the screen problem. Here’s how you can restart your device:
- Press and Hold the Power Button: Locate the power button on your Galaxy S4, typically located on the side or top of the device. Press and hold the power button until the power menu appears on the screen.
- Tap on “Restart”: In the power menu, you will see options such as “Power Off,” “Restart,” or “Reboot.” Tap on the “Restart” option to initiate the restart process.
- Wait for the Device to Restart: Once you tap on “Restart,” your Galaxy S4 will begin the reboot process. It may take a few moments for the device to shut down and start up again. Allow your device to complete the restart process before assessing if the screen issue has been resolved.
If the screen was unresponsive or frozen, restarting the device can often restore its functionality. However, if the screen problem persists even after the restart, you may need to proceed with other troubleshooting steps outlined in this guide.
It’s important to note that a restart is a temporary fix and may not address underlying software or hardware issues causing the screen problem. It is recommended to continue with the other troubleshooting methods mentioned in this guide to further diagnose and resolve the issue.
In the next section, we’ll discuss how to check for software updates on your Galaxy S4, as they can also play a crucial role in resolving screen-related issues.
Part 3: Checking for Software Updates
Keeping your Samsung Galaxy S4 up to date with the latest software updates is essential to ensure optimal performance and address any known software-related issues, including screen problems. Here’s how you can check for software updates on your device:
- Open the Settings App: From the home screen of your Galaxy S4, tap on the “Settings” app. It is usually represented by a gear icon.
- Scroll Down and Tap on “About Device”: In the settings menu, scroll down until you find the option labeled “About Device” and tap on it.
- Tap on “Software Update”: Within the “About Device” section, you will find the “Software Update” option. Tap on it to proceed.
- Check for Updates: The “Software Update” screen will display information about the current software version of your Galaxy S4. Tap on the “Check for Updates” or “Update” button to see if any updates are available.
- Download and Install Updates: If a new software update is available for your device, follow the on-screen prompts to download and install it. Be sure to connect to a stable Wi-Fi network to avoid data charges and ensure a smooth update process. It is recommended to have your device charged or connected to a power source during the update.
Software updates often include bug fixes, security patches, and performance improvements, which can help resolve screen-related issues. Therefore, it’s crucial to keep your Galaxy S4 software up to date. After installing the update, check if the screen problem persists. If it does, continue with the troubleshooting steps outlined in this guide.
In the upcoming section, we’ll explore how clearing the cache partition on your Galaxy S4 can potentially resolve screen issues.
Part 4: Clearing Cache Partition
Clearing the cache partition on your Samsung Galaxy S4 can help resolve screen issues caused by temporary system files and data. These files can sometimes become corrupted or outdated, leading to performance problems. Clearing the cache partition can refresh these files and potentially fix the screen problem. Here’s how to clear the cache partition on your Galaxy S4:
- Turn off the Device: Press and hold the power button until the power menu appears. Tap on “Power Off” and wait for your Galaxy S4 to completely power off.
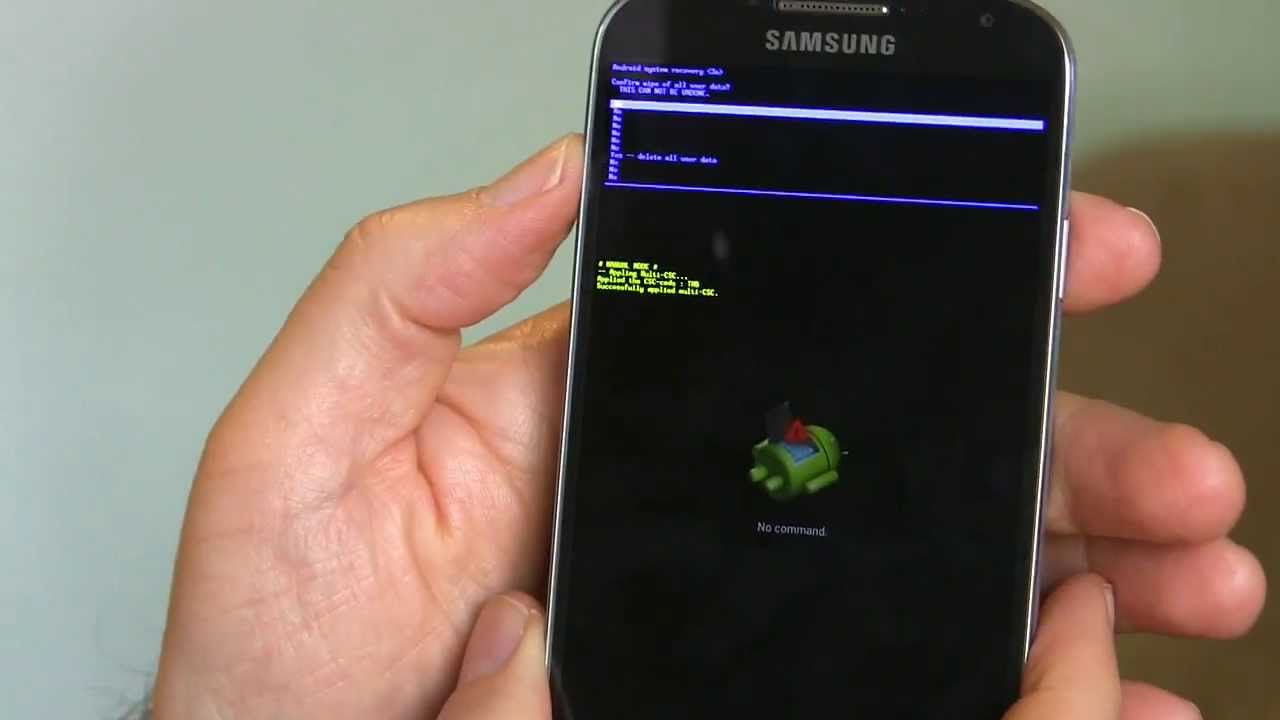
- Enter Recovery Mode: To enter recovery mode, press and hold the volume up, home, and power buttons simultaneously. Release the buttons when the Samsung logo appears on the screen.
- Navigate to the “Wipe Cache Partition” Option: Use the volume buttons to scroll through the menu options in recovery mode. Look for and highlight the “Wipe Cache Partition” option, and then press the power button to select it.
- Confirm the Action: A confirmation message will appear on the screen. Use the volume buttons to navigate to the “Yes” option and press the power button to confirm the action. The cache partition will now be cleared.
- Reboot the Device: After clearing the cache partition, the main recovery menu will appear again. Use the volume buttons to select the “Reboot System Now” option and press the power button to restart your Galaxy S4.
Once your device restarts, check if the screen issue has been resolved. Clearing the cache partition can often fix temporary system-related issues and improve overall performance. However, if the screen problem persists, proceed to the next troubleshooting step outlined in this guide.
In the next section, we will discuss performing a factory reset on your Samsung Galaxy S4, which can help resolve persistent screen problems.
Part 5: Performing a Factory Reset
If you’ve tried the previous troubleshooting steps and the screen issue on your Samsung Galaxy S4 persists, performing a factory reset may be necessary. A factory reset will restore your device to its original factory settings, erasing all data and settings. Before proceeding, it’s important to back up any important data as it will be permanently deleted. Here’s how you can perform a factory reset:
- Back Up Your Data: Go to the settings menu on your Galaxy S4 and navigate to the “Backup and Reset” or “Accounts and Backup” section. Ensure that your data, including contacts, photos, and other important files, is backed up to a secure location such as your Google account or an external storage device.
- Access the Reset Options: From the settings menu, scroll down and tap on “General Management” or “System.” Look for an option labeled “Reset” or “Reset Options.”
- Select Factory Data Reset: Within the reset options, you should see an option labeled “Factory Data Reset” or “Factory Reset.” Tap on it to initiate the process.
- Confirm the Reset: A warning message will appear, informing you that all data will be erased. Read the message carefully and tap on “Reset” or “Erase Everything” to confirm the factory reset.
- Wait for the Reset to Complete: The factory reset process may take a few minutes to complete. Your Galaxy S4 will restart and begin the initial setup as if it were a new device. Follow the on-screen prompts to configure your device after the reset is finished.
After the factory reset, your Galaxy S4 will be restored to its original state. Check if the screen issue has been resolved. If the problem persists even after the factory reset, it’s possible that there is a hardware issue with your device. In such cases, it is recommended to seek professional assistance or visit a certified Samsung service center for further diagnosis and repair.
In the next section, we will explore the option of calibrating the screen, which can sometimes help resolve touch sensitivity or accuracy issues.
Part 6: Calibrating the Screen
If you’re experiencing touch sensitivity or accuracy issues with the screen on your Samsung Galaxy S4, calibrating the screen can help improve its performance. Screen calibration involves adjusting the touch settings to ensure accurate and precise responsiveness. Follow these steps to calibrate the screen on your Galaxy S4:
- Access the Settings Menu: From the home screen, tap on the “Settings” app to open the settings menu.
- Navigate to the Display Settings: Scroll down and tap on “Display” or “Display & Brightness” to access the display settings.
- Find the Touch Sensitivity Settings: Look for an option labeled “Touch Sensitivity” or “Touch Calibration” within the display settings. Tap on it to proceed.
- Follow the On-Screen Instructions: Depending on your Galaxy S4 model and software version, you may be guided through a series of on-screen instructions to calibrate the screen. Follow the instructions carefully, which may involve tapping on specific points or targets on the screen.
- Test the Screen Responsiveness: After completing the calibration process, test the screen responsiveness by navigating through different apps and menus. Pay attention to whether the touch sensitivity and accuracy have improved.
Calibrating the screen can help recalibrate the touch settings, making your Galaxy S4 more responsive and accurate. However, if the screen issue persists even after calibration, it’s advisable to proceed to the next troubleshooting step.
In the next section, we will discuss how to check for hardware issues that may be causing the screen problem on your Galaxy S4.
Part 7: Checking for Hardware Issues
If you’ve gone through the previous troubleshooting steps and the screen issue on your Samsung Galaxy S4 still persists, it’s time to check for potential hardware issues. Here are some steps you can take to investigate hardware-related causes:
- External Inspection: Carefully examine the physical condition of your Galaxy S4. Look for any signs of damage, such as cracks or water damage, that may be affecting the screen’s functionality. If you notice any physical damage, it’s recommended to seek professional help or visit a certified service center for repair.
- Safe Mode: Booting your Galaxy S4 into Safe Mode can help determine if any third-party apps are causing the screen problem. Restart your device, and when the Samsung logo appears, press and hold the volume down button until the home screen appears. If the screen functions properly in Safe Mode, it suggests that a third-party app may be causing the issue. Uninstall recently installed apps or perform a factory reset to resolve the problem.
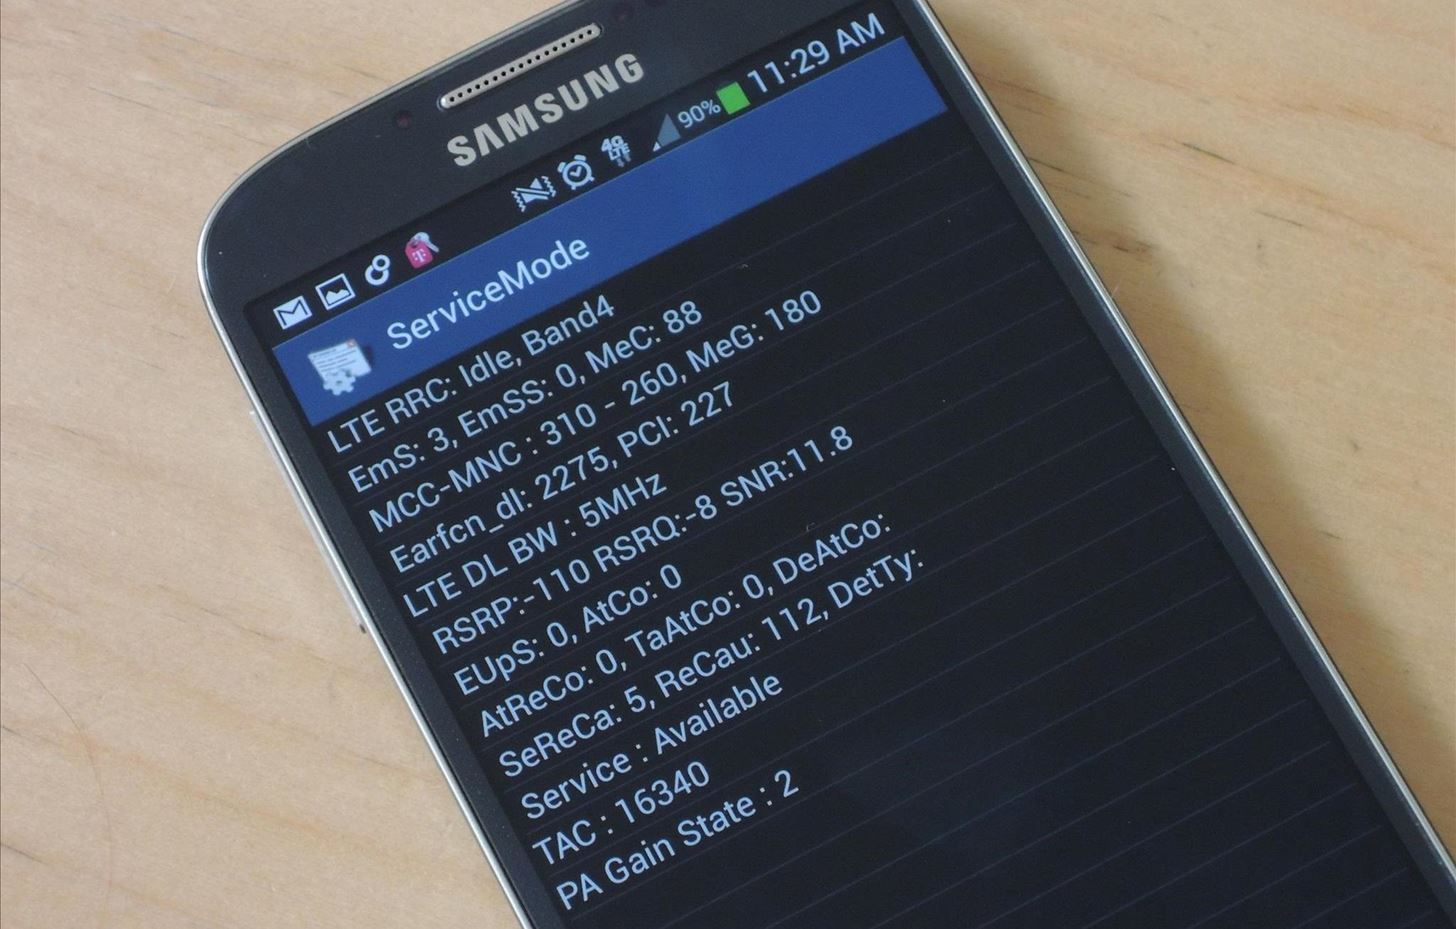
- Perform a Touchscreen Test: Samsung devices often have a built-in diagnostic tool to check the functionality of various hardware components, including the touchscreen. To access this tool, open the dial pad on your Galaxy S4 and dial *#0*#. A menu will appear. Tap on “Touch” or “Touchscreen” to run the test. Follow the on-screen instructions to test the touchscreen for functionality and responsiveness.
- Professional Assessment: If none of the previous steps resolved the screen issue, and you suspect a hardware problem, it’s advisable to seek professional assistance. Contact Samsung Support or visit a certified Samsung service center to have your Galaxy S4 examined by trained technicians who can accurately diagnose and repair any underlying hardware problems.
Checking for hardware issues can help identify the root cause of the screen problem on your Samsung Galaxy S4. Whether it’s physical damage or a malfunctioning component, seeking professional help can ensure an accurate diagnosis and proper repair.
With the troubleshooting steps and solutions provided in this guide, you can attempt to resolve the screen issue on your Samsung Galaxy S4. Remember, if you’re not comfortable performing any of the troubleshooting steps or the problem persists, it’s best to seek professional assistance. We hope that this guide has helped you regain the full functionality of your Galaxy S4 screen.
Conclusion
Dealing with a screen issue on your Samsung Galaxy S4 can be frustrating, but with the right troubleshooting steps, you can resolve the problem and get back to enjoying your device. Throughout this guide, we have explored various methods to troubleshoot and fix common screen issues, ranging from software glitches to potential hardware problems.
We started by troubleshooting the screen issue, checking for physical damage, cleaning the screen, and eliminating any external factors that may be causing the problem. Restarting the device, checking for software updates, and clearing the cache partition were also discussed as effective solutions.
If the screen issue persisted, we explored more advanced troubleshooting steps. Performing a factory reset helped restore the device to its original settings, while screen calibration aimed to improve touch sensitivity and accuracy.
We also highlighted the importance of checking for hardware issues, such as physical damage or malfunctioning components. Seeking professional assistance or contacting Samsung Support may be necessary if the screen problem persists or if you suspect a hardware-related cause.
Remember, throughout the troubleshooting process, it’s crucial to back up your data and follow the instructions carefully. Results may vary, and it’s important to make decisions according to your comfort level and expertise.
We hope that this guide has provided you with helpful insights and solutions to fix the screen issue on your Samsung Galaxy S4. By following the provided steps, you can increase the chances of resolving the problem and enjoying your device to its fullest potential.
If you’re unable to resolve the issue using the provided solutions or if you have any concerns, it’s always recommended to reach out to professional technicians or visit a certified service center for further assistance. Your Samsung Galaxy S4 is a valuable device, and ensuring its proper functionality is essential for a seamless user experience.