Introduction
Welcome to our comprehensive guide on how to fix a faulty PSU (Power Supply Unit). A faulty PSU can cause various problems, such as system crashes, random shutdowns, and even hardware damage, so it’s crucial to address any issues promptly. In this guide, we’ll walk you through the steps to diagnose and repair a faulty PSU.
Having a basic understanding of electronics and computer hardware will be helpful, but don’t worry if you’re not an expert. We’ll break down the process into simple, easy-to-follow steps. However, please note that opening a PSU can be dangerous, so it’s essential to prioritize safety and follow all precautions.
Before we delve into the repair steps, it’s crucial to identify the signs of a faulty PSU. Common indicators include frequent system crashes, random reboots, failure to power on, or unusual noises coming from the PSU. These symptoms can also be caused by other hardware issues, so it’s important to narrow down the problem to the power supply before attempting repairs.
We can’t stress enough how important it is to take safety precautions when working with a PSU. Since a power supply deals with high voltage electricity, there is a risk of electric shock if proper precautions are not followed. Make sure to unplug the power cord and discharge any remaining power stored in the PSU before starting any repair work.
Now let’s go over the tools and materials you’ll need for repairing a faulty PSU. These items are readily available and will help you diagnose the problem and replace any faulty components. By following the steps in this guide, you can potentially save money and avoid the hassle of purchasing a new power supply.
Signs of a Faulty PSU
A faulty PSU can manifest in various ways, and recognizing the signs is crucial for determining whether the power supply is the culprit behind your computer issues. Here are some common indicators of a faulty PSU:
- Frequent System Crashes: If your computer frequently crashes or freezes, especially during intensive tasks like gaming or running heavy software, it could be due to an inadequate or failing power supply. Sudden power fluctuations or insufficient power delivery can disrupt the stability of your system and lead to crashes.
- Random Shutdowns: If your computer shuts down without any warning, it may be a sign of a faulty PSU. A failing power supply can struggle to provide consistent power to the components, leading to sudden shutdowns as a protective measure.
- Failure to Power On: When you press the power button, and your computer fails to turn on, it could be a telltale sign of a faulty PSU. Check if the power supply’s fan is not spinning or if there are no lights on the motherboard when the power cable is plugged in. These indicators suggest a power supply failure.
- Noise from the PSU: Unusual noises from the power supply, such as buzzing, humming, or clicking sounds, could indicate a faulty PSU. These noises are often caused by failing fans, loose components, or electrical issues within the power supply unit.
- Inconsistent Hardware Performance: If you notice that certain hardware components, such as graphics cards or hard drives, are not performing as expected or experiencing frequent errors, it’s worth checking the power supply. Inadequate power delivery can cause instability and negatively impact the performance of connected components.
Keep in mind that these signs can also be indicative of other hardware problems, such as overheating or faulty RAM. Therefore, it’s essential to conduct thorough troubleshooting to identify the root cause of the issues before concluding that the PSU is faulty.
By being aware of these signs, you can promptly diagnose a faulty PSU and take the necessary steps to fix it. In the next section, we will discuss the safety precautions you must follow before attempting any repairs.
Safety Precautions
When working with a PSU, it’s essential to prioritize safety to prevent any accidents or injuries. Here are some crucial safety precautions you should follow:
- Power Off and Unplug: Before attempting any repairs, make sure to power off your computer completely and unplug it from the wall socket. This will eliminate the risk of electric shock while handling the PSU.
- Discharge Capacitors: Even when the computer is unplugged, the PSU may still store some residual power. To discharge capacitors, press and hold the power button for a few seconds while the computer is unplugged. This will help dissipate any remaining electrical charge.
- Work in a Well-Ventilated Area: Repairing a PSU can generate heat and potentially release harmful fumes. Ensure you’re working in a well-ventilated area to minimize any risk to your health. If possible, consider using a fume extractor or wearing a mask for added protection.
- Avoid Static Electricity: Static electricity can damage sensitive electronic components. Before handling the PSU or any internal components, ground yourself by touching a metal surface or using an anti-static wrist strap. This will help dissipate any built-up static charge.
- Do Not Open Sealed PSU Units: Many modern PSUs are sealed units that are not meant to be opened or repaired by consumers. Opening a sealed PSU can void the warranty and pose a risk to your safety. If your PSU is sealed, it’s best to contact the manufacturer or a professional repair service.
- Use Proper Tools: When working with the PSU and other computer components, use appropriate tools such as screwdrivers and pliers. Using improper tools can damage the PSU or cause injury.
- Keep Children and Pets Away: Repairing a PSU involves working with electrical components, which can be dangerous. Make sure to keep children and pets away from your work area to prevent any accidents.
- Consult Manufacturer’s Documentation: PSU models may have specific safety guidelines outlined in the manufacturer’s documentation. Before starting any repair work, read the documentation thoroughly to ensure you are following the recommended safety precautions.
By adhering to these safety precautions, you can minimize the risk of accidents and work on your PSU confidently. In the next section, we will discuss the tools and materials you will need for the repair process.
Tools and Materials Needed
Before you begin repairing your faulty PSU, gather the necessary tools and materials to ensure a smooth and efficient repair process. Here’s a list of essential items you’ll need:
- Screwdriver Set: A set of precision screwdrivers with various sizes and types will come in handy for opening the PSU casing and accessing its internal components.
- Multimeter: A digital multimeter is an invaluable tool for diagnosing electrical issues. It can measure voltage, current, and resistance, allowing you to test the PSU’s output and identify any potential problems.
- Replacement Components: Depending on the diagnosis, you may need to replace specific components within the PSU. Identify the faulty parts and ensure you have the appropriate replacements on hand. Common components that may need replacement include capacitors, resistors, and fans.
- Thermal Compound: If you need to replace the PSU’s fan or work on its heat sink, you will likely need thermal compound. This compound helps to improve heat transfer and ensure efficient cooling.
- Anti-Static Wrist Strap: An anti-static wrist strap helps prevent static electricity discharge, safeguarding sensitive electronic components from damage. Ensure you wear it when handling the PSU or any internal components.
- Disposable Gloves: While not necessary, wearing disposable gloves can help maintain cleanliness and prevent any contact with potentially harmful substances during the repair process.
- Isopropyl Alcohol and Cotton Swabs: Isopropyl alcohol and cotton swabs are useful for cleaning the PSU components and removing any dust or debris that may have accumulated over time.
- Compressed Air Canister: A canister of compressed air allows you to effectively clean hard-to-reach areas of the PSU and remove dust or debris that may hinder its performance.
- Work Mat or Tray: Having a work mat or tray will help keep your workspace organized and prevent small screws or components from getting lost. It also provides a non-slip surface for the PSU and other tools.
- Manufacturer’s Documentation: It’s essential to have the manufacturer’s documentation for your PSU model on hand. This includes user manuals, schematics, and any specific instructions or safety guidelines provided by the manufacturer.
By gathering these tools and materials beforehand, you’ll be well-prepared to tackle any repairs needed for your PSU. Now that we have covered the necessary tools and materials, let’s move on to the step-by-step repair process in the next section.
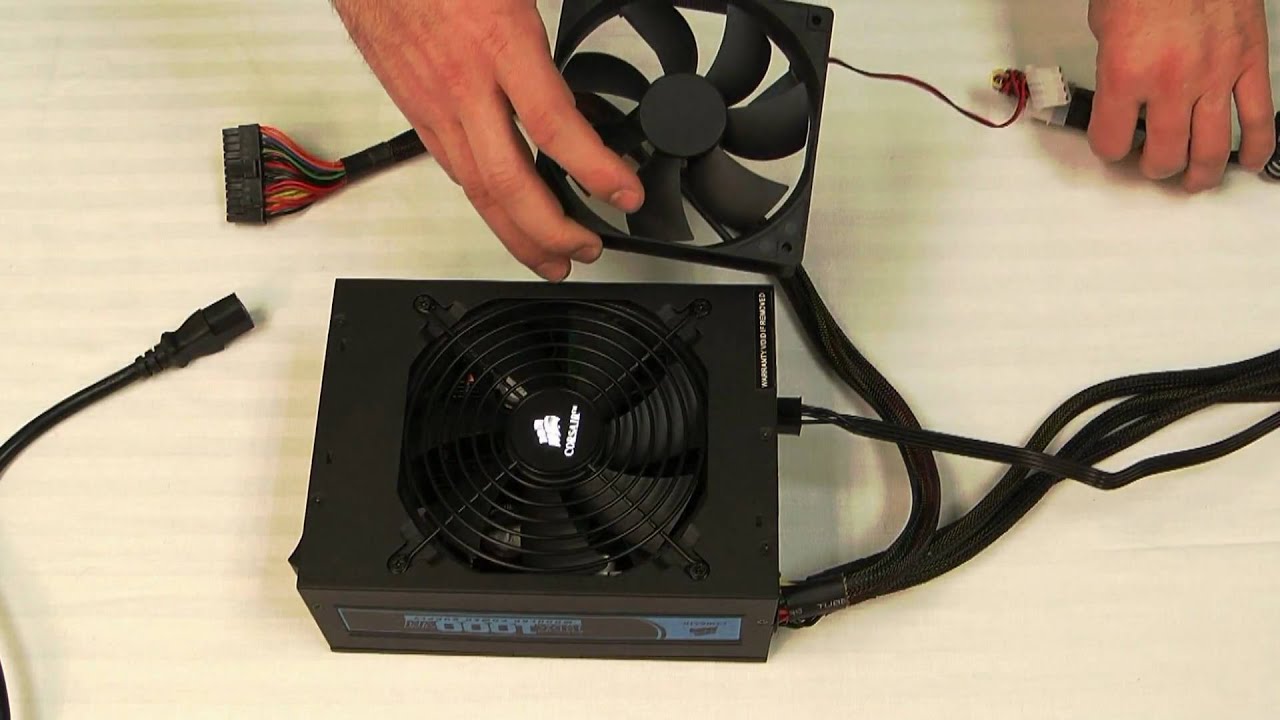
Step 1: Unplug and Disassemble
The first step in repairing a faulty PSU is to ensure that it is completely disconnected from the power source and disassembled. Follow these steps to safely unplug and disassemble your PSU:
- Power Off and Unplug: Turn off your computer and unplug it from the wall socket. This will prevent any electrical current from flowing through the PSU while you work on it.
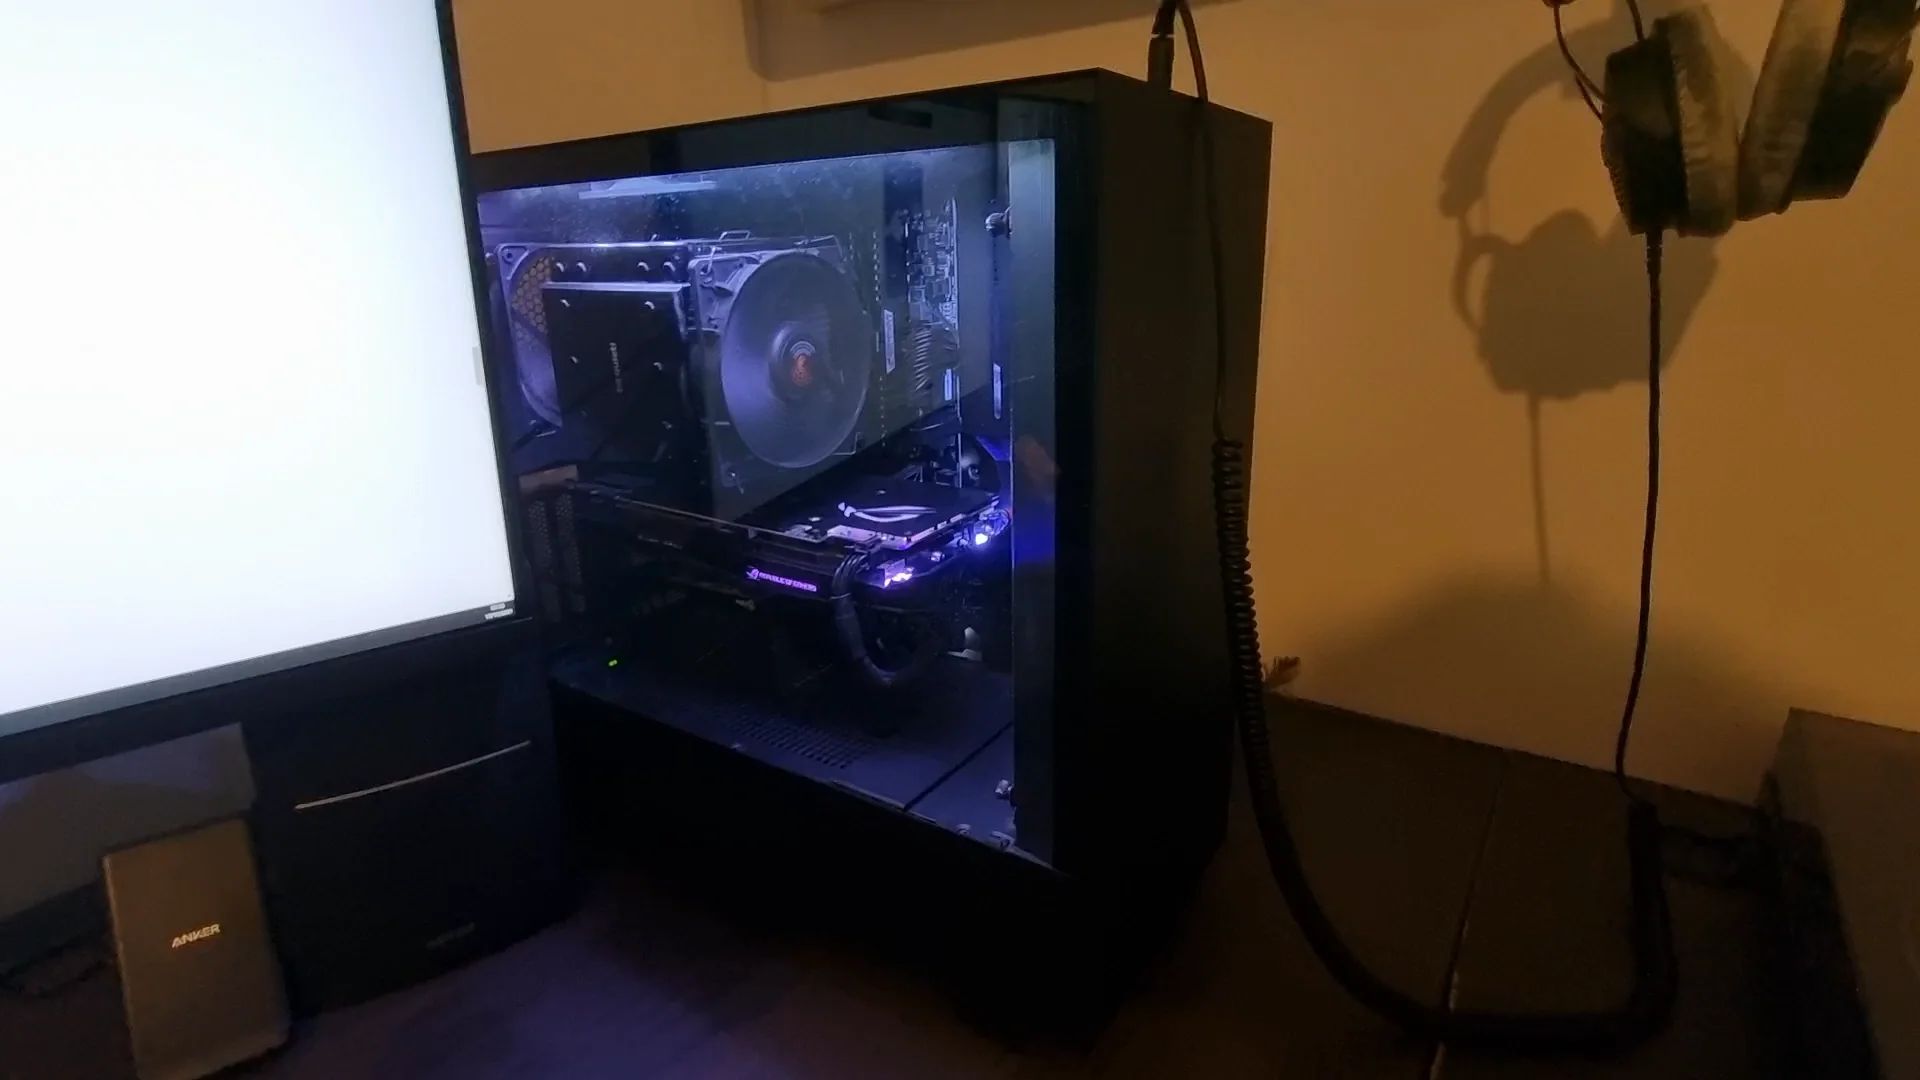
- Remove the PSU: Depending on your computer case, you may need to remove the side panel or open a specific compartment to access the PSU. Refer to the manufacturer’s documentation for your computer case if you are unsure how to remove it.
- Ground Yourself: To prevent static electricity discharge that could damage the PSU or its components, ground yourself by touching a metal surface or by wearing an anti-static wrist strap.
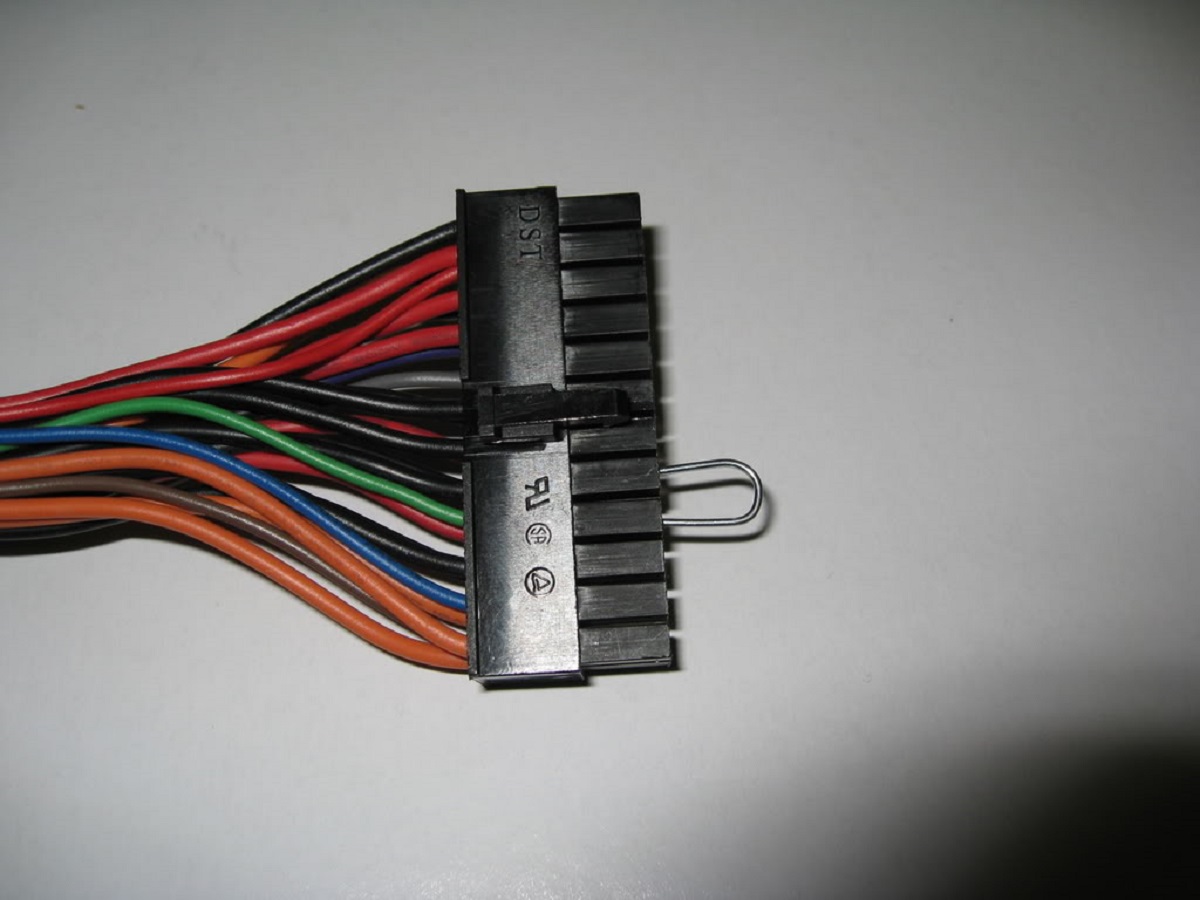
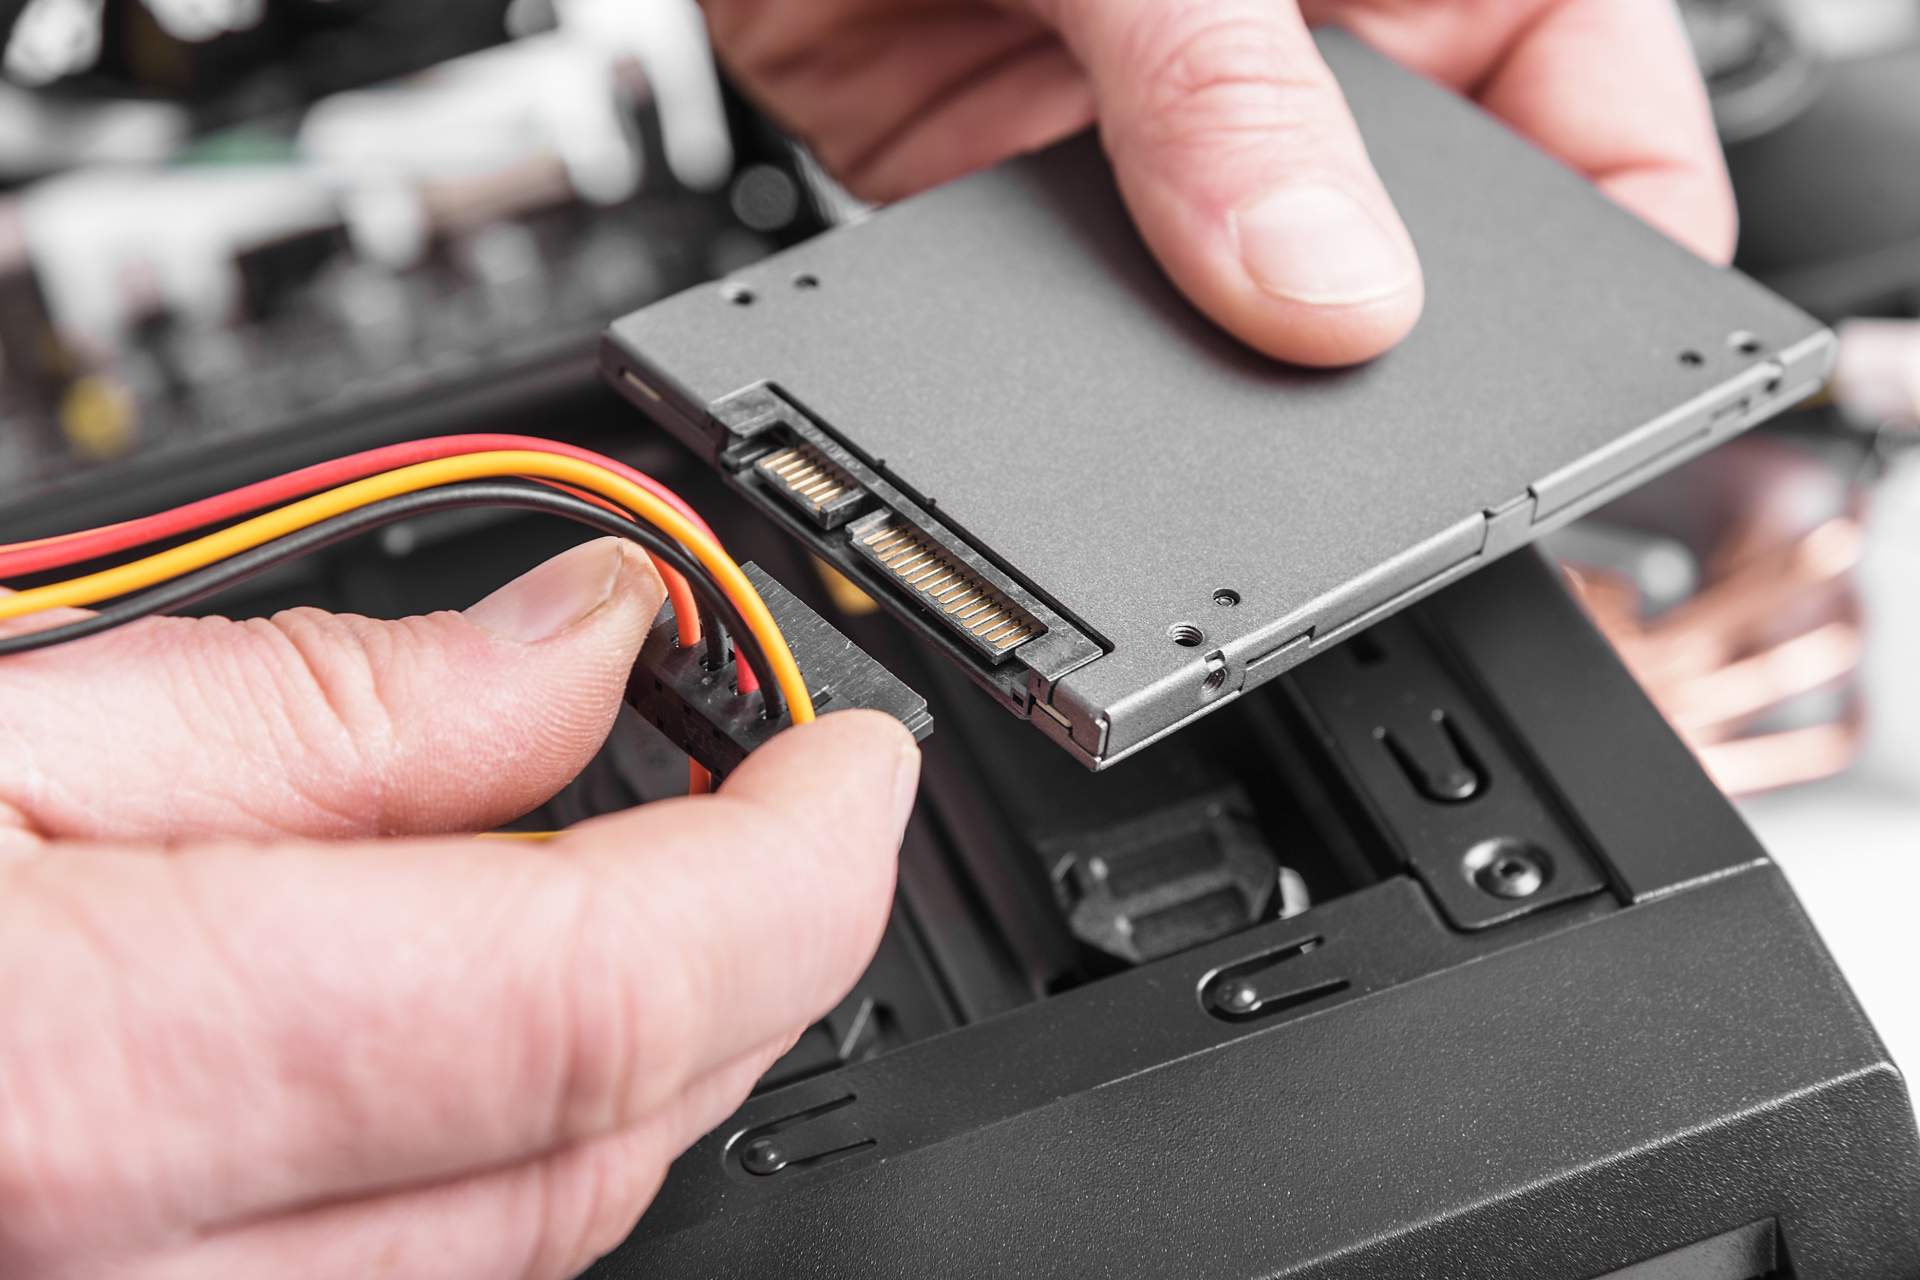
- Disconnect the Power Cables: Locate the power cables connected to the PSU and carefully disconnect them. These cables include the main 24-pin motherboard power connector, the CPU power connector, and any peripheral power connectors for devices such as hard drives and graphics cards. Note the position and orientation of each cable to ensure correct reconnection later.
- Remove the PSU from the Case: There are usually screws or mounting brackets holding the PSU in place inside the computer case. Use the appropriate screwdriver to remove these screws or brackets and gently slide the PSU out of its mounting position.
- Open the PSU Casing: Some PSUs have a sealed casing that cannot be opened by the user. If your PSU is sealed, it’s best to contact the manufacturer or a professional repair service. If the casing can be opened, carefully remove any screws or clips securing the casing and gently pry it apart. Take note of the positions of the screws or clips for reassembly.
- Keep Track of Screws and Small Parts: As you disassemble the PSU, it’s important to keep track of all screws and small parts. Consider using a magnetic tray or a labeled container to avoid misplacing them.
By following these steps, you will safely unplug and disassemble your PSU, preparing it for further inspection and repair. In the next step, we will discuss how to inspect the PSU for any physical damage or visible issues.
Step 2: Inspect for Physical Damage
After you have safely disassembled the PSU, the next step is to carefully inspect it for any physical damage or visible issues. This inspection will help you identify potential causes of the PSU’s malfunction. Follow these steps to conduct a thorough visual inspection:
- External Examination: Start by examining the external parts of the PSU, including the casing, connectors, and cables. Look for any signs of damage, such as dents, cracks, frayed wires, or bent pins. Pay close attention to the power cable connectors and ensure they are not loose or damaged.
- Internal Components: Gently examine the internal components of the PSU, including the circuit board, capacitors, and fans. Look for any bulging or leaking capacitors, burnt or discolored areas on the circuit board, or excessive dust accumulation. Check that the fans are clean, functioning properly, and not obstructed by debris.
- Inspect Wiring and Connections: Check the wiring inside the PSU for any loose or disconnected connections. Ensure that the connectors are securely attached and that there are no damaged or exposed wires. Pay attention to the solder joints and inspect them for any signs of damage or overheating.
- Smell: Use your sense of smell to detect any unusual odors, such as a burning smell or the scent of ozone. These odors can indicate overheating or electrical issues within the PSU.
- Take Detailed Notes and Photos: While inspecting the PSU, take detailed notes of any visible damage or issues you observe. Additionally, consider taking clear photos of the components, connections, and any areas of concern. These notes and photos will be useful for reference during the repair process.
If you notice any physical damage or visible issues during the inspection, it is likely that these components need to be replaced or repaired. The next step will involve testing the power supply to determine if it is functioning correctly. Stay tuned for step 3: testing the PSU.
Step 3: Test the Power Supply
Now that you have inspected the PSU for physical damage, it’s time to test its functionality. Testing the power supply will help you determine if it is providing the correct voltages and if any components are malfunctioning. Follow these steps to test your PSU:
- Prepare the Multimeter: Set your digital multimeter to the DC voltage mode. Ensure that it is properly calibrated for accurate readings. Refer to the manufacturer’s documentation for specific instructions on using your multimeter.
- Connect the Multimeter: Locate the 24-pin power connector that is used to connect the PSU to the motherboard. Insert the multimeter probes into the appropriate pins of the connector. Typically, the yellow wires are +12V, the red wires are +5V, and the black wires are ground (GND).
- Power On the PSU: Plug in the power cord to your PSU without connecting it to the motherboard or any other components. Flip the PSU’s power switch to the “on” position. The PSU should start running, and the fan should be spinning.
- Take Voltage Readings: With the multimeter set up and the PSU powered on, take voltage readings of each pin on the 24-pin connector, comparing them to the expected values. Make note of any significant deviations from the standard voltages, such as +12V, +5V, and +3.3V. Refer to the PSU’s documentation or the motherboard manual for the specific voltage values that should be present.
- Check for Stability: Observe the voltage readings on the multimeter for a few minutes. The voltages should remain stable and within an acceptable range. Any significant fluctuations or instability in the readings may indicate a problem with the PSU.
- Test Other Connectors (Optional): If you suspect that specific connectors or cables may be causing the issue, you can test them individually following the same procedure as above. For example, you can test the CPU power connector or peripheral power connectors if you suspect they are faulty.
By testing the power supply with a multimeter, you can gather valuable information about its functionality and identify any voltage irregularities that may be causing the issues. If you find any voltage readings outside the expected range or inconsistent readings, it is likely that certain components within the PSU need to be replaced. In the next step, we will discuss how to proceed with replacing these faulty components.
Step 4: Replace Faulty Components
After conducting the necessary tests and identifying faulty components within your PSU, the next step is to replace them. Follow these steps to replace the faulty components:
- Identify the Faulty Component: Based on the results of your testing and inspection, determine which specific component or components are responsible for the PSU malfunction. This could include faulty capacitors, a malfunctioning fan, or any other component exhibiting signs of damage or failure.
- Source Replacement Parts: Once you have identified the faulty components, source replacement parts that are compatible with your PSU model. Contact the PSU manufacturer or check reputable electronics suppliers for genuine replacement components.
- Prepare for Component Replacement: Before proceeding with the component replacement, ensure you have a proper workspace, your tools ready, and an understanding of the replacement procedure. Refer to the manufacturer’s documentation or specific PSU repair guides for detailed instructions on replacing the component.
- Carefully Remove the Faulty Component: Using the appropriate tools, carefully remove the faulty component from the PSU. Pay close attention to any connectors, screws, or clips that need to be detached in order to safely remove the component. Take note of their positions for easy reassembly.
- Install the Replacement Component: Install the replacement component following the reverse steps of removing the faulty component. Ensure all connectors are firmly attached, and screws or clips are properly secured. Take your time and double-check each step to ensure the component is installed correctly.
- Reassemble the PSU: Once you have successfully replaced the faulty component, reassemble the PSU by putting the casing back together and securing any necessary screws or clips. Ensure all internal components are in their correct positions.
- Perform a Final Inspection: Before placing the PSU back into your computer case, perform a final visual inspection to ensure everything is in order. Check for any loose connections, damaged wires, or components that may need further attention.
By carefully replacing the faulty components, you are addressing the root cause of the PSU’s malfunction. Now that you have replaced the defective parts, proceed to the final step of reassembling the PSU and testing it to ensure the repairs were successful. Let’s move on to step 5: reassembly and testing.
Step 5: Reassemble and Test
After successfully replacing the faulty components in your PSU, it’s time to reassemble it and test its functionality. Follow these steps to complete the repair process:
- Reassemble the PSU: Put the PSU casing back together and secure any screws or clips that hold it in place. Ensure that all internal components are properly aligned and connected.
- Connect the Power Cables: Reattach the power cables to the appropriate connectors on the PSU. Double-check that each cable is correctly positioned and securely connected. Refer to your notes and photographs taken during disassembly for reference.
- Place the PSU in the Computer Case: Gently slide the reassembled PSU back into its mounting position inside the computer case. Use the screws or mounting brackets to secure it in place.
- Connect Other Components: Reconnect any other components, such as the motherboard, graphics card, and hard drives, to the appropriate connectors on the PSU. Ensure all connections are securely made.
- Power On the PSU: Plug the power cord back into the PSU and turn on the power switch. The PSU should start running, and the fans should spin. Listen for any unusual noises or vibrations that could indicate further issues.
- Boot Up and Test: Power on your computer and observe its behavior. Check for any error messages, system crashes, or abnormal behavior that could suggest lingering PSU issues. Monitor the voltages and temperatures of your computer components using appropriate software to ensure everything is within normal ranges.
- Stress Test (Optional): If you want to further ensure the stability of your repaired PSU, consider running a stress test. This can involve running resource-intensive tasks or using specialized software to exert a heavy workload on your computer components. Monitor the PSU’s performance and observe for any signs of instability.
By reassembling and testing the PSU, you are verifying that the repairs have been successful and that the power supply is functioning correctly. If everything is working as expected, you can now use your computer with confidence. However, if you encounter any issues or complications, it may be necessary to retrace your steps and double-check the connections or seek professional assistance.
Conclusion
Repairing a faulty PSU can save you the time and expense of buying a new power supply. By following the steps outlined in this guide, you can diagnose and fix common issues affecting the PSU’s functionality. Here’s a recap of the repair process:
- Unplug and disassemble the PSU, taking note of any physical damage or visible issues.
- Inspect the PSU for physical damage, such as dents, frayed wires, or bulging capacitors.
- Test the PSU using a multimeter to measure voltage outputs and check for stability.
- Identify and replace faulty components, ensuring correct installation and secure connections.
- Reassemble the PSU and reconnect all necessary cables and components.
- Power on the PSU, observe its functionality, and conduct further stress testing if desired.
Remember to prioritize safety throughout the repair process by following proper precautions, such as unplugging the PSU and discharging capacitors before working on it. Additionally, consult the manufacturer’s documentation and specific PSU model guidelines for detailed instructions and safety information.
If you feel uncomfortable or unsure about any step in the repair process, it’s best to seek professional assistance. A qualified technician can provide expert guidance and ensure the repair is done correctly.
We hope this guide has helped you repair your faulty PSU and restore the functionality of your computer. By taking the time to troubleshoot and fix the issue, you can extend the lifespan of your PSU and avoid unnecessary expenses. Happy repairing!