Introduction
Welcome to our guide on how to factory reset the Scepter 8 Tablet. If you are experiencing performance issues, software glitches, or simply want to start fresh, a factory reset can help resolve these problems. A factory reset will restore your tablet to its original state, erasing all data, settings, and installed apps. It is important to note that performing a factory reset will delete all your personal data, so it is essential to back up any important files before proceeding.
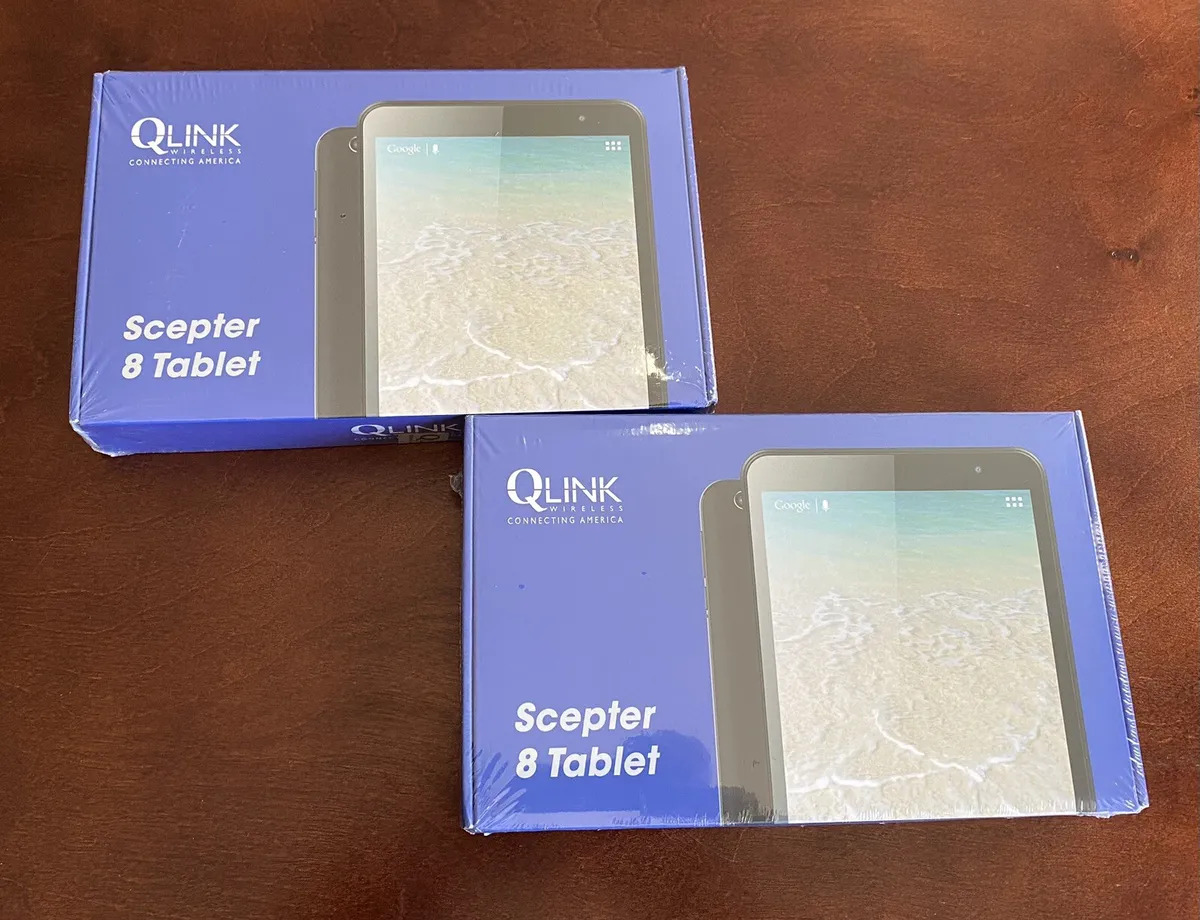
The Scepter 8 Tablet is a popular and affordable device that runs on the Android operating system. Whether you are a long-time user or just purchased the tablet, knowing how to perform a factory reset can come in handy in various situations. This process will remove any customized settings or changes made to the tablet’s software, returning it to its factory default settings.
In this guide, we will provide you with step-by-step instructions on how to successfully perform a factory reset on your Scepter 8 Tablet. Please note that the exact process may vary slightly depending on the specific model and Android version of your tablet. It is always a good idea to refer to the user manual or contact the manufacturer’s support for any specific instructions related to your device.
Before proceeding with the factory reset, ensure that you have backed up all your important data. This includes documents, photos, videos, contacts, and any other files that you do not want to lose. Once you have completed the backup process, you can proceed with the factory reset to restore your tablet to its original settings.
Step 1: Backup your data
Before you proceed with a factory reset on your Scepter 8 Tablet, it is crucial to back up all your important data to prevent any loss. Follow these steps to create a backup of your files:
- Connect to a computer: Use a USB cable to connect your tablet to a computer. Make sure the computer recognizes the device.
- Access the tablet’s storage: Once connected, navigate to the tablet’s storage on your computer. This can be done by locating the tablet under “My Computer” or “This PC” on Windows or “Finder” on Mac.
- Copy files: Select the files and folders you want to back up and copy them to a location on your computer. You can create a new folder specifically for this purpose to keep things organized.
- Verify the backup: After the files are copied, double-check that all your important data has been successfully backed up. Ensure that all files, including photos, documents, videos, and contacts, have been transferred to your computer.
- Additional backup options: If you prefer, you can also use cloud storage services, such as Google Drive or Dropbox, to backup your data. Simply upload your files to the cloud storage account of your choice and access them from any device when needed.
By following these steps, you can ensure that your important files are safely backed up, allowing you to proceed with the factory reset process without the risk of losing any valuable data. Taking the time to back up your data is a crucial step to protect your information and ensure a smooth transition during and after the factory reset.
Step 2: Power off the tablet
Before you can proceed with the factory reset, you need to power off your Scepter 8 Tablet. This step ensures that the device is completely turned off, allowing you to enter the recovery mode for the reset process. Follow these simple steps:
- Press and hold the power button: Locate the power button on your tablet. Press and hold it until a power options menu appears on the screen.
- Select “Power Off”: From the power options menu, select the “Power Off” or “Shutdown” option. This will initiate the power-off sequence, and the tablet will begin shutting down.
- Wait for the tablet to turn off: Give the tablet a few moments to completely power off. You can verify if it is off by no longer seeing any activity on the screen or hearing any sounds coming from the device.
Ensuring that your tablet is powered off is an important step to prepare it for the factory reset process. This step guarantees that the device is in a proper state to enter the recovery mode, where you will be able to perform the necessary steps to factory reset your Scepter 8 Tablet. Once you have powered off your tablet, you can proceed to the next step in this guide.
Step 3: Enter Recovery Mode
Entering the recovery mode on your Scepter 8 Tablet is essential to initiate the factory reset process. The recovery mode provides a set of advanced options that allow you to perform system-level operations, including the factory reset. Follow these steps to enter recovery mode:
- Press and hold specific key combination: To enter the recovery mode on your Scepter 8 Tablet, you need to press and hold a specific key combination. The exact key combination may vary depending on the tablet model, but typically it involves holding the power button and volume buttons simultaneously.
- Identify the correct key combination: Consult the user manual or do a quick search online to find the correct key combination for your tablet model. For example, it may be Power Button + Volume Up Button or Power Button + Volume Down Button.
- Press and hold the key combination: Once you have identified the correct key combination, press and hold the buttons simultaneously for a few seconds.
- Release the buttons: After a few seconds, you will enter the recovery mode. At this point, you can release the buttons.
Entering the recovery mode successfully will allow you to access the necessary options to perform the factory reset on your Scepter 8 Tablet. The recovery mode interface will be displayed on the screen, providing you with various system-level settings and operations. You are now ready to proceed to the next step and initiate the factory reset process.
Step 4: Wipe data/factory reset
Once you have successfully entered the recovery mode on your Scepter 8 Tablet, you can proceed with wiping the data and performing the factory reset. This step will erase all data, settings, and installed apps on your tablet. Follow these instructions to complete the process:
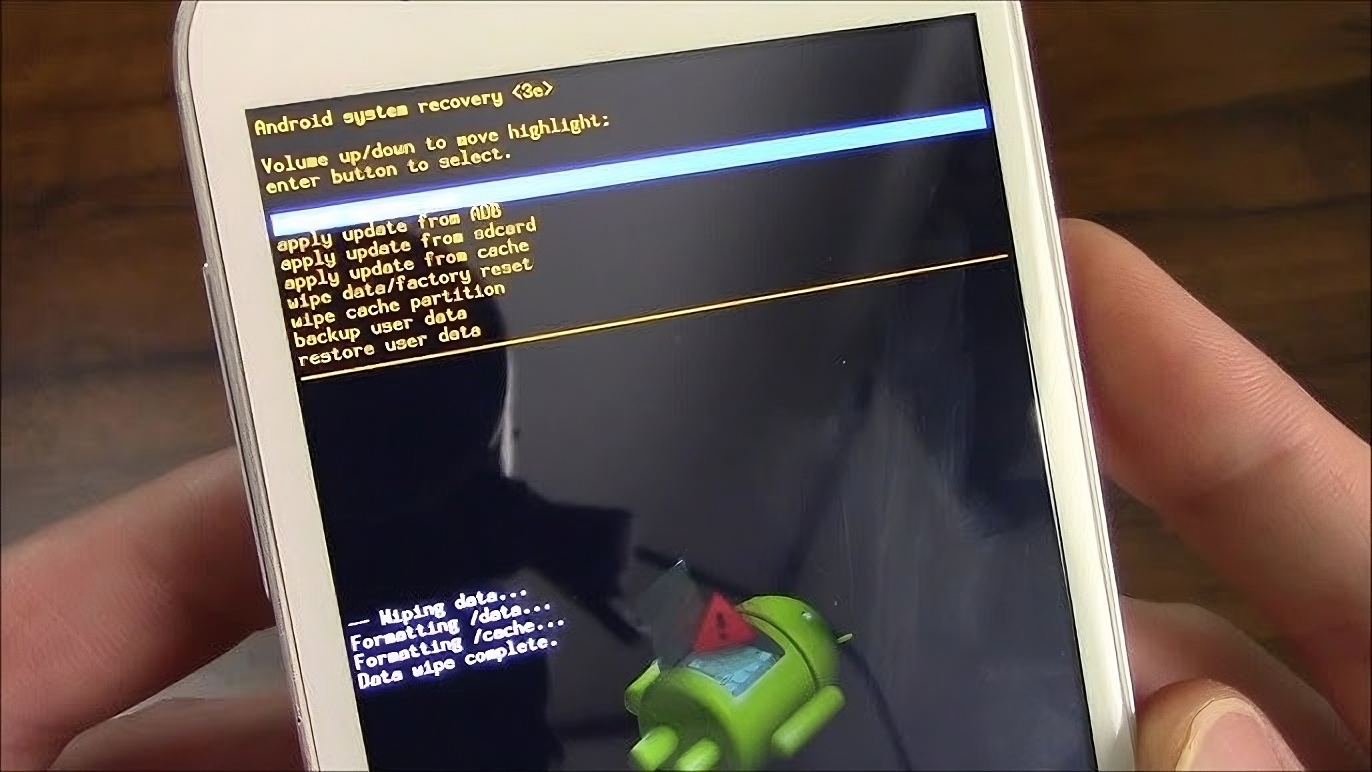
- Navigate using volume buttons: In the recovery mode interface, you will not be able to use the touchscreen. Instead, you will need to navigate through the options using the volume up and volume down buttons. Use these buttons to highlight the “Wipe data/factory reset” option.
- Select the option: Once you have highlighted the “Wipe data/factory reset” option, use the power button to select it. This will initiate the factory reset process.
- Confirm the operation: A confirmation prompt will appear on the screen, asking if you want to proceed with the data wiping and factory reset. Use the volume buttons to highlight the “Yes” option and press the power button to confirm.
The wiping process may take a few minutes to complete, depending on the amount of data on your tablet. You will see a progress bar on the screen indicating the status of the reset. It is important to note that this step is irreversible, and all your data will be permanently deleted. Double-check that you have backed up any important files before proceeding.
Performing a factory reset is an effective way to fix software issues, improve performance, or prepare your Scepter 8 Tablet for a fresh start. By wiping the data and resetting the tablet to its factory settings, you can ensure a clean slate and a smoother user experience.
Step 5: Confirm the reset
After completing the data wiping process in the previous step, you need to confirm the factory reset on your Scepter 8 Tablet. This step ensures that you intentionally want to proceed with the reset and emphasizes the irreversible nature of the operation. Follow these steps to confirm the reset:
- Highlight the “Reboot system now” option: In the recovery mode interface, use the volume buttons to highlight the “Reboot system now” option. This option is typically located below the “Wipe data/factory reset” option.
- Select the option: Once you have highlighted the “Reboot system now” option, use the power button to select it. This will restart your tablet and complete the factory reset process.
After confirming the reset, your Scepter 8 Tablet will reboot and start up with the factory default settings. It will take a few moments for the tablet to initialize and load the operating system. During this time, you may see the manufacturer’s logo or a loading screen.
Once the startup process is complete, your tablet will be in a fresh state, just like when you first bought it. All your personal data, settings, and installed apps have been erased. You can now set up your tablet again with your preferred configurations, login with your Google account, and reinstall your apps from the Play Store.
Confirming the reset is the final step in the factory reset process for your Scepter 8 Tablet. By following this step, you have successfully restored your tablet to its factory default settings, eliminating any software issues or performance problems you may have been experiencing.
Step 6: Reboot the tablet
After confirming the factory reset on your Scepter 8 Tablet, the final step is to reboot the device. Rebooting ensures that all the changes made during the factory reset process take effect and allows you to start using your tablet with its refreshed settings. Follow these simple instructions to reboot your tablet:
- Select the “Reboot system now” option: In the recovery mode interface, use the volume buttons to navigate and highlight the “Reboot system now” option. This option should be located below the “Wipe data/factory reset” option.
- Press the power button: Once you have highlighted the “Reboot system now” option, press the power button to select it. This will initiate the reboot process.
After pressing the power button, your Scepter 8 Tablet will start the reboot sequence. You may see the manufacturer’s logo or a loading screen during this process. It is normal for the reboot to take a few moments as the tablet reboots and loads the operating system.
Once the reboot is complete, your tablet will start up with the factory default settings. You can now begin setting up your tablet again, personalize its settings, and reinstall your preferred apps from the Play Store.
Rebooting your tablet ensures that the factory reset is applied successfully and allows you to start fresh with a clean slate. It is an essential step after performing a factory reset on your Scepter 8 Tablet. Now you can enjoy a smoother and more optimized user experience on your device.
Conclusion
Performing a factory reset on your Scepter 8 Tablet can be a helpful solution to address software issues or start fresh with a clean slate. Throughout this guide, we have walked you through the step-by-step process of performing a factory reset on your tablet. By following these instructions, you can restore your tablet to its factory default settings, erasing all data, settings, and installed apps.
Before proceeding with the factory reset, it is crucial to back up all your important data to prevent any loss. Taking the time to create a backup ensures that you can restore your files and settings after the factory reset is complete. We also provided instructions on how to power off the tablet, enter recovery mode, wipe the data/factory reset, and confirm the reset.
Remember that a factory reset is an irreversible process and will permanently remove all your data. Take the necessary precautions to back up your files and ensure you have copies of anything important before proceeding.
After completing the factory reset, your Scepter 8 Tablet will restart with the factory default settings. You can then go through the initial setup process again, personalize your settings, and reinstall your preferred apps. This will give you a fresh start and potentially resolve any software issues or performance problems you were facing.
If you encounter any issues or have specific questions regarding your Scepter 8 Tablet, we recommend referring to the official user manual or contacting the manufacturer’s support for assistance.
We hope this guide has been helpful in guiding you through the process of performing a factory reset on your Scepter 8 Tablet. With a clean slate and refreshed settings, you can enjoy a smoother and more optimized user experience on your device.