Introduction
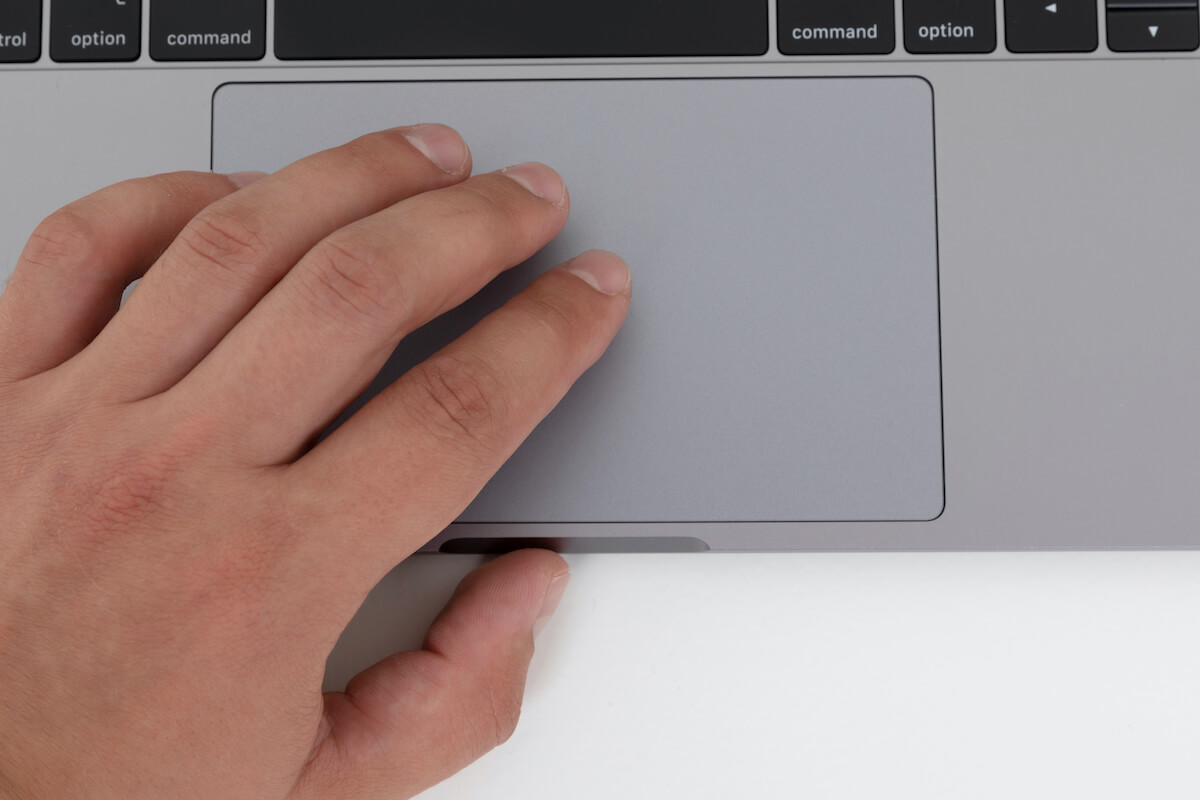
Having a trackpad on your Mac can be quite convenient for navigating through various tasks. However, there are times when you may want to disable the trackpad temporarily. This could be due to accidental touches or when using an external mouse or drawing tablet. Fortunately, there are several ways to disable the trackpad on your Mac, giving you more control over your device’s input options.
In this article, we will discuss four different methods to disable the trackpad on your Mac. Whether you prefer using system preferences, terminal commands, an external mouse, or software/apps, we have got you covered. Let’s explore each method in detail, allowing you to choose the one that suits your needs the best.
By disabling the trackpad on your Mac, you can prevent any unwanted cursor movements or accidental clicks while working on important tasks. It can be particularly useful if you are using an external mouse or if you prefer using keyboard shortcuts to navigate your Mac. Additionally, disabling the trackpad can also help conserve battery life, as it eliminates unnecessary power consumption.
Now, let’s delve into the various methods you can utilize to disable the trackpad on your Mac.
Method 1: Using System Preferences
One of the easiest ways to disable the trackpad on your Mac is by using the System Preferences. This method allows you to quickly toggle the trackpad on and off whenever needed. Here’s how you can do it:
- Click on the Apple menu in the top left corner of your screen and select “System Preferences.”
- In the System Preferences window, click on the “Trackpad” option.
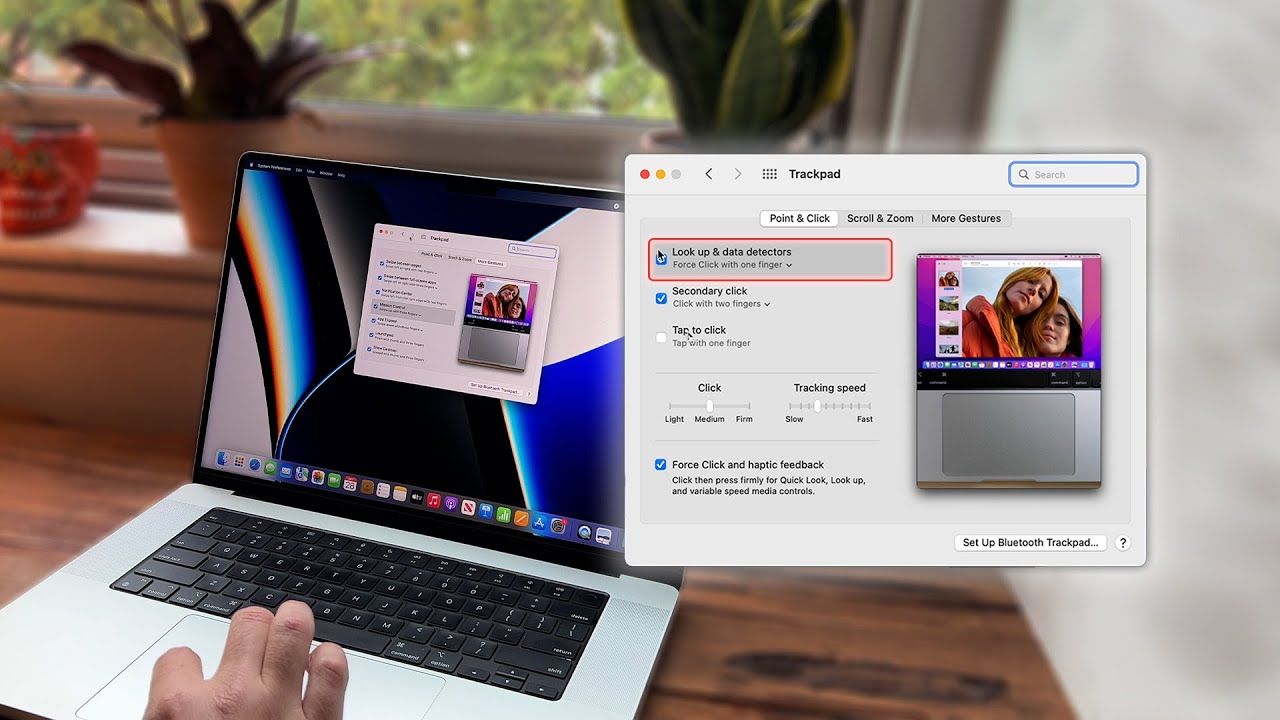
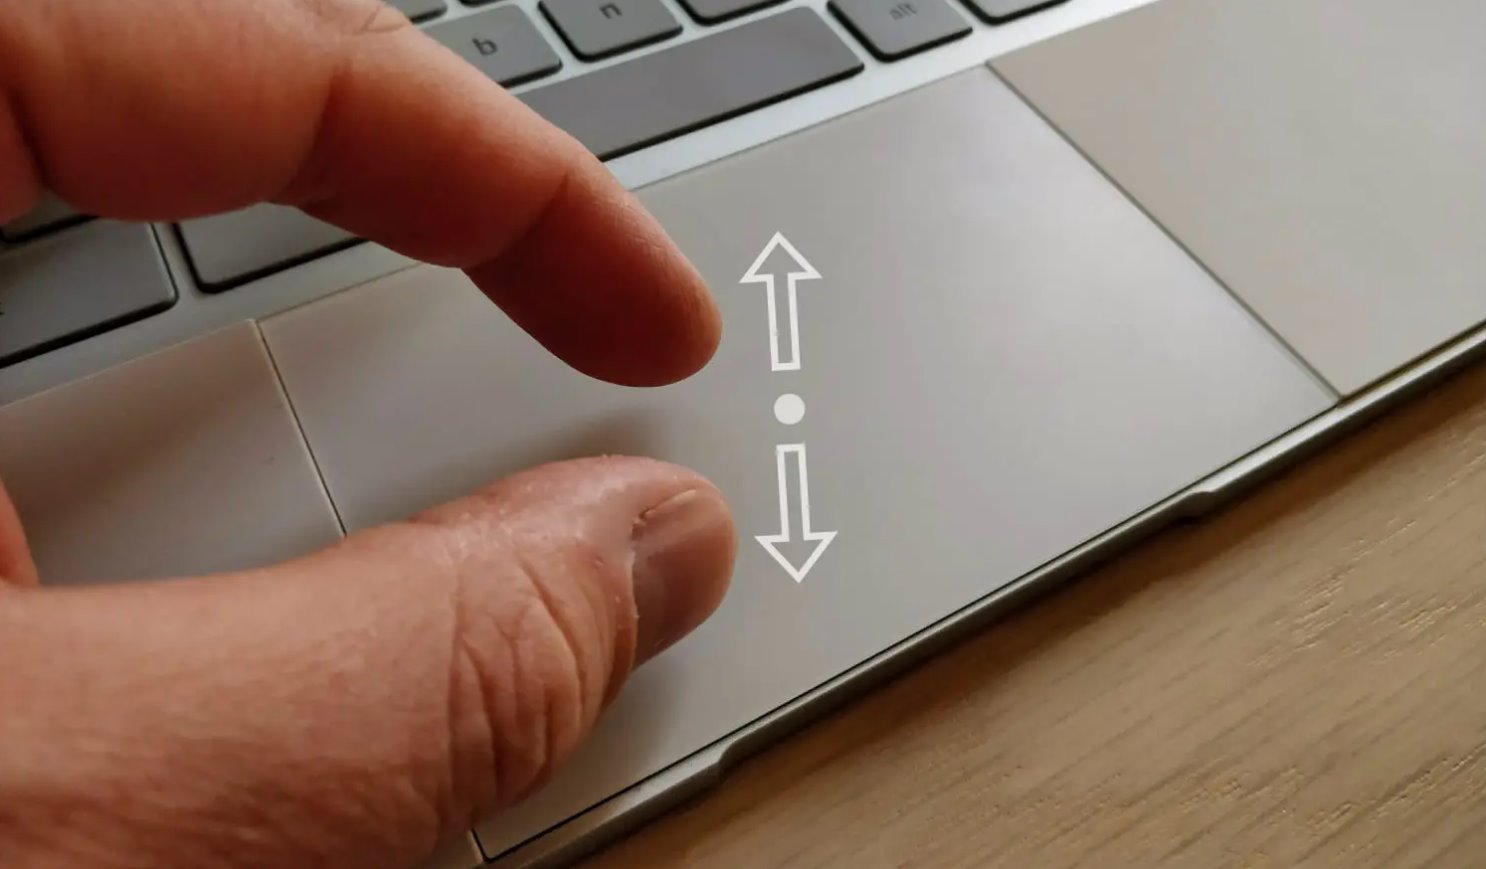
- Once the Trackpad settings open, navigate to the “Point & Click” tab.
- Look for the checkbox that says “Enable Tap to Click” and uncheck it.
- You can also disable other trackpad options, such as “Three Finger Drag” or “Force Click and haptic feedback,” according to your preference.
- Close the System Preferences window, and your trackpad will be disabled.
By following these simple steps, you can easily disable the trackpad on your Mac using the System Preferences. Once disabled, the trackpad will no longer respond to any touches or gestures, providing you with a more controlled input experience.
The advantage of using this method is that it offers a quick and seamless way to disable the trackpad without the need for any additional software or complex terminal commands. However, keep in mind that this method disables the trackpad entirely, so you won’t be able to use it until you re-enable it in the System Preferences.
Now that we have explored the first method let’s move on to the second method, which involves using Terminal commands to disable the trackpad on your Mac.
Method 2: Using Terminal Commands
If you’re comfortable with using the Terminal application on your Mac, you can disable the trackpad using a few simple commands. Here’s how:
- Launch the Terminal application on your Mac. You can find it in the Utilities folder within the Applications folder, or by using Spotlight search.
- Type the following command and press Enter:
sudo kextunload /System/Library/Extensions/AppleUSBMultitouch.kext/Contents/PlugIns/AppleUSBTrackpad.kext - You will be prompted to enter your administrator password. Once you enter the password, press Enter again.
- The trackpad should now be disabled. To enable it again, you can use the command:
sudo kextload /System/Library/Extensions/AppleUSBMultitouch.kext/Contents/PlugIns/AppleUSBTrackpad.kext
Using Terminal commands provides a more technical approach to disabling the trackpad, and it gives you finer control over the process. It can be particularly useful for advanced users or those who prefer using command-line interfaces.
Keep in mind that disabling the trackpad using Terminal commands will require you to use the commands mentioned above each time you want to toggle the trackpad on or off. While this method may be more complex than using System Preferences, it offers greater control over your device’s functionality.
Now that we have covered using Terminal commands, let’s move on to the third method, which involves utilizing an external mouse.
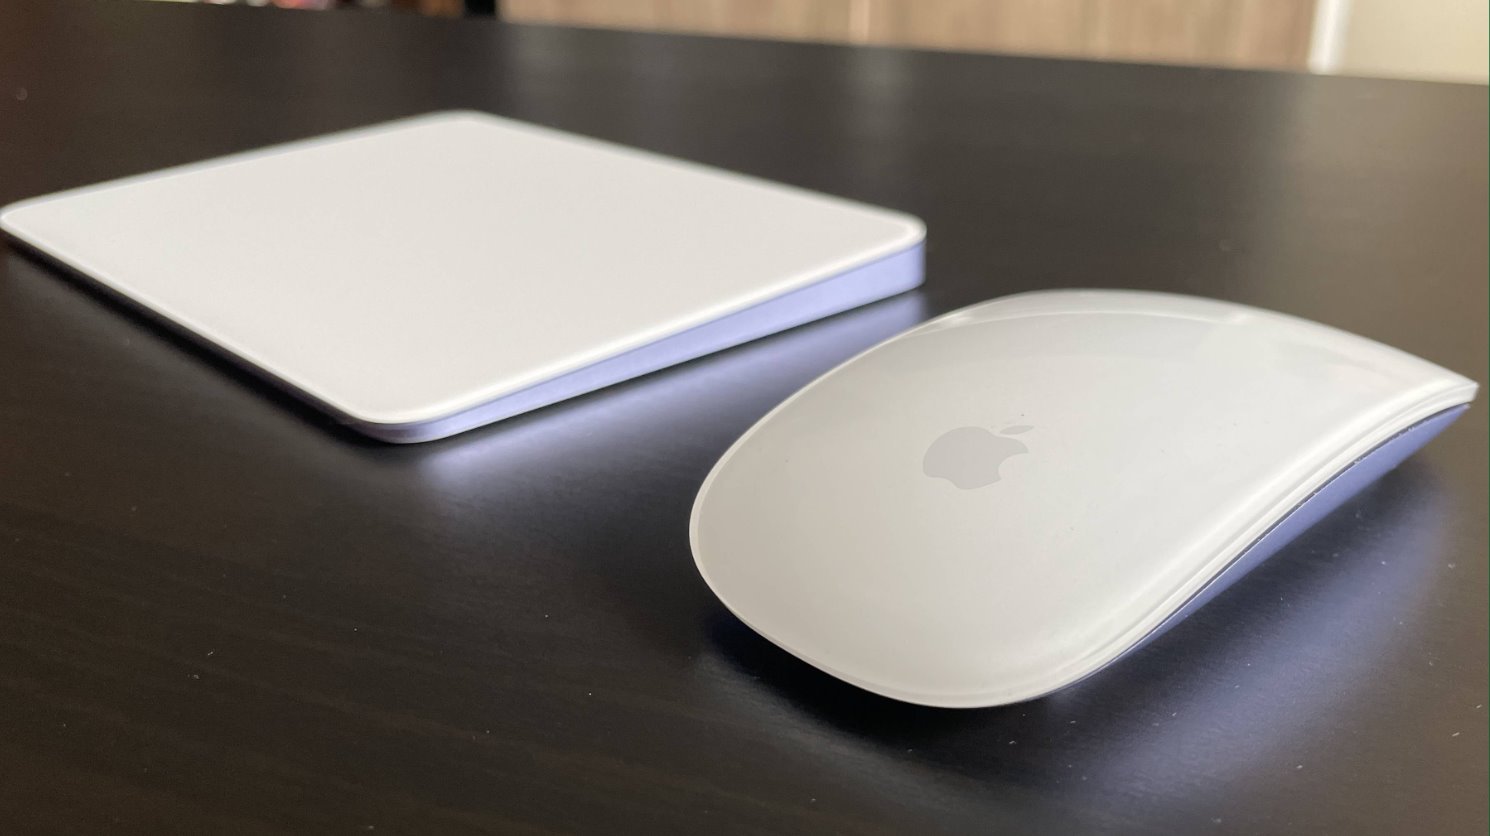
Method 3: Using External Mouse
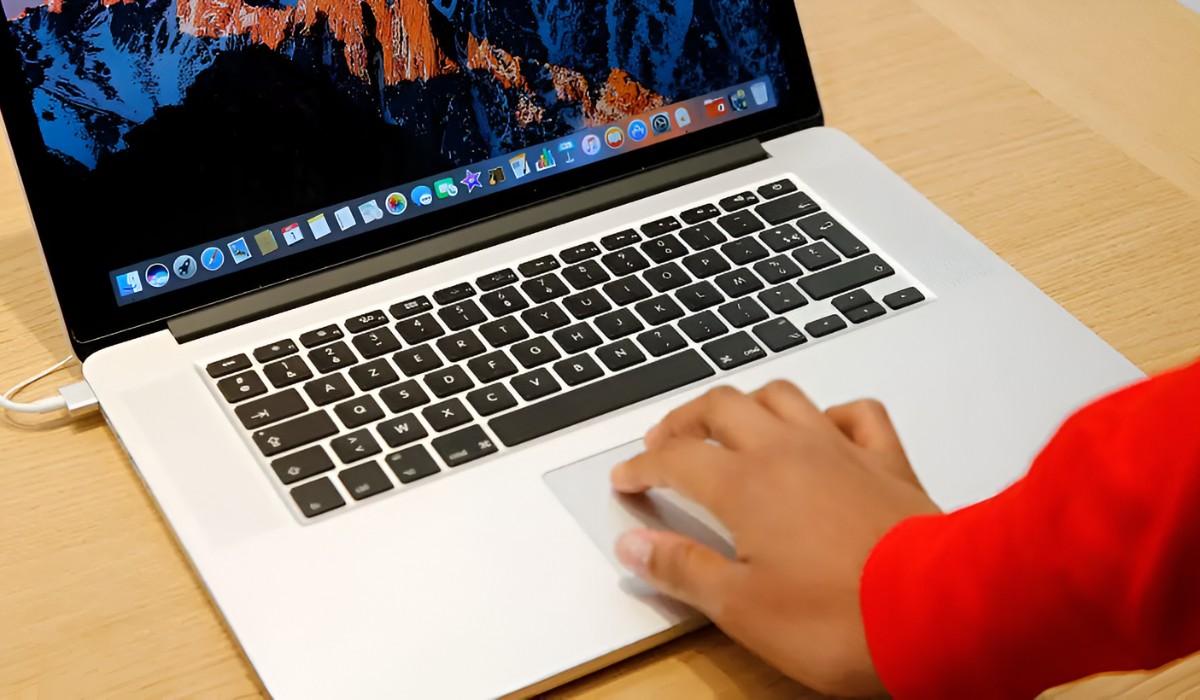
If you have an external mouse connected to your Mac, you can easily disable the trackpad by simply using the mouse instead. This method is straightforward and allows you to switch between trackpad and mouse usage seamlessly. Here’s how you can do it:
- Connect your external mouse to your Mac using a USB or Bluetooth connection.
- Once the mouse is connected, your Mac will automatically detect it and disable the trackpad.
- You can now use the external mouse for all your pointing and clicking needs, while the trackpad remains inactive.
- If you want to switch back to using the trackpad, simply disconnect the external mouse, and your Mac will re-enable the trackpad automatically.
Using an external mouse provides a convenient and practical way to disable the trackpad whenever needed. It allows you to have more precise control over your cursor movements and eliminates the chance of accidentally triggering actions on the trackpad. This method is especially useful for tasks that require more precise control, such as graphic design or video editing.
Keep in mind that using an external mouse will not permanently disable the trackpad. It only disables it while the external mouse is connected. Once you disconnect the mouse, the trackpad will be re-enabled.
Now that we have covered using an external mouse, let’s move on to the fourth and final method, which involves using specialized software or apps to disable the trackpad on your Mac.
Method 4: Using Software/Apps
Another way to disable the trackpad on your Mac is by using specialized software or apps that offer more advanced control over your device’s input options. These tools provide additional features and customization options beyond what the built-in settings offer. Here are a few popular options:
- Trackpad++: Trackpad++ is a third-party driver that offers extended features and customization options for the trackpad on your Mac. It allows you to disable the trackpad with just a few clicks and provides additional settings for fine-tuning your trackpad experience.
- BetterTouchTool: BetterTouchTool is a powerful tool that lets you customize and configure various input devices on your Mac, including the trackpad. With BetterTouchTool, you can disable the trackpad completely or set up custom gestures and actions for different applications.
- DisableTrackpad: DisableTrackpad is a lightweight application that specifically focuses on disabling the trackpad on Mac. It offers a simple interface and allows you to toggle the trackpad on and off with ease.
These software options offer a more comprehensive approach to trackpad control, giving you greater flexibility and customization. They are particularly useful if you require more advanced features or if the built-in settings and methods do not fully meet your needs.
Before installing any software or apps on your Mac, make sure to do proper research and choose a reliable and trusted source. Ensure that the software is compatible with your operating system version and consider reading reviews and ratings from other users to ensure a smooth and safe experience.
Now that we have covered the various methods to disable the trackpad on your Mac, you can choose the one that suits your preferences and needs. Whether you prefer using system preferences, terminal commands, an external mouse, or specialized software/apps, you now have the tools to take control over your trackpad functionality.
Conclusion
Disabling the trackpad on your Mac can be beneficial in various situations, such as when using an external mouse, performing tasks that require more precise control, or simply to prevent accidental touches. In this article, we explored four different methods to disable the trackpad on your Mac: using System Preferences, utilizing Terminal commands, using an external mouse, and employing specialized software or apps.
If you prefer a simple and built-in solution, using System Preferences is the easiest way to disable the trackpad. By navigating to the Point & Click settings, you can uncheck the “Enable Tap to Click” option, effectively disabling the trackpad’s responsiveness.
If you have a technical inclination and prefer using the command line, using Terminal commands to disable the trackpad offers more control and customization. By using the appropriate commands, you can unload the necessary kernel extensions to disable the trackpad and reload them to enable it again.
Using an external mouse is another convenient method to disable the trackpad. By connecting an external mouse to your Mac, the trackpad will automatically be disabled, allowing you to use the mouse for all your pointing and clicking needs. Disconnecting the external mouse will re-enable the trackpad.
For more advanced customization and control, specialized software or apps such as Trackpad++, BetterTouchTool, or DisableTrackpad provide additional features and options to disable or configure the trackpad on your Mac.
Choose the method that aligns with your preferences and requirements. Keep in mind that the trackpad can be easily re-enabled using the same methods mentioned in this article, allowing you to switch between trackpad and mouse usage effortlessly.
By disabling the trackpad on your Mac, you can enhance your productivity and enjoy a more seamless and efficient workflow. Whether you’re using your Mac for work, creative projects, or leisure activities, having control over your input options is crucial. Apply the method that suits your needs and enjoy a personalized Mac experience.