Introduction
Welcome to our article on how to disable the trackpad when a mouse is connected on your Mac. If you’re someone who uses a mouse frequently, you might have experienced the frustration of accidentally touching the trackpad and causing unwanted cursor movements while typing or working on a project. Luckily, there are several ways to tackle this issue and ensure a seamless user experience.
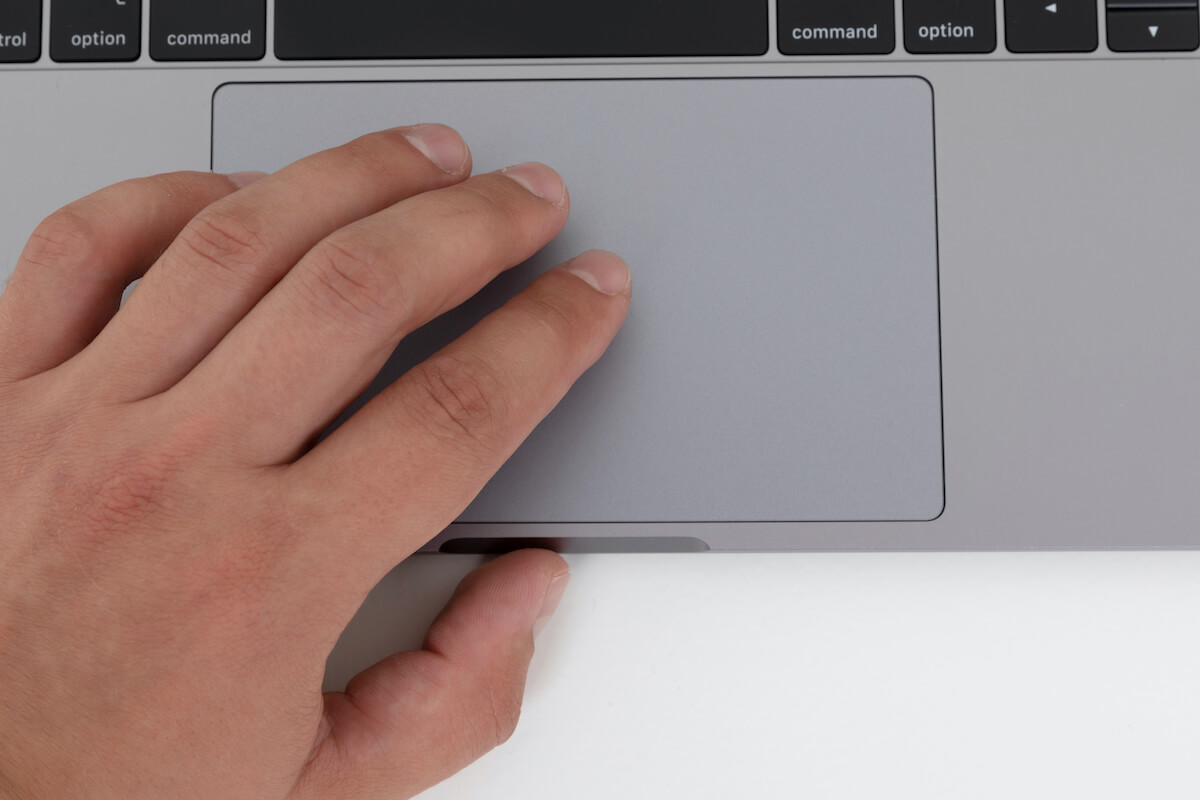
Mac computers come equipped with a trackpad, which is a convenient built-in input device for navigating your screen, but it can sometimes become a hindrance when using a mouse. Many Mac users prefer using an external mouse for precise cursor control, enhanced productivity, and reduced strain on their hands and wrists. By disabling the trackpad when a mouse is connected, you can avoid any unintentional movements and enjoy a more streamlined workflow.
In this article, we will explore various methods to disable the trackpad when a mouse is connected on your Mac. Whether you prefer to use the system preferences, terminal commands, or third-party apps, we’ve got you covered. Each method has its own advantages and accessibility, allowing you to choose the one that suits your needs best.
So, if you’re ready to take control of your trackpad and optimize your mouse usage on your Mac, let’s dive in and explore the different ways to disable the trackpad when a mouse is connected.
Why Disable Trackpad When Mouse Is Connected?
Many Mac users wonder why they should bother disabling the trackpad when they already have a mouse connected. While it may seem like a minor inconvenience, there are several reasons why you should consider disabling the trackpad when using a mouse:
- Accidental cursor movements: One of the main reasons to disable the trackpad is to prevent accidental cursor movements. When typing or working on precise tasks, the slightest touch of the trackpad can cause the cursor to jump, leading to errors and frustration. By disabling the trackpad, you can ensure that your mouse movements are smooth and uninterrupted.
- Enhanced productivity: Using a mouse for tasks that require precision and accuracy can significantly enhance your productivity. Instead of relying on the trackpad, which may not provide the same level of control, a mouse allows for more fluid movements and helps you navigate your screen more efficiently. Disabling the trackpad when a mouse is connected ensures that you have a consistent and reliable input device.
- Reduced strain on hands and wrists: Depending solely on a trackpad can lead to repetitive strain injuries and discomfort, especially during extended periods of computer use. By using a mouse, you can distribute the workload between your fingers and wrist, reducing the strain on specific muscles. Disabling the trackpad encourages a healthier ergonomic setup and promotes better long-term hand and wrist health.
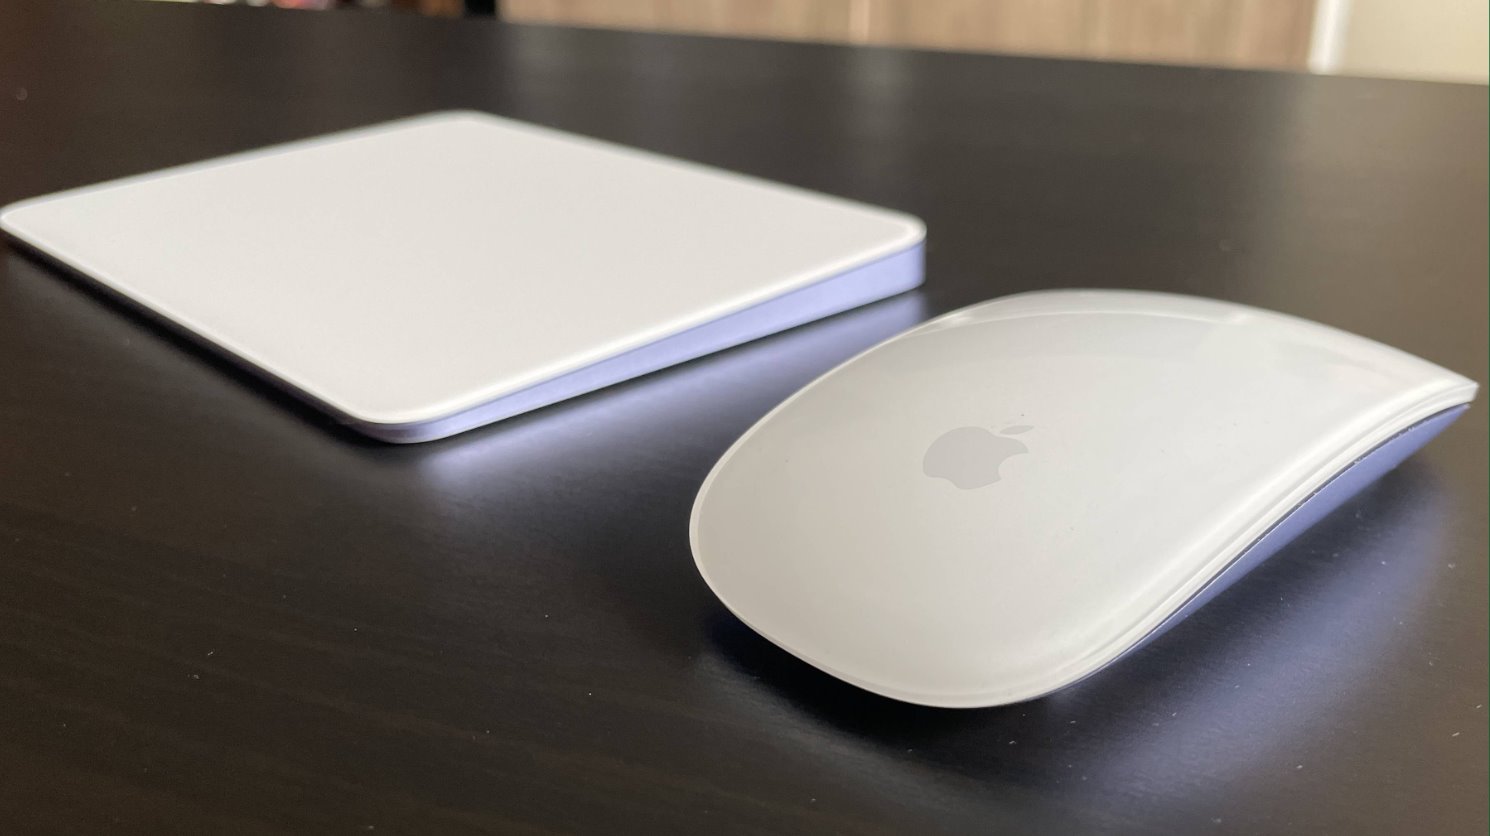
- Personal preferences: Some users simply prefer using a mouse over the trackpad due to personal preferences or familiarity. Whether it’s the physical feel of the mouse or the additional control it offers, everyone has their own reasons for opting for a mouse. Disabling the trackpad when a mouse is connected allows users to fully embrace their preferred input device without any interference.
Overall, disabling the trackpad when a mouse is connected on your Mac can bring numerous benefits, including preventing accidental cursor movements, enhancing productivity, reducing strain on your hands and wrists, and accommodating personal preferences. Now that we understand the importance of this feature, let’s explore the various methods to disable the trackpad on your Mac when a mouse is connected.
How to Disable Trackpad When Mouse Is Connected on Mac
Now that we recognize the value of disabling the trackpad when a mouse is connected on your Mac, let’s explore the different methods you can employ to achieve this.
There are three primary methods you can use to disable the trackpad on your Mac when a mouse is connected:
- Method 1: Using System Preferences: The most straightforward method is through the System Preferences settings on your Mac. This built-in feature allows you to easily toggle the trackpad on and off when a mouse is connected. We’ll guide you through the steps to access the settings and disable the trackpad from there.
- Method 2: Using Terminal Commands: For more advanced users or those comfortable with using the terminal, you can utilize specific commands to disable the trackpad. This method provides greater flexibility and customization options if you prefer a command-line approach.
- Method 3: Using Third-Party Apps: Another option is to leverage third-party apps that offer trackpad management and customization features. These apps often provide additional functionalities beyond simply disabling the trackpad when using a mouse.
Each method has its own advantages, so consider your level of comfort, preference, and the features you require before choosing the one that fits your needs.
In the following sections, we will guide you through each method step-by-step, ensuring that you can effectively disable the trackpad when a mouse is connected on your Mac. By the end of this article, you’ll have the knowledge and tools to seamlessly transition between using your trackpad and mouse, depending on your workflow.
Method 1: Using System Preferences
The first method to disable the trackpad when a mouse is connected on your Mac is through the System Preferences settings. This method is relatively simple and accessible to all users. Follow the steps below to disable the trackpad:
- Open the Apple menu by clicking on the Apple icon in the top left corner of your screen.
- Select “System Preferences” from the dropdown menu.
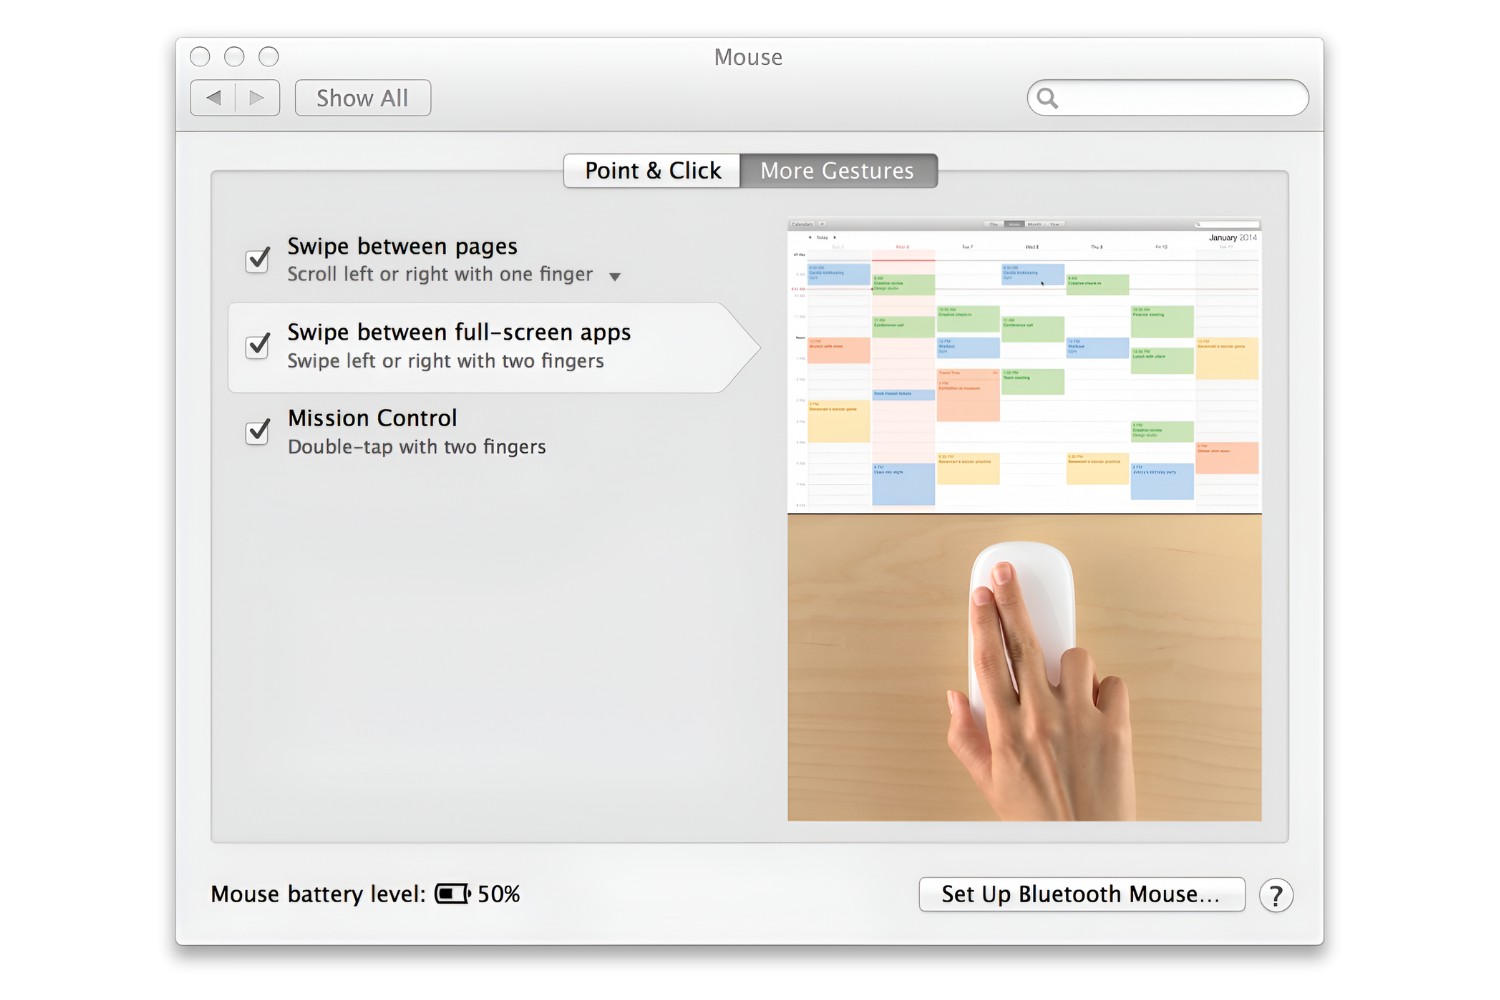
- In the System Preferences window, locate and click on the “Trackpad” icon.
- Within the Trackpad settings, you will find a checkbox option that says “Ignore built-in trackpad when mouse or wireless trackpad is present.” Check this box to disable the trackpad when a mouse is connected.
- Once you’ve checked the box, your trackpad will be disabled whenever a mouse is connected to your Mac. You can uncheck the box to re-enable the trackpad if you ever prefer to use it without a mouse.
By using this method, you can conveniently enable or disable the trackpad depending on your connected devices. It provides a simple yet effective way to ensure that your trackpad doesn’t interfere with your mouse usage.
Keep in mind that the options available in the System Preferences settings may vary depending on your specific Mac model and operating system version. However, the general steps should remain similar across different versions.
Now that you’ve learned how to disable the trackpad using System Preferences, let’s move on to the next method: using terminal commands.
Method 2: Using Terminal Commands
If you’re comfortable using the terminal and prefer a more advanced method to disable the trackpad when a mouse is connected, you can use specific commands to achieve this. This method offers greater customization options and control. Follow the steps below to disable the trackpad using terminal commands:
- Launch the Terminal application on your Mac. You can find it in the Utilities folder within the Applications folder or use Spotlight search to quickly locate it.
- In the Terminal window, type the following command and press Enter:
defaults write com.apple.driver.AppleBluetoothMultitouch.trackpad HIDIdleTime -int 0 - After executing the command, the trackpad will be disabled immediately when a mouse is connected to your Mac. To revert the changes and re-enable the trackpad, enter the following command in the Terminal:
defaults write com.apple.driver.AppleBluetoothMultitouch.trackpad HIDIdleTime -int 3600000 - Once you’ve entered the command, press Enter to execute it, and the trackpad will be re-enabled.
Using terminal commands gives you more control over the trackpad’s behavior and allows you to fine-tune the settings to your preference. However, it’s essential to be cautious when using terminal commands and follow the instructions carefully to prevent any unintended consequences.
Now that you’ve learned how to disable the trackpad using terminal commands, let’s explore the third method: utilizing third-party apps.
Method 3: Using Third-Party Apps
If you prefer a more robust and feature-rich solution for disabling the trackpad when a mouse is connected, you can consider using third-party apps. These apps provide additional functionalities and customization options beyond the built-in macOS settings. Follow the steps below to utilize third-party apps to disable the trackpad:
- Research and identify a reputable third-party app that offers trackpad management and customization features. There are several options available, such as BetterTouchTool, Steermouse, or MagicPrefs.
- Visit the official website of the chosen app and download it to your Mac.
- Once the app is downloaded, open the installer file and follow the on-screen instructions to install it on your system.
- Launch the app, and you will find various settings and options related to trackpad management.
- Look for an option to disable the trackpad when a mouse is connected. The location and wording of this option may vary depending on the chosen app.
- Enable the option to disable the trackpad when a mouse is connected. Customize any other relevant settings according to your preferences.
- Once the settings are configured, the third-party app will handle the trackpad behavior, ensuring that it remains disabled when a mouse is connected to your Mac.
Using third-party apps gives you more flexibility and advanced features to manage your trackpad settings. These apps often provide additional functionalities like custom gestures, sensitivity adjustments, and more. Research and choose the app that suits your needs and preferences.
Remember to download apps from reputable sources to ensure their authenticity and safety. Read user reviews and research the app’s compatibility with your macOS version before proceeding with the installation.
Now that you’re familiar with the method of utilizing third-party apps to disable the trackpad, it’s time to conclude this article by summarizing what we’ve learned.
Conclusion
Disabling the trackpad when a mouse is connected on your Mac is a simple yet effective way to enhance your productivity, prevent accidental cursor movements, and reduce strain on your hands and wrists. Whether you prefer using the built-in System Preferences settings, terminal commands, or third-party apps, there are multiple methods available to achieve this.
In Method 1, we covered the use of System Preferences, providing an easy and accessible way to disable the trackpad when a mouse is connected. By following a few simple steps, you can toggle the trackpad on and off to suit your needs.
For more advanced users, Method 2 introduced the use of terminal commands to disable the trackpad. This method offers greater customization options and flexibility, allowing you to fine-tune the trackpad behavior according to your preferences.
Lastly, Method 3 explored the option of using third-party apps that provide additional features and functionality for trackpad management. These apps offer a more comprehensive suite of customization options, giving you greater control over your trackpad usage.
Remember to choose the method that best fits your comfort level and requirements. It’s important to research and choose reputable third-party apps to ensure the safety and compatibility of your system.
By disabling the trackpad when a mouse is connected, you can enjoy a more streamlined workflow, increased productivity, and a personalized computing experience. So go ahead and implement these methods to take full control of your trackpad usage on your Mac.
Now that you’re armed with the knowledge to disable the trackpad when a mouse is connected, you can optimize your Mac experience and ensure a seamless workflow. Whether you’re a casual user or a professional, these methods will help you harness the full potential of your Mac while using a mouse.