Introduction
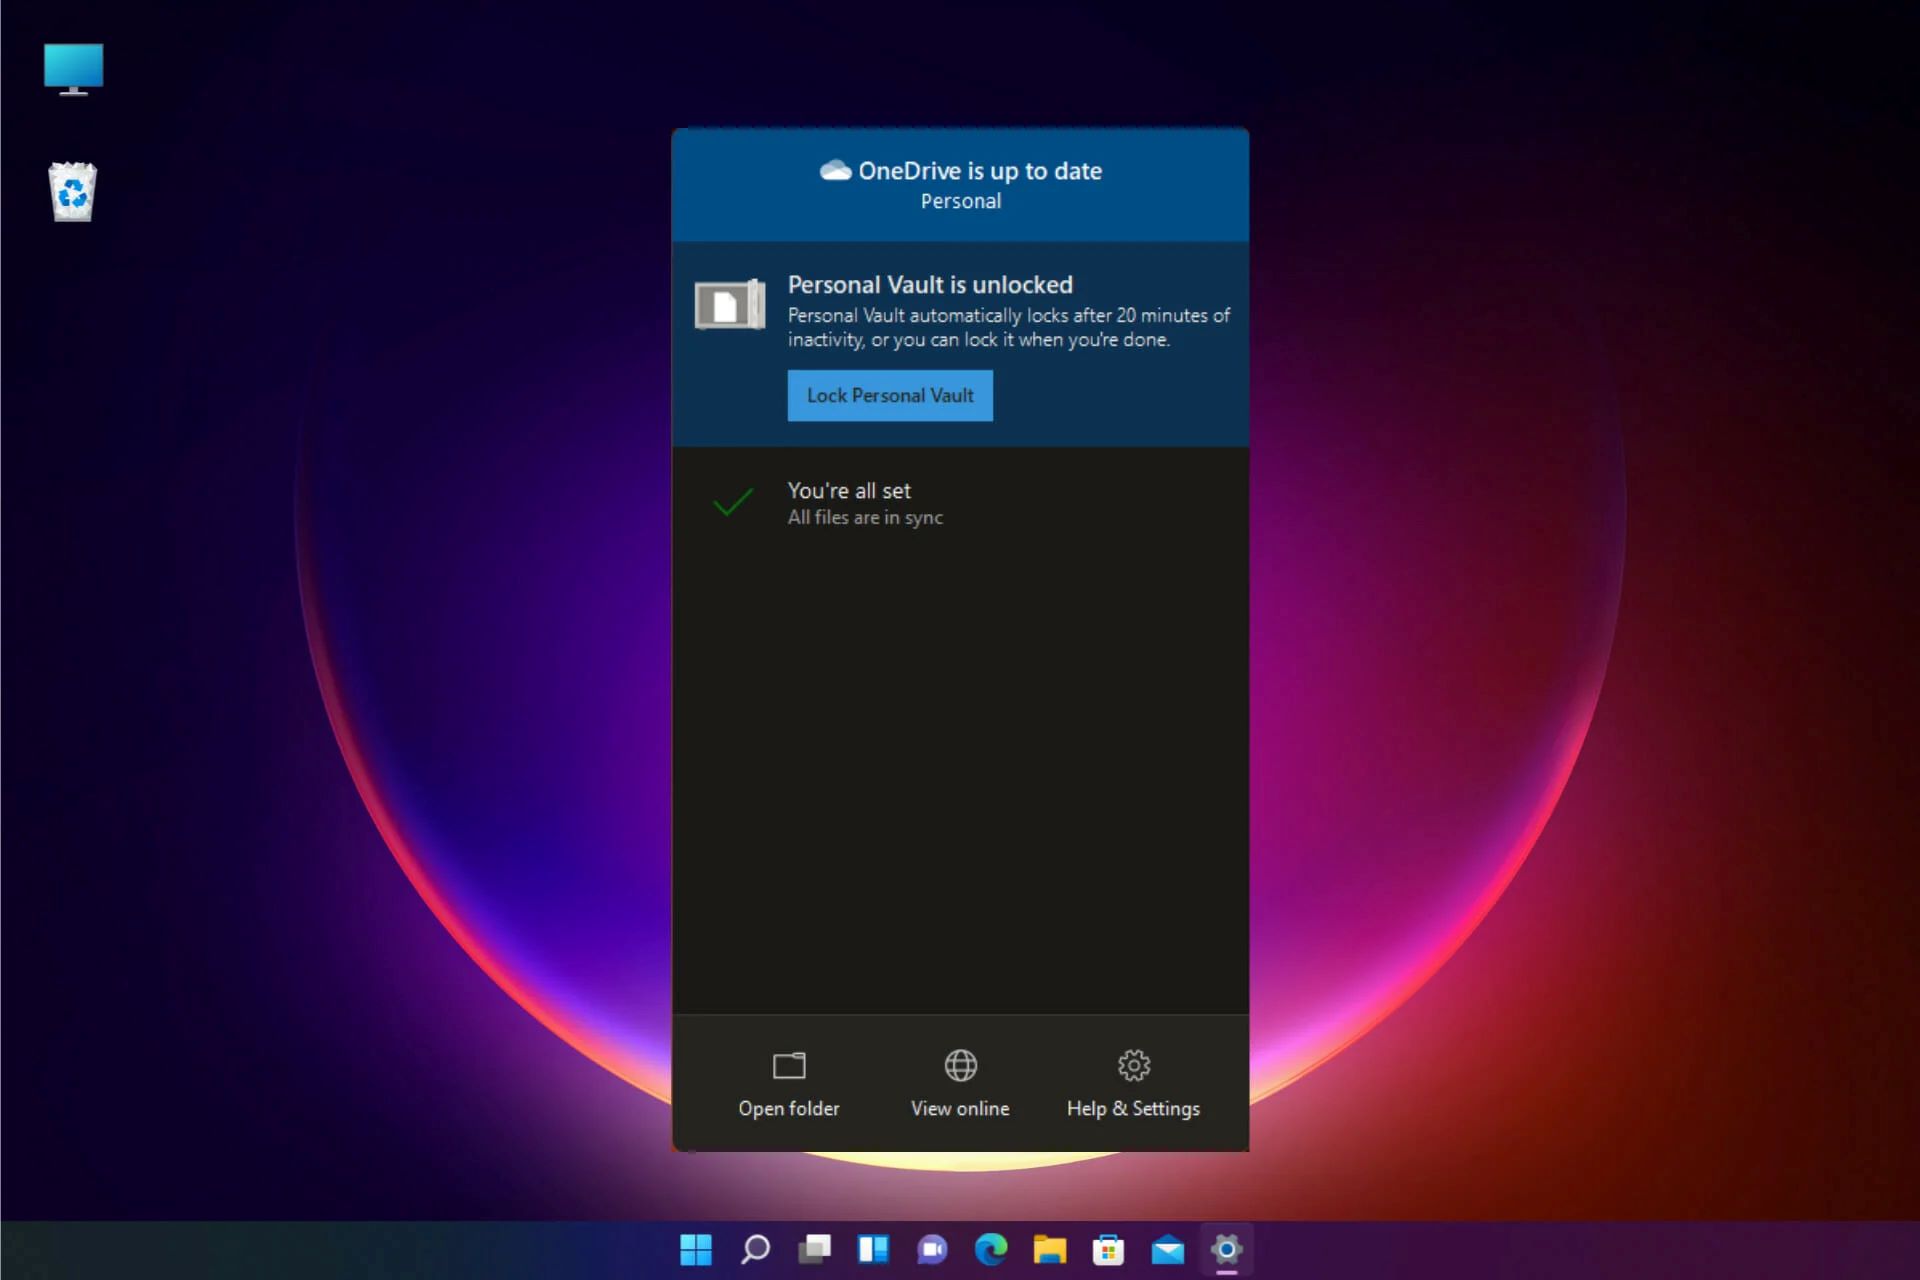
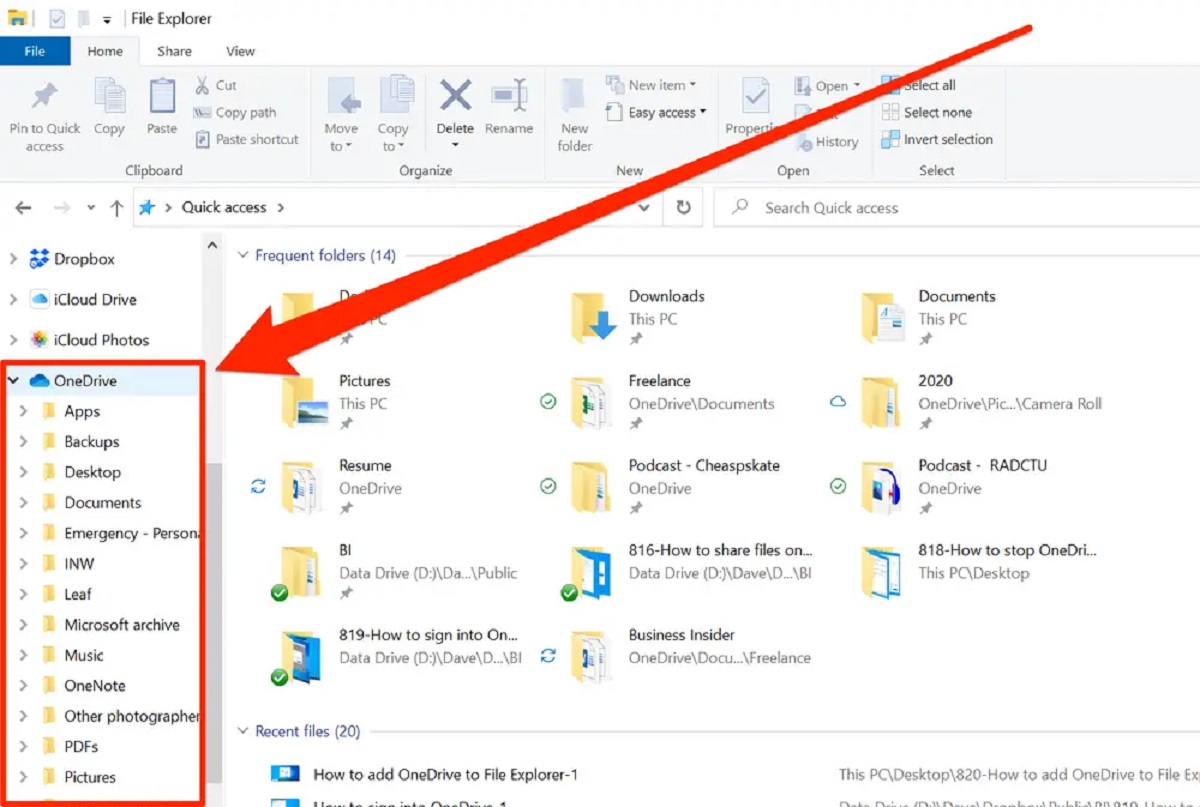
OneDrive is a cloud storage service that comes preinstalled with Windows 11. While it offers convenient file synchronization and backup capabilities, there may be instances where you want to disable OneDrive on your Windows 11 device.
Disabling OneDrive can be useful if you prefer to use alternative cloud storage solutions or if you want to free up system resources. Fortunately, there are multiple methods you can use to disable OneDrive on Windows 11.
In this article, we will explore four different methods to help you disable OneDrive on your Windows 11 device. These methods include using the Windows Settings, Group Policy Editor, Registry Editor, and Command Prompt. Each method provides you with various options to choose from, depending on your comfort level and system requirements.
Whether you are a tech-savvy user or a beginner, you will find a suitable method to disable OneDrive, allowing you to tailor your Windows 11 experience to your specific needs.
Now, let’s dive into each method and explore how to disable OneDrive on Windows 11.
Method 1: Disabling OneDrive Through Settings
The easiest method to disable OneDrive on Windows 11 is by using the Settings app. Follow the steps below to disable OneDrive:
- Open the Start menu and click on the “Settings” gear icon to launch the Settings app.
- In the Settings app, click on the “Apps” category.
- On the left side of the Apps settings, select “Apps & features”.
- Scroll down the list of installed apps until you find “Microsoft OneDrive”. Click on it.
- Click on the “Uninstall” button.
- A confirmation dialog will appear. Click on “Uninstall” again to confirm the action.
- Windows will now uninstall OneDrive from your device.
After following these steps, OneDrive will be disabled on your Windows 11 device. Keep in mind that this method only removes the OneDrive application from your system, but the underlying files and folders will still remain in your user folder.
If you wish to completely remove all traces of OneDrive from your system, you can also uninstall the OneDrive sync client using PowerShell or use one of the methods mentioned later in this article.
Note that if you ever want to enable OneDrive again, you can reinstall it from the Microsoft Store or through the “Apps & features” settings in Windows 11.
This method is straightforward and suitable for users who want to disable OneDrive without delving into more advanced settings. However, if you prefer more control over the disabling process or need to disable OneDrive on multiple devices, you may find the next methods more suitable.
Method 2: Using Group Policy Editor to Disable OneDrive
If you have Windows 11 Pro or Enterprise edition, you can use the Group Policy Editor to disable OneDrive. The Group Policy Editor provides more granular control over system settings and is suitable for advanced users and system administrators. Here’s how to use it:
- Press the Windows key + R on your keyboard to open the Run dialog box.
- Type “gpedit.msc” and hit Enter to open the Group Policy Editor.
- In the Group Policy Editor window, navigate to “User Configuration” > “Administrative Templates” > “Windows Components” > “OneDrive”.
- On the right side of the window, find and double-click on the “Prevent the usage of OneDrive for file storage” policy.
- A new window will open. Select the “Enabled” option.
- Click on “Apply” and then “OK” to save the changes.
By enabling this policy, you are preventing users from accessing and using OneDrive for file storage. This effectively disables OneDrive on Windows 11.
It’s worth noting that the Group Policy Editor is not available in Windows 11 Home edition. If you are using the Home edition, you can try one of the other methods mentioned in this article to disable OneDrive.
If you ever want to enable OneDrive again, you can follow the same steps outlined above, but this time select the “Not Configured” or “Disabled” option in the policy settings.
Using the Group Policy Editor is a powerful method for managing system policies and customizing Windows settings. If you have the necessary permissions and want more control over the disabling process, this method is a great choice.
Method 3: Registry Editor Method to Disable OneDrive
Another method to disable OneDrive on Windows 11 is by making changes in the Registry Editor. The Registry Editor allows you to modify system settings directly by editing the Windows registry. Follow the steps below to disable OneDrive using the Registry Editor:
- Press the Windows key + R on your keyboard to open the Run dialog box.
- Type “regedit” and hit Enter to open the Registry Editor.
- In the Registry Editor window, navigate to the following key:
HKEY_LOCAL_MACHINE\SOFTWARE\Policies\Microsoft\Windows - Right-click on the “Windows” key, go to “New”, and select “Key”. Create a new key and name it “OneDrive”.
- Select the newly created “OneDrive” key. Right-click on the right side of the window, go to “New”, and select “DWORD (32-bit) Value”.
- Name the newly created value “DisableFileSync” and set its value to “1”.
- Close the Registry Editor.
After following these steps and restarting your computer, OneDrive will be disabled on Windows 11.
It’s important to note that modifying the registry can have unintended consequences if done incorrectly. Therefore, it’s crucial to follow the instructions carefully and back up your registry before making any changes.
If you ever want to enable OneDrive again, you can simply delete the “OneDrive” key or change the value of “DisableFileSync” to “0” in the Registry Editor.
The Registry Editor method provides a manual and precise way to disable OneDrive by directly modifying system settings. However, proceed with caution and ensure that you have knowledge of the Windows registry before making any changes.
Method 4: Command Prompt Method to Disable OneDrive
The Command Prompt method offers another way to disable OneDrive on Windows 11. By running a few simple commands, you can effectively disable OneDrive functionality. Here’s how to do it:
- Open the Command Prompt by pressing the Windows key + R on your keyboard, typing “cmd”, and hitting Enter.
- In the Command Prompt window, type the following command and press Enter:
taskkill /f /im OneDrive.exe - Next, type the following command and press Enter:
%SystemRoot%\SysWOW64\OneDriveSetup.exe /uninstall - Once the uninstallation process is complete, restart your computer.
After restarting your computer, OneDrive will be disabled on Windows 11.
If you ever want to enable OneDrive again, you can follow the same steps but this time run the following command in the Command Prompt: %SystemRoot%\SysWOW64\OneDriveSetup.exe. This will reinstall OneDrive and restore its functionality.
The Command Prompt method offers a quick and straightforward way to disable OneDrive without the need for advanced settings or registry modifications. However, keep in mind that this method only disables OneDrive temporarily, as Windows may automatically reinstall it during system updates.
Now that you have explored the four methods to disable OneDrive on Windows 11, you can choose the one that best fits your needs and preferences. Whether you prefer using the Settings app, Group Policy Editor, Registry Editor, or Command Prompt, you have the flexibility to tailor your Windows 11 experience to your liking.
Conclusion
Disabling OneDrive on Windows 11 can be useful for a variety of reasons, such as using alternative cloud storage services or freeing up system resources. In this article, we explored four different methods to disable OneDrive on Windows 11: using the Settings app, Group Policy Editor, Registry Editor, and Command Prompt.
The easiest method is to disable OneDrive through the Settings app, which is suitable for most users who prefer a simple and straightforward approach. However, if you need more control over system settings, the Group Policy Editor or Registry Editor methods offer a more granular level of customization.
For advanced users or system administrators, the Group Policy Editor provides an extensive range of policy options to manage various aspects of Windows, including disabling OneDrive. The Registry Editor method allows you to directly modify system settings by editing the Windows registry, providing precise control over disabling OneDrive.
Alternatively, the Command Prompt method offers a quick and temporary way to disable OneDrive without the need for advanced settings or registry modifications. However, keep in mind that Windows may automatically reinstall OneDrive during system updates.
Choose the method that best suits your needs and preferences based on your comfort level and system requirements. If you ever decide to re-enable OneDrive, you can easily do so by following the appropriate steps in each method.
By disabling OneDrive, you can customize your Windows 11 experience to better align with your preferences and optimize your workflow. Regardless of the method you choose, you have the flexibility to disable OneDrive and tailor your cloud storage options according to your specific needs.
Now that you are equipped with the knowledge and methods to disable OneDrive on Windows 11, take control of your device and create a personalized computing experience.


