Introduction
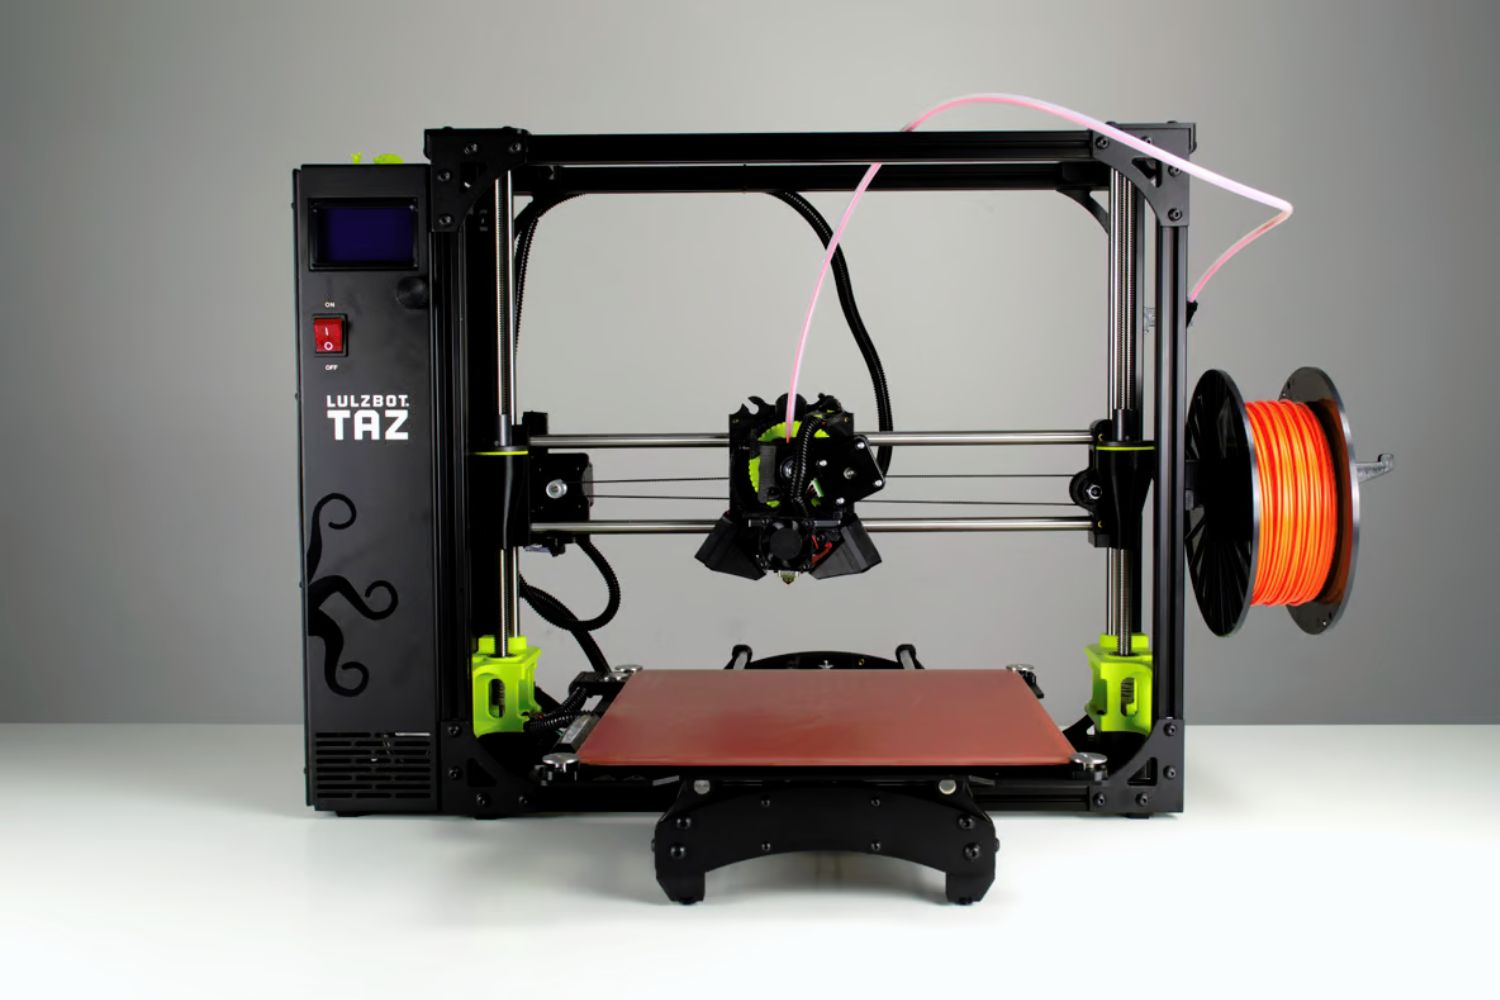
Welcome to the world of 3D printing! As an enthusiastic maker, you’ve probably already experienced the wonders of creating intricate and unique objects with a 3D printer. However, you may have encountered challenges when it comes to maintaining the right temperature and protecting your prints from external elements. This is where designing an enclosure for your 3D printer can make a significant difference.
An enclosure is a valuable addition to your 3D printing setup as it provides a controlled environment that helps ensure consistent print quality, prevent warping, and minimize the negative effects of temperature fluctuations. By enclosing your 3D printer, you create a shielded workspace that is isolated from external factors such as drafts, dust, and humidity.
In this guide, we will take you through the step-by-step process of designing and building an enclosure for your 3D printer. Whether you have a desktop printer or a larger industrial machine, this article will provide you with the knowledge and tools necessary to create the perfect enclosure for your specific needs.
By following this guide, you will not only improve the overall print quality but also enhance the safety and longevity of your 3D printer. So, let’s dive in and discover the exciting world of enclosure design and construction!
Materials and Tools Needed
Before you begin designing your 3D printer enclosure, it’s important to gather all the necessary materials and tools. Having everything ready beforehand will ensure a smooth and efficient workflow. Here’s a list of the essential items you’ll need:
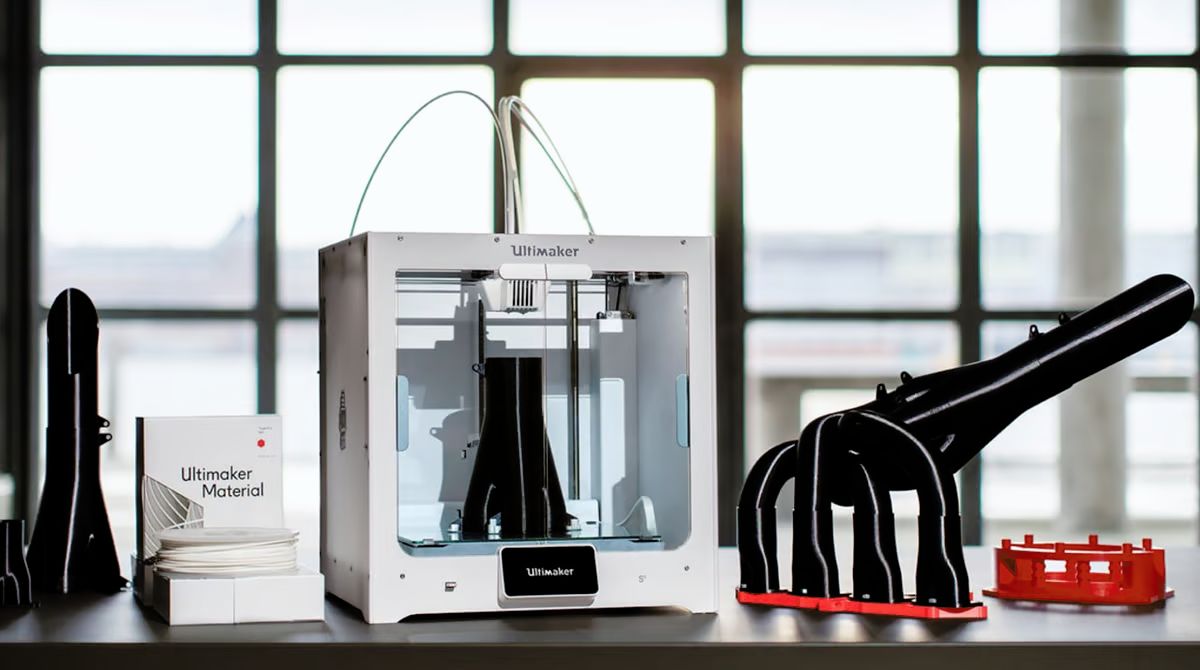
- Sheet Material: Choose a sturdy and heat-resistant material for the walls of your enclosure. Common options include acrylic, polycarbonate, or plywood. The thickness of the material will depend on the size and type of your 3D printer.
- Fasteners: Select appropriate screws, nuts, and bolts to assemble the enclosure.
- Hinges and Latches: These will be used to secure the doors and allow easy access to your printer.
- Sealant: To ensure an airtight enclosure, you may need a sealant such as weatherstripping or silicone caulk.
- Ventilation System: Consider installing fans or a ventilation system to regulate the temperature inside the enclosure and prevent overheating.
- Thermometer/Hygrometer: These devices will enable you to monitor the temperature and humidity levels within the enclosure.
- Measuring Tools: You’ll need a tape measure, ruler, or calipers to accurately measure the dimensions of your 3D printer and the enclosure components.
- Cutting Tools: Depending on the material you choose, you may need a jigsaw, circular saw, or laser cutter to cut the sheets to the desired sizes and shapes.
- Drill or Screwdriver: Necessary for creating holes and fastening screws.
- Protective Gear: Wear safety goggles, gloves, and a dust mask when working with certain materials like acrylic or plywood.
Keep in mind that the specific materials and tools required may vary based on your design preferences, the type of enclosure you plan to build, and the size of your 3D printer. It’s always a good idea to have some extra hardware and materials on hand in case you encounter any unexpected challenges or need to make modifications along the way.
Now that you have all the necessary materials and tools, you’re ready to move on to the next step: defining the requirements for your enclosure.
Step 1: Define Your Requirements
Before diving into the design process, it’s important to clearly define your requirements for the 3D printer enclosure. Consider the following factors:
- Size: Determine the dimensions of the enclosure based on the size of your 3D printer. Make sure to leave enough space around the printer for easy access and maintenance.
- Material: Choose a material that is suitable for the intended use of the enclosure. Consider factors such as heat resistance, durability, and transparency.
- Accessibility: Decide how easy it should be to access the printer for loading and unloading filament, adjusting settings, and removing finished prints.
- Ventilation: Determine the level of ventilation required to maintain a stable temperature and prevent overheating. Decide if you need passive ventilation or if you’ll incorporate fans or a ventilation system.
- Noise Reduction: Consider if noise reduction is important to you. Depending on the location of your printer, you may want to include sound-dampening materials or design features to minimize noise levels.
- Visibility: Decide how important it is for you to see the printing process. Depending on your preference, you may choose a fully enclosed design or opt for transparent panels to monitor the progress of your prints.
- Cable Management: Consider how you plan to manage cables and wires within the enclosure to avoid tangling and interference with the printing process.
- Safety: Think about any specific safety considerations, such as fireproofing, to ensure the enclosure provides a secure environment for your printer.
By defining your requirements upfront, you’ll have a clear vision of what you want to achieve with your enclosure. This will help guide your design decisions and ensure that the final product meets your specific needs and preferences.
Once you have a clear understanding of your requirements, you can move on to the next step: choosing the right material for your enclosure.
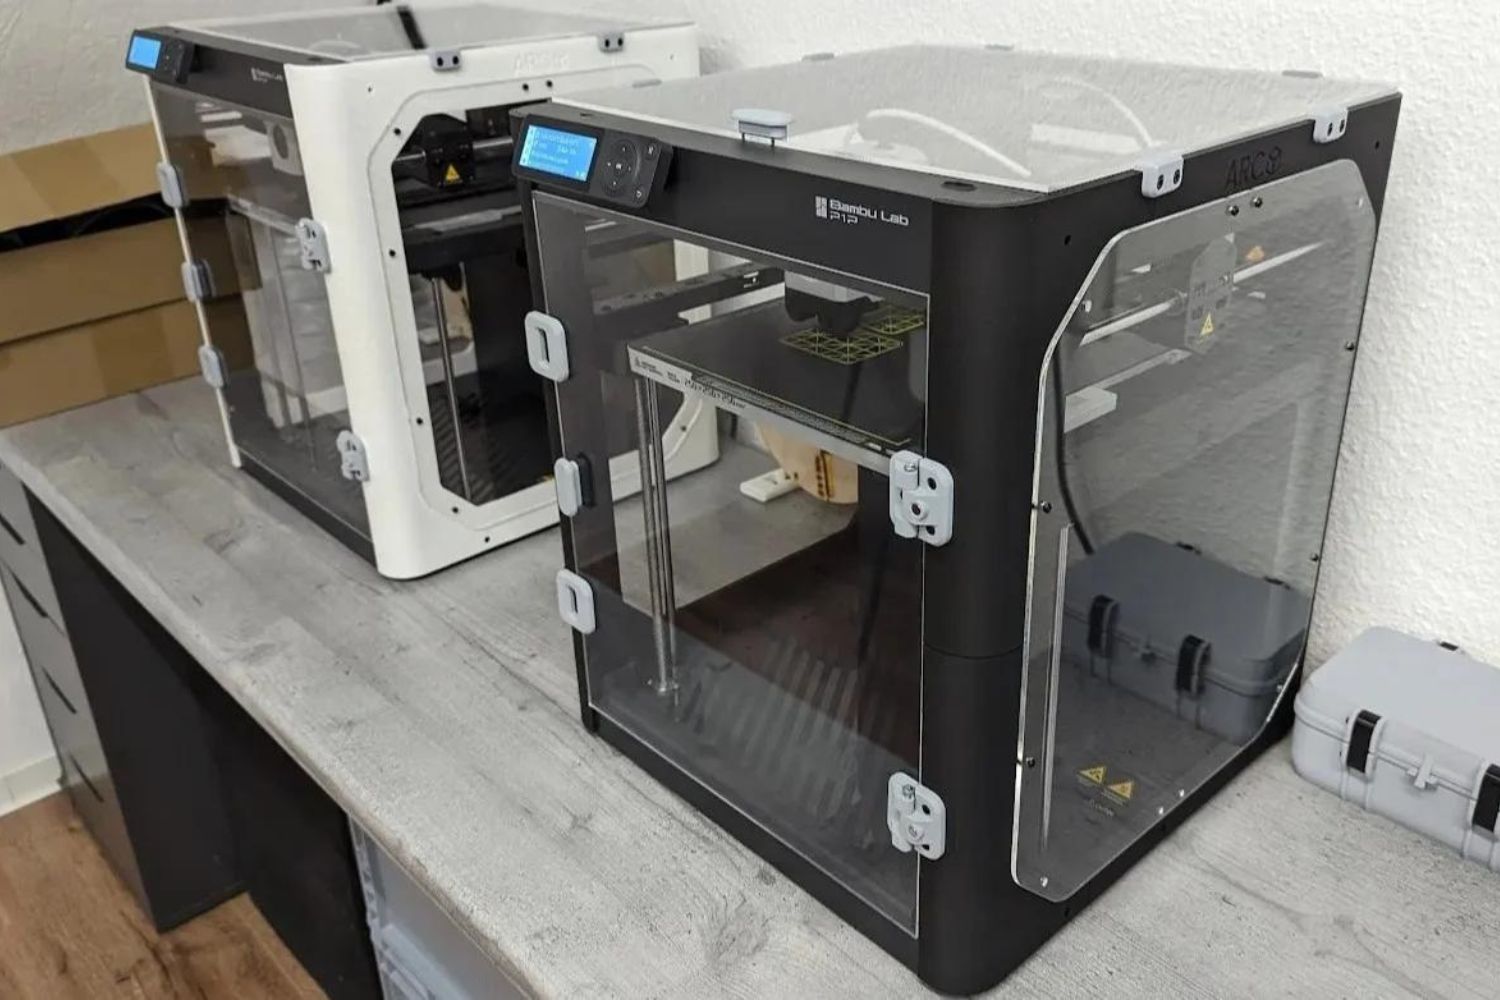
Step 2: Choose the Right Material
The choice of material for your 3D printer enclosure is crucial as it will determine its durability, heat resistance, and overall functionality. Here are some common materials to consider:
- Acrylic: Acrylic is a popular choice for 3D printer enclosures due to its transparency and ease of cutting. It offers good thermal insulation but may lack impact resistance compared to other materials.
- Polycarbonate: Polycarbonate is known for its excellent strength, impact resistance, and high-temperature tolerance. It is a great option if you are concerned about durability and safety.
- Plywood: Plywood is a cost-effective and readily available option. It is lightweight, easy to work with, and offers decent insulation properties. However, it may not provide the same level of transparency as acrylic or polycarbonate.
- Metal: Metal enclosures provide superior strength and durability, making them suitable for industrial-grade 3D printers. They offer excellent protection but may be more challenging to work with and more expensive compared to other materials.
Consider not only the physical properties of the material but also your specific requirements and preferences. If you prioritize visibility and monitoring the printing process, acrylic or polycarbonate would be good choices. If durability and impact resistance are your main concerns, polycarbonate or metal may be better options.
Additionally, it’s worth noting that some materials may require additional safety measures, such as fireproofing, when using them in an enclosure. Make sure to research and follow any safety guidelines or regulations relevant to your chosen material.
Once you’ve decided on the material, it’s time to move on to the next step: measuring your 3D printer to ensure a perfect fit for the enclosure.
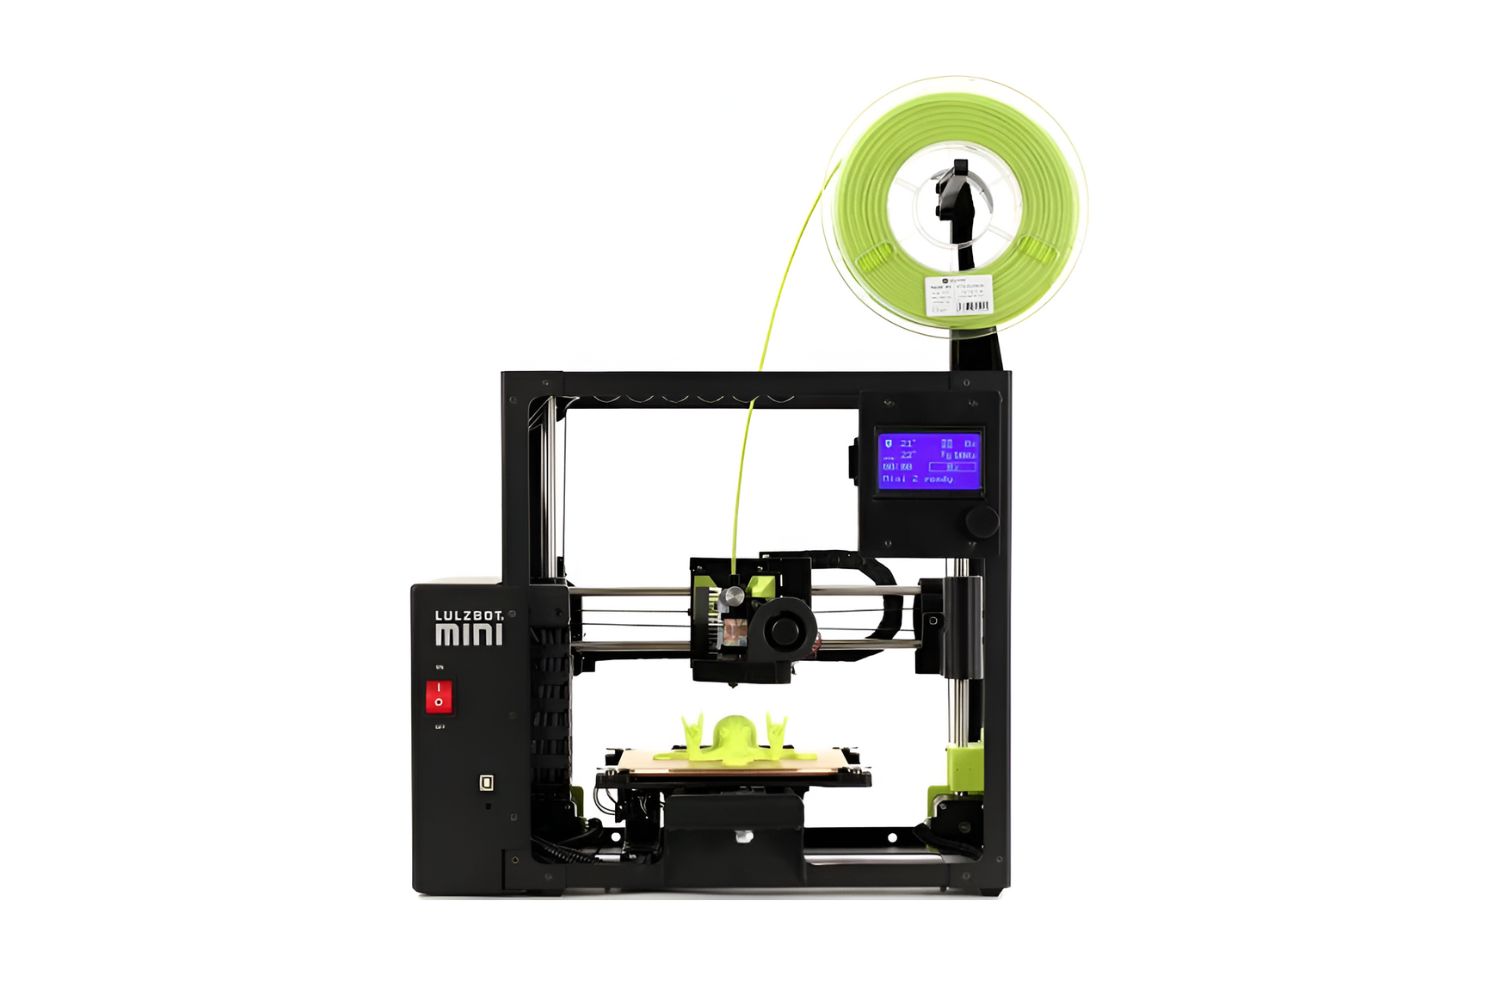
Step 3: Measure Your 3D Printer
Accurate measurements are essential to ensure the enclosure fits your 3D printer perfectly. Taking the time to measure your printer and understand its dimensions will allow you to design and customize the enclosure accordingly. Here’s how to get started:
- Outer Dimensions: Measure the length, width, and height of the printer, including any external components such as motors or extruders. Note down these measurements as they will serve as the basis for the overall dimensions of your enclosure.
- Working Space: Consider the space required for the printer to operate effectively. Allow enough clearance around the printer for filament loading, print bed leveling, and maintenance.
- Filament Spool Size: Measure the diameter and height of your filament spool to ensure the enclosure can accommodate it. Make sure to account for multiple spools if you use different filaments.
- Cable Management: Take note of the cable placement and consider how you will manage the wires within the enclosure. This will help you plan for cable channels, clips, or other management solutions.
- Additional Features: If your printer has any removable or adjustable components, measure their dimensions as well. This will help you create customized openings or mounts within the enclosure to accommodate those features.
By accurately measuring your 3D printer, you can ensure that the enclosure is tailored to its specific dimensions and requirements. Taking into account not only the outer dimensions but also the working space and other components will allow for a functional and efficient enclosure.
Once you have all the measurements, you’re ready to move on to the next step: designing the enclosure to meet your specific needs.
Step 4: Designing the Enclosure
Now that you have gathered the necessary information and measurements, it’s time to design your 3D printer enclosure. The design process involves creating a blueprint that incorporates both functional and aesthetic aspects. Here are some key considerations:
- Enclosure Structure: Decide on the overall structure of the enclosure. Will it be a fully enclosed box, or will it have removable panels? Consider factors such as accessibility, ventilation, and cable management.
- Door Design: Plan the design of the doors for easy access to the printer. You can opt for a hinged door, sliding door, or removable panels, depending on your preferences and available space.
- Ventilation and Cooling: Determine the location and size of ventilation openings or fans to regulate the temperature within the enclosure. Consider the placement of intake and exhaust vents to ensure proper airflow.
- Cable Management: Incorporate cable channels or clips to manage the wires and cables inside the enclosure. This will help prevent tangling and improve the overall organization.
- Modularity: If desired, design the enclosure in a modular way, allowing for easy disassembly or reconfiguration. This can be particularly helpful for maintenance, upgrades, or adapting to different printer models.
- Add-Ons: Think about additional features you may want to include, such as storage compartments for tools or spare parts, LED lighting, or a control panel for monitoring and controlling the printer.
- Material Considerations: Keep in mind the material you have chosen and design accordingly. For example, if you have opted for acrylic or polycarbonate, make sure to design panels that can be easily cut and assembled.
During the design phase, it’s a good idea to use 3D modeling software or even pen and paper to create a visual representation of the enclosure. This will help you visualize the final product and make adjustments as needed.
Remember, the goal is to design an enclosure that meets your specific requirements and enhances the functionality and performance of your 3D printer. Once you have finalized the design, you can move on to the next step: preparing the 3D model for printing.
Step 5: Preparing the 3D Model for Printing
After designing the enclosure, it’s time to prepare the 3D model for printing. This involves converting the design into a format that can be interpreted by your 3D printer. Here are the key steps to follow:
- Exporting the Design: Export the enclosure design as an STL (Standard Tessellation Language) file. This format is widely recognized by most 3D printing software and can accurately represent the geometry of your model.
- Inspecting the Model: Use a STL viewer or slicing software to inspect the model for any potential issues, such as overlapping geometry or holes. Make any necessary adjustments to ensure a clean and error-free 3D model.
- Slicing: Import the STL file into your preferred slicing software. Slicing software allows you to configure settings such as layer height, infill density, and support structures. Adjust these settings based on the requirements of your printer and the desired strength of the printed enclosure.
- Adding Support Structures: If required, generate support structures for overhanging or intricate parts of the enclosure. These supports will help prevent sagging or collapsing during the printing process. Make sure to position the supports where they won’t interfere with the functionality of the enclosure.
- Preview and Export G-Code: Preview the sliced model in your software to ensure everything looks as intended. Once you’re satisfied, export the G-code file, which contains all the printer instructions, to prepare for the printing process.
Before proceeding with printing, it’s crucial to calibrate your 3D printer to ensure accurate dimensions and proper layer adhesion. Follow your printer’s calibration guidelines and make any necessary adjustments.
With the 3D model prepared and the printer calibrated, you’re ready for the next step: printing the enclosure.
Step 6: Printing the Enclosure
Now that you have the 3D model of your enclosure and the printer is calibrated, it’s time to start the printing process. Follow these steps to ensure successful printing of your enclosure:
- Prepare the Printer: Ensure the print bed is clean and level. Apply any necessary adhesive or use a heated bed if required by your filament material.
- Load Filament: Load the appropriate filament into your 3D printer. Consider using a filament that is suitable for the enclosure’s intended use, such as PETG for heat resistance or ABS for increased durability.
- Start the Print: Initiate the printing process by selecting the G-code file specific to your enclosure design. Monitor the initial layers to ensure proper adhesion and make any necessary adjustments to settings like temperature or speed.
- Monitor the Print: Keep an eye on the print as it progresses. Check if the layers are bonding properly and that there are no filament jams or other issues. Make sure the print doesn’t detach from the bed during the process.
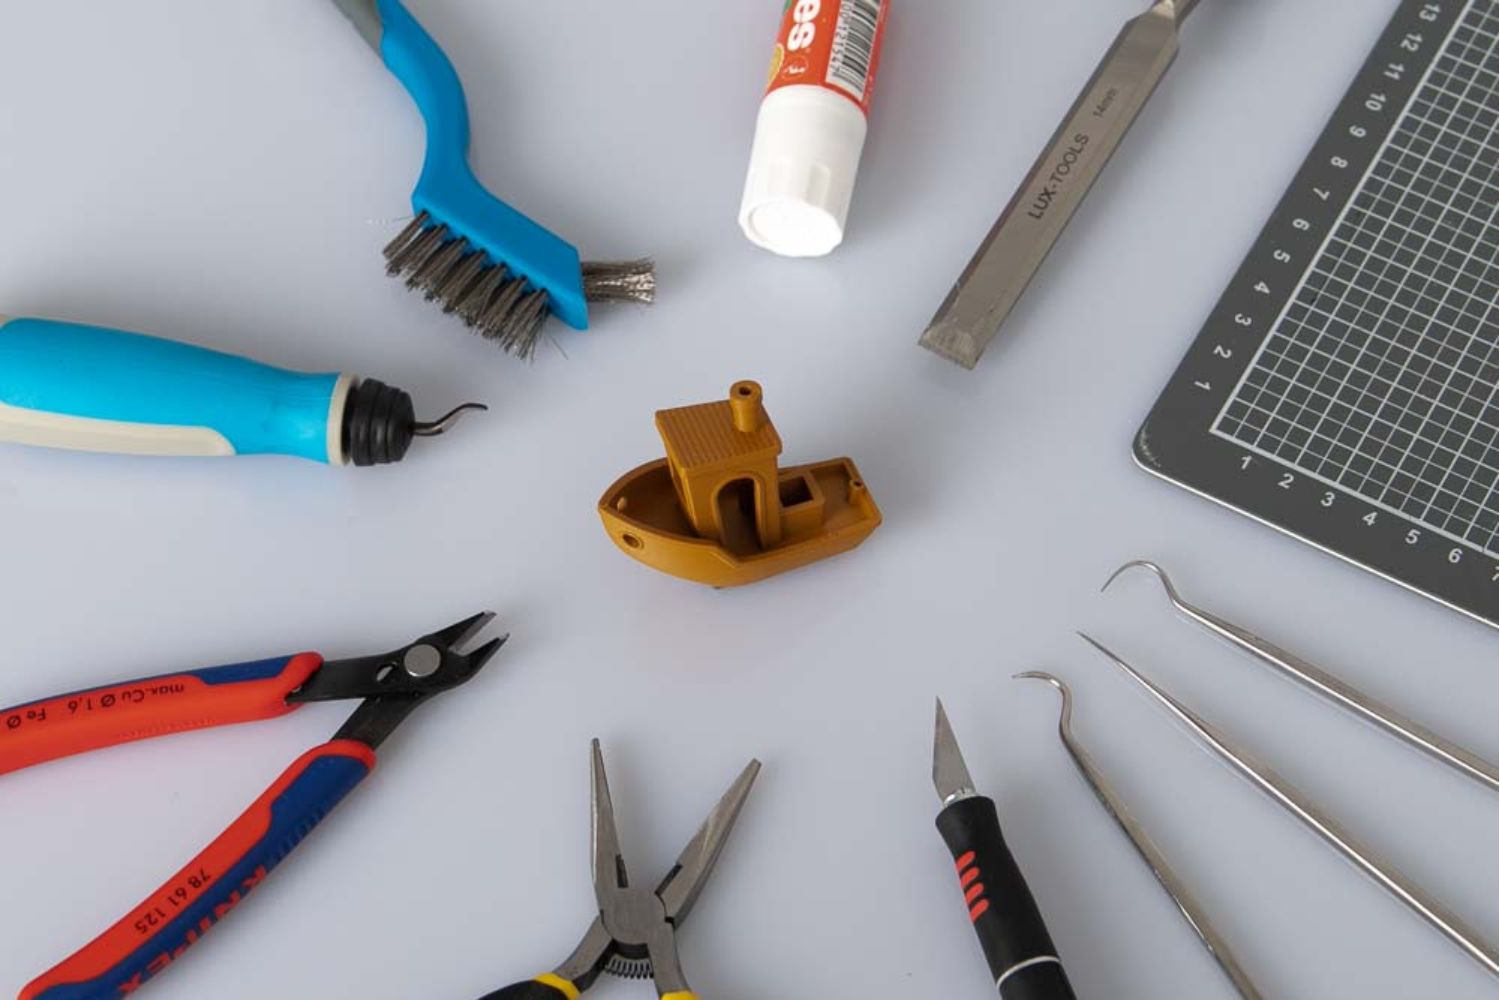
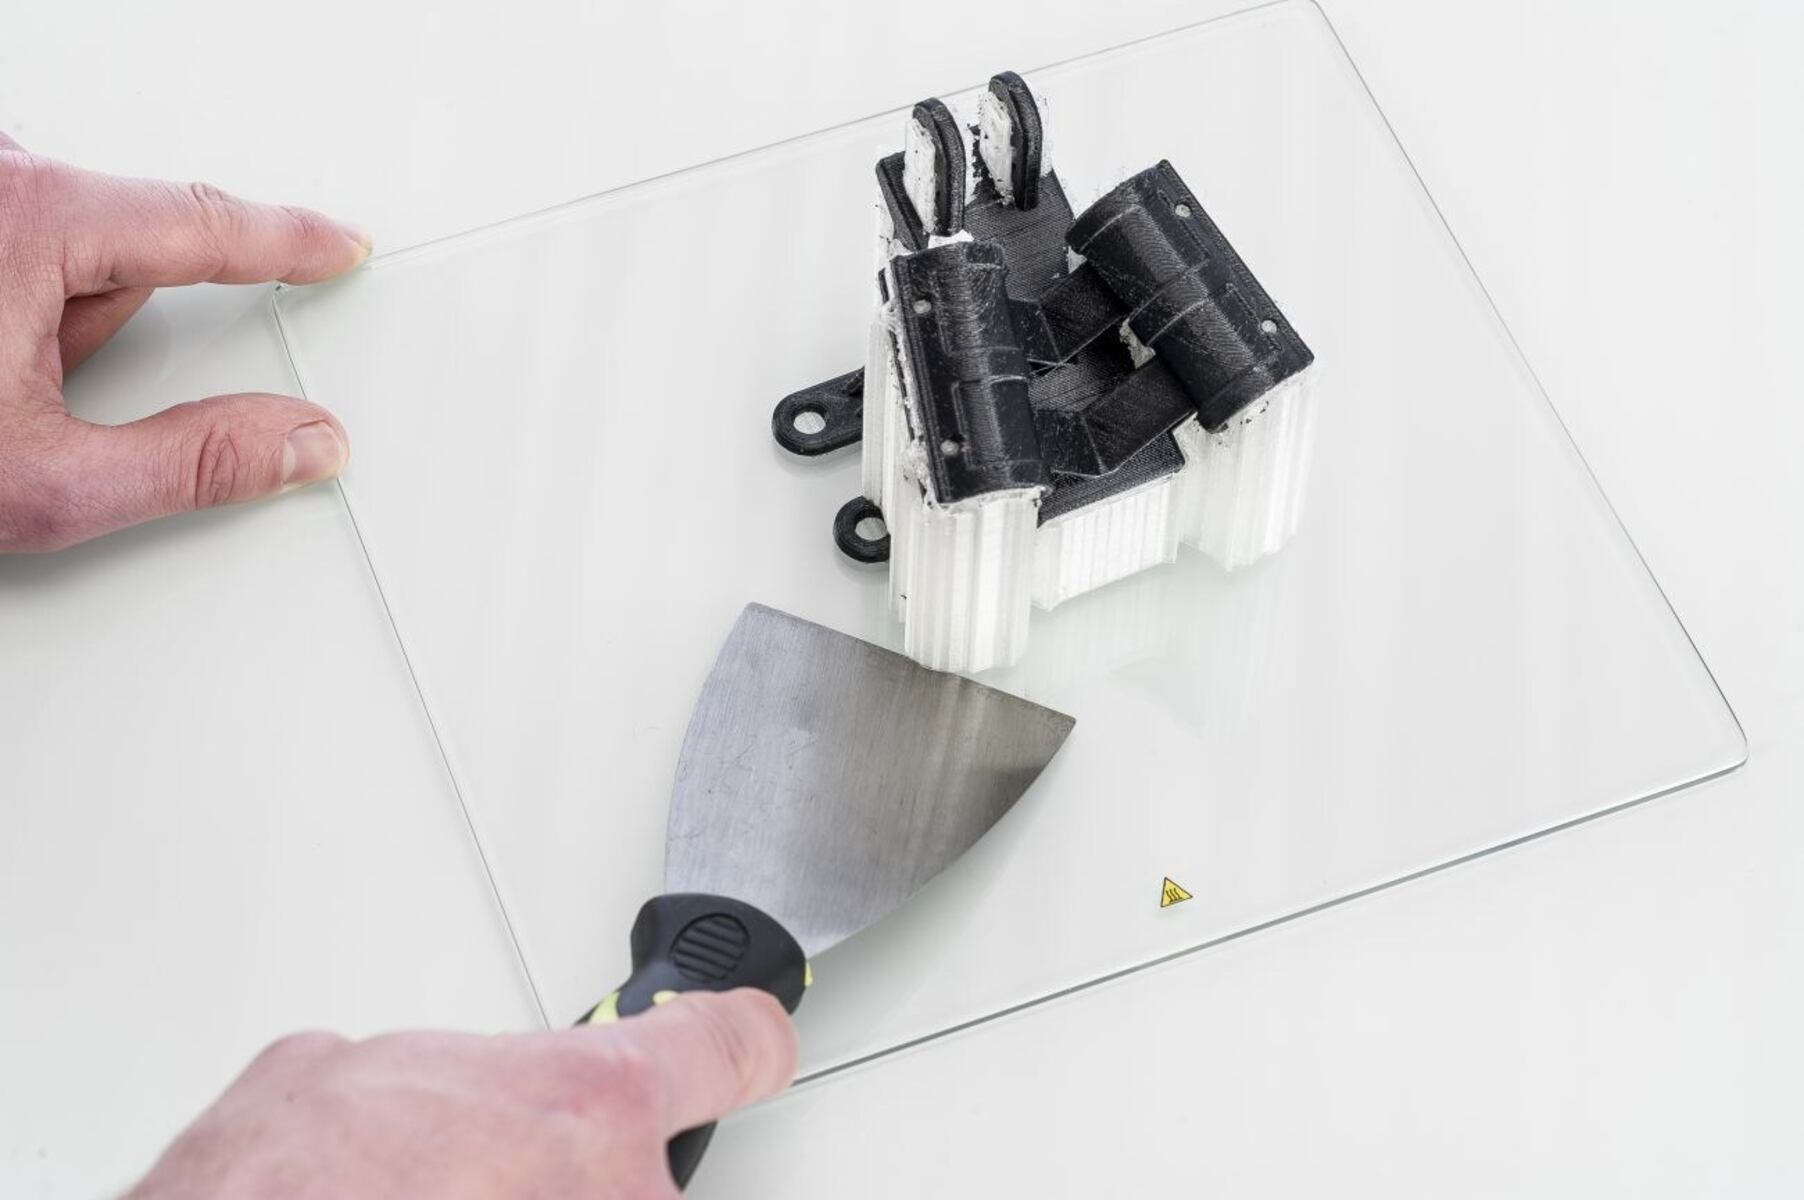
- Post-Processing: Once the print is complete, allow it to cool before removing it from the print bed. Carefully detach any support structures, if used. Trim off any excess material or rough edges using appropriate tools like a knife or sandpaper.
The printing time will depend on the size and complexity of your enclosure. Be patient and let the printer complete the job without interruption. Keep in mind that larger enclosures may require printing in several parts that can be later assembled.
After printing, you should have all the components necessary to assemble the enclosure. Make sure to handle the printed parts with care to avoid any damage during the assembly process.
Now that the enclosure is printed, it’s time to move on to the next step: assembling the different components.
Step 7: Assembling the Enclosure
With the printed components in hand, it’s time to assemble the enclosure for your 3D printer. Follow these steps to ensure a successful and sturdy assembly:
- Gather the Components: Lay out all the printed parts, fasteners, hinges, latches, and any other necessary components. Ensure that you have everything needed for the assembly.
- Follow the Design: Refer to the design blueprint or instructions you created during the design phase. Follow the assembly steps carefully, ensuring that all the components fit together as intended.
- Fasten the Panels: Use the appropriate screws, nuts, or bolts to fasten the panels together. Ensure that the joints are secure and tight, but be cautious not to overtighten and risk damaging the printed parts.
- Attach the Doors: Install the hinges and latches according to the design. Ensure that the doors open and close smoothly, allowing easy access to the printer while maintaining stability.
- Secure the Printer: Place your 3D printer inside the assembled enclosure, making sure it is centered and aligned. Use any additional mounts or brackets designed to secure the printer in place.
- Test the Enclosure: With the printer inside, check that all the components fit properly and that there are no obstructions or interference with the printer’s movements. Ensure that the doors close securely and that there are no gaps where external elements can enter.
- Make Adjustments: If needed, make any final adjustments or modifications to ensure that the enclosure meets your requirements. This could include adding extra ventilation or sealing any potential gaps.
As you assemble the enclosure, it’s important to carefully follow the design and guidelines you created earlier. Take your time with the process to ensure a sturdy and functional enclosure that will provide the necessary protection and control for your 3D printer.
Once the enclosure is assembled, it’s time to move on to the next step: adding ventilation and cooling to maintain optimal conditions for your printer.
Step 8: Adding Ventilation and Cooling
Proper ventilation and cooling are essential for maintaining optimal conditions within your 3D printer enclosure. Without adequate airflow, heat buildup can negatively impact print quality and even damage the printer. Follow these steps to ensure effective ventilation and cooling:
- Assess Ventilation Needs: Consider the specific requirements of your 3D printer and the enclosure. Determine whether passive ventilation, active ventilation with fans, or a combination of both is necessary. Evaluate the heat generated by the printer and the desired airflow within the enclosure.
- Add Passive Ventilation: If passive ventilation is sufficient, design and incorporate vent openings at strategic locations on the sides or top of the enclosure. This allows natural convection to draw out the hot air and bring in cooler air.
- Install Fans: If active ventilation is required, select appropriate fans based on their size, airflow capacity, and noise level. Position the fans to provide optimal airflow within the enclosure, keeping in mind the hotspots generated by the printer.
- Create Airflow Path: Consider the airflow path from the intake to the exhaust, ensuring that cool air is drawn in and hot air is expelled effectively. Use baffles or channels to direct airflow and prevent any recirculation of heated air.
- Add Filters: Incorporate air filters to prevent dust and debris from entering the enclosure and clogging the printer mechanisms. Ensure the filters are easily removable for cleaning or replacement.
- Control the Fans: Integrate a fan control system with the enclosure to regulate the fan speed and noise level. This can be achieved either manually or automatically, depending on your preferences and the availability of suitable control options.
- Consider Cooling for Filament: If filament cooling is essential for your prints, incorporate additional fans or a cooling system specifically designed to cool the filament as it exits the printer nozzle.
Proper ventilation and cooling are vital for maintaining a stable temperature and preventing overheating, which can compromise the quality of your prints and the longevity of your printer components. Be sure to monitor the temperature and airflow within the enclosure to ensure optimal conditions.
Once you have addressed the ventilation and cooling requirements, you can proceed to the final step: adding finishing touches and making any necessary modifications to perfect your enclosure.
Step 9: Finishing Touches and Modifications
After assembling the enclosure and ensuring proper ventilation and cooling, it’s time to add the finishing touches and make any necessary modifications to perfect your 3D printer enclosure. Pay attention to the details and consider the following steps:
- Seal Any Gaps: Inspect the enclosure for any gaps or openings that may compromise its effectiveness. Seal these gaps using weatherstripping or silicone caulk to maintain an airtight environment and prevent drafts or dust from entering.
- Install Cable Management: Review your cable management system within the enclosure. Make any necessary adjustments to ensure cables and wires are neatly organized and secured to prevent interference with the printer’s movements.
- Add Lighting: Consider installing LED lights within the enclosure to enhance visibility during the printing process. Proper lighting can help monitor print progress and ensure easy access to the printer’s controls and components.
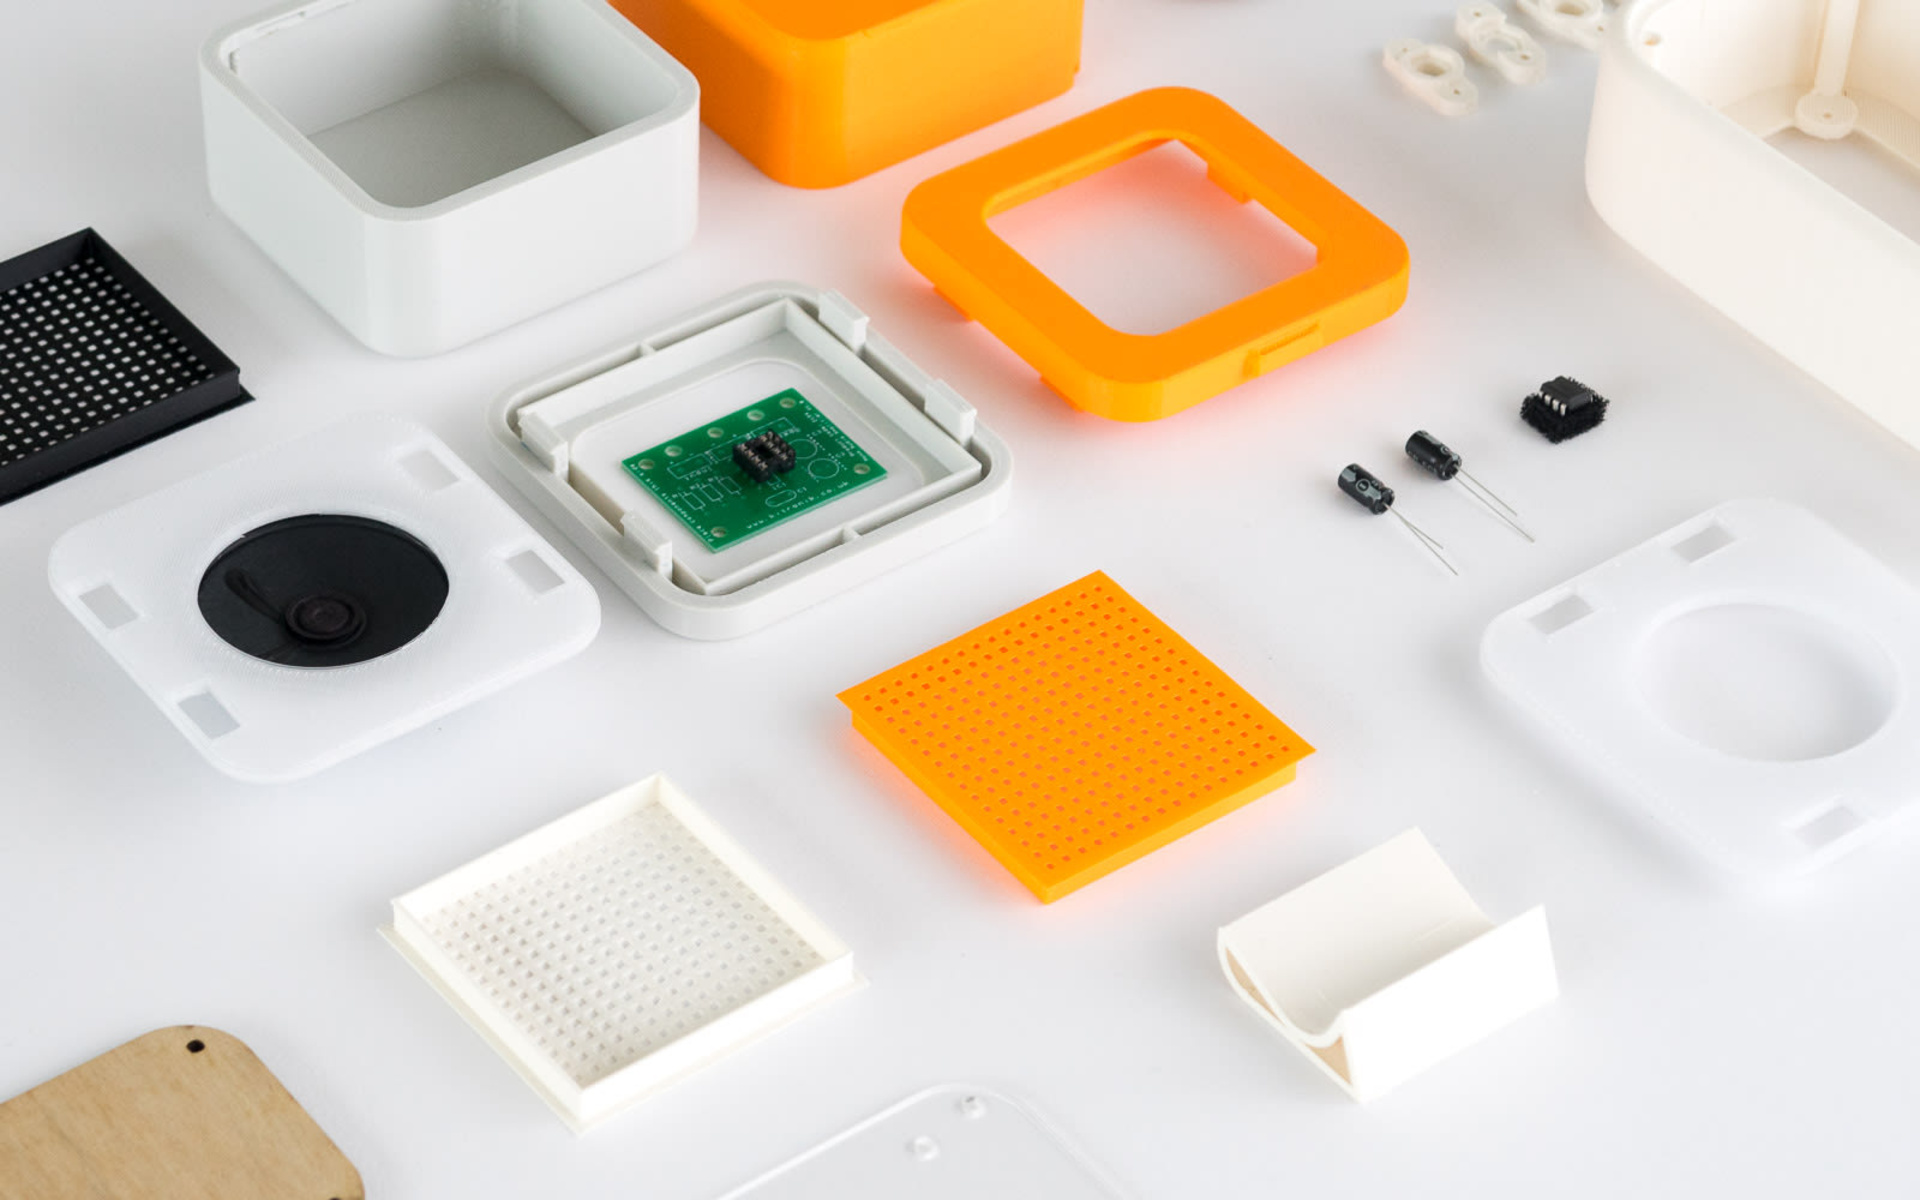
- Include Storage Solutions: If desired, incorporate storage compartments or racks to keep tools, accessories, or spare parts organized and easily accessible within the enclosure. This will minimize clutter and help maintain a tidy workspace.
- Apply Labels or Markings: Add labels or markings to the enclosure to indicate important features, controls, or safety instructions. Clear labeling can help streamline and simplify the operation of your 3D printer.
- Consider Upgrades or Modifications: Continuously evaluate the performance of your enclosure and your specific needs. If necessary, consider making modifications or upgrades to improve functionality, address any shortcomings, or accommodate changes in your printer setup.
- Regular Maintenance: Create a maintenance routine for your enclosure, including cleaning and inspecting its components. This will help extend its lifespan and ensure it continues to provide optimal functionality and protection for your 3D printer.
By paying attention to these finishing touches and making necessary modifications, you can create an enclosure that meets your needs, enhances the printing experience, and protects your 3D printer.
With your enclosure complete and customized, you are now ready to enjoy the benefits of controlled printing environment, improved print quality, and increased durability of your 3D printer.
Conclusion
Designing and building an enclosure for your 3D printer is a rewarding and worthwhile endeavor. It provides numerous benefits, including improved print quality, protection from external elements, and a controlled printing environment. By following the step-by-step process outlined in this guide, you can create a functional and customized enclosure that meets your specific requirements.
Throughout this journey, we explored the importance of defining your requirements, choosing the right materials, measuring your 3D printer accurately, and designing the enclosure to fit seamlessly. We also discussed the significance of ventilation and cooling, as well as the importance of finishing touches and potential modifications.
Remember to prioritize safety during the design and assembly process. Pay attention to ventilation to prevent overheating, and ensure the enclosure is securely assembled. Additionally, regularly maintain and inspect the enclosure to address any issues and prolong its lifespan.
As you design and build your enclosure, don’t forget to unleash your creativity. Consider adding personalized touches, incorporating innovative features, or even experimenting with different materials to enhance the functionality and aesthetic appeal of your enclosure.
Now it’s time for you to embark on your enclosure-building journey. Enjoy the process, and embrace the benefits that your custom enclosure will bring to your 3D printing projects. Build with precision, creativity, and attention to detail, and watch as your prints reach new levels of quality and consistency.