Introduction
Apple TV has become a staple in many households, providing countless hours of entertainment and convenience with its wide range of apps. However, there may come a time when you decide to remove an app from your Apple TV. Whether you no longer use the app or simply need to free up some space, deleting an app is a straightforward process.
In this guide, we will walk you through the steps to delete an app on Apple TV. By following these simple instructions, you’ll be able to remove unwanted apps and keep your Apple TV neatly organized.
Before we dive into the steps, it’s important to note that deleting an app from your Apple TV will permanently remove it from the system. This means that any saved data or settings associated with the app will also be deleted. Therefore, it’s a good idea to make sure you truly want to delete an app before proceeding with the following steps.
Now that we have set the context, let’s move on to the step-by-step process of deleting an app on Apple TV.
Step 1: Navigate to the App icon
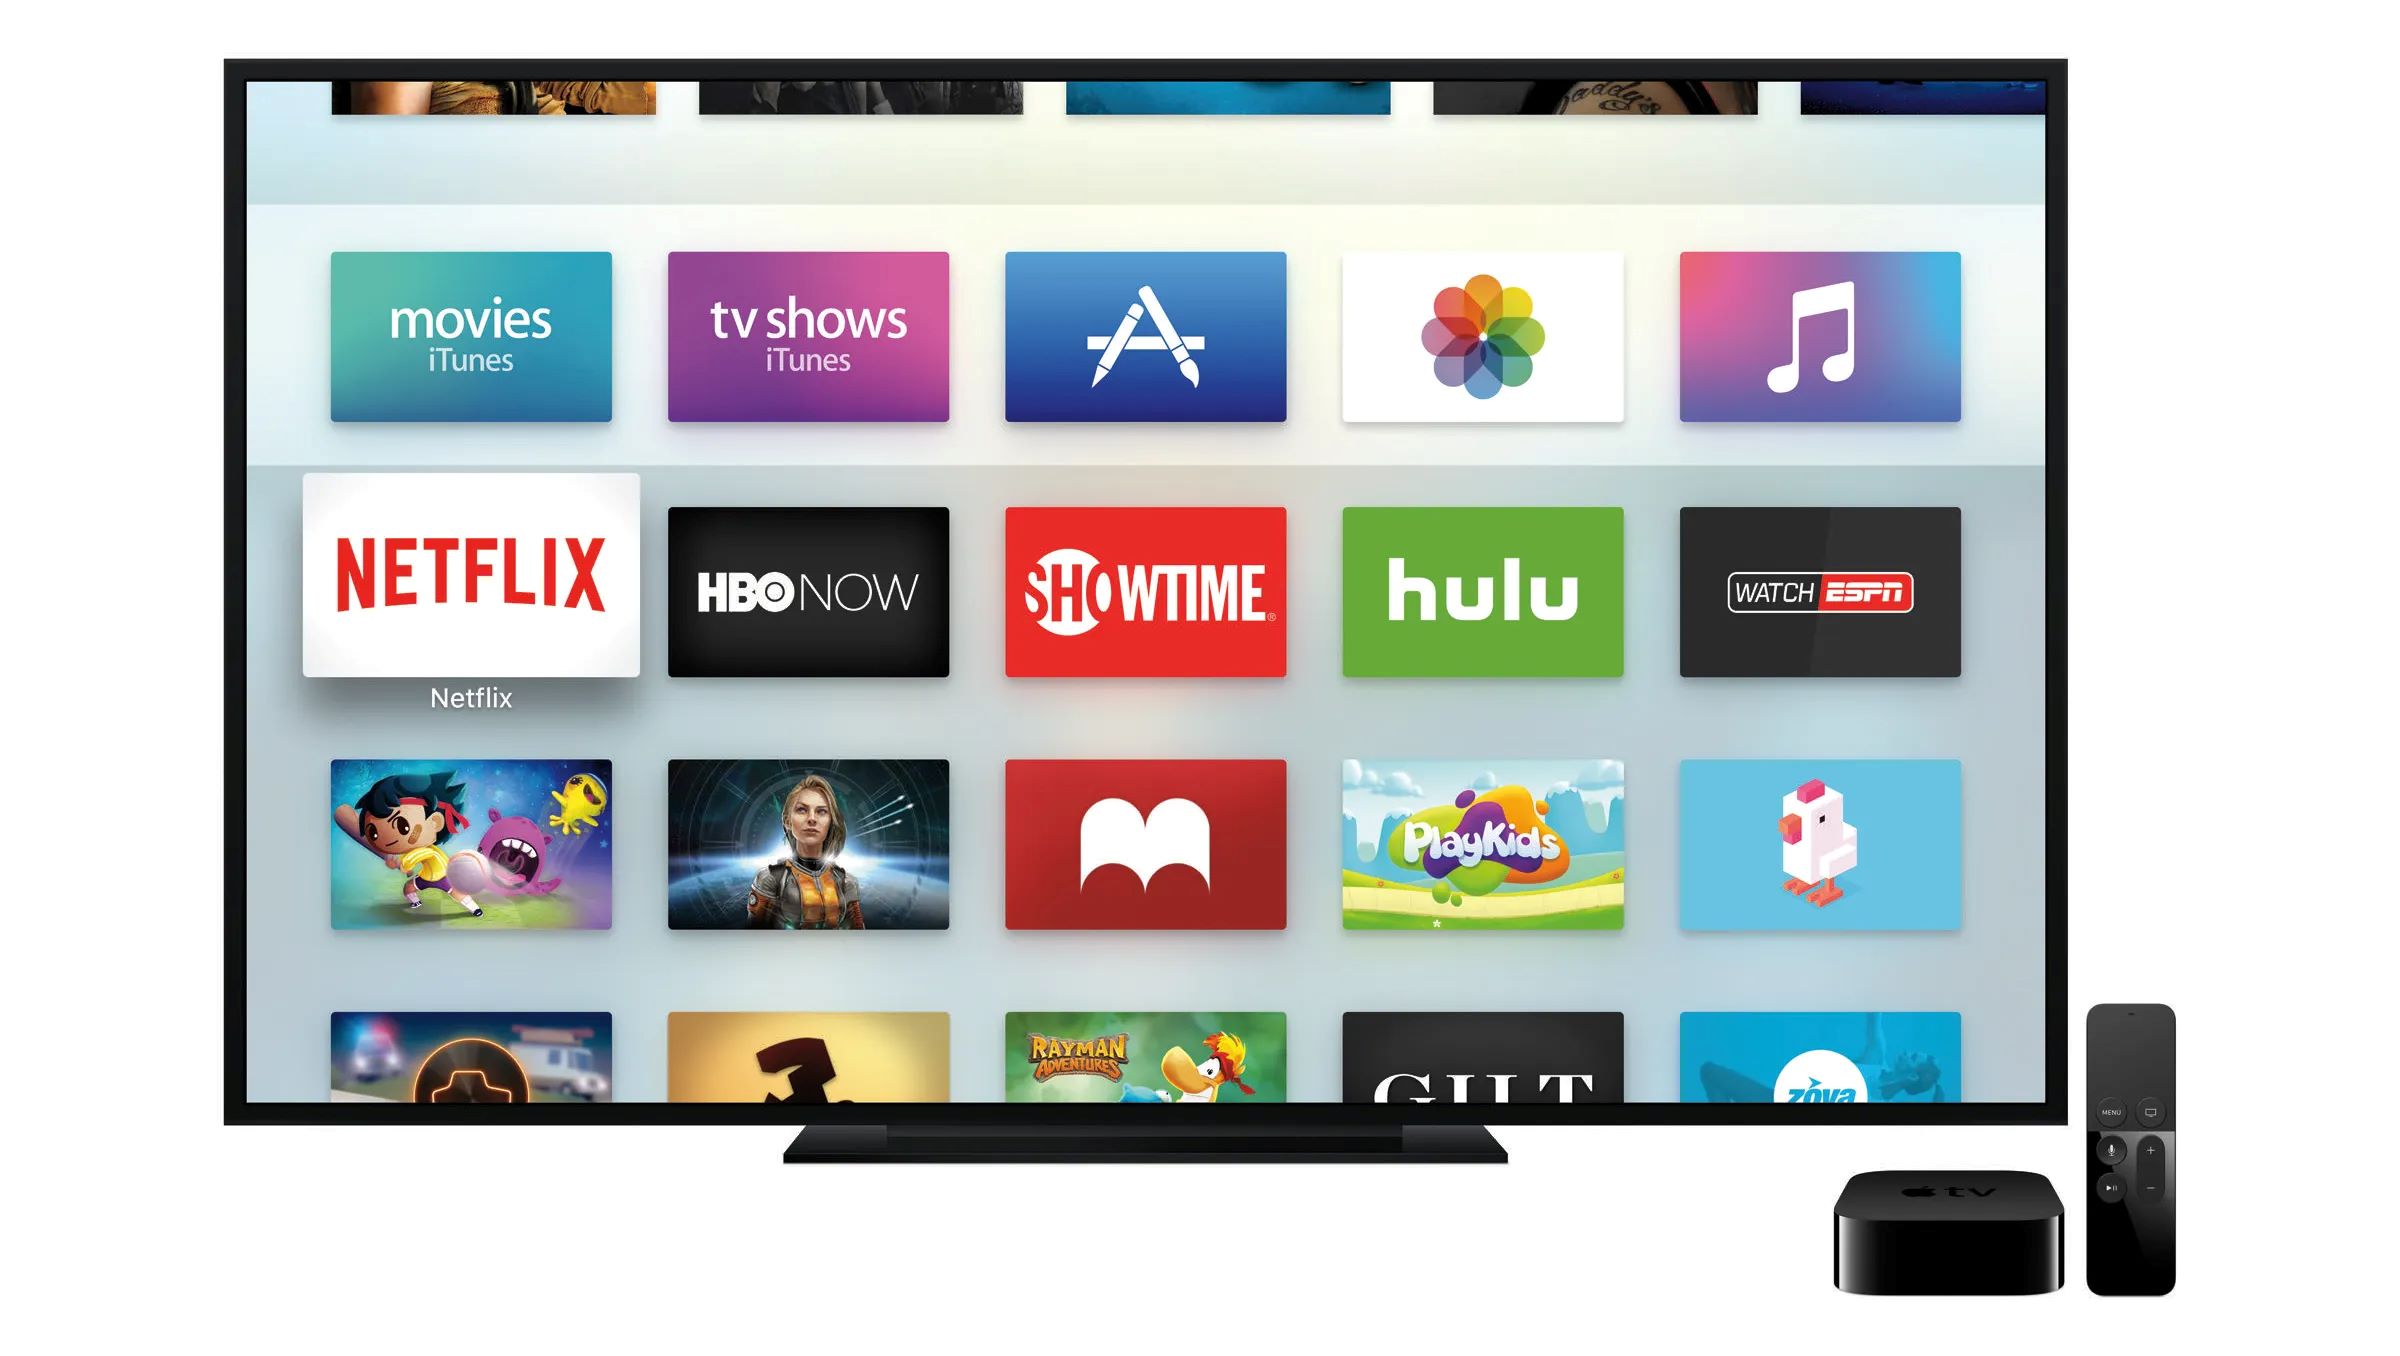
The first step in deleting an app on Apple TV is to locate the app icon on your home screen. The app icons are displayed as tiles, making it easy to identify and select the app you want to delete.
To navigate to the app icon, use the Apple TV remote and follow these instructions:
- Turn on your Apple TV and navigate to the home screen.
- Using the remote, move the focus to the app icon you wish to delete.
- If you have a lot of apps installed, you might need to scroll left or right to find the app icon. Simply swipe left or right on the remote’s touchpad to navigate through the app tiles.
- Once you have found the app icon, it should be highlighted with a border or glow effect.
Once you have successfully navigated to the app icon, you are ready to move on to the next step in the deletion process. Remember that it’s important to select the correct app icon to ensure the intended app is deleted from your Apple TV.
Step 2: Select the App option
After locating the app icon on your Apple TV’s home screen, the next step is to select the app. This will allow you to access the options menu for the specific app, including the option to delete it.
To select the app, follow the instructions below:
- Using the Apple TV remote, move the focus to the app icon you want to delete.
- Press the center button on the remote. This button is typically represented by an empty circle or a touchpad with a solid button in the center.
- After pressing the center button, the app options menu will appear on the screen.
- The app options menu may vary depending on the app, but it typically includes options such as “Play,” “Update,” and “Delete.” The specific option we are interested in for this guide is the “Delete” option.
Once you have selected the app and accessed the options menu, you are one step closer to deleting the app from your Apple TV. Make sure to proceed with caution and double-check that you have selected the correct app before moving on to the next step in the deletion process.
Step 3: Press the Option button on your remote
Now that you have selected the app and accessed the options menu, the next step is to press the Option button on your Apple TV remote. This button is crucial in providing additional actions and settings for the selected app, including the option to delete it.
Here’s how you can press the Option button to proceed with app deletion:
- Ensure that the app you want to delete is selected in the options menu.
- Locate the Option button on your Apple TV remote. It is usually represented by three horizontal dots or lines, arranged vertically.
- Press the Option button firmly to trigger the additional actions and settings for the selected app.
- After pressing the Option button, a submenu will appear on the screen with various options.
- Among the options, look specifically for the one that says “Delete” or something similar, indicating the option to delete the app. This option may differ slightly depending on your Apple TV version or software.
When you press the Option button and access the submenu, you are one step away from permanently deleting the app from your Apple TV. Just make sure to verify that you have selected the correct app and review your decision before moving on to the next step.
Step 4: Choose the “Delete” option
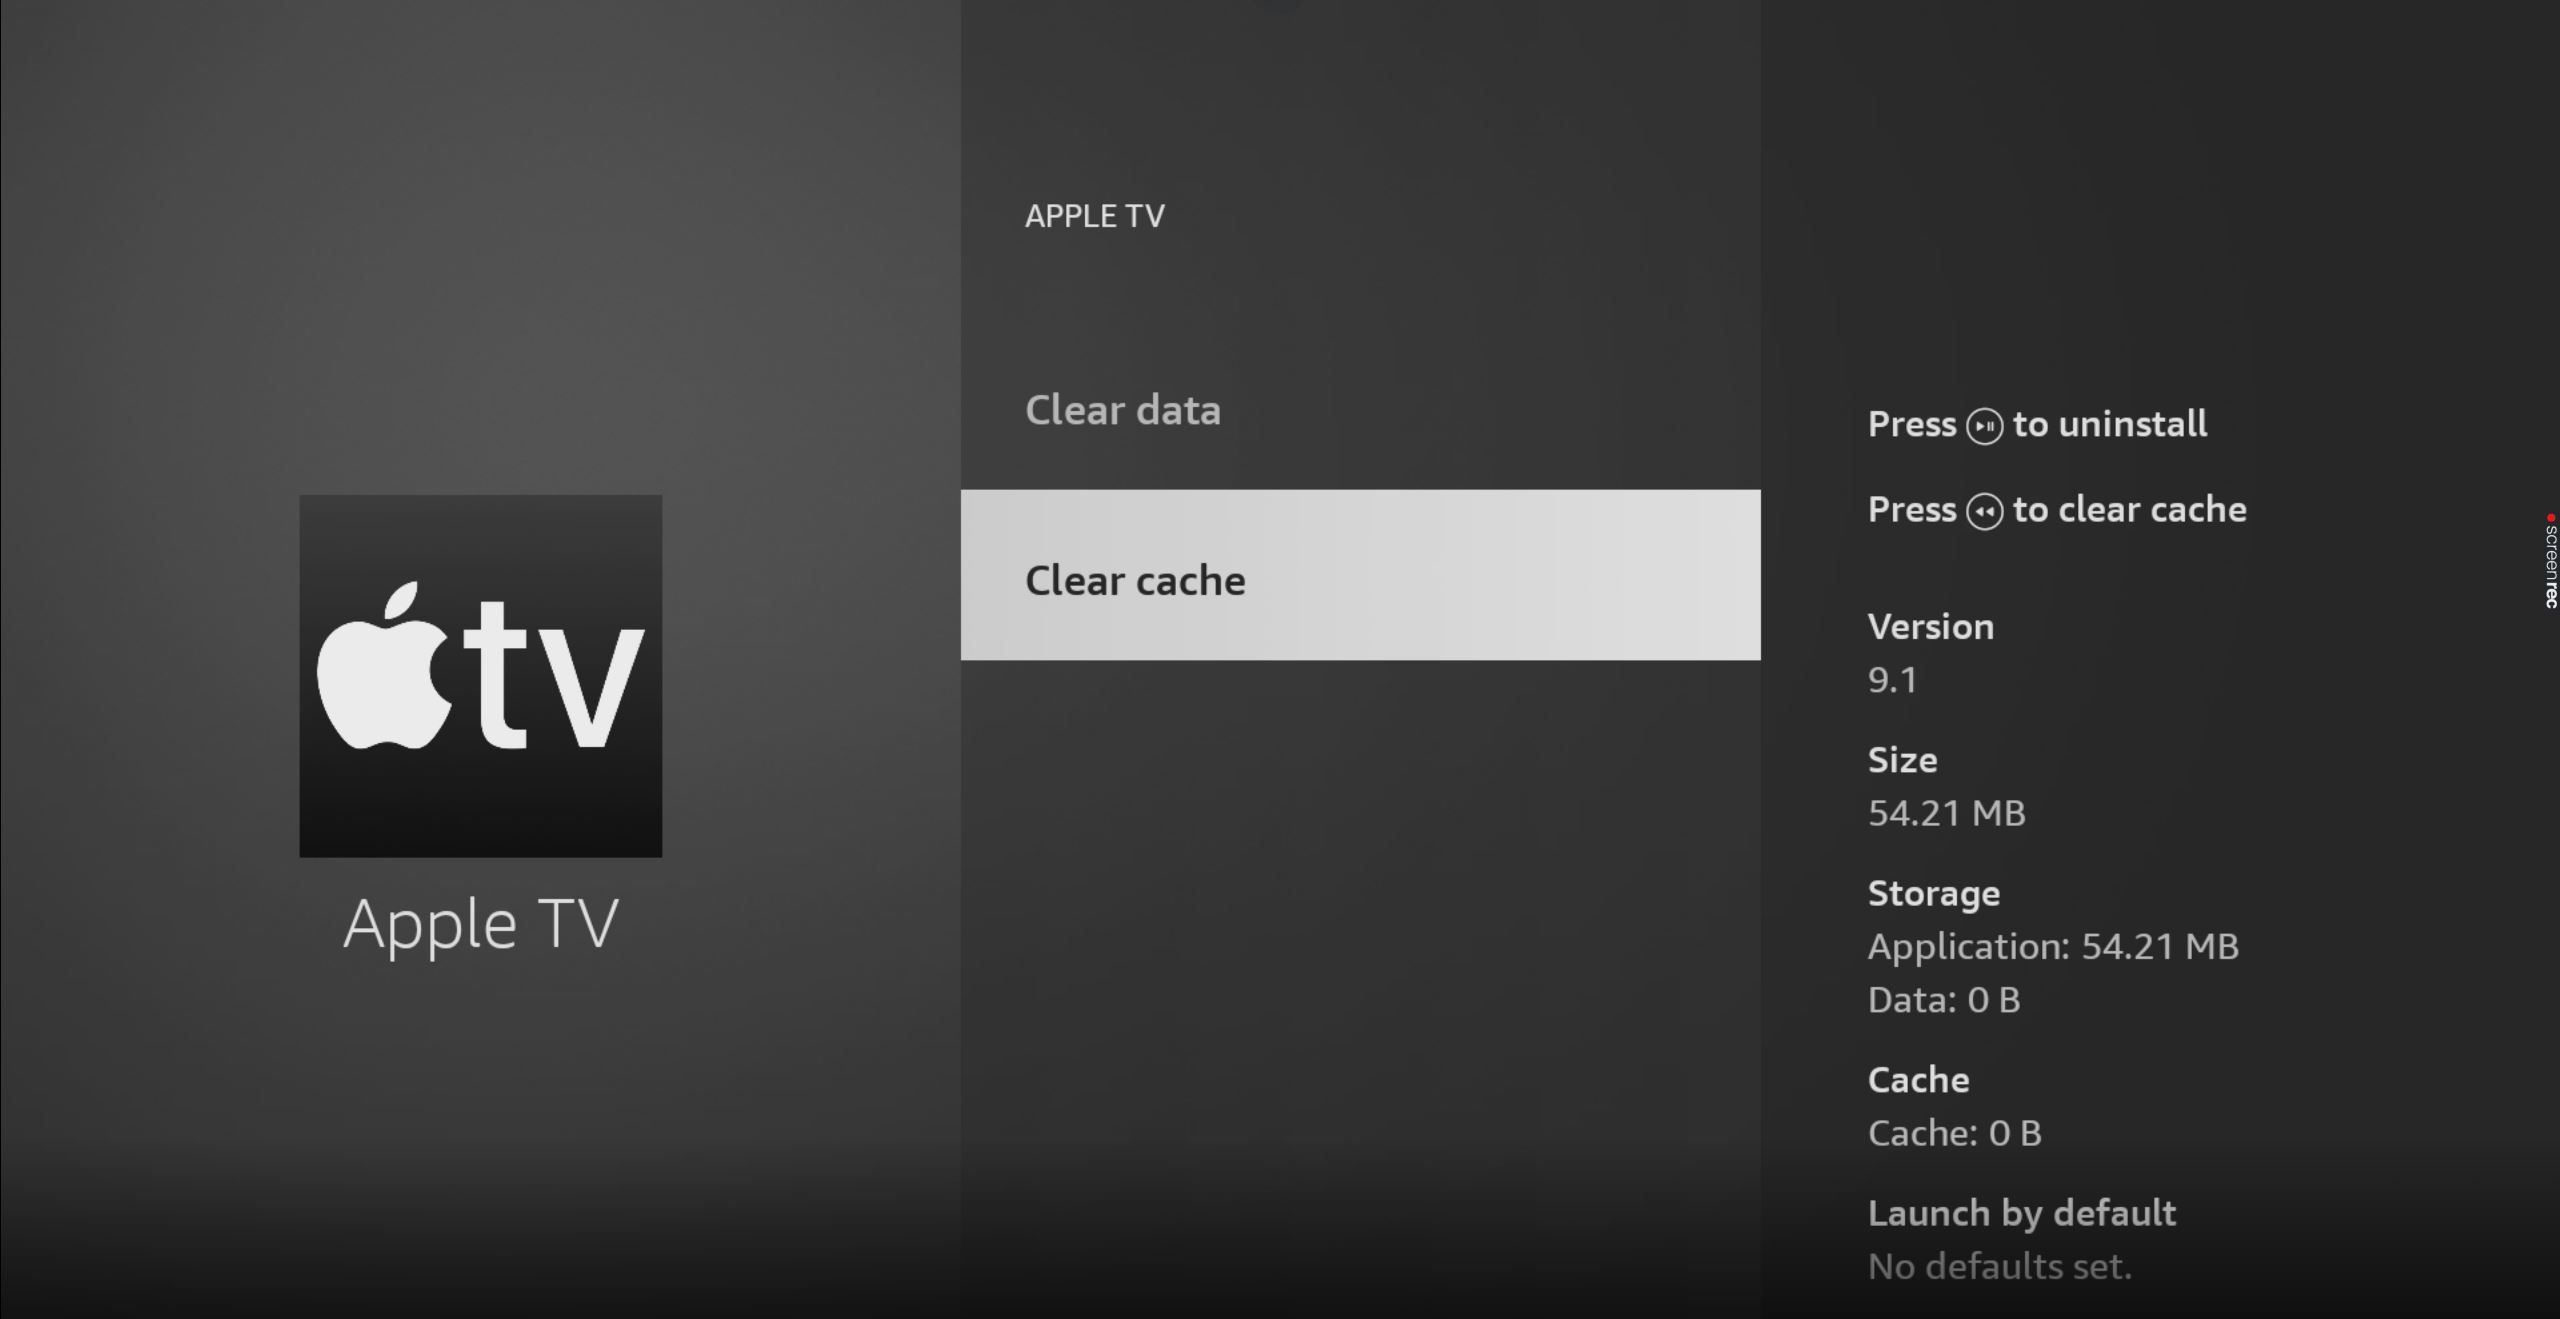
After pressing the Option button and accessing the submenu, you will see various options related to the selected app. Now it’s time to choose the “Delete” option, which will initiate the deletion process and remove the app from your Apple TV.
Follow these steps to choose the “Delete” option:
- Using the Apple TV remote, navigate through the submenu options to find the “Delete” option.
- Once you have located the “Delete” option, highlight it by moving the focus to the option using the remote.
- Press the center button on the remote to select the “Delete” option.
Choosing the “Delete” option will prompt a confirmation message or dialogue box to appear on the screen, asking for confirmation before proceeding with the deletion. The confirmation message will typically include a warning that deleting the app will remove it from your Apple TV along with any associated data.
It is essential to take a moment to review the confirmation message and ensure that you are deleting the correct app. Once you are confident and ready to proceed, you can move on to the next step in the deletion process.
Step 5: Confirm the deletion
After choosing the “Delete” option in the previous step, you are now at the final stage of deleting the app from your Apple TV. This step involves confirming your decision to delete the app and permanently remove it from your device.
Here’s how you can confirm the deletion:
- Upon selecting the “Delete” option, a confirmation message or dialogue box will appear on the screen.
- The confirmation message will display information about the app that is about to be deleted, along with a reminder that all app data will be removed.
- Take a moment to review the confirmation message and verify that you are deleting the correct app.
- If you are sure and want to proceed with the deletion, select the “Confirm” or “Delete” option in the confirmation message.
- If you change your mind or want to keep the app, select the “Cancel” or “Keep” option instead.
Once you have confirmed the deletion, the app will begin to be removed from your Apple TV. The process may take a few moments, depending on the size of the app and your internet connection speed.
After the app is successfully deleted, you will be redirected back to the home screen of your Apple TV. The app icon and any associated data will be permanently erased from your device, freeing up valuable storage space.
Remember that once an app is deleted, you will need to reinstall it if you decide to use it again in the future.
With the confirmation of deletion complete, you have now successfully removed the app from your Apple TV.
Conclusion
Deleting an app from your Apple TV is a simple process that can help you keep your device organized and make room for new apps. By following the step-by-step instructions outlined in this guide, you can easily remove unwanted apps and free up valuable storage space.
Remember to proceed with caution when deleting an app. Double-check that you have selected the correct app and review the confirmation message before confirming the deletion. Once an app is deleted, it is permanently removed along with any associated data.
By taking the time to navigate to the app icon, select the app, press the Option button, choose the “Delete” option, and confirm the deletion, you can successfully remove apps from your Apple TV.
Keep in mind that if you ever decide to use a deleted app again, you will need to reinstall it from the App Store.
We hope this guide has been helpful in assisting you with deleting apps on your Apple TV. Enjoy a clutter-free and personalized viewing experience by managing your apps effectively.