Introduction
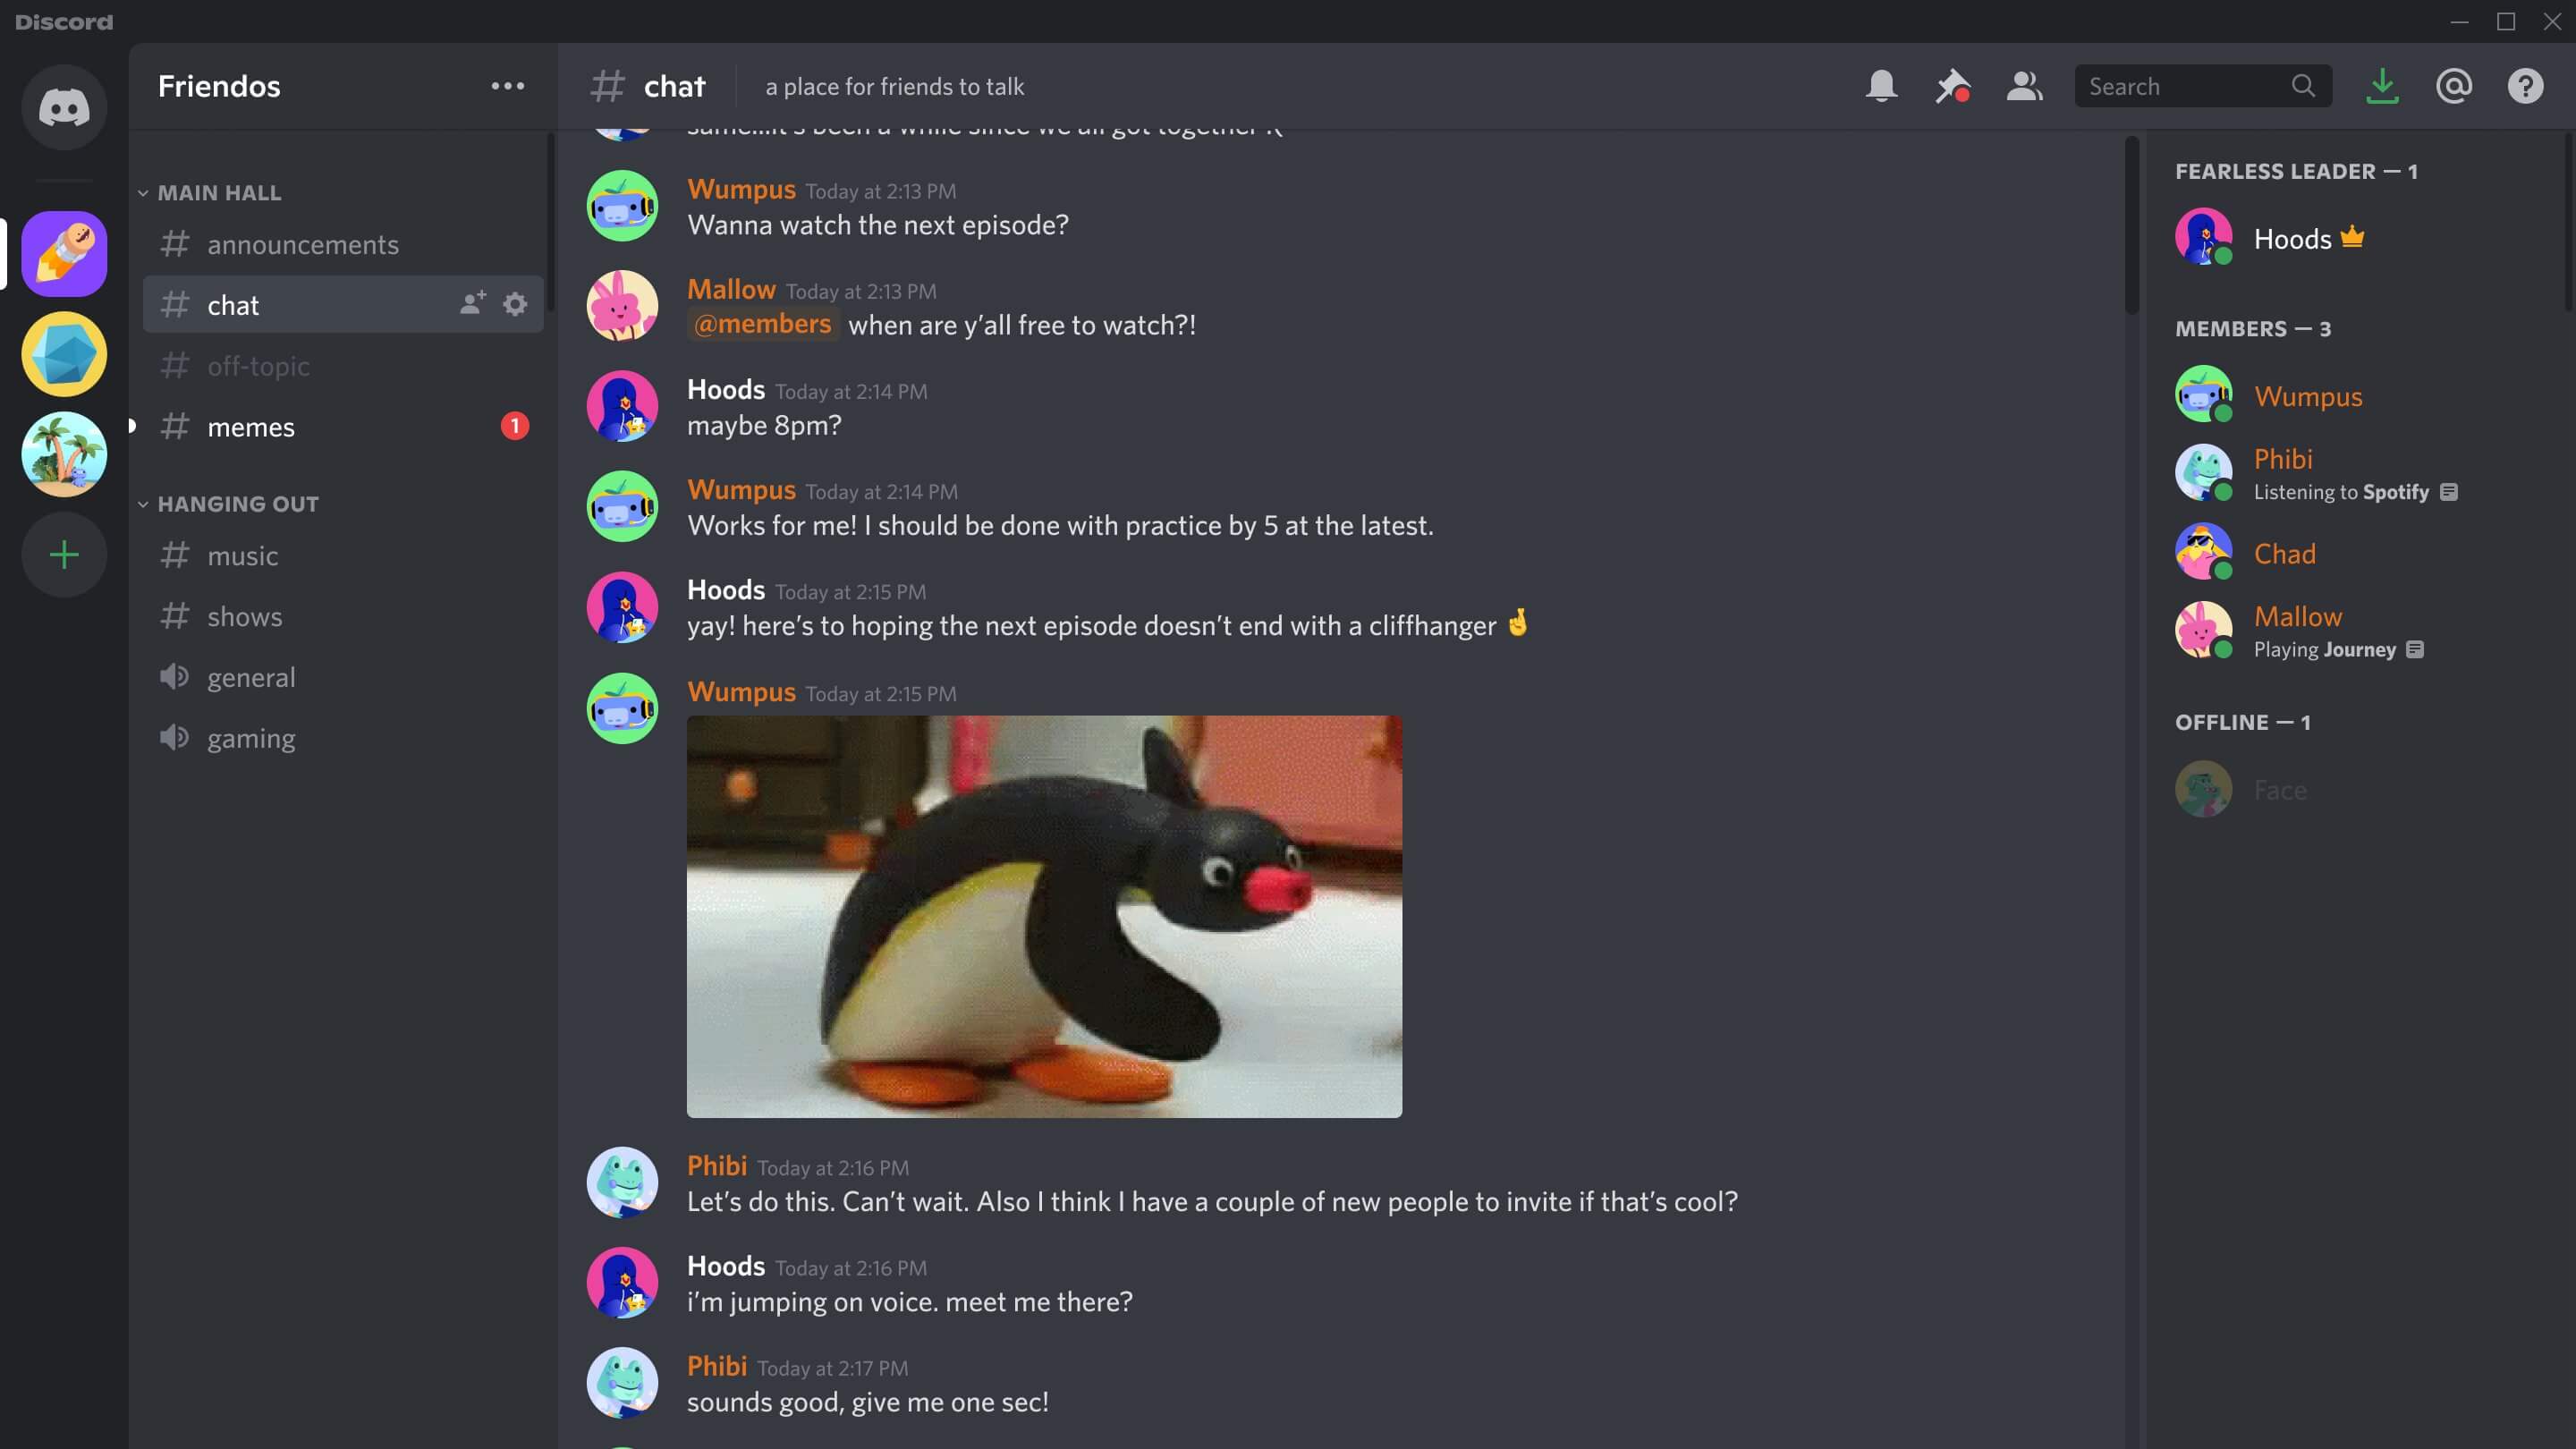
Discord is a popular communication platform that allows users to create communities and connect with one another through text, voice, and video chats. One of the key features of Discord is the ability to create roles, which can be used to organize and manage members within a server. Roles give users certain permissions and privileges, allowing server owners and administrators to control what actions members can take.
In this guide, we will walk you through the process of creating roles in Discord, customizing their permissions, and assigning them to members. By utilizing roles effectively, you can establish a structured hierarchy, facilitate communication, and ensure that your Discord server runs smoothly.
Whether you are managing a gaming community, a professional organization, or a group of friends, understanding how to create and manage roles in Discord is essential. So, if you’re ready, let’s dive in and learn how to effectively set up and utilize roles in Discord!
Step 1: Accessing Server Settings
Before you can start creating and managing roles in Discord, you need to access the server settings. Here’s how:
- Log in to your Discord account and select the server where you want to create roles.
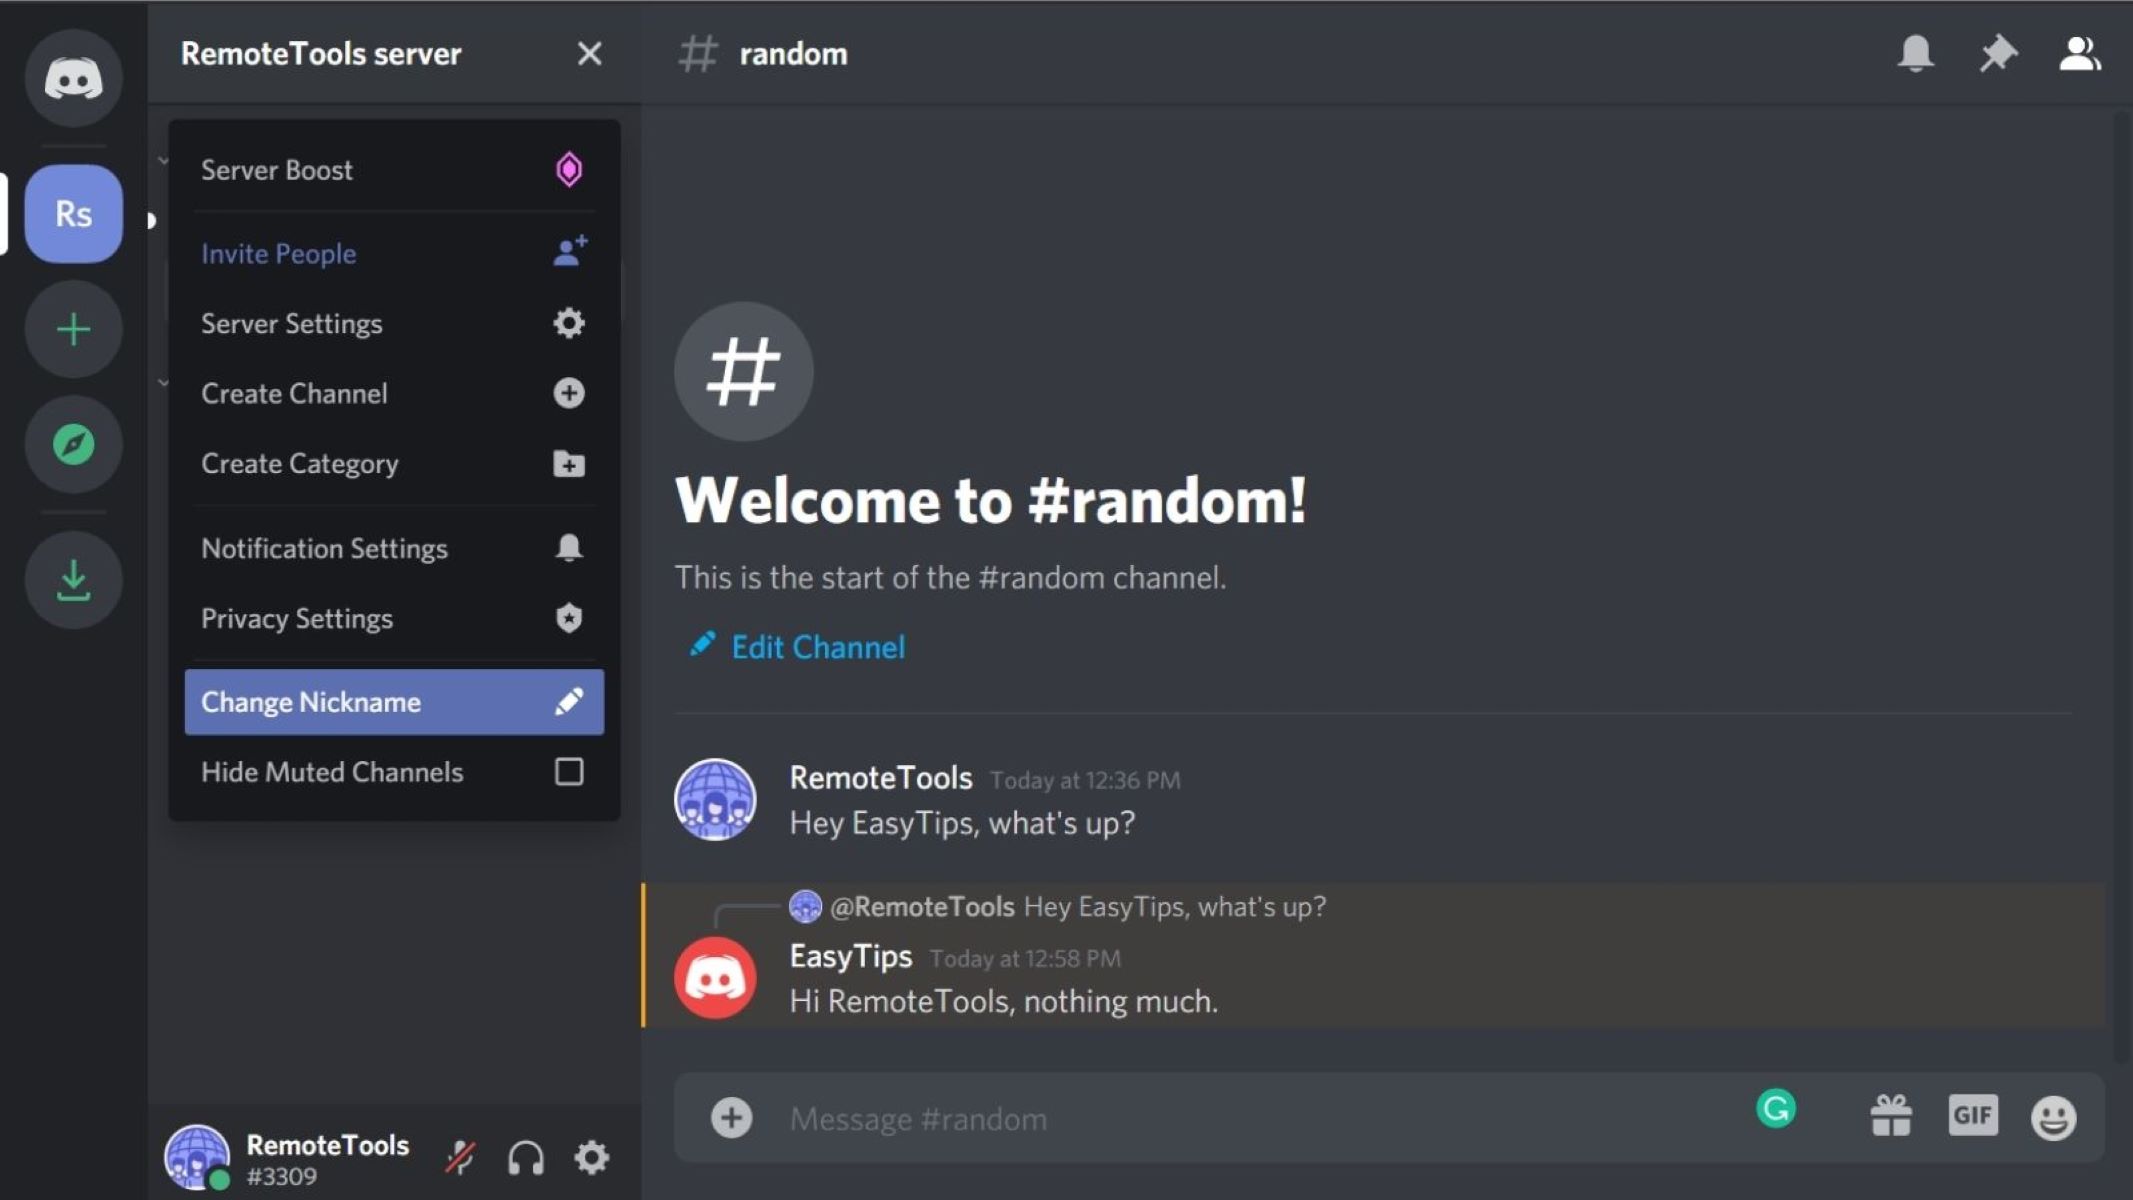
- On the left-hand side of the Discord window, locate the server name and click on it to open the server menu. If you’re using the Discord desktop app, the server menu will be on the left-hand side. If you’re using the Discord web app, the server menu will appear on the left-hand side after clicking on the hamburger icon (three horizontal lines) at the top left corner of the screen.
- Once you have opened the server menu, locate and click on the “Server Settings” option. This will open the server settings page.
- In the server settings page, you will see different sections and options related to managing your Discord server. To create roles, you need to navigate to the “Roles” section. Click on the “Roles” option to access the role management page.
By following these steps, you will be able to access the server settings and navigate to the role management page in Discord. With the role management page open, you are now ready to create roles and customize their permissions.
Step 2: Creating Roles
Once you have accessed the role management page in Discord, you can begin creating roles for your server. Here’s how to do it:
- In the role management page, you will see a list of existing roles, if any. To create a new role, locate and click on the “Add Role” button. This will open a pop-up window.
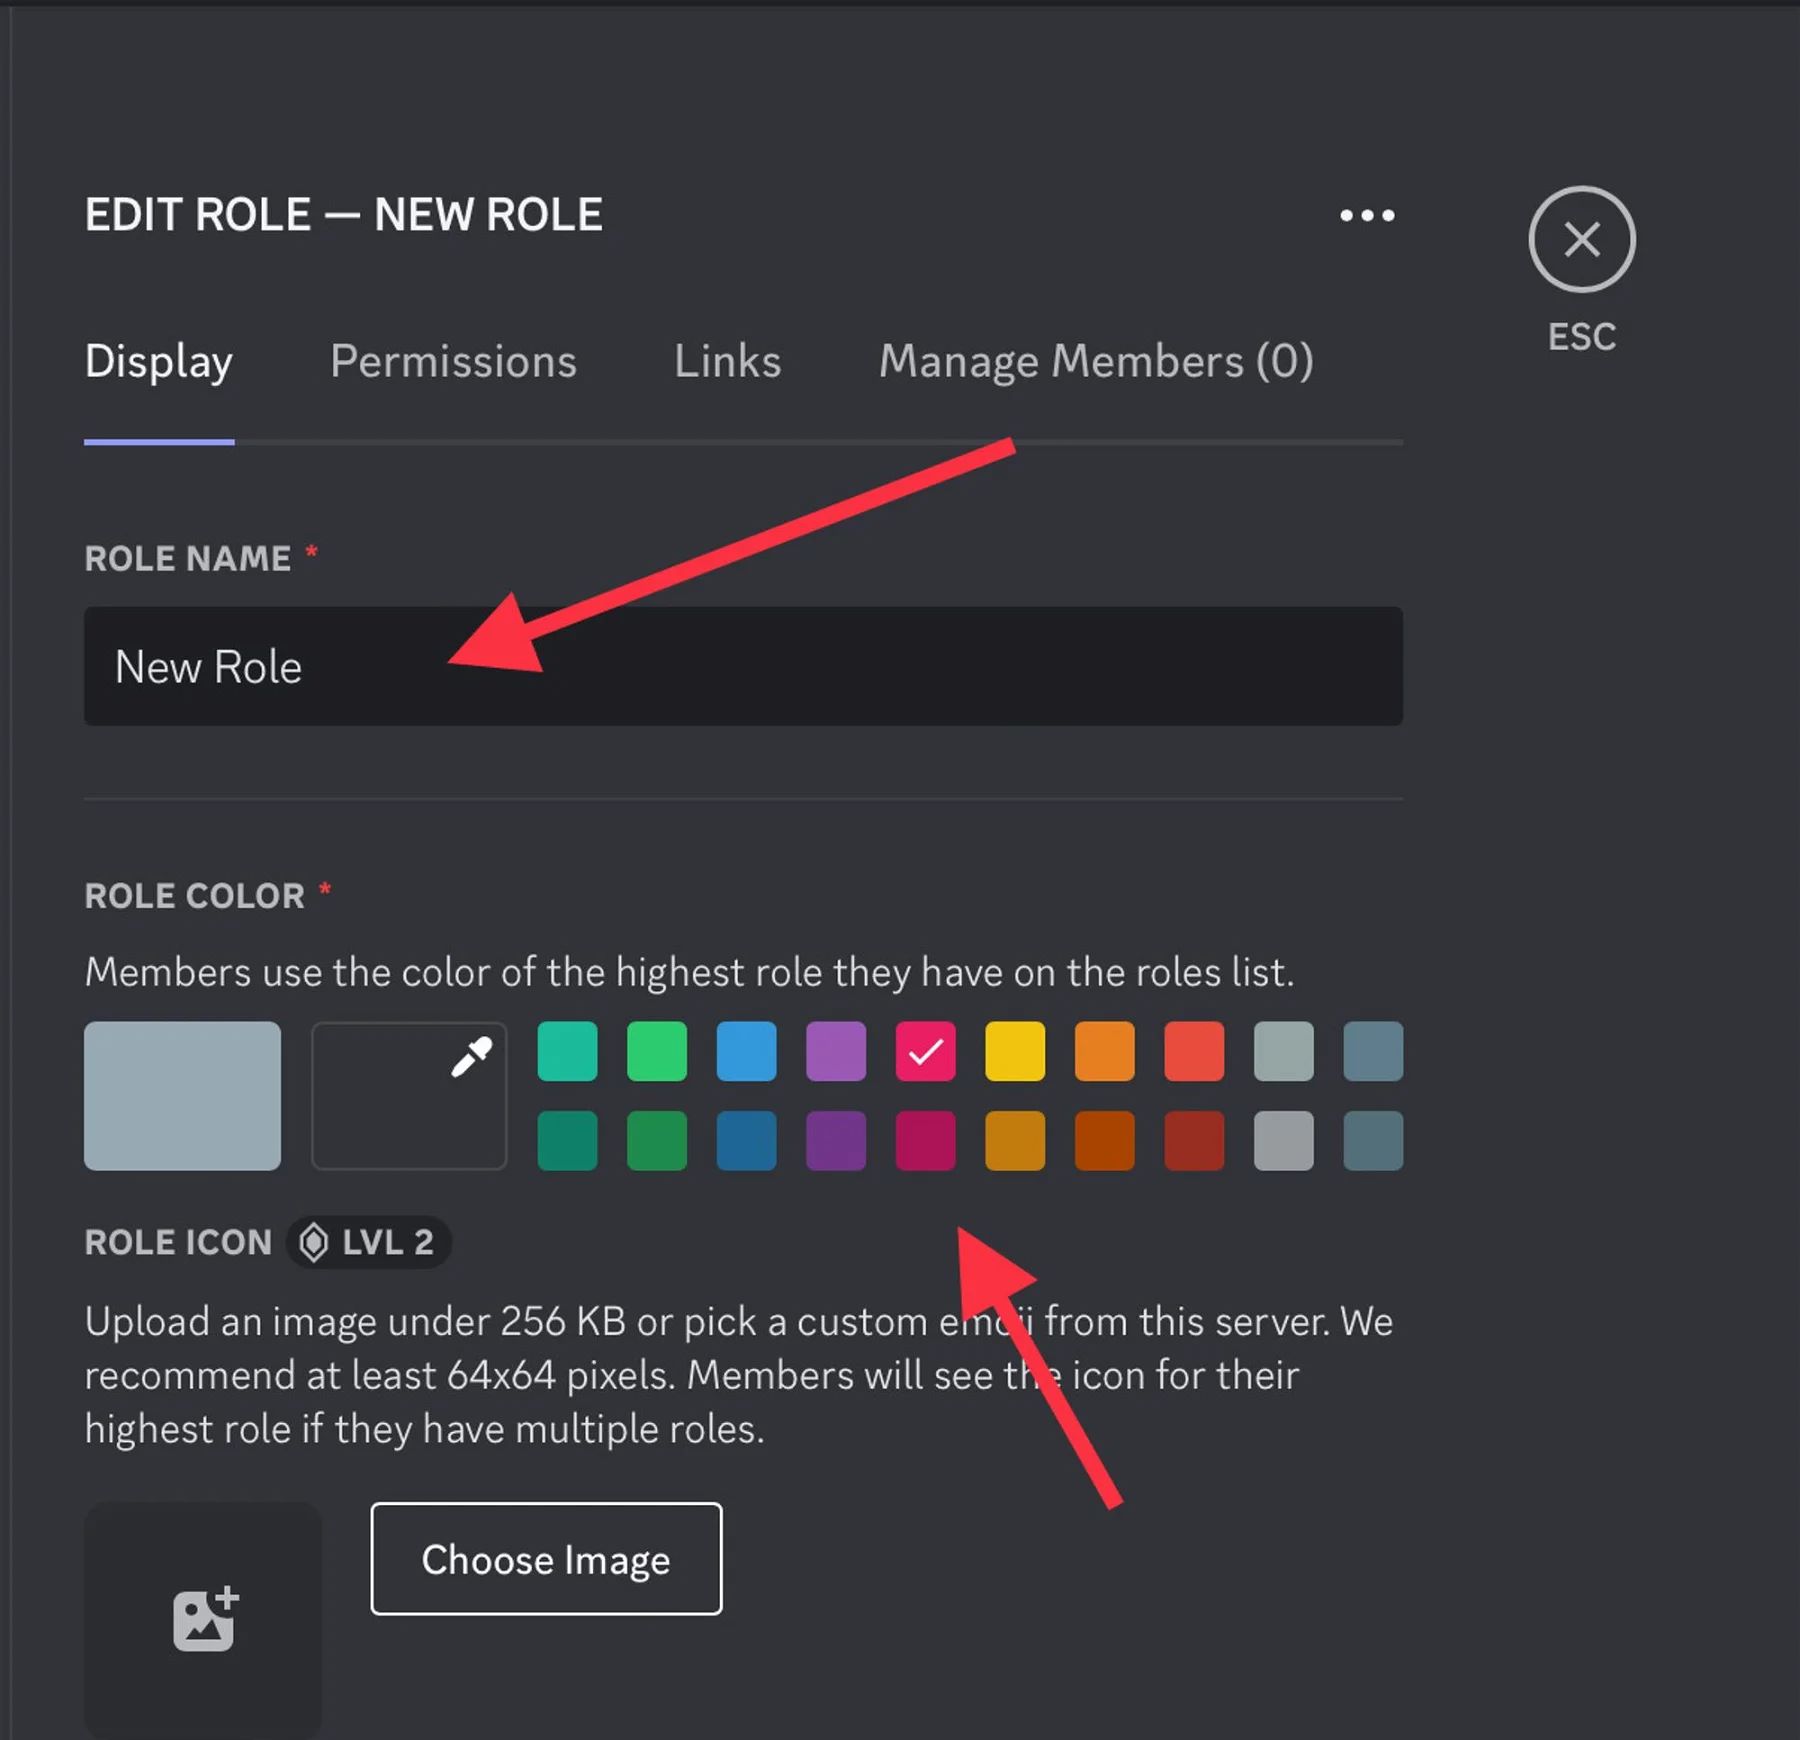
- In the pop-up window, you can specify the name of the role in the “Role Name” field. Choose a name that accurately represents the purpose or position associated with the role.
- Additionally, you have the option to set a color for the role. Click on the square next to “Color” to select a color from the available palette. This can help differentiate roles and make them visually distinct.
- By default, the role will have all permissions disabled. If you want to assign certain permissions to the role, you can toggle the switches in the “Permissions” section to enable the desired permissions. We will cover customizing role permissions in more detail in the next step.
- Once you have specified a name and any desired permissions for the role, click on the “Save” or “Create” button to create the role.
- The newly created role will now appear in the list of roles on the role management page.
Repeat these steps for each role you want to create in your Discord server. Creating roles allows you to define the different positions or responsibilities within your community, making it easier to manage and organize members.
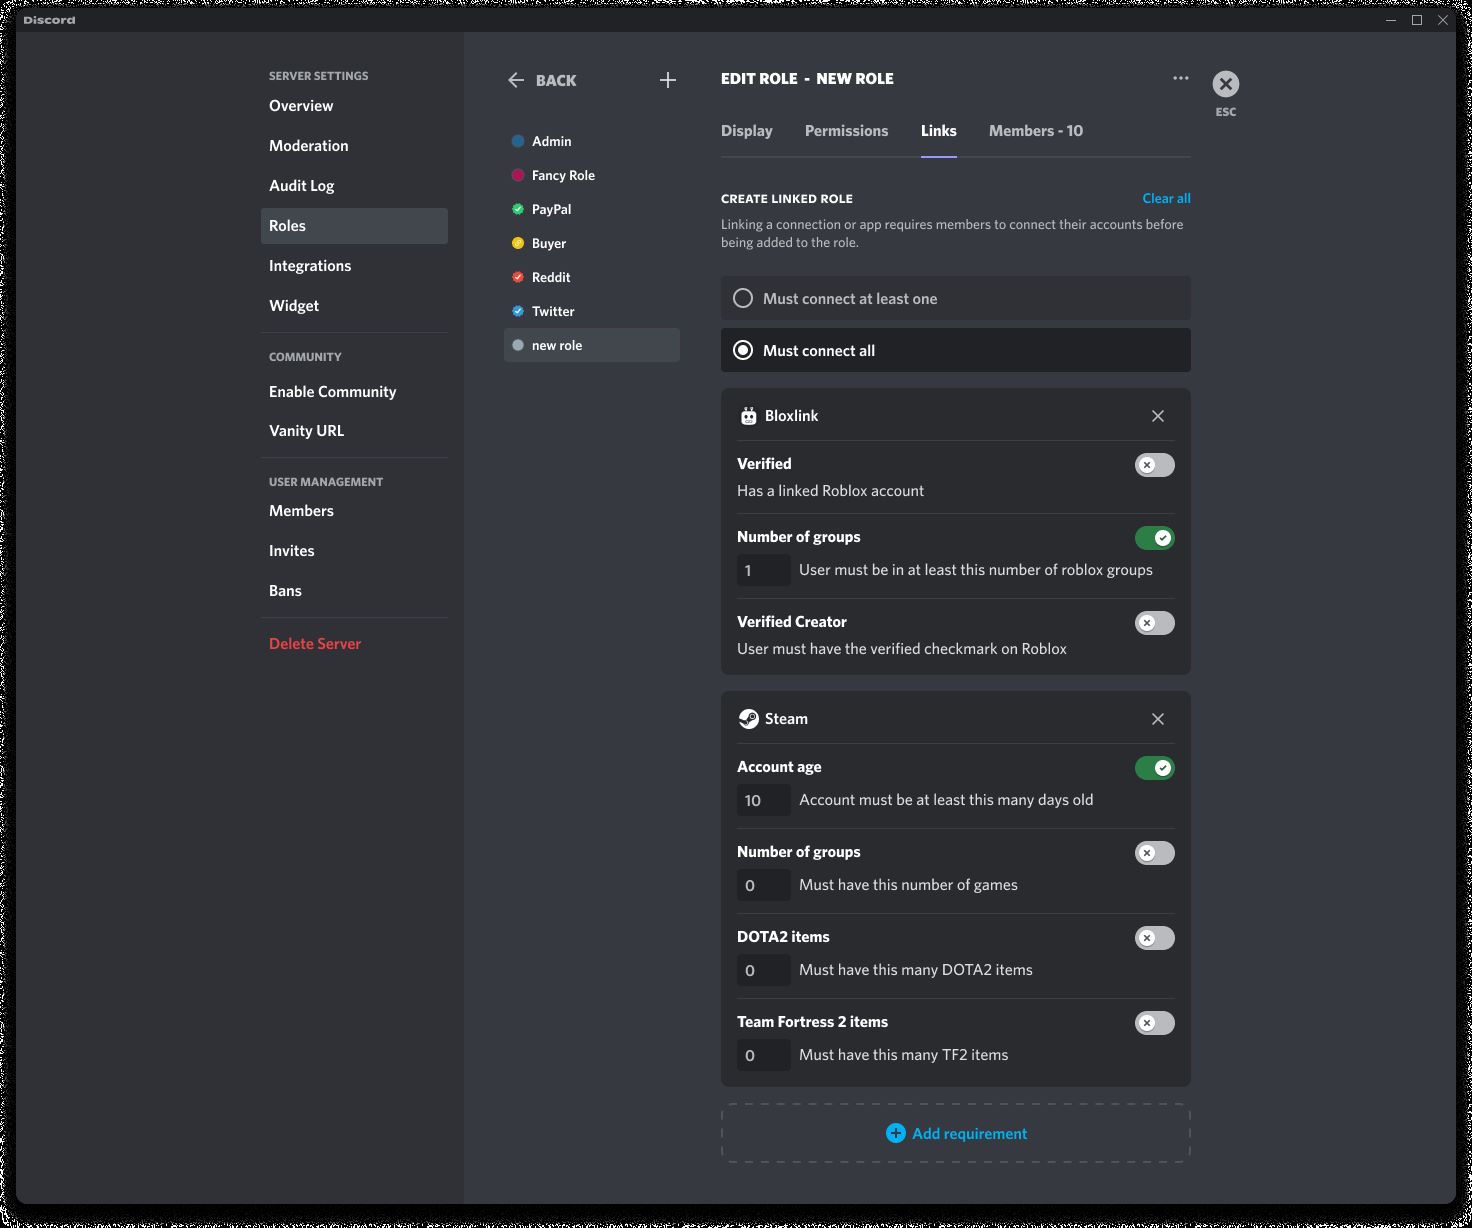
Step 3: Customizing Role Permissions
Once you have created roles in Discord, it’s important to customize their permissions based on the privileges you want to assign to each role. Customizing role permissions allows you to control what actions members with a particular role can take within the server. Here’s how you can customize role permissions:
- On the role management page, locate the role you want to customize and click on the settings icon (usually represented by three dots) next to the role name. This will open a drop-down menu.
- In the drop-down menu, click on the “Edit Role” or “Role Settings” option. This will open the role settings page where you can modify the permissions for that specific role.
- In the role settings page, you will see a list of various permissions categories such as Text Permissions, Voice Permissions, and General Permissions. These categories contain specific permissions that you can enable or disable for the role.
- To modify permissions, simply toggle the switches to enable or disable them. Enabling a permission allows members with that role to perform the associated action, while disabling a permission restricts members from performing that action.
- Take some time to review each permission category and adjust the settings according to your preferences. Be mindful of the permissions you grant, as they can have an impact on the functionality and security of your Discord server.
- Once you have customized the permissions for the role, click on the “Save” or “Apply” button to save the changes.
Remember, it’s important to regularly review and update role permissions as your server’s needs evolve over time. By customizing role permissions, you can ensure that each role has the appropriate level of access and authority within your Discord server.
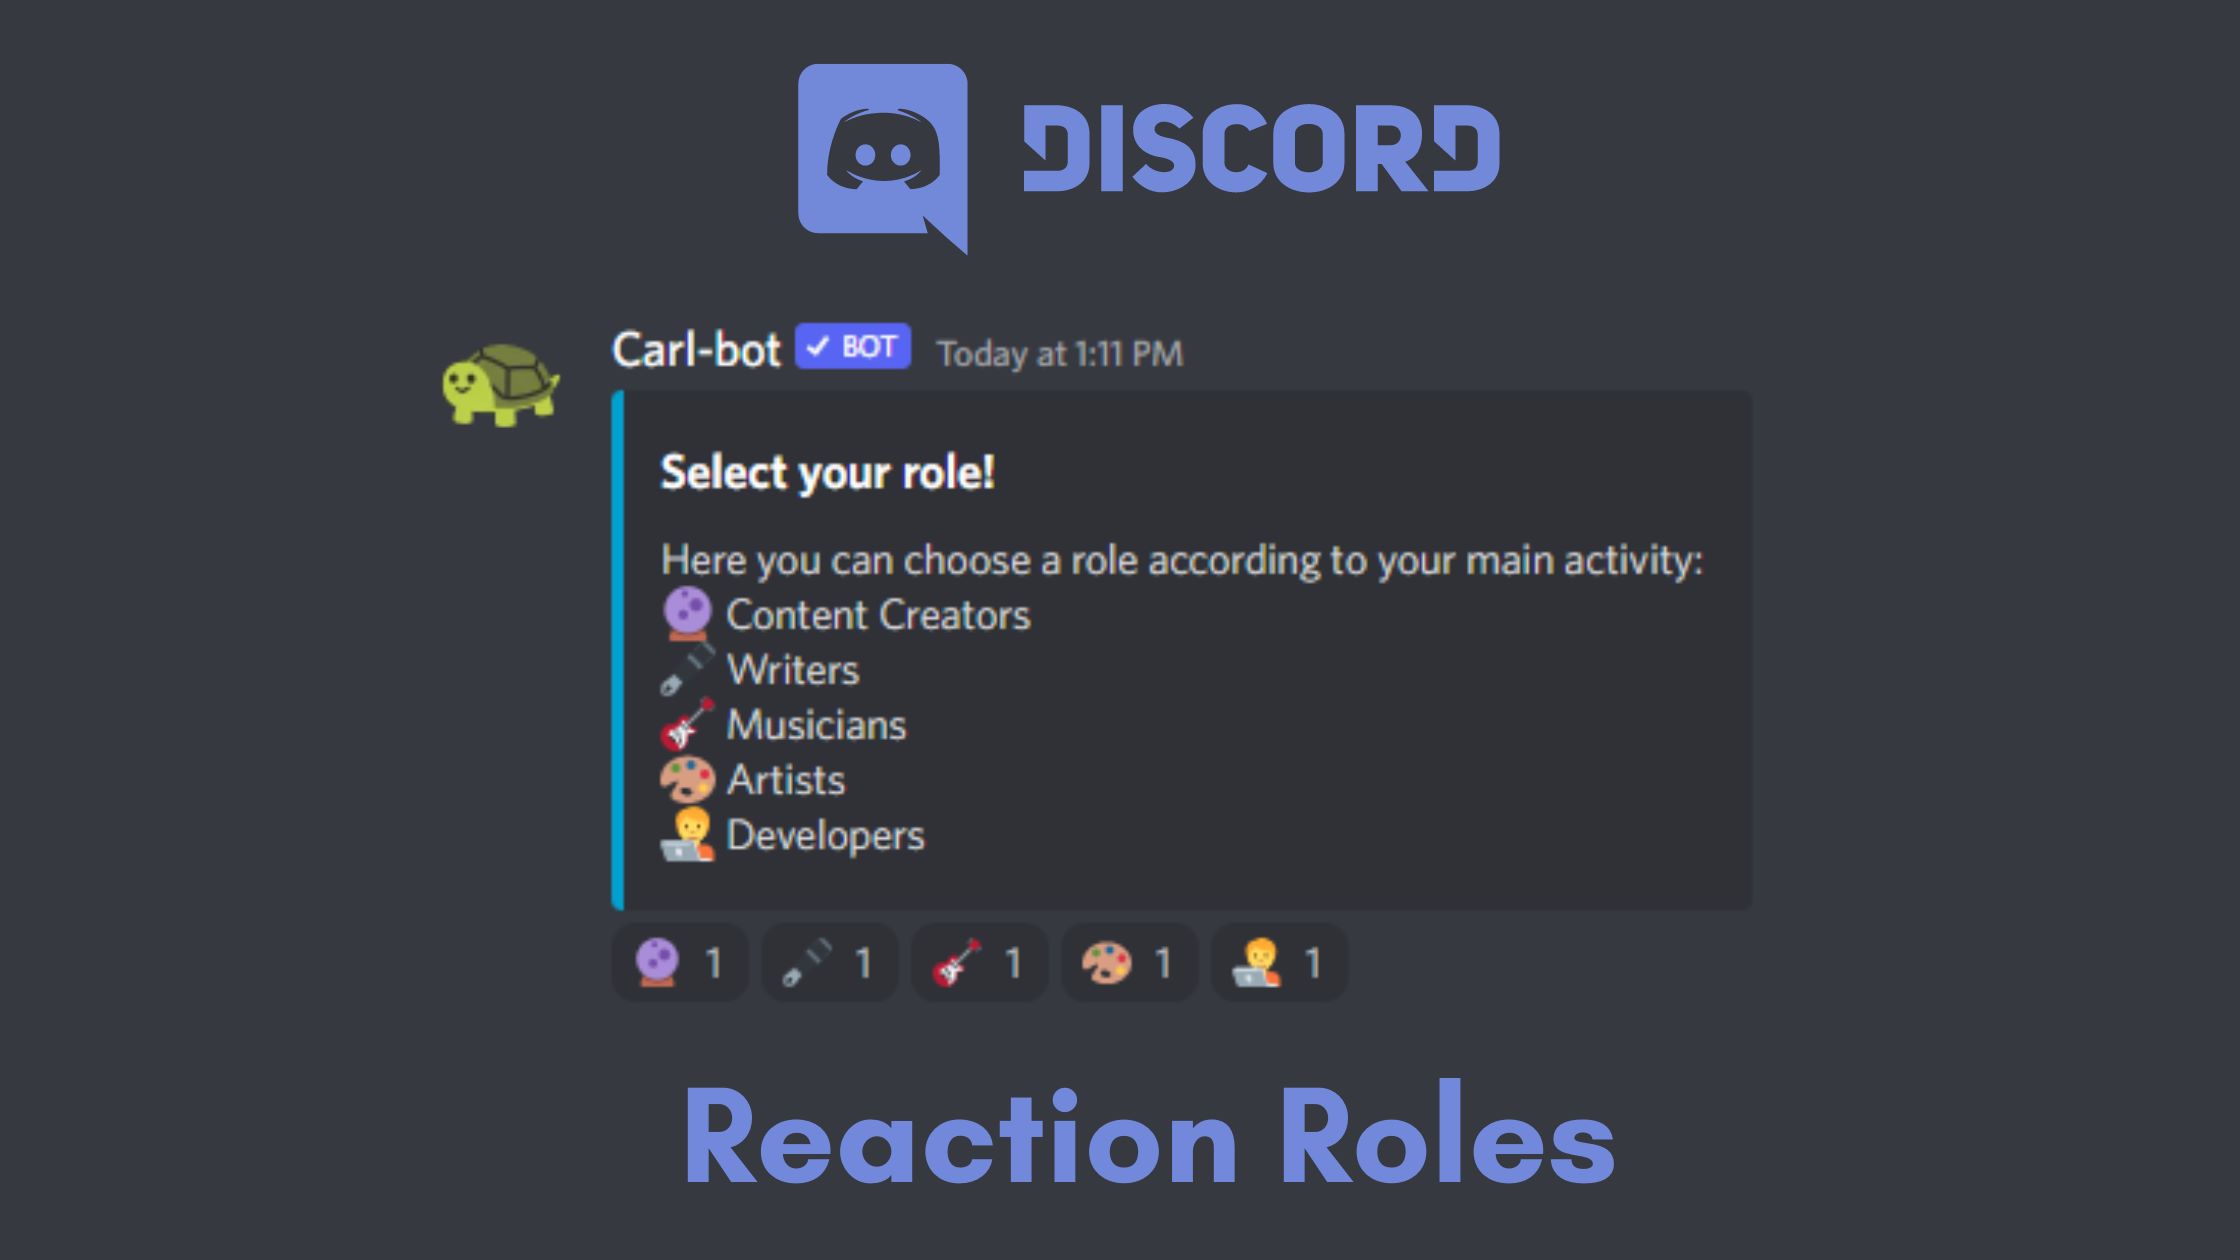
Step 4: Assigning Roles to Members
After creating and customizing roles in Discord, the next step is to assign these roles to members in your server. By assigning roles to members, you can control their access to certain channels, permissions, and privileges. Here’s how to assign roles to members:
- In the role management page, locate the role that you want to assign to a member and click on the settings icon next to the role name.
- From the drop-down menu, select the “Members” or “Assign Members” option. This will open a pop-up window showing a list of server members.
- Locate the member you want to assign the role to and click on their name. You can select multiple members by holding down the Ctrl key (Command key on Mac) while clicking on the names.
- Once you have selected the member(s), click on the “Assign” or “Add” button in the pop-up window to assign the selected role(s) to them.
- The assigned role(s) will now appear next to the member(s) in the role management page.
Repeat these steps for each member you want to assign roles to. Keep in mind that members can have multiple roles assigned to them, allowing for more flexibility in managing permissions and access levels.
Assigning roles to members is a fundamental aspect of Discord server management. It allows you to organize your community, designate responsibilities, and ensure that members have the appropriate privileges based on their roles and positions.
Step 5: Managing Roles
Once you have created roles, customized their permissions, and assigned them to members in your Discord server, it’s important to actively manage and maintain these roles to ensure the smooth operation of your community. Here are some tips for effectively managing roles:
- Regularly review and update role permissions: As your server evolves and new needs arise, it’s essential to periodically review and update role permissions. This ensures that members have the appropriate level of access and privileges based on their roles.
- Create role hierarchies: Establishing a hierarchy of roles can help maintain order and authority within your server. By setting roles with higher permissions above those with lower permissions, you can control how different roles interact and access various features.
- Remove unused roles: Over time, some roles may become redundant or no longer necessary. It’s a good practice to periodically review the roles in your server and remove any that are no longer needed. This helps declutter the role management page and keeps things organized.
- Communicate role expectations: Clearly communicate the responsibilities and expectations associated with each role to your server members. This helps them understand their role’s purpose and can contribute to better collaboration and engagement.
- Train and educate role holders: Provide any necessary training or resources to members who hold specific roles within your server. This ensures they understand how to effectively utilize their role’s permissions and contribute to the overall success of the community.
- Regularly monitor and address role-related issues: Stay vigilant and address any role-related issues that may arise. This includes resolving conflicts related to permissions, coordinating role updates or changes, and ensuring that roles are being utilized appropriately.
Effective role management is crucial for maintaining a well-organized and functioning Discord server. By actively managing roles, you can promote collaboration, maintain security, and ensure a positive experience for all members.