Introduction
Welcome to the world of cooking with an electric pressure cooker! These versatile kitchen appliances have gained immense popularity in recent years for their ability to prepare delicious meals in a fraction of the time compared to traditional cooking methods. If you’re looking to whip up a tender and flavorful pork tenderloin, your electric pressure cooker will be your new best friend. In this guide, we’ll walk you through the step-by-step process of cooking a 2 lbs pork tenderloin, ensuring it turns out juicy, succulent, and full of flavor.
Preparing a pork tenderloin in an electric pressure cooker offers a range of benefits. First and foremost, the pressurized environment helps to lock in the flavors and juices of the meat, resulting in a incredibly moist and tender final product. Additionally, the convenience of using an electric pressure cooker means you can set it and forget it, allowing you to focus on other tasks while dinner is being prepared. Whether you’re feeding a hungry family or hosting a dinner party, this cooking method is sure to impress.
But before we dive into the cooking process, it’s important to select a high-quality pork tenderloin and properly prepare it. By following these steps, you’ll ensure the best possible outcome for your meal. So let’s get started on this culinary adventure and learn how to cook a 2 lbs pork tenderloin in an electric pressure cooker!
Selecting and Preparing the Pork Tenderloin
When it comes to cooking a delicious pork tenderloin in an electric pressure cooker, selecting the right cut of meat is crucial. Here are some tips to help you choose and prepare the perfect pork tenderloin:
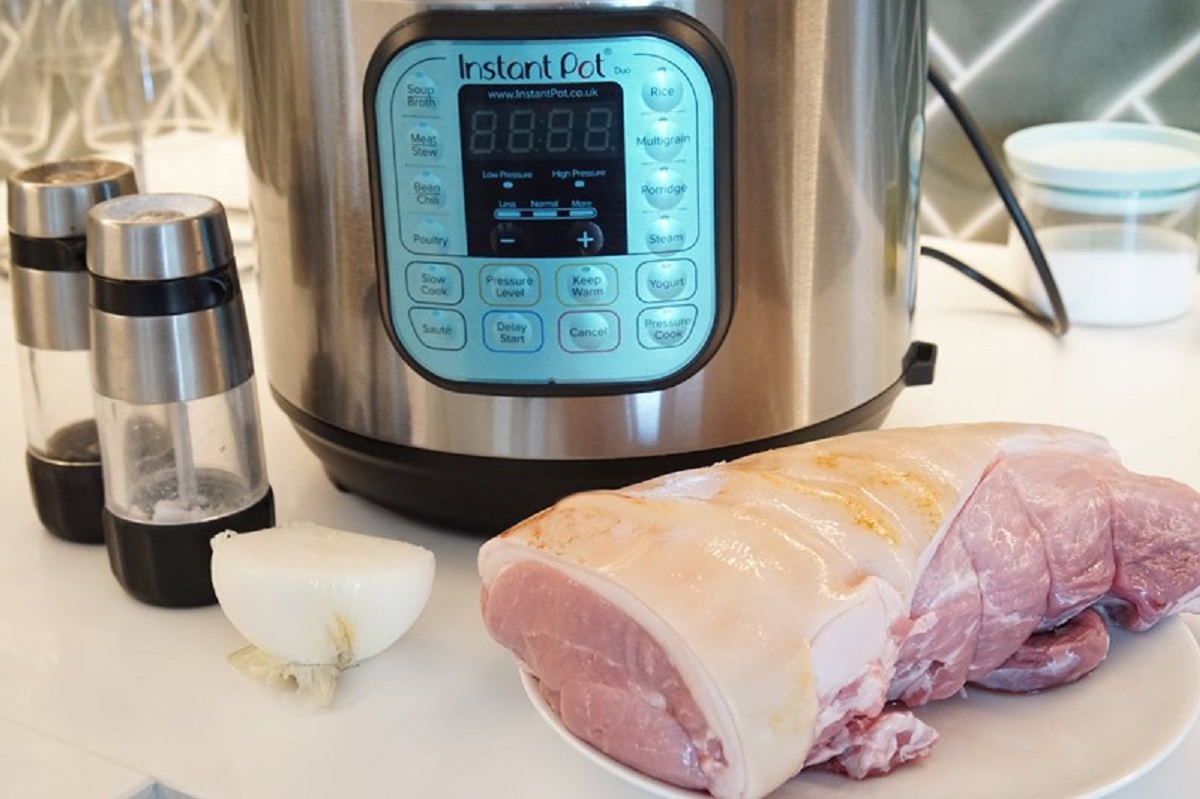
1. Quality matters: Look for a pork tenderloin that is fresh and of high quality. Choose one that is pink in color and has a small amount of visible fat marbling throughout. This will ensure a tender and flavorful end result.
2. Size and weight: Aim for a pork tenderloin that weighs around 2 pounds. This size is ideal for cooking in an electric pressure cooker and will yield perfectly cooked meat.
3. Trimming the tenderloin: Before cooking, it’s important to trim any excess fat or silverskin from the pork tenderloin. This will prevent the meat from becoming tough and chewy during cooking. Use a sharp knife to carefully remove any unwanted parts.
4. Tenderizing the meat: To further enhance the tenderness of the pork, consider marinating the tenderloin for a few hours or overnight before cooking. You can use your preferred marinade or simply season it with salt, pepper, and your favorite herbs and spices.
5. Bringing the meat to room temperature: Before cooking, allow the pork tenderloin to come to room temperature. This will ensure even cooking throughout and prevent the meat from being cold in the center.
By following these steps, you’ll ensure that you start with a high-quality pork tenderloin that is properly prepared and ready to be transformed into a delectable meal. Now that you have chosen and prepped your pork, it’s time to move on to preparing your electric pressure cooker.
Preparing the Electric Pressure Cooker
Before you start cooking your pork tenderloin in an electric pressure cooker, it’s important to properly prepare the appliance. These steps will ensure that your cooking environment is safe and optimized for achieving the best results:
1. Read the instruction manual: Familiarize yourself with the specific instructions and safety precautions outlined in the manual for your electric pressure cooker. Different models may have slight variations in operating procedures and recommended settings.
2. Check the sealing ring: Inspect the sealing ring of your electric pressure cooker to ensure it is in good condition and properly fitted. This silicone ring is essential for creating an airtight seal, which is crucial for the pressure cooking process.
3. Clean the cooking pot: Remove the cooking pot from your electric pressure cooker and wash it thoroughly with warm, soapy water. Rinse it well and dry it completely before placing it back into the appliance. This step is important to remove any dust or residue that may affect the flavor of your pork tenderloin.
4. Add liquid: Most electric pressure cookers require a minimum amount of liquid to create steam and generate pressure. Check the manufacturer’s instructions to determine the recommended amount. Common choices include water, broth, or a combination of liquids for added flavor.
5. Insert the trivet: Many electric pressure cookers come with a trivet or a steaming rack. Place it at the bottom of the cooking pot to elevate the pork tenderloin slightly, helping it cook more evenly and preventing it from sticking to the bottom.
Following these steps will ensure that your electric pressure cooker is clean, properly assembled, and ready to cook your pork tenderloin to perfection. Now that your cooker is prepared, let’s move on to seasoning the pork tenderloin and getting it ready for the cooking process.
Seasoning the Pork Tenderloin
Seasoning is a crucial step in elevating the flavor of your pork tenderloin. By adding a blend of herbs, spices, and other seasonings, you can enhance the taste and create a delicious crust on the meat. Follow these steps to season your pork tenderloin:
1. Dry the pork tenderloin: Pat the pork tenderloin dry with paper towels. This will help the seasoning adhere better to the meat and ensure even cooking.
2. Salt and pepper: Season the pork tenderloin generously with salt and pepper. This will provide a basic foundation of flavor and enhance the natural taste of the meat.
3. Add herbs and spices: Incorporate your favorite herbs and spices to add depth and complexity to the pork tenderloin. Common options include rosemary, thyme, garlic powder, paprika, or a blend of mixed herbs. Rub the seasonings into the meat, ensuring that it is evenly coated.
4. Marinating (optional): If time allows, consider marinating the seasoned pork tenderloin for a few hours or overnight for enhanced flavor. You can use a variety of marinades, such as a tangy citrus-based marinade or a savory soy sauce and garlic marinade.
5. Let it rest: After seasoning the pork tenderloin, let it rest at room temperature for about 15-30 minutes. This allows the flavors to penetrate the meat and helps it cook more evenly.
By following these steps, you will infuse your pork tenderloin with layers of aromatic flavors that will complement the natural taste of the meat. With the pork tenderloin properly seasoned, it’s time to move on to the cooking process using your electric pressure cooker.
Cooking the Pork Tenderloin in the Electric Pressure Cooker
Now that your pork tenderloin is seasoned and ready to go, it’s time to start cooking it in your electric pressure cooker. Follow these steps to ensure a perfectly cooked and tender pork tenderloin:
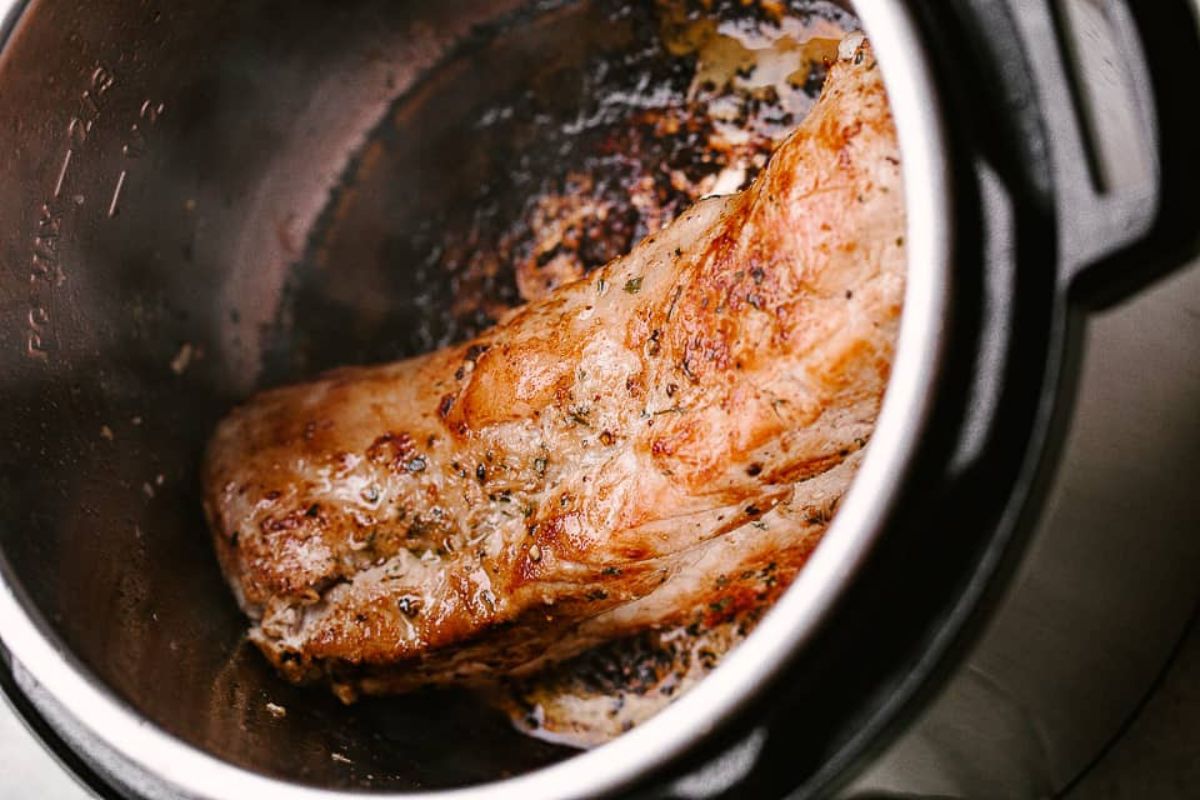
1. Preheat the electric pressure cooker: Turn on your electric pressure cooker and select the sauté function, if available. Preheat the cooker for a few minutes to heat up the cooking pot.
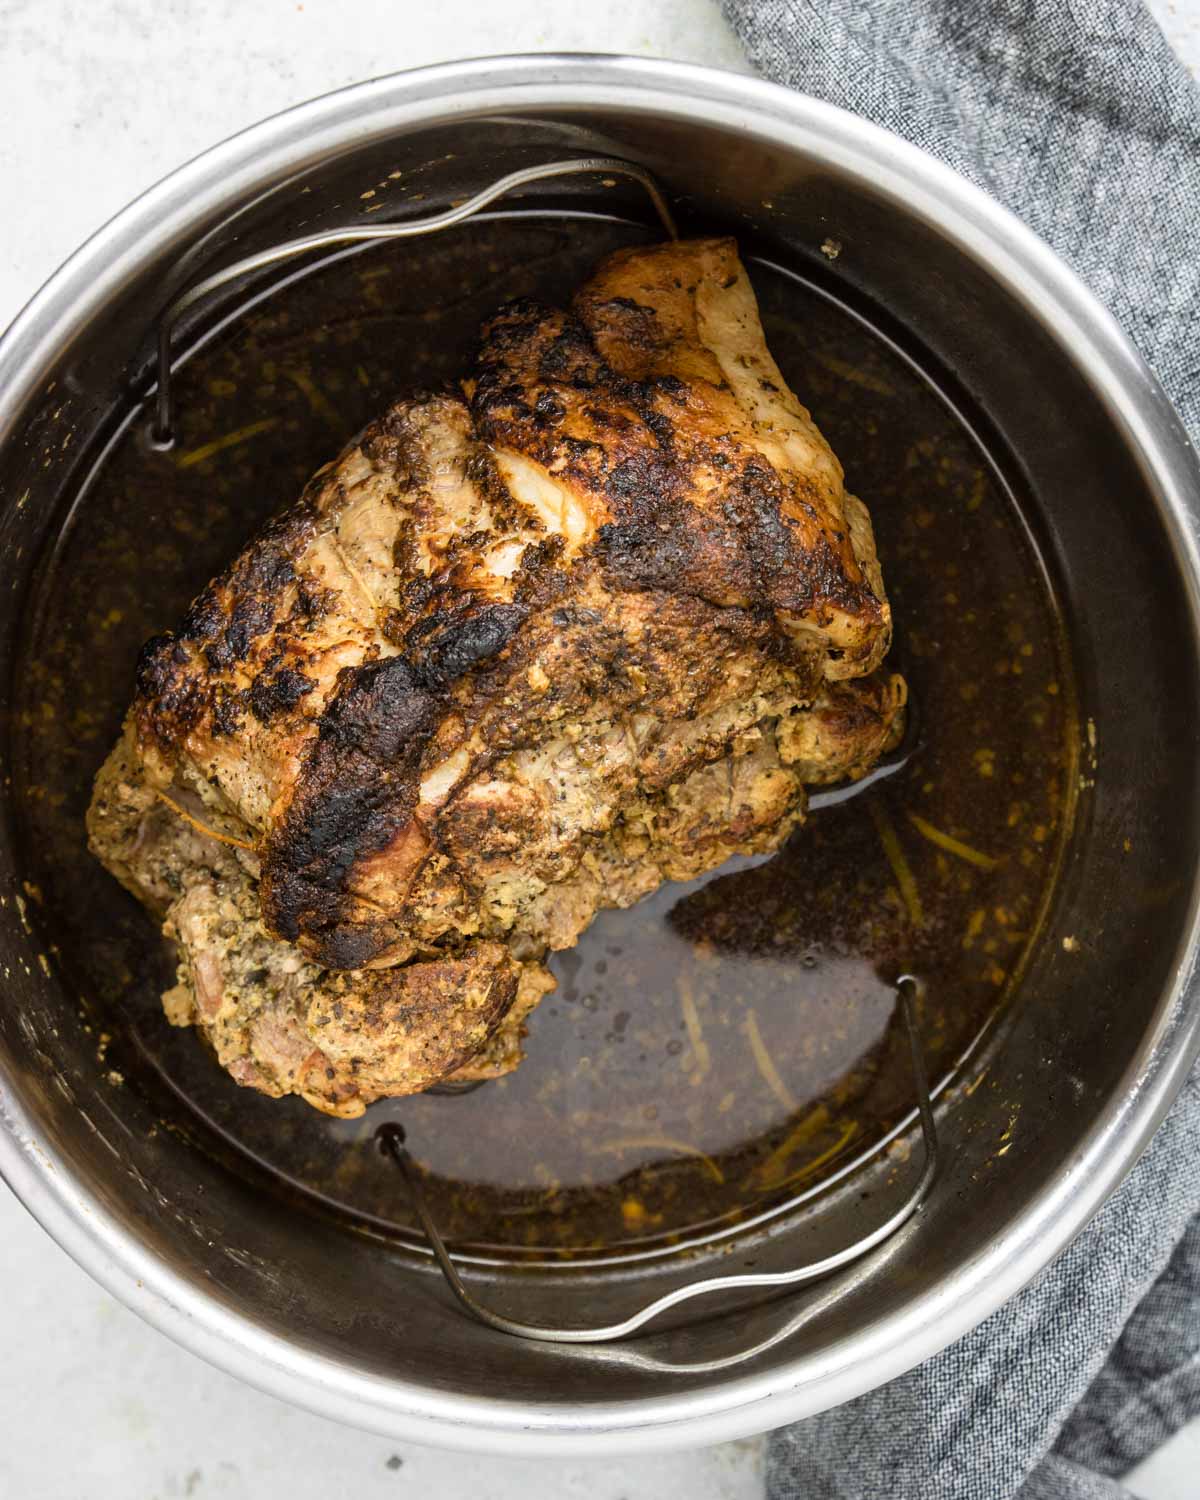
2. Sear the pork tenderloin (optional): For an extra layer of flavor and texture, you can choose to sear the seasoned pork tenderloin before pressure cooking. Heat a small amount of oil in the cooking pot and sear the pork tenderloin on all sides until browned. This step is optional but adds a delicious caramelized crust to the meat.
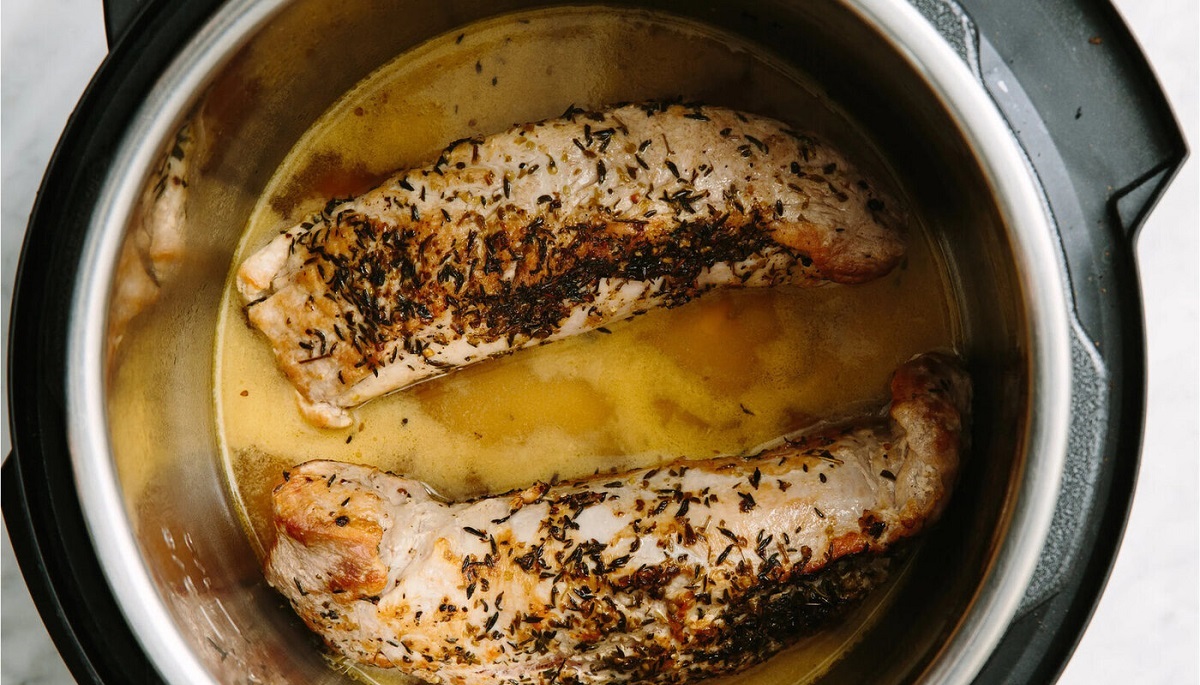
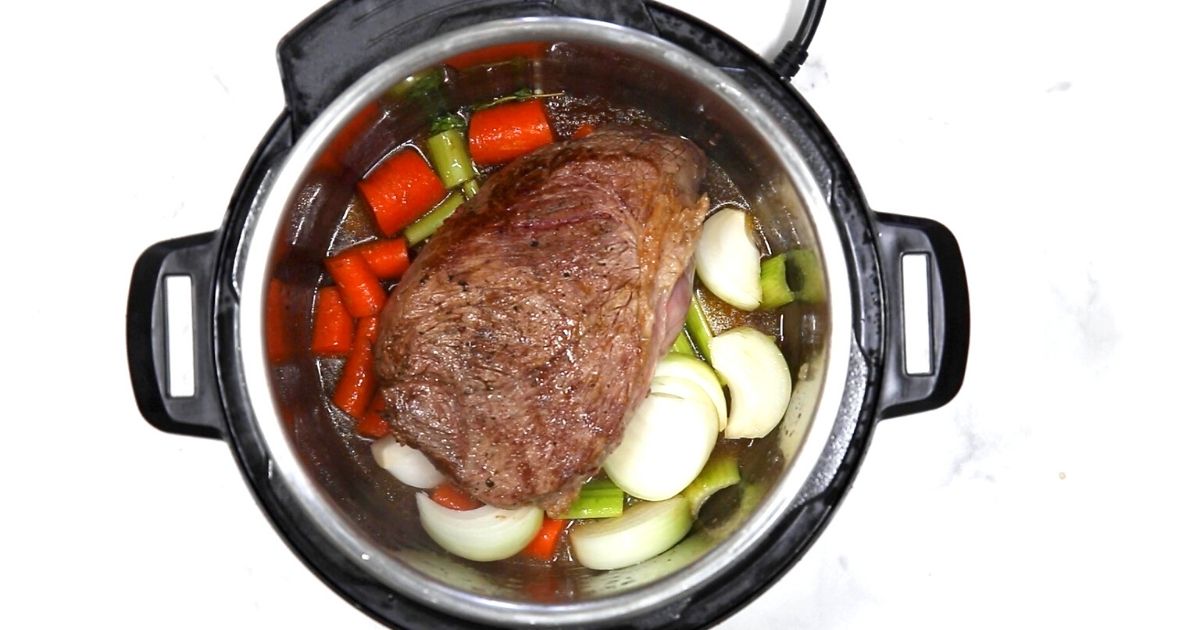
3. Add liquid and secure the lid: Add the recommended amount of liquid to the cooking pot, ensuring there is enough to create steam and generate pressure. Place the pork tenderloin in the pot, then secure the lid firmly, making sure it is properly sealed.
4. Set the cooking time and pressure: Select the appropriate setting on your electric pressure cooker. The cooking time will vary depending on the size and thickness of the pork tenderloin. As a general guideline, for a 2 lbs pork tenderloin, set the cooking time to around 6-8 minutes on high pressure.
5. Start the cooking process: Once you have set the cooking time and pressure, start the cooking process by pressing the appropriate button on your electric pressure cooker. The cooker will take some time to build up pressure, and then the cooking time will begin.
6. Natural release or quick release: After the cooking time is complete, you have two options for releasing the pressure. You can either allow for a natural release, where you let the pressure release on its own, or perform a quick release by carefully turning the pressure release valve. Follow the manufacturer’s instructions for your specific electric pressure cooker.
By following these steps, you will cook your pork tenderloin to a perfect temperature, resulting in a tender and juicy meat. Once the pressure has been released, it’s time to slice and serve your delicious pork tenderloin.
Natural Release or Quick Release
After the cooking time is complete, releasing the pressure from your electric pressure cooker is the next step. There are two methods you can choose from: natural release or quick release. Here’s what you need to know about each:
Natural Release:
With natural release, you allow the pressure to naturally dissipate from the electric pressure cooker. This process typically takes around 10-15 minutes. During this time, the pressure inside the cooker gradually decreases, and the float valve will drop when the pressure has fully released.
Advantages of natural release:
1. Retains moisture and tenderness: Allowing for a natural release helps the meat retain its moisture, resulting in a tender and juicy pork tenderloin.
2. Minimizes the risk of overcooking: Since the pork tenderloin continues to cook slightly during the natural release, it reduces the chance of overcooking the meat.
Quick Release:
Using the quick release method allows you to manually release the pressure from the electric pressure cooker. This is done by carefully turning the pressure release valve to release the steam and pressure inside the cooker.
Advantages of quick release:
1. Saves time: Quick release is much faster than natural release, as the pressure is released immediately. This can be beneficial when you’re short on time or need to stop the cooking process quickly.
2. Helps prevent overcooking: By quickly, releasing the pressure, you can ensure that the pork tenderloin does not continue cooking and potentially become overdone.
Which method to choose?
The choice between natural release and quick release will depend on your preferences and the recipe you are following. For most pork tenderloin recipes, a natural release is recommended as it helps retain moisture and tenderness. However, if you’re in a hurry or prefer a quicker cooking process, a quick release can be a suitable option.
Remember to always follow the manufacturer’s instructions regarding the specific pressure release procedures for your electric pressure cooker. Once the pressure has been completely released, it’s time to move on to slicing and serving your perfectly cooked pork tenderloin.
Slicing and Serving the Cooked Pork Tenderloin
Now that your pork tenderloin is cooked to perfection, it’s time to slice and serve it. Follow these steps to ensure that your pork tenderloin is served beautifully and ready to be enjoyed:
1. Rest the pork tenderloin: Once the pressure has been released from your electric pressure cooker, remove the pork tenderloin from the pot and allow it to rest on a cutting board for about 5-10 minutes. This resting time allows the juices to redistribute within the meat, ensuring a moist and flavorful result.
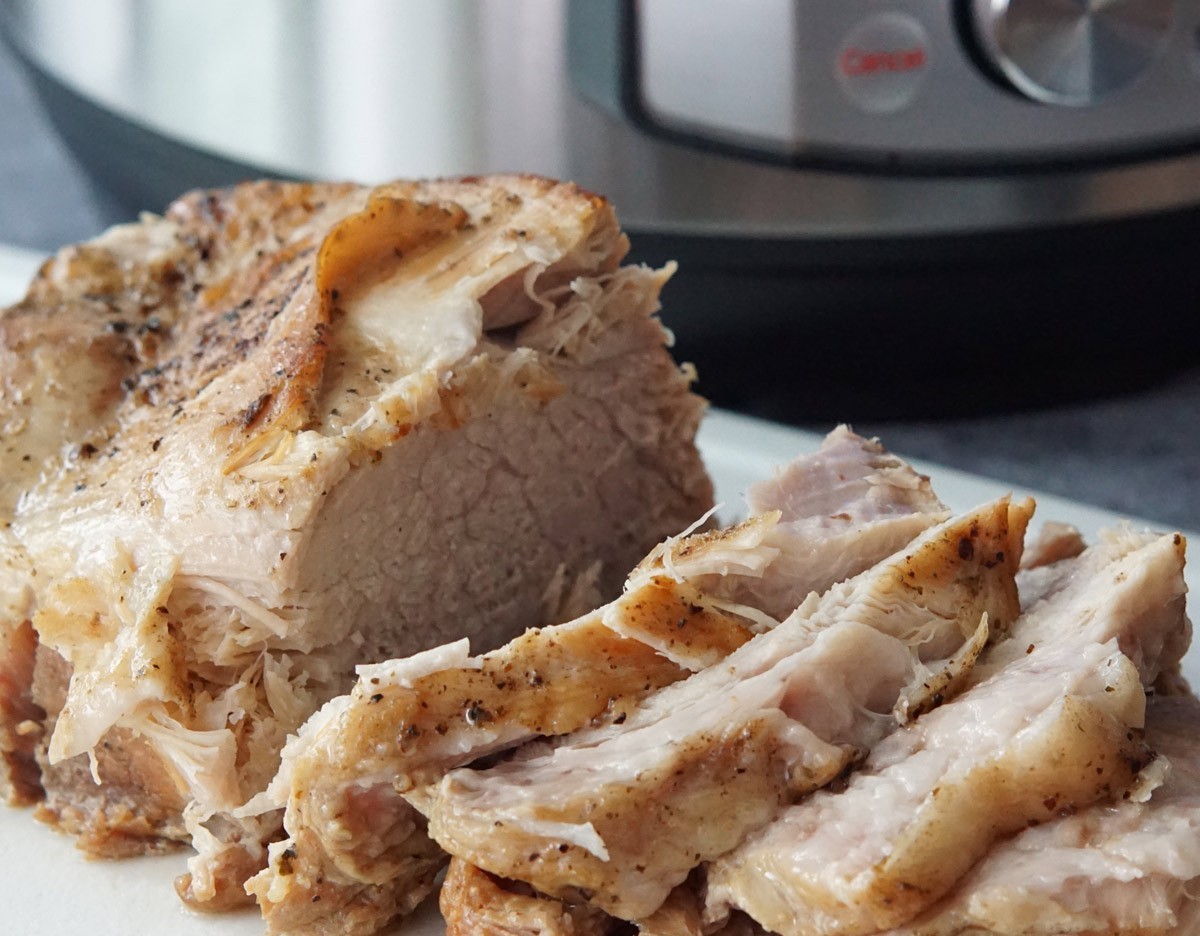
2. Slice against the grain: When it comes to slicing the pork tenderloin, it’s important to cut against the grain. The grain refers to the lines running through the meat. Cutting against the grain helps to shorten the muscle fibers, resulting in more tender and easier-to-chew slices. Use a sharp knife and make clean, even slices about 1/2 inch thick.
3. Plating the slices: Arrange the sliced pork tenderloin on a serving platter or individual plates. You can fan out the slices for an elegant presentation or stack them neatly. Garnish with fresh herbs or a sprinkle of spices for an extra touch of flavor and visual appeal.
4. Serve with sides and sauces: Consider serving your pork tenderloin with a variety of delicious side dishes and sauces. Roasted vegetables, mashed potatoes, or a fresh salad can be great accompaniments. Don’t forget to drizzle some of the cooking juices or a homemade sauce over the sliced pork tenderloin to enhance its flavors even further.
5. Enjoy your meal: Once your pork tenderloin is plated and accompanied by your desired sides and sauces, it’s time to dig in! Enjoy the succulent and flavorful meat, savoring the hard work and delicious results of your cooking adventure.
Slicing and serving the cooked pork tenderloin is the final step in this culinary journey. By following these steps, you’ll ensure that your guests are treated to a visually appealing and incredibly tasty meal. Now, let’s explore some tips and tricks to further enhance your pork tenderloin cooking skills.
Tips and Tricks for Cooking Pork Tenderloin in an Electric Pressure Cooker
Cooking pork tenderloin in an electric pressure cooker is a fantastic way to achieve tender, juicy, and flavorful results. To take your cooking skills to the next level, here are some helpful tips and tricks:
1. Use a meat thermometer: To ensure that your pork tenderloin is cooked to the perfect temperature, invest in a reliable meat thermometer. The internal temperature should reach 145°F (63°C) for a medium-rare to medium doneness. This will prevent overcooking and keep the meat juicy.
2. Experiment with seasonings: Don’t be afraid to get creative with your seasonings. Try different spice blends, marinades, or even a dry rub to add exciting flavors to your pork tenderloin. Be mindful of the salt content in your seasonings, as too much can result in a salty end result.
3. Customize the cooking time: The cooking time may vary slightly depending on the thickness and size of your pork tenderloin. If you have a larger or thicker piece of meat, consider adjusting the cooking time accordingly. Aim for a slightly shorter cooking time for a more tender result, or slightly longer for a more well-done texture.
4. Add aromatics and liquids: To infuse even more flavor into your pork tenderloin, consider adding aromatic ingredients such as sliced onions, minced garlic, or herbs like rosemary and thyme. Additionally, you can incorporate flavorful liquids like apple cider, wine, or broth into the cooking process.
5. Use the sauté function: If your electric pressure cooker has a sauté function, utilize it for searing the seasoned pork tenderloin before pressure cooking. Searing helps to develop a delicious crust and enhance the overall flavor and appearance of the meat.
6. Double-check the sealing ring: Before starting the cooking process, always ensure that the sealing ring is properly fitted in your electric pressure cooker. A loose or damaged sealing ring can result in steam escaping during cooking, causing uneven cooking and potentially drying out the meat.
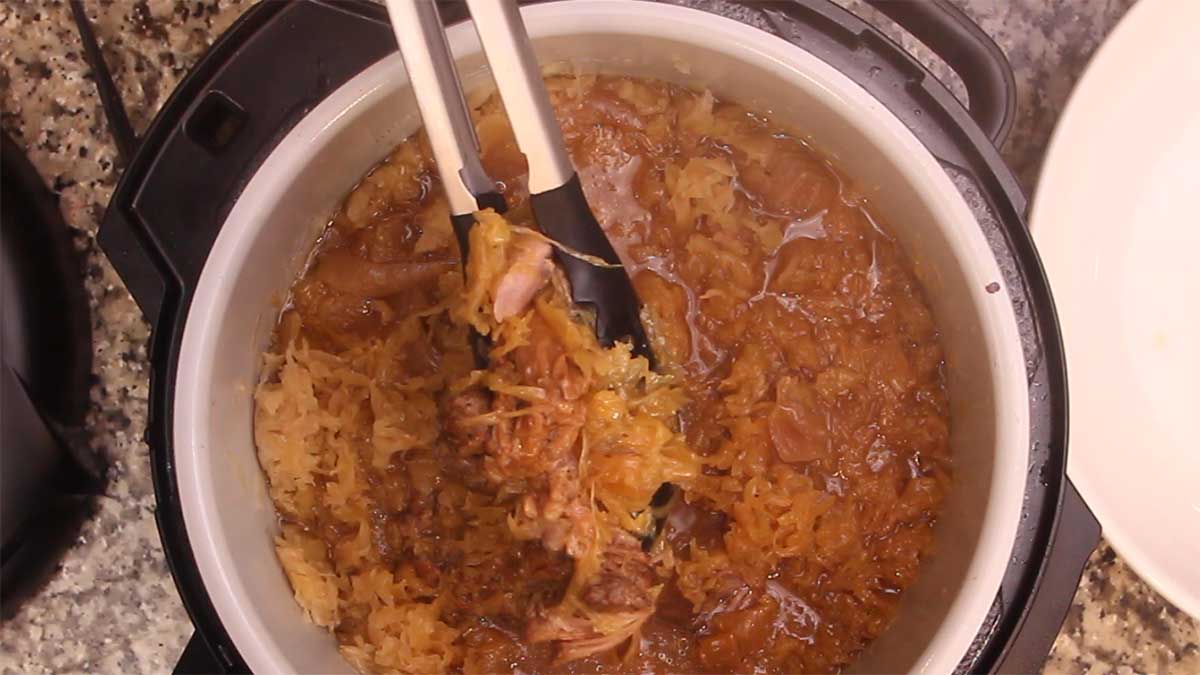
7. Make use of the cooking liquid: After pressure cooking the pork tenderloin, don’t overlook the flavorful liquid remaining in the pot, known as the cooking liquid or juices. Strain and reduce the liquid in a separate saucepan to create a delicious sauce to drizzle over the sliced pork tenderloin.
8. Rest the pork tenderloin before slicing: Allowing the cooked pork tenderloin to rest before slicing is crucial in ensuring that the juices distribute evenly throughout the meat. This results in a more tender and juicy end result. Patience is key!
By incorporating these tips and tricks into your cooking routine, you’ll elevate your pork tenderloin dishes to a new level of deliciousness. Now, you’re well-equipped to conquer any recipe and impress your family and friends with your electric pressure cooker skills.
Conclusion
Cooking a 2 lbs pork tenderloin in an electric pressure cooker is a convenient and efficient way to prepare a delicious and tender meal. By following the step-by-step process outlined in this guide, you can achieve fantastic results that will impress your family and friends.
From selecting and preparing the pork tenderloin to seasoning it with your favorite herbs and spices, every step plays a crucial role in creating a flavorful end result. The electric pressure cooker brings out the natural flavors of the pork tenderloin while retaining its tenderness and moisture.
Whether you choose to sear the pork tenderloin before pressure cooking or opt for a natural or quick release method, these techniques will contribute to a successful cooking process. Slicing the pork tenderloin against the grain and allowing it to rest before serving ensures a beautiful presentation and maximum flavor.
Remember, cooking is an art, and you can always experiment with different seasonings, flavors, and cooking times to suit your taste preferences. By utilizing the tips and tricks mentioned in this guide, you can further enhance your cooking skills and create masterful dishes every time.
Now it’s time to put your knowledge into practice and enjoy the delightful experience of cooking a 2 lbs pork tenderloin in an electric pressure cooker. Share the joy and satisfaction of a mouthwatering meal with your loved ones, and let the powerful combination of convenience and flavor elevate your culinary adventures.
So, fire up your electric pressure cooker, gather the ingredients, and savor the aroma and taste of a perfectly cooked pork tenderloin. Happy cooking!