Introduction
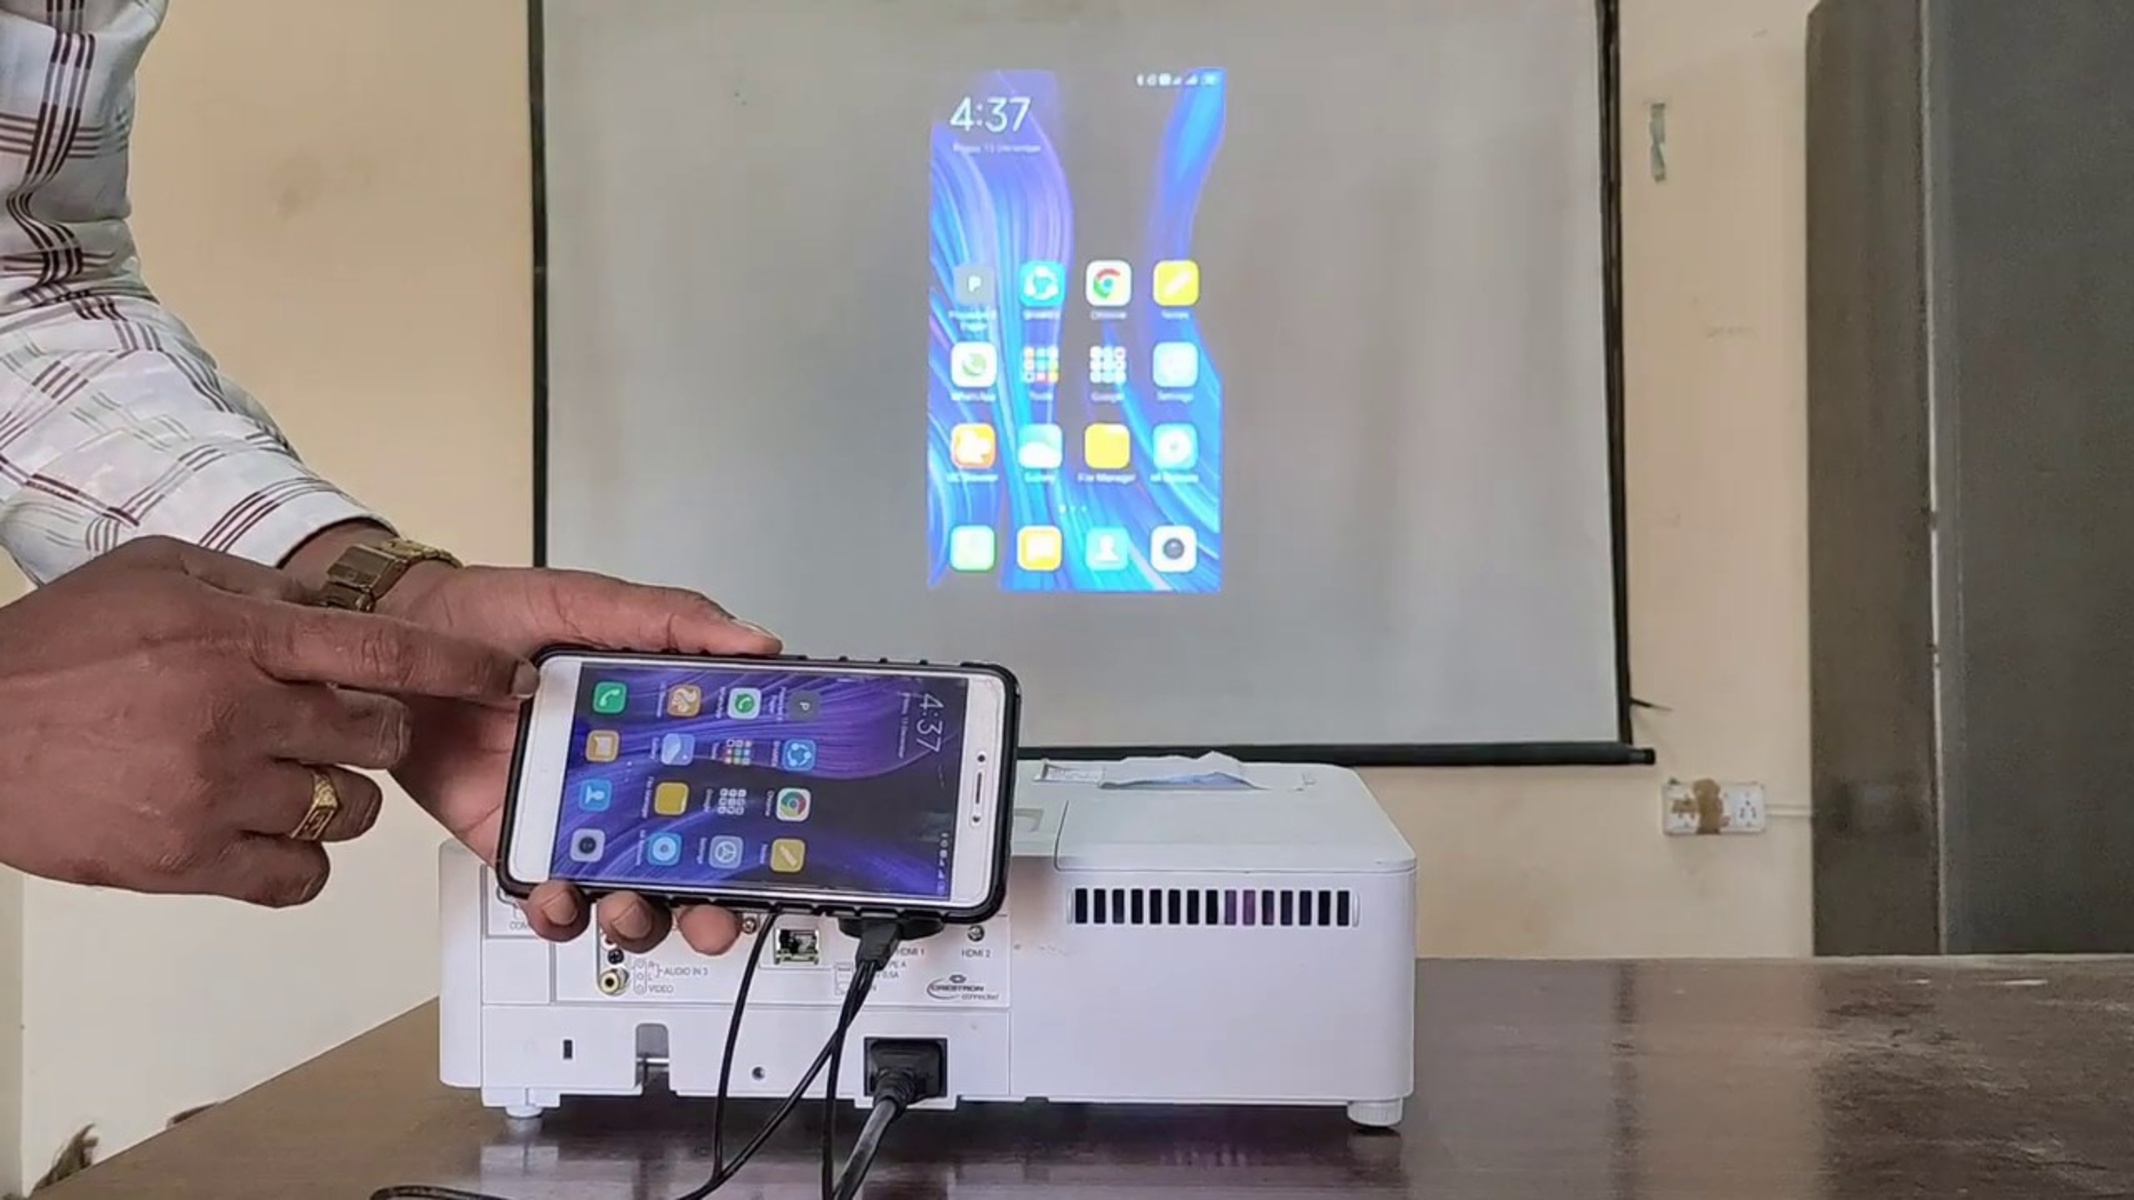
Connecting your phone to a projector can open up a world of possibilities, allowing you to share your photos, videos, and presentations on a larger screen. While there are various methods to connect your phone to a projector, one of the most convenient and versatile ways is through a USB connection. In this guide, we will walk you through the steps to connect your phone to a projector using a USB cable.
Whether you need to give a presentation at work, share vacation photos with friends and family, or enjoy a movie night with a group, connecting your phone to a projector can transform your small screen into a big-screen experience. USB connections provide a direct link between your phone and the projector, allowing for quick and seamless connectivity.
Before we dive into the steps, it’s important to note that the specific process may vary slightly depending on your phone model and the projector you are using. However, the general principles outlined in this guide should apply to most devices. With that in mind, let’s get started on connecting your phone to a projector with a USB cable!
Understanding the Basics
Before you begin connecting your phone to a projector using a USB cable, it’s important to understand a few key concepts. First, you need to check the compatibility of your phone and projector. Not all phones and projectors support USB connectivity, so it’s essential to ensure that both devices have the necessary capabilities.
Second, you’ll need to prepare your phone and projector by gathering the required cables and making sure they are in good condition. It’s also a good idea to charge your phone beforehand to avoid any interruption during the connection process.
Now let’s delve into each of these basics in more detail.
Check the Compatibility: Start by checking if your phone supports USB connectivity. Most modern smartphones have USB Type-C or Micro USB ports, which can be used to establish a connection with a compatible projector. Additionally, make sure your projector has a USB port or supports USB input for video and display. Some projectors may also require specific software or apps to facilitate the connection, so check the manufacturer’s instructions or documentation.
Prepare Your Phone and Projector: Gather the necessary cables for the connection. Typically, you’ll need a USB cable with the appropriate connectors for your phone and projector. It’s recommended to use the original cables provided with your devices or high-quality USB cables to ensure reliable data transfer. Inspect the cables for any signs of damage, such as frayed wires or loose connectors, and replace them if necessary. Additionally, ensure that both your phone and projector are powered on and in proper working condition.
By familiarizing yourself with these basics, you are better equipped to proceed with the connection process. In the next steps, we will guide you through the actual process of connecting your phone to a projector using a USB cable.
Step 1: Check the Compatibility
Before you can connect your phone to a projector using a USB cable, it’s important to check the compatibility of your devices. Not all phones and projectors support USB connectivity, so it’s crucial to ensure that both devices have the necessary capabilities.
Here are the key factors to consider when checking compatibility:
Phone Compatibility: Start by verifying if your phone supports USB connectivity. Most modern smartphones have USB Type-C or Micro USB ports, which can be used to establish a connection with a compatible projector. However, there may be some older phone models that do not have this feature. Check your phone’s user manual or the manufacturer’s website for information on USB connectivity options.
Projector Compatibility: Next, determine if your projector has a USB port or supports USB input for video and display. Some projectors may require specific software or apps to facilitate the connection, so refer to the manufacturer’s instructions or documentation for details. Additionally, ensure that the USB port on the projector is in proper working condition and not damaged.
Software Compatibility: In some cases, connecting your phone to a projector may require specific software or apps. Check if your phone and projector manufacturer provide any dedicated applications for USB connectivity. These apps can streamline the connection process and provide additional features for controlling and managing the display on the projector.
Adapters and Converters: Depending on the ports available on your phone and projector, you may need to use adapters or converters to establish a proper USB connection. For example, if your phone has a USB Type-C port and the projector only has a Micro USB port, you’ll need a USB Type-C to Micro USB adapter. Ensure that any adapters or converters you use are of high-quality and compatible with your devices to avoid any technical issues.
By thoroughly checking the compatibility of your phone and projector, you can ensure a smooth connection process and avoid any frustration or disappointment. Once you’ve verified that both devices are compatible, you can move on to the next steps of preparing your phone and projector for connection.
Step 2: Prepare your Phone and Projector
Once you’ve confirmed the compatibility of your phone and projector, it’s time to prepare both devices for the connection. Proper preparation ensures a smooth and successful connection experience.
Here are the steps to prepare your phone and projector:
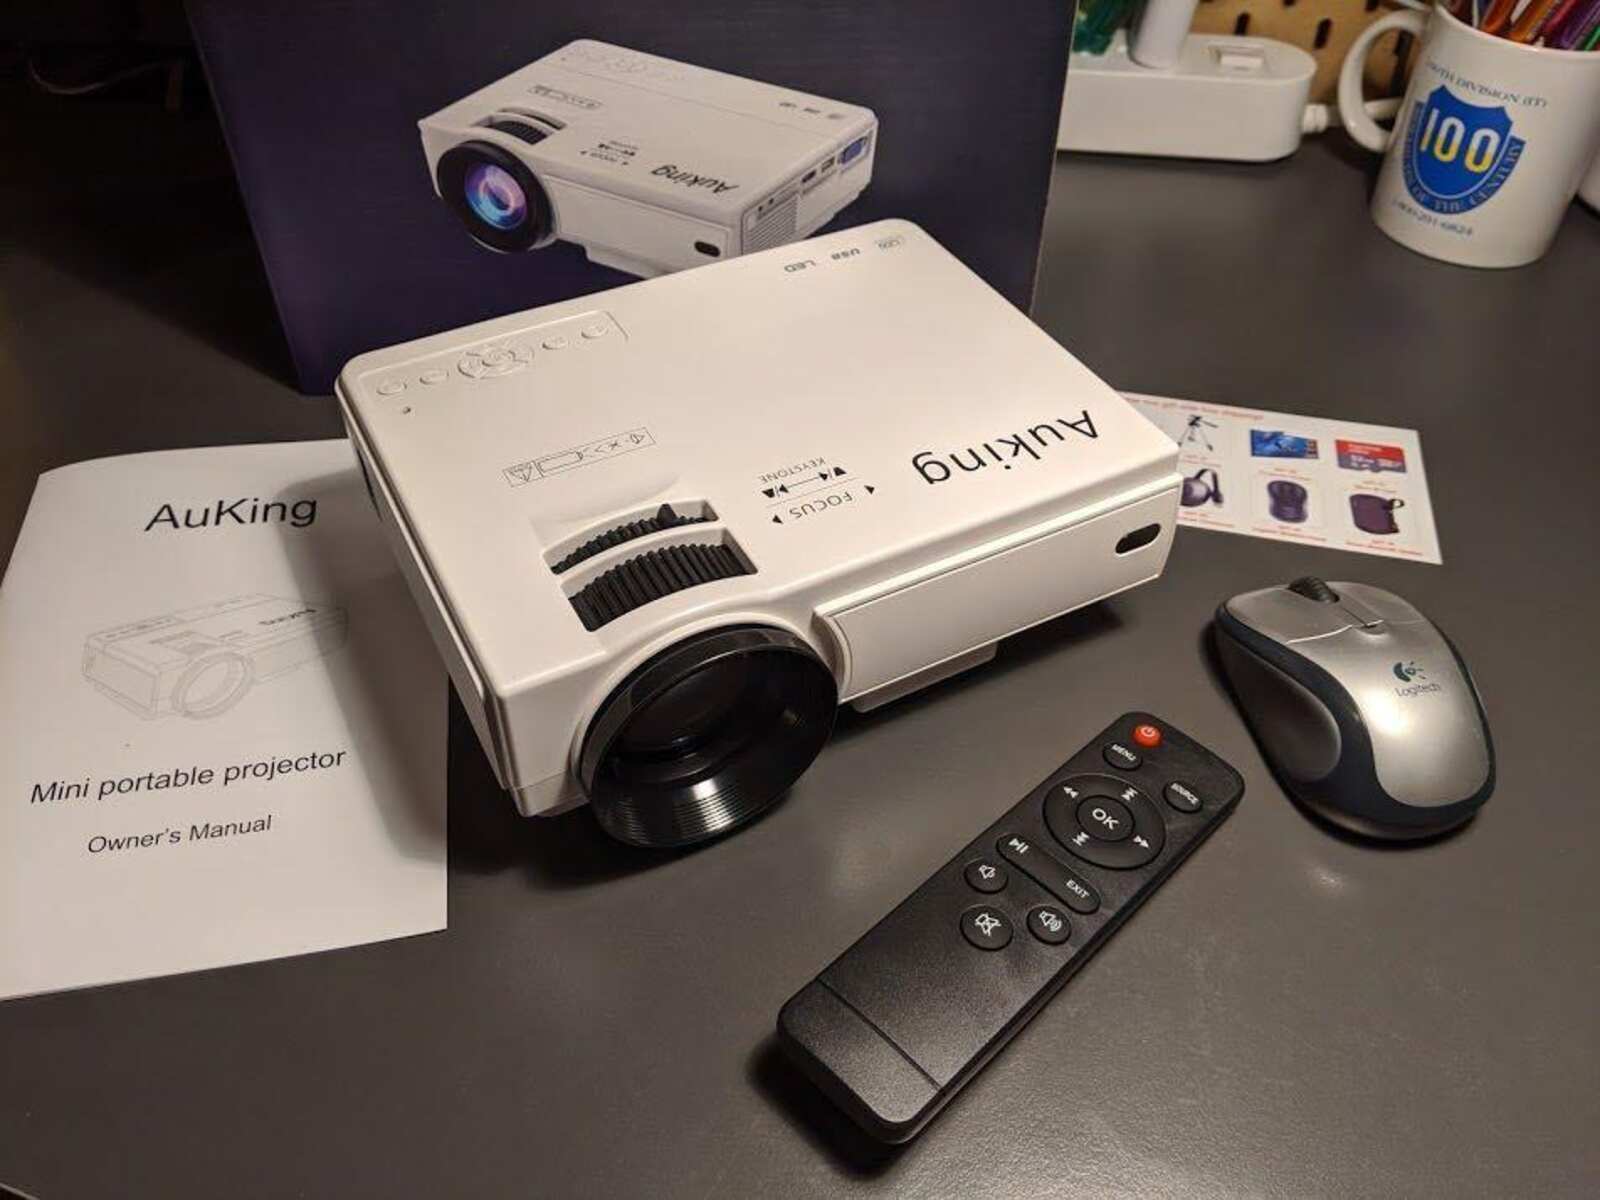
Gather the Required Cables: Before you begin, make sure you have the necessary cables for the connection. Most likely, you’ll need a USB cable with the appropriate connectors for your phone and projector. It’s recommended to use the original cables that came with your devices or high-quality USB cables to ensure reliable data transfer. If you don’t have the right cable, you can purchase one from an electronics store or online retailer.
Inspect the Cables: Before connecting the devices, inspect the USB cable for any signs of damage, such as frayed wires or loose connectors. Damaged cables can lead to a poor connection or even cause damage to your devices. If you notice any issues, replace the cable with a new one to ensure a reliable connection.
Charge your Phone: It’s always a good idea to charge your phone before connecting it to a projector. Depending on the length of the presentation or the duration of the content you’re planning to display, a fully charged phone ensures that you won’t have any interruptions due to low battery power during the connection process.
Power on your Projector: Make sure your projector is powered on and in proper working condition. This will ensure that it’s ready to establish a connection with your phone once the cable is connected. Check the projector’s power source and ensure it’s plugged in and functioning correctly.
Place your Phone and Projector in Close Proximity: Position your phone and projector in close proximity to each other. This allows for easy access when connecting the USB cable. It’s also important to ensure that there are no physical obstructions or obstacles that may hinder the connection process.
By following these preparation steps, you’ll have your phone and projector ready for a successful connection using a USB cable. Once both devices are prepared, you can move on to the next step and establish the actual connection between your phone and projector.
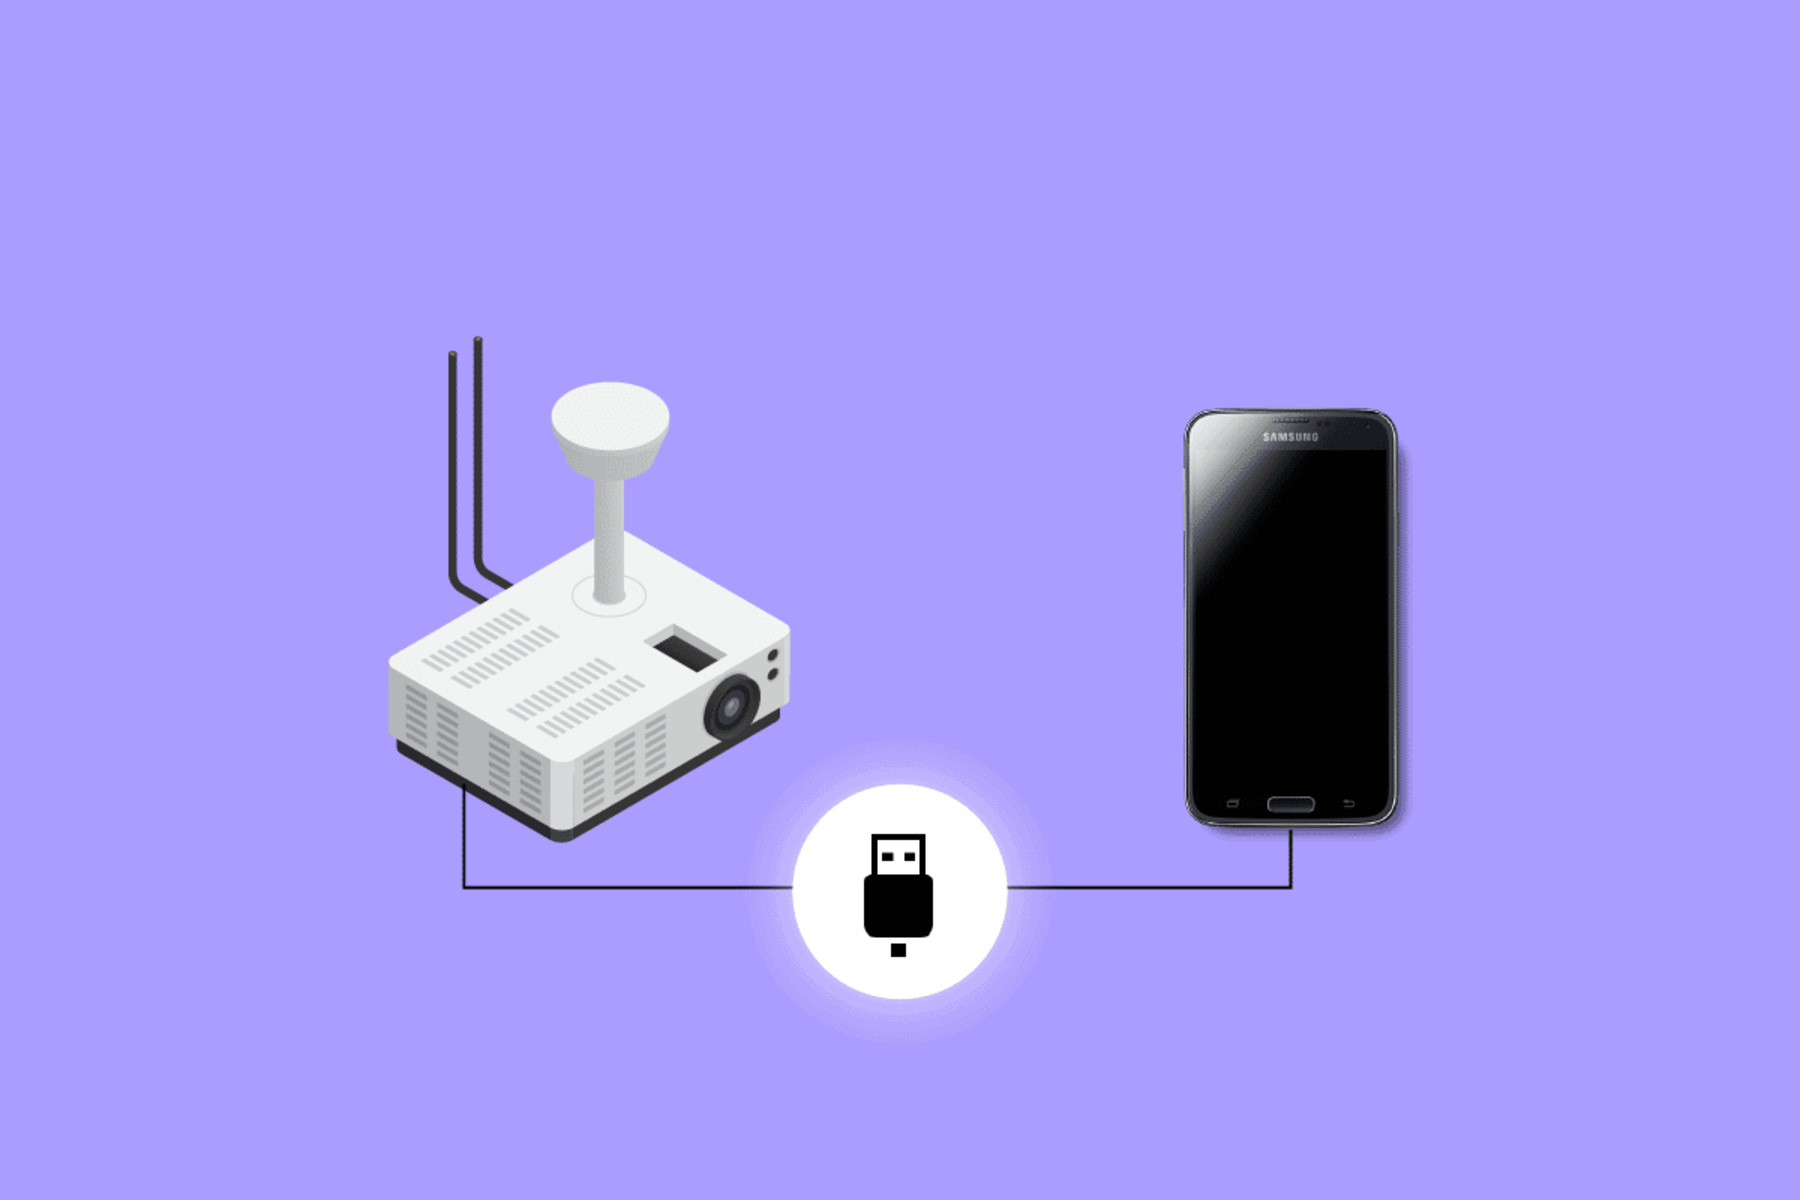
Step 3: Connect the Phone and Projector
With your phone and projector prepared, it’s time to establish the connection between the two devices. Follow these steps to connect your phone to the projector using a USB cable:
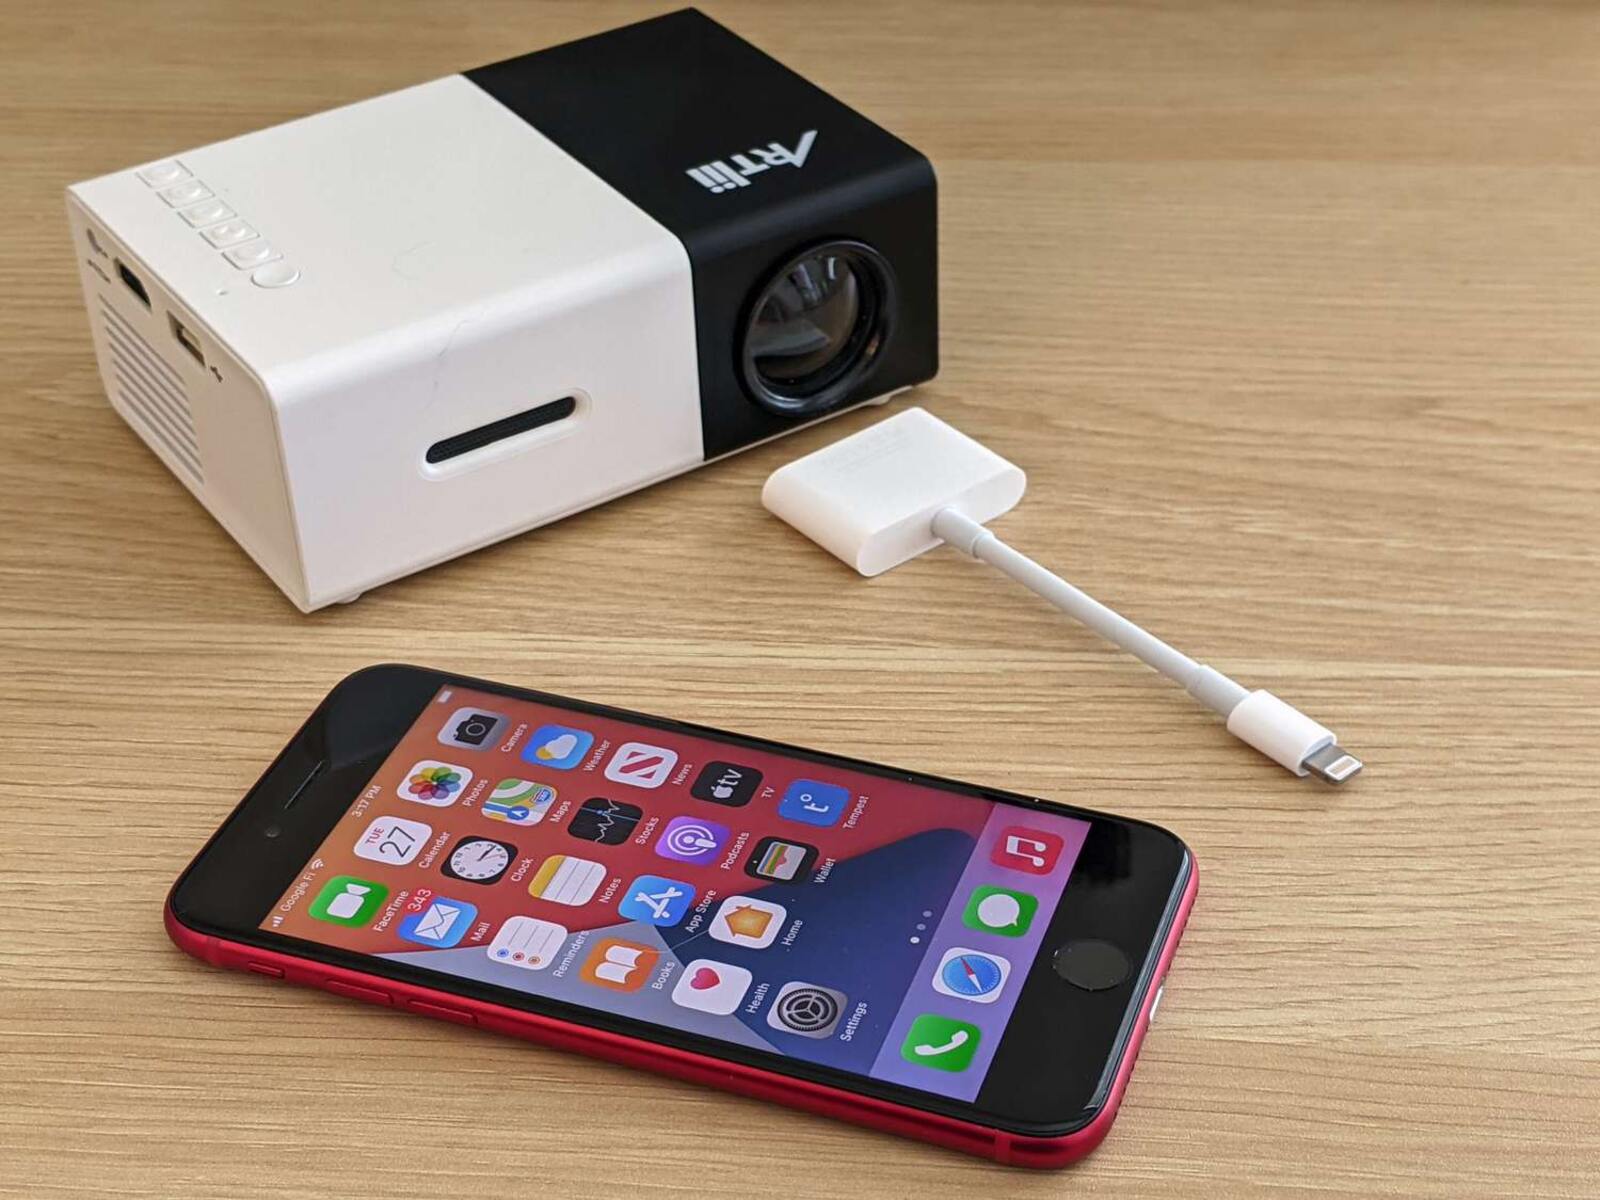
1. Locate the USB Port: Find the USB ports on both your phone and projector. Depending on your phone model, it may have a USB Type-C or Micro USB port, while the projector may have a USB Type-A or Type-B port. Ensure that the ports are accessible and free from any dirt or debris that may hinder the connection.
2. Insert the USB Cable: Take one end of the USB cable and insert it into the USB port on your phone. Ensure that the connection is secure and that the cable is properly aligned with the port. Be gentle when inserting the cable to avoid any damage to the port or cable.
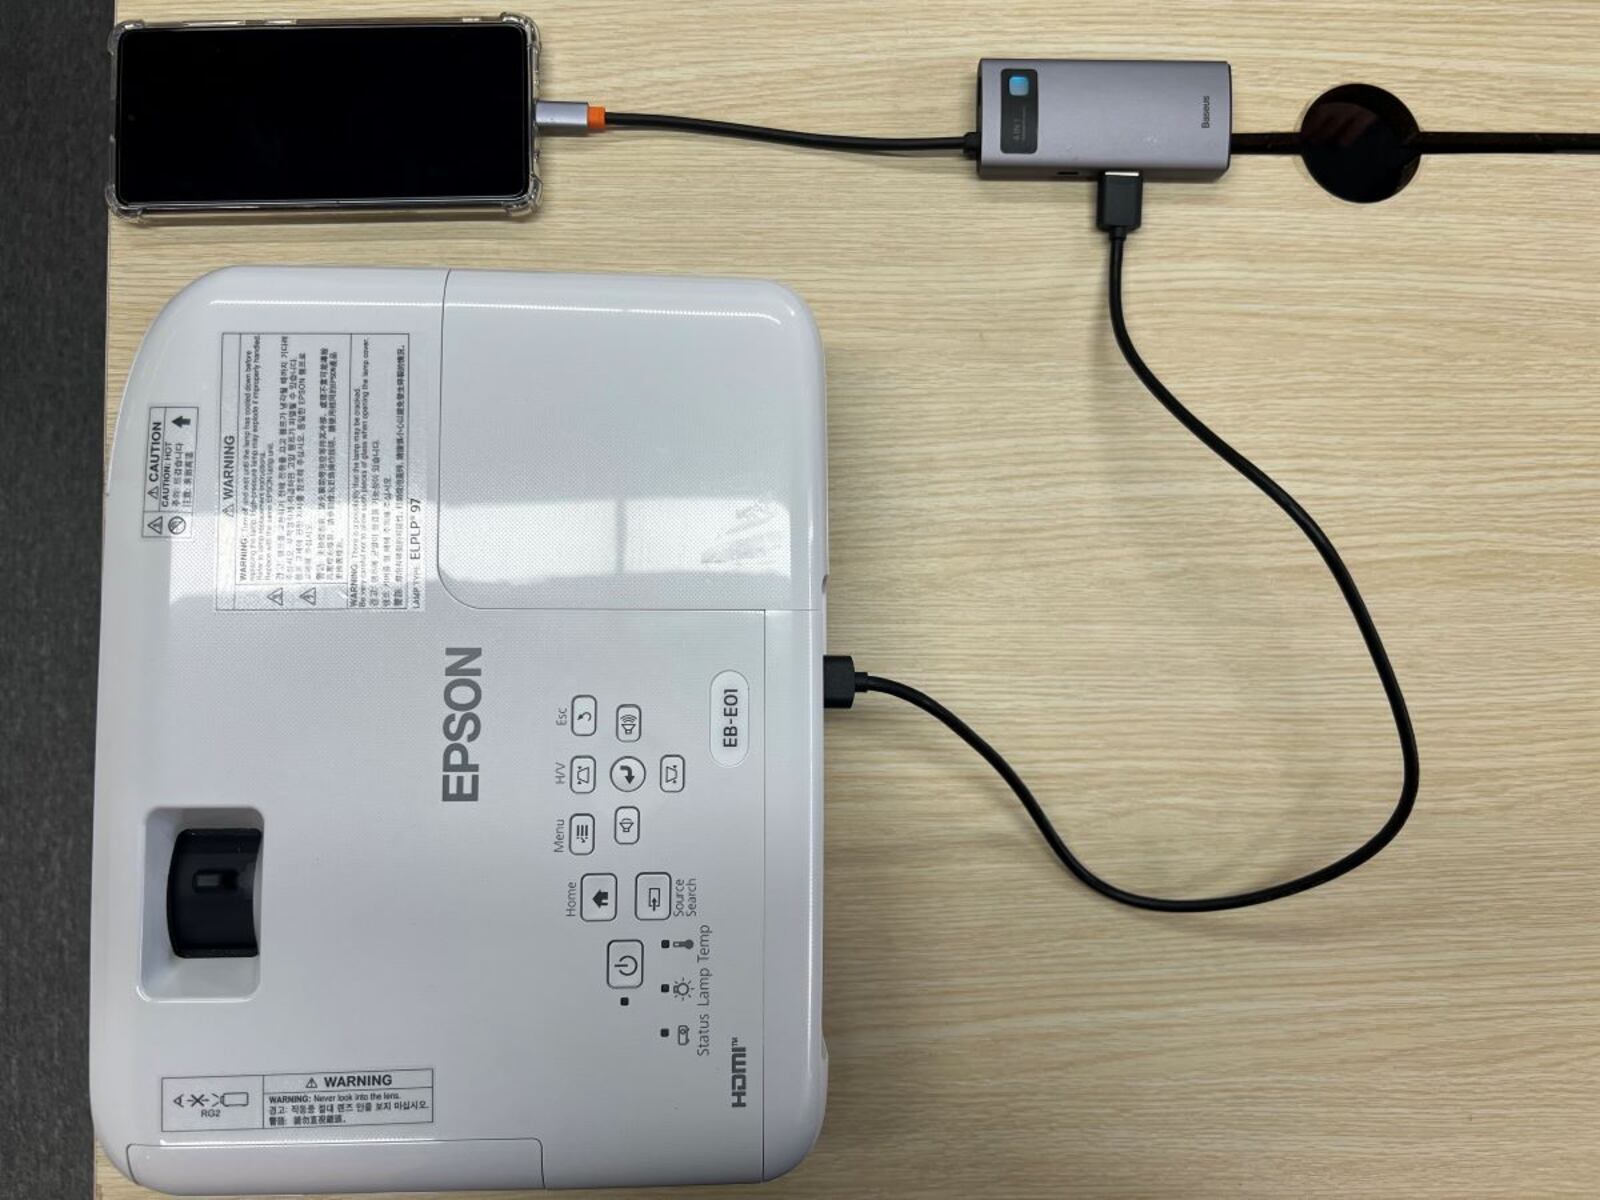
3. Connect the USB Cable to the Projector: Take the other end of the USB cable and plug it into the USB port on the projector. Again, ensure that the connection is secure and properly aligned. Once connected, the phone and projector will start establishing a connection.
4. Wait for the Connection: After connecting the USB cable, give your phone and projector a moment to establish the connection. This may take a few seconds as the devices recognize each other and configure the necessary settings. During this time, avoid disconnecting or jiggling the USB cable to maintain a stable connection.
5. Select the USB Connection: On your phone, navigate to the “Settings” menu and look for the “USB Connectivity” or similar option. This may vary depending on your phone’s manufacturer and the operating system. Access the USB settings and select the appropriate option for connecting to a projector or external display. Choose the USB connection type that allows for media transfer or screen mirroring.
6. Adjust the Projection Settings: Once the connection is established, adjust the projection settings on your phone to ensure optimal display on the projector. This may include selecting the appropriate display mode, adjusting the aspect ratio, or configuring any additional settings available in the projector app or software. Refer to the user manuals or documentation for specific instructions on adjusting projection settings.
By following these steps, you can successfully connect your phone to the projector using a USB cable. Once connected, you can begin enjoying your photos, videos, presentations, or any other content on the big screen provided by the projector. In the next step, we will address common issues and troubleshoot any problems that may arise during the connection process.
Step 4: Adjust the Settings
After successfully connecting your phone to the projector using a USB cable, it’s important to adjust the settings to ensure the best possible display and user experience. By fine-tuning the projection settings, you can optimize the visuals and customize the display according to your preferences. Here are the steps for adjusting the settings:
1. Display Mode: Access the settings or options menu on your phone’s projection app or software. Look for the display mode or projection mode settings. Depending on the app or software, you may have options such as “Duplicate,” “Extend,” or “Mirror,” which determine how the content is displayed on the projector screen. Select the mode that best suits your needs.
2. Aspect Ratio: Adjust the aspect ratio settings on your phone to match the aspect ratio supported by the projector. This ensures that the images or videos are displayed correctly and without distortion. Common aspect ratios include 4:3, 16:9, and 16:10. Select the appropriate aspect ratio option in the phone’s projection settings.
3. Display Resolution: If your phone and projector support different display resolutions, you may need to adjust the resolution settings. Higher resolutions generally result in crisper and more detailed visuals. However, keep in mind that higher resolutions may require more processing power and may affect the performance of your phone. Select the resolution option that balances visual quality and performance.
4. Orientation and Rotation: Depending on the position of your projector and how you want to display the content, you may need to adjust the screen orientation or rotation. Some projection apps or software offer settings to rotate the display vertically or horizontally to match the projection angle. This ensures that the content is displayed correctly on the projector screen.
5. Audio Output: If you want to play audio along with the projected content, make sure to adjust the audio output settings on your phone. You can choose to output audio through the phone’s speakers or connect external speakers or audio devices to the phone’s audio output port.
6. Test and Fine-tune: Once you’ve adjusted the settings, test the projection by playing different types of content. Check for any visual or audio issues and make further adjustments as necessary. Experiment with the settings to find the optimal configuration that delivers the best display quality and user experience.
By taking the time to adjust and fine-tune the settings, you can ensure that your projected content looks and sounds its best. This step allows you to optimize the projection experience and tailor it to your specific needs and preferences.
Troubleshooting Common Issues
While connecting your phone to a projector using a USB cable is usually a straightforward process, you may encounter some common issues along the way. Here are a few troubleshooting steps to help you resolve potential problems:
No Connection: If your phone and projector do not establish a connection, first ensure that both devices are properly powered on and in close proximity. Check that the USB cable is securely connected to both the phone and the projector. If the issue persists, try using a different USB cable or connecting to a different USB port on the projector. Restarting both devices can also help resolve connection issues.
Poor Image Quality: If the projected image appears blurry or pixelated, check the resolution settings on both your phone and the projector. Ensure that both devices support the same resolution. If the image quality does not improve, try adjusting the display settings on your phone, such as brightness, contrast, and sharpness. Additionally, make sure the projector lens is clean and free from dust or smudges.
No Sound: If you are not getting any sound from the projected content, check the audio output settings on your phone. Ensure that the audio is not muted and that the volume is turned up. If you are using external speakers, make sure they are properly connected to the phone’s audio output port. Test the audio by playing different content or using a different audio source to identify if the issue is specific to the phone or the projector.
Incompatible Files: Some projectors may not support certain file formats or codecs. If you encounter issues with specific files not playing or displaying properly, convert the files to a compatible format or try playing them using a different media player or app on your phone. Additionally, check if there are any firmware updates available for your projector that may address compatibility issues.
Unexpected Disconnections: If the connection between the phone and the projector keeps disconnecting or is unstable, ensure that the USB cable is properly inserted and not loose. Avoid bending or pulling the cable excessively, as it may affect the connection. If using an adapter or converter, make sure it is securely connected. If the issue persists, try using a different USB cable or testing the connection with another phone or projector to identify the source of the problem.
If you encounter any other issues that are not covered here, consult the user manuals or documentation for your phone and projector. You may also reach out to the respective customer support teams for further assistance.
By troubleshooting common issues, you can overcome any obstacles that may arise during the connection process and ensure a smooth and enjoyable experience when connecting your phone to a projector.
Conclusion
Connecting your phone to a projector using a USB cable is a convenient and versatile way to share and display content on a larger screen. By following the steps mentioned in this guide, you can easily connect your phone to a projector and enhance your presentations, videos, and photos.
First, it’s important to understand the basics and check the compatibility of your phone and projector. Preparing the devices by gathering the necessary cables and ensuring they are in good condition is essential for a successful connection. Connect the phone and projector using a USB cable, adjust the settings to optimize the display, and troubleshoot any common issues that may arise along the way.
Remember to always double-check the compatibility of your devices, inspect your cables for any damage, and charge your phone before connecting to the projector. Adjust the settings on both your phone and projector to ensure the best possible display quality and user experience. If you encounter any issues during the process, refer to the troubleshooting steps provided to overcome common problems.
With your phone successfully connected to the projector, you can enjoy a larger screen experience for presentations, videos, slideshows, and more. Whether you’re at work, sharing memories with friends and family, or simply enjoying a movie night, connecting your phone to a projector with a USB cable opens up a world of possibilities.
Keep in mind that while this guide provides a general overview, the specific process may vary depending on your phone model and projector. Always refer to the user manuals and documentation provided by the manufacturers for detailed instructions and additional information.
Now, armed with the knowledge and steps outlined in this guide, you are ready to connect your phone to a projector and take your visual content to the next level. Get ready to impress your audience, enjoy immersive multimedia experiences, and make the most out of your phone and projector setup!