Introduction
Connecting a TV antenna to a Denon receiver allows you to enjoy your favorite TV programs with enhanced audio quality. Whether you are a sports enthusiast looking for crystal-clear audio during game days or a movie lover seeking an immersive cinematic experience at home, connecting a TV antenna to your Denon receiver is a simple process that can greatly enhance your entertainment setup.
A Denon receiver not only amplifies the audio from your TV antenna but also provides advanced audio processing capabilities, delivering rich and dynamic sound. With the right connections and setup, you can seamlessly integrate your TV antenna into your entertainment system, taking your TV viewing experience to new heights.
In this guide, we will walk you through the step-by-step process of connecting your TV antenna to a Denon receiver. From locating the antenna input on your receiver to fine-tuning the reception, we will cover all the necessary steps to ensure a successful setup.
Before we delve into the details, it is important to note that Denon receivers come in a variety of models, each with its own specific features and connection options. Therefore, it is crucial to consult the user manual of your particular Denon receiver for precise instructions tailored to your model. However, the general steps outlined in this guide will be applicable to most Denon receivers.
So, let’s get started and unlock the full potential of your TV antenna and Denon receiver combination!
Step 1: Locate the antenna input on your Denon receiver
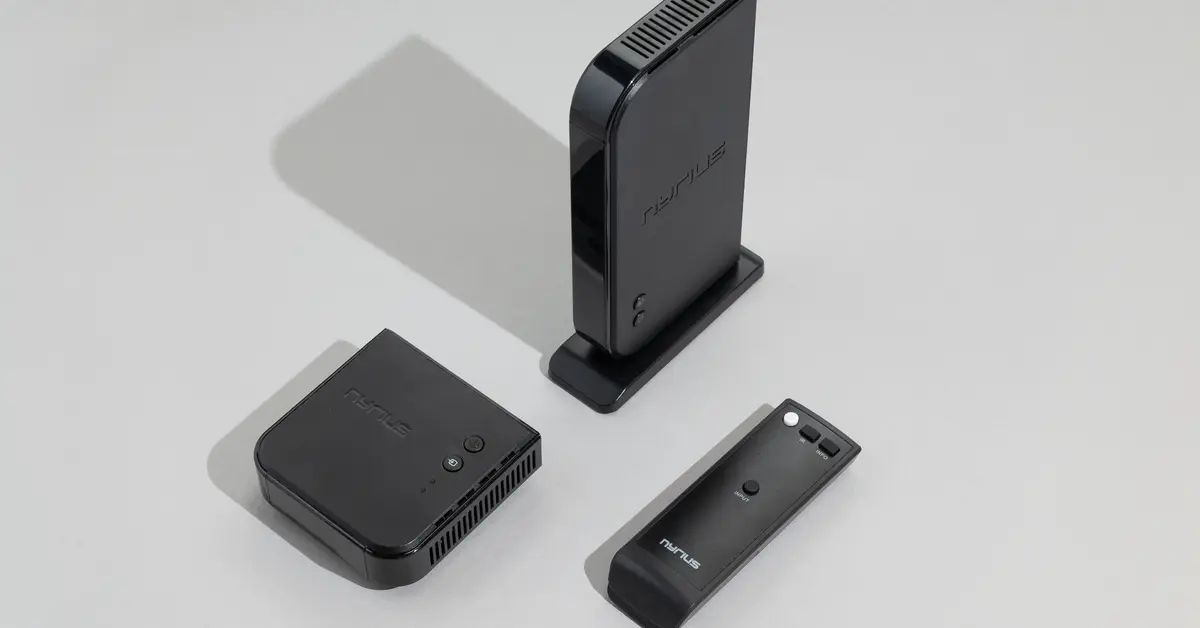
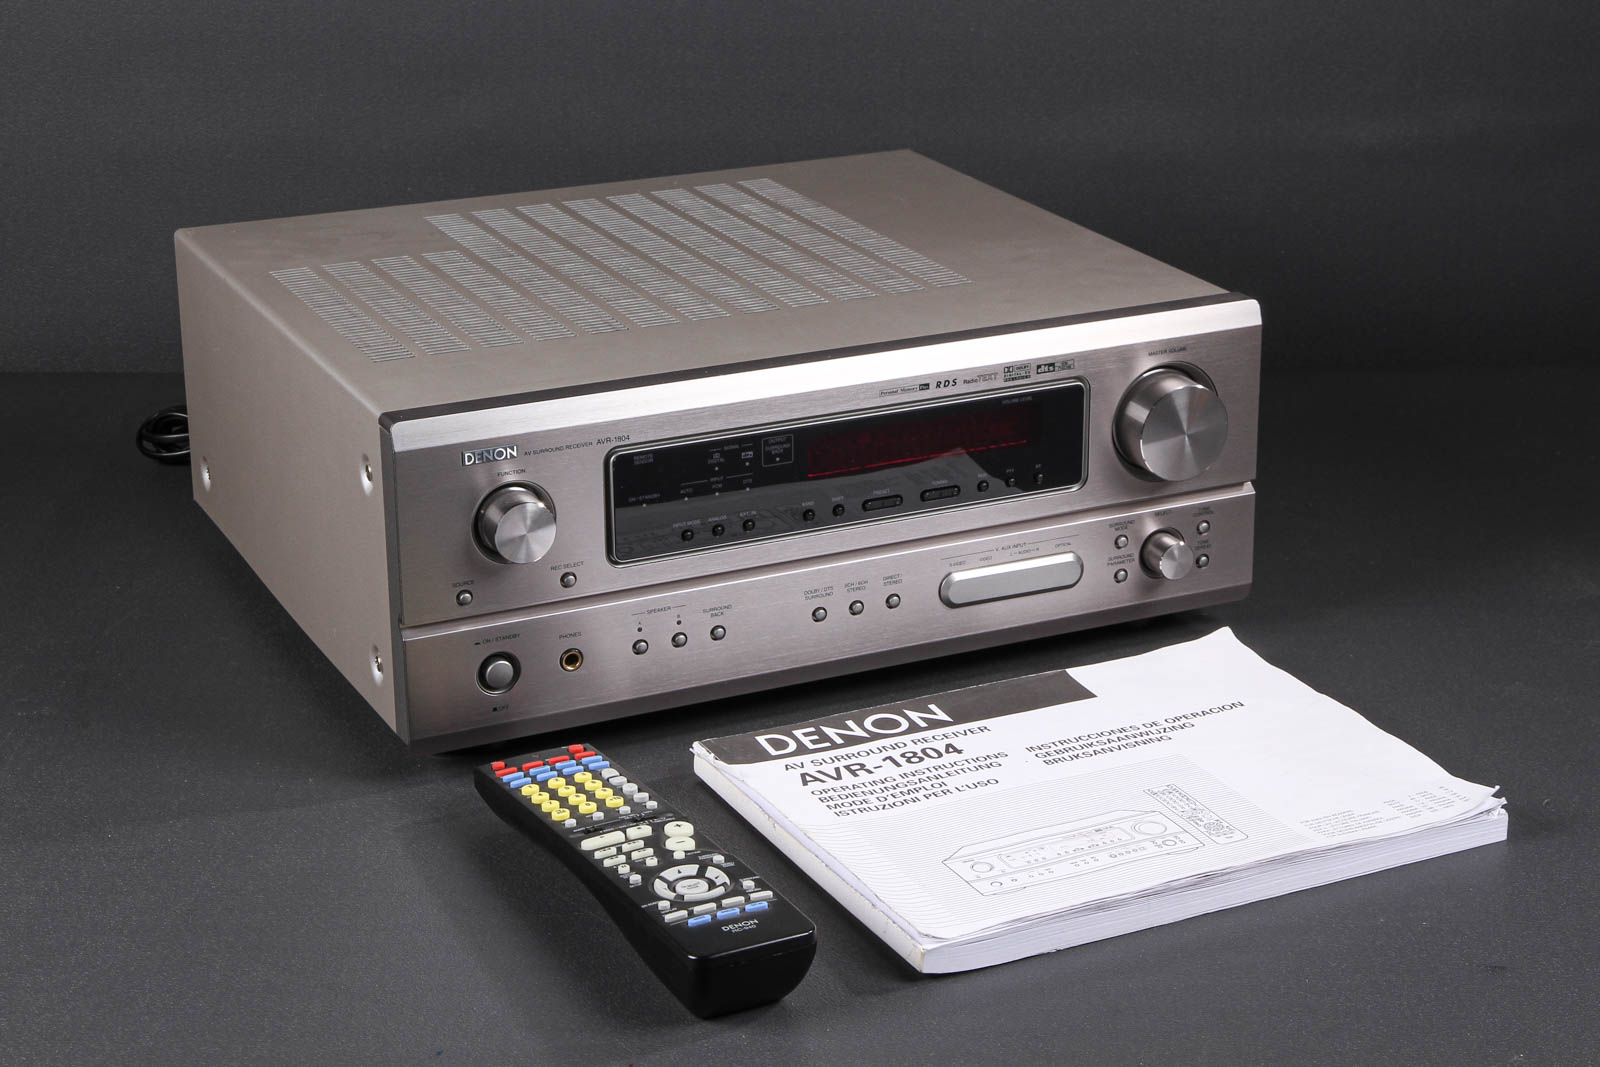
The first step in connecting your TV antenna to a Denon receiver is to locate the antenna input on your receiver. While the exact location may vary depending on the model, it is typically labeled as “ANT” or “ANTENNA” on the back panel of the receiver.
Take a close look at the back panel of your Denon receiver, and you should be able to identify the antenna input among the various ports and connectors. It is usually a coaxial connector, similar to the one on the back of your TV or cable box.
If you are unsure about the location of the antenna input, refer to the user manual of your Denon receiver for a detailed diagram or illustration.
Once you have located the antenna input, ensure that you have sufficient space around it to make the necessary connections. Clear any obstacles or cables that may interfere with connecting the coaxial cable from your TV antenna.
It is also important to note that some Denon receivers may have multiple antenna inputs. In this case, choose the one that is labeled as the main or primary antenna input.
Now that you have successfully located the antenna input on your Denon receiver, you are ready to move on to the next step: connecting the coaxial cable from your TV antenna.
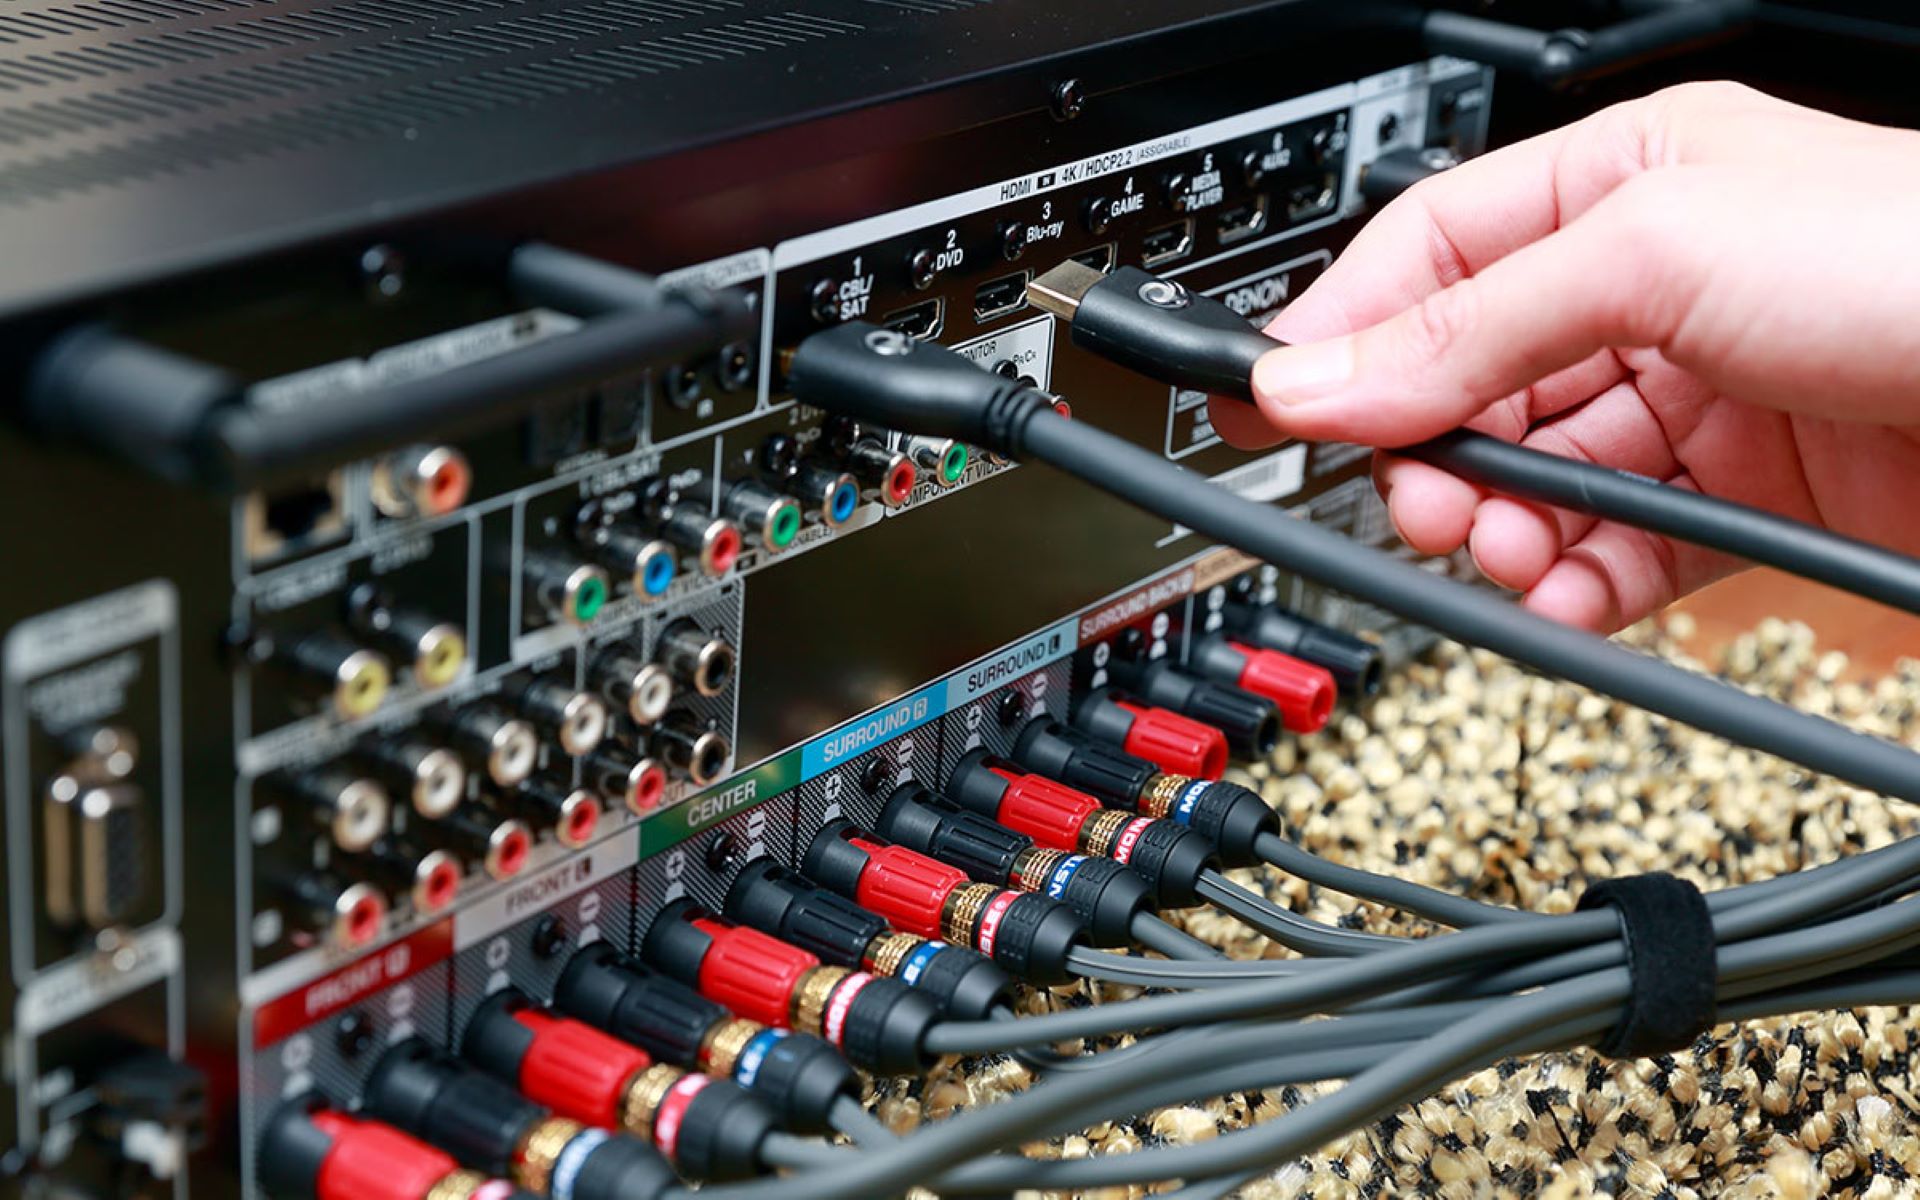
Step 2: Connect the coaxial cable from your TV antenna to the antenna input on the receiver
Now that you have located the antenna input on your Denon receiver, it’s time to connect the coaxial cable from your TV antenna to the receiver. The coaxial cable is the cable that carries the TV signal from the antenna to the receiver.
Start by ensuring that both your TV antenna and Denon receiver are powered off. This will prevent any potential damage to the devices during the connection process.
Take one end of the coaxial cable and securely attach it to the coaxial port on the back of your TV antenna. Twist the connector clockwise until it is firmly in place. Make sure there are no loose connections or gaps between the cable and the port.
Next, take the other end of the coaxial cable and connect it to the antenna input on your Denon receiver. Align the center pin of the cable connector with the center hole of the receiver’s antenna input, and gently push it in. Once inserted, twist the connector counterclockwise to secure it in place.
Ensure that the cable is securely connected at both ends to avoid any signal loss or interference. A secure connection will ensure optimal performance and reception quality.
Once the coaxial cable is firmly connected to both the TV antenna and the Denon receiver, you can proceed to the next step: setting up the antenna input on your receiver.
Step 3: Set up the antenna input on your Denon receiver
After connecting the coaxial cable from your TV antenna to the antenna input on your Denon receiver, the next step is to set up the antenna input. This will ensure that the receiver recognizes the TV antenna and is ready to receive the signal.
Turn on your Denon receiver and access the setup menu. The process for accessing the setup menu may vary depending on the model of your receiver. Refer to the user manual for specific instructions on how to access the setup menu on your particular Denon receiver.
Once you have accessed the setup menu, navigate to the “Input/Source” section or a similar option that allows you to manage the input sources of your receiver. Look for the option that corresponds to the antenna input.
Select the antenna input option and choose the proper channel type. You may have options such as “Air” or “Cable”, depending on the type of TV antenna you are using. If you are unsure, consult the user manual of your TV antenna to determine the appropriate channel type.
In the setup menu, you may also find additional settings related to the antenna input, such as signal strength or booster options. Adjust these settings according to your specific needs or follow the default recommendations provided by the receiver.
Once you have configured the antenna input settings, save the changes and exit the setup menu. Your Denon receiver should now be ready to receive signals from the connected TV antenna.
It’s important to note that some Denon receivers may have an automatic scanning feature that detects available channels. If your receiver has this feature, it is recommended to use it to scan for channels and automatically set up the antenna input.
With the antenna input properly set up on your Denon receiver, you are now ready to move on to the next step: scanning for channels using the receiver’s setup menu.
Step 4: Scan for channels using the receiver’s setup menu
After setting up the antenna input on your Denon receiver, the next step is to scan for channels using the receiver’s setup menu. This will allow the receiver to search and store all available TV channels from the connected TV antenna.
Turn on your Denon receiver and access the setup menu. Navigate to the “Channel Setup” or “Channel Scan” section, which is typically located in the same menu where you set up the antenna input in the previous step.
Choose the option to initiate a channel scan. Select your preferred scanning method, which can generally be either an automatic scan or a manual scan.
If your Denon receiver offers an automatic scan option, it will automatically search for all available channels and store them in its memory. This is the recommended method for most users, as it simplifies the scanning process.
However, if you prefer a manual scan, you can select this option and manually input the channel frequencies or perform a step-by-step scan. This method is typically used by advanced users who have specific requirements or want more control over the scanning process.
During the channel scan, the Denon receiver will display a progress bar or indicator showing the scan’s status. This process may take a few minutes, so be patient and allow the receiver to complete the scan.
Once the channel scan is complete, the Denon receiver will display a list of all the channels it has found. Depending on your location and the strength of the TV signals, you may receive a wide variety of channels, including local broadcasters, digital channels, and even additional radio channels if the receiver supports it.
Review the list of scanned channels on your Denon receiver and make any necessary adjustments or edits. You may choose to delete certain channels or rearrange them to your preferred order.
After reviewing and finalizing the channel list, save the changes in the setup menu. Your Denon receiver is now programmed with the scanned channels, and you can proceed to the next step: fine-tuning the reception for optimal TV viewing experience.
Step 5: Fine-tuning the reception
Once you have scanned for channels on your Denon receiver, the next step is to fine-tune the reception to ensure the best possible TV viewing experience. Fine-tuning involves optimizing the signal strength and quality for each channel.
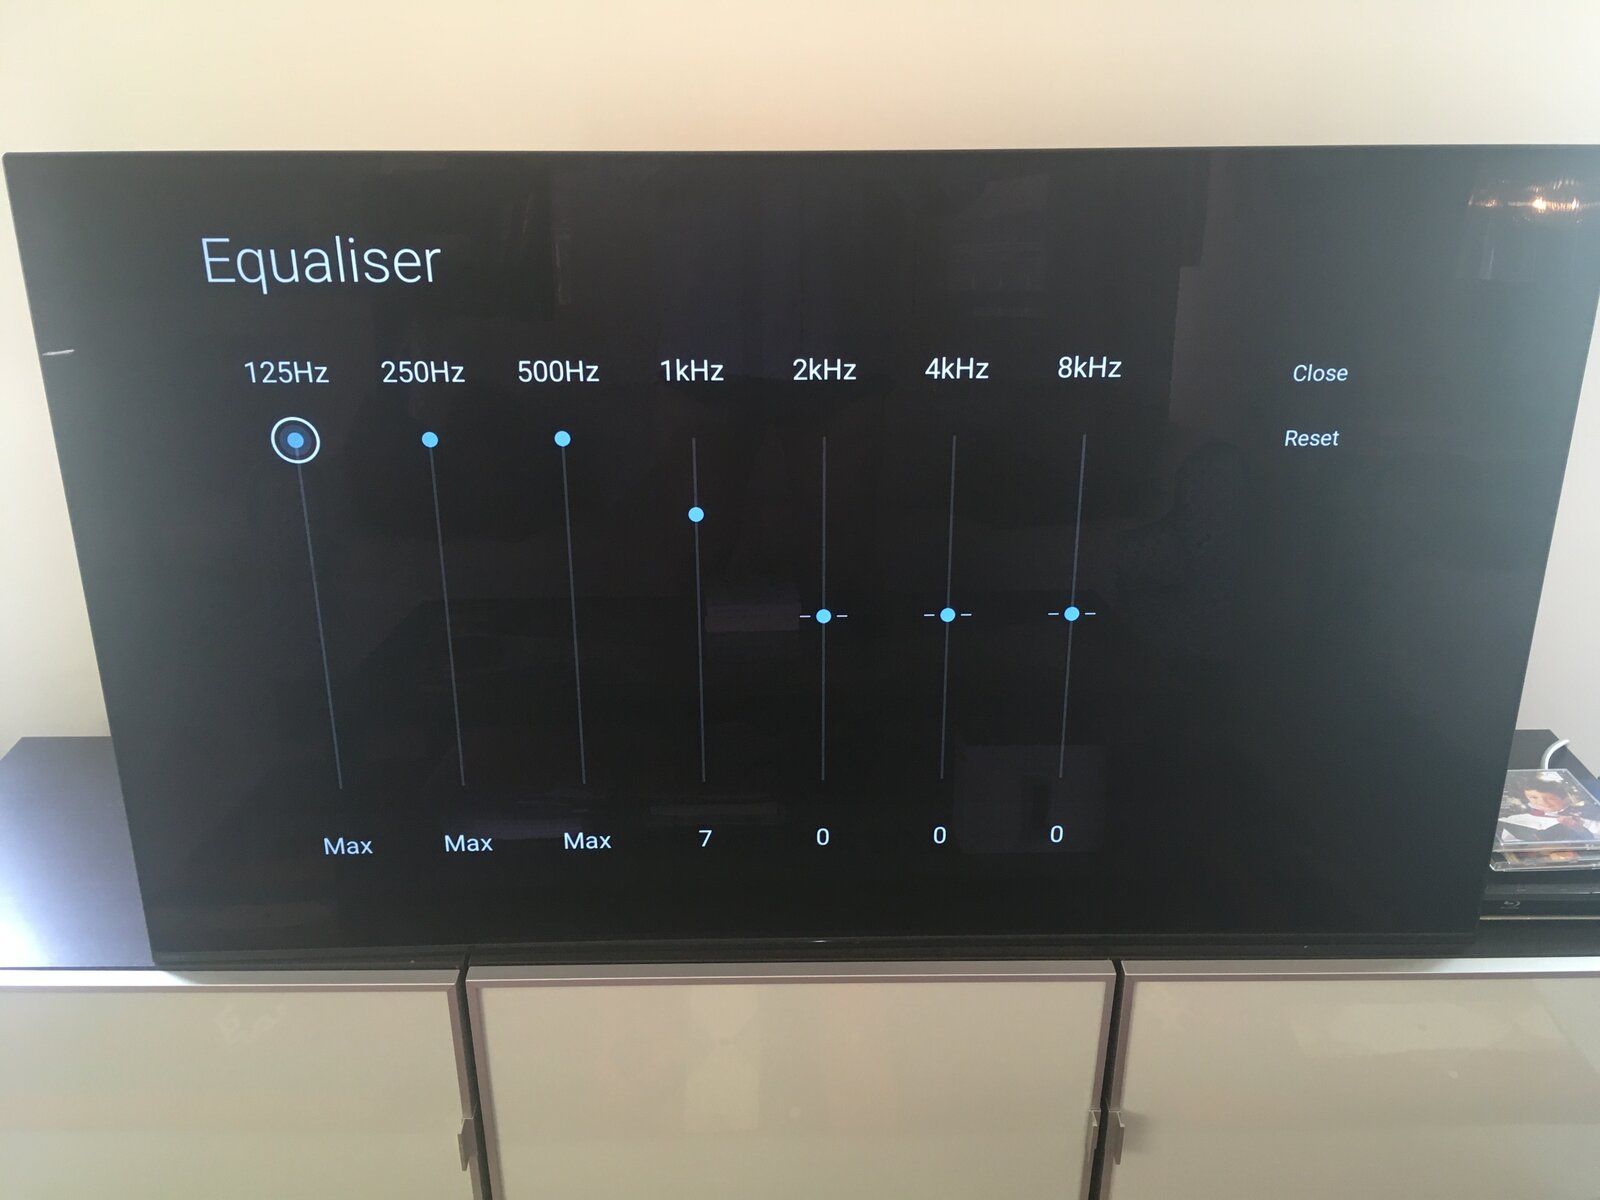
Start by accessing the “Settings” or “Options” menu on your Denon receiver. Look for the option related to “Antenna” or “Signal” settings. Depending on your receiver model, you may find settings such as “Signal Strength,” “Signal Quality,” or “Signal Booster.”
Adjust the signal strength or booster settings based on your reception needs. If you experience poor signal strength or reception issues, you may increase the signal strength or enable the signal booster feature. However, be cautious not to amplify the signal excessively, as it may cause distortion or signal overload.
In addition to signal strength, you can also monitor and adjust the signal quality. This setting ensures that the received signal is clean and free from noise or interference. Use the signal quality settings to minimize any ghosting, pixelation, or other visual artifacts on the screen.
For optimal reception, consider repositioning your TV antenna to improve the signal quality. Experiment with different orientations and positions to find the best placement for your antenna. Keep it away from obstructions such as walls and large objects that could interfere with the signal.
Another helpful tip is to use a signal amplifier or a distribution amplifier if you have multiple TVs or devices connected to the antenna. These amplifiers can boost the signal strength and ensure adequate signal distribution to all connected devices.
Lastly, periodically perform a channel rescan to keep your list up to date. Over time, TV channels may change their frequencies or add new channels. Rescanning will ensure that you have the latest selection of channels available to you.
As you fine-tune the reception on your Denon receiver, take the time to test different settings and monitor the signal performance. Make adjustments accordingly until you achieve the best possible reception for your TV antenna.
Now that you have fine-tuned the reception on your Denon receiver, you are ready to enjoy watching TV with your enhanced audio quality and optimal signal reception.
Step 6: Enjoy watching TV with your Denon receiver and TV antenna
After completing the previous steps of connecting, setting up, scanning, and fine-tuning, it’s time to sit back, relax, and enjoy watching TV with your Denon receiver and TV antenna combination.
Turn on your Denon receiver and your TV, making sure that they are both set to the correct input source. Use the remote control or the receiver’s front panel to select the input source corresponding to the TV antenna input.
Navigate through the channels using the receiver’s remote control or the on-screen menu. Take advantage of the receiver’s features such as audio settings, surround sound modes, and sound equalization options to customize the audio experience according to your preferences.
With the Denon receiver amplifying the audio from your TV antenna, you will notice a significant improvement in sound quality. The audio will be clear, immersive, and dynamic, enhancing your overall TV viewing experience.
Explore the wide variety of channels available through your TV antenna and enjoy watching your favorite shows, movies, sports events, and more. With the increased audio quality provided by the Denon receiver, you will feel like you’re right in the heart of the action.
If you have multiple TVs or devices connected to the Denon receiver, you can easily switch between them and enjoy the enhanced audio quality on all of them. This makes it convenient for everyone in your household to have an amazing TV viewing experience.
Don’t forget to periodically reposition your TV antenna if needed, especially if you notice any deterioration in signal quality. By keeping an eye on the reception and making necessary adjustments, you can ensure consistent performance and optimal viewing pleasure.
Whether you’re enjoying a movie night, watching your favorite shows, or following a thrilling sports game, the combination of a TV antenna and a Denon receiver will elevate your entertainment experience to new heights.
So sit back, relax, and immerse yourself in the world of television with the enhanced audio quality and reliable reception provided by your Denon receiver and TV antenna.