Introduction
Welcome to this guide on how to connect a TV antenna to a Roku device. Roku has become a popular choice for streaming content, but what if you still want to enjoy over-the-air channels? By connecting a TV antenna to your Roku setup, you can access both streaming services and broadcast channels, giving you a wider range of options to choose from.
Before we dive into the steps, let’s briefly discuss why you might want to consider connecting a TV antenna to your Roku. While streaming services offer a plethora of entertainment options, they may not always provide access to local or live broadcasts. By integrating a TV antenna, you can receive local TV channels for news, sports, and other live events, enhancing your viewing experience.
Additionally, using a TV antenna alongside your Roku device can be a cost-effective solution to enjoy high-quality and free over-the-air programming. With the ability to access both streamed content and broadcast channels, you can have the best of both worlds.
Now that you understand the benefits of connecting a TV antenna to your Roku, let’s move on to the step-by-step process of setting it up. Don’t worry, it’s a straightforward process that you can easily follow, even if you’re not a tech-savvy individual.
Step 1: Check the Requirements
Before you begin connecting your TV antenna to your Roku device, it’s essential to ensure that you have all the necessary requirements. Here are the things you’ll need:
- A TV antenna: Choose a suitable indoor or outdoor antenna depending on your location and signal strength.
- A Roku device: This can be a Roku streaming stick, a Roku TV, or a Roku streaming player.
- A compatible TV: Ensure that your TV has an available HDMI port to connect the Roku device.
- An HDMI cable: You’ll need an HDMI cable to connect the Roku device to your TV.
- Power source: Make sure you have access to a power outlet to plug in the Roku device and the TV antenna (if required).
- Internet connection: To stream content through Roku, you’ll need a stable internet connection.
Once you have gathered all these requirements, you’re ready to move on to the next step. It’s crucial to have everything in place to ensure a seamless setup experience.
Step 2: Connect the Antenna to the TV
Now that you have all the necessary requirements, it’s time to connect the TV antenna to your TV. Follow these simple steps:
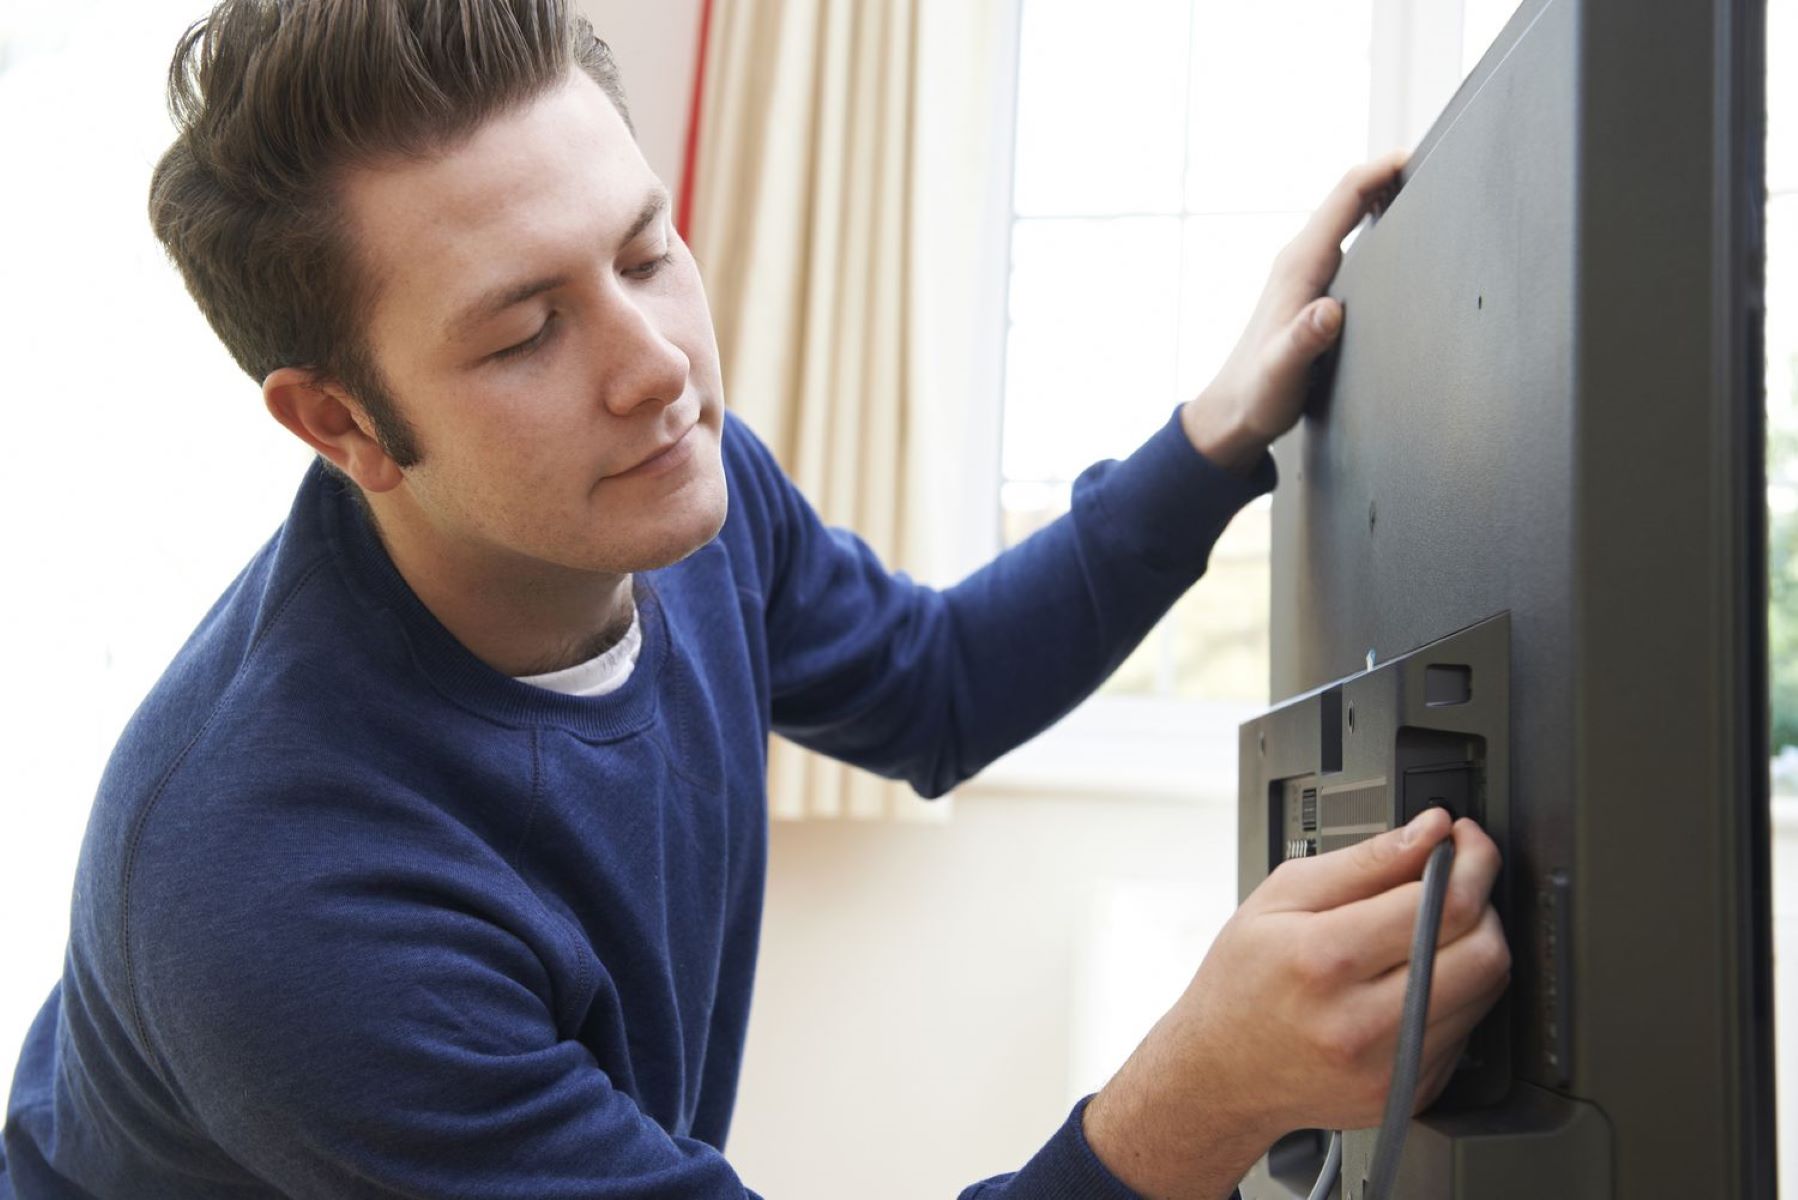
- Locate the antenna input: Look for the coaxial antenna input on the back of your TV. It is usually labeled as “ANT” or “ANTENNA.”
- Uncoil the antenna cable: Make sure the antenna cable is free from any tangles or knots. Uncoil it completely for better signal reception.
- Connect the antenna cable: Plug one end of the antenna cable into the antenna input on the TV. Make sure it is securely connected.
- Position the antenna: Find an optimal location for the antenna. This can be on a flat surface, mounted on a wall, or installed outdoors. Experiment with different positions to achieve the best signal strength.
- Secure the antenna cable: Use cable clips or adhesive clips to secure the antenna cable along the wall or furniture to keep it neat and tidy.
By following these steps, you have successfully connected the TV antenna to your TV. Ensure that the antenna is positioned correctly and securely to receive the best possible signal quality.
Step 3: Set up the Roku Device
Now that the TV antenna is connected to your TV, let’s move on to setting up your Roku device. Follow these steps to get started:
- Connect the Roku device to power: Plug in the Roku device to a power outlet using the provided power adapter.
- Connect the Roku device to the TV: Using an HDMI cable, connect one end to the HDMI output on the Roku device and the other end to an available HDMI input on your TV.
- Power on the TV: Turn on your TV and set it to the correct HDMI input where the Roku device is connected.
- Select the language: When the Roku screen appears on your TV, select your preferred language using the Roku remote.
- Connect to the internet: Follow the on-screen prompts to connect the Roku device to your Wi-Fi network. Enter your network name and password when prompted.
- Update the Roku software: Once connected to the internet, the Roku device will automatically check for software updates. Allow the device to update if any updates are available.
- Create or log in to your Roku account: Follow the on-screen instructions to create a new Roku account or log in with your existing account.
- Activate the Roku device: Visit roku.com/link on your computer or mobile device and enter the activation code displayed on your TV screen. Follow the instructions to complete the activation process.
After completing these steps, your Roku device is set up and ready to use. Ensure that your device is properly connected to the internet for seamless streaming.
Step 4: Connect the Roku Device to the TV
With the Roku device set up and ready to go, the next step is to connect it to your TV. Follow these instructions:
- Power on the TV: Make sure your TV is turned on.
- Select the correct HDMI input: Use your TV remote to select the HDMI input where you connected the Roku device.
- Pair the remote: If this is your first time using the Roku device, you may need to pair the Roku remote with the device. Follow the on-screen instructions to complete the pairing process.
- Follow the Roku setup process: On your TV screen, you will see the Roku setup wizard guiding you through the initial setup process. Follow the instructions to set your display and audio preferences, as well as any other settings you wish to configure.
- Sign in to your Roku account: If you haven’t already done so during the setup process, sign in to your Roku account using your email and password. This will allow you to access your favorite channels and streaming services.
- Complete any additional setup steps: Depending on your Roku device and firmware version, there may be additional setup steps, such as enabling screen mirroring, setting up a PIN, or linking additional streaming services. Follow the on-screen instructions to complete these setup steps if desired.
Once you have completed these steps, your Roku device is now connected to your TV, and you’re ready to start enjoying your favorite streaming content.
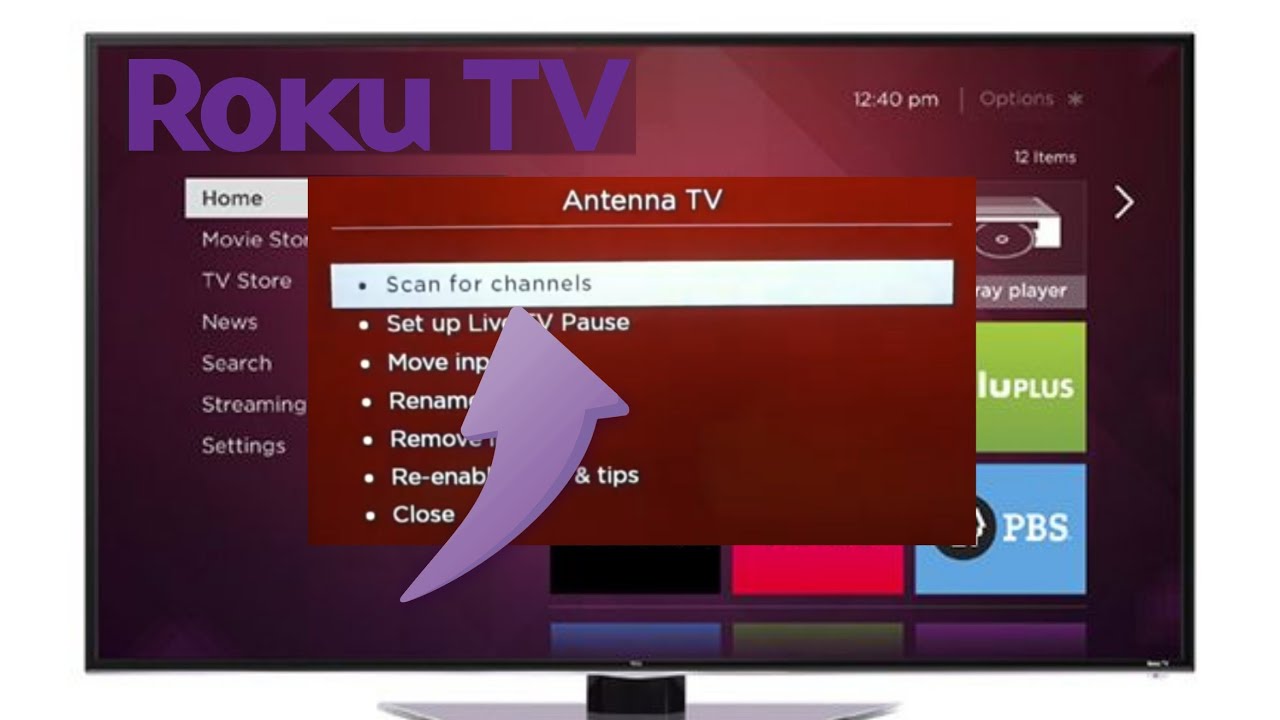
Step 5: Scan for Channels
After connecting your Roku device to the TV, it’s time to scan for channels and access the over-the-air broadcasts from your TV antenna. Follow these steps to complete the channel scanning process:
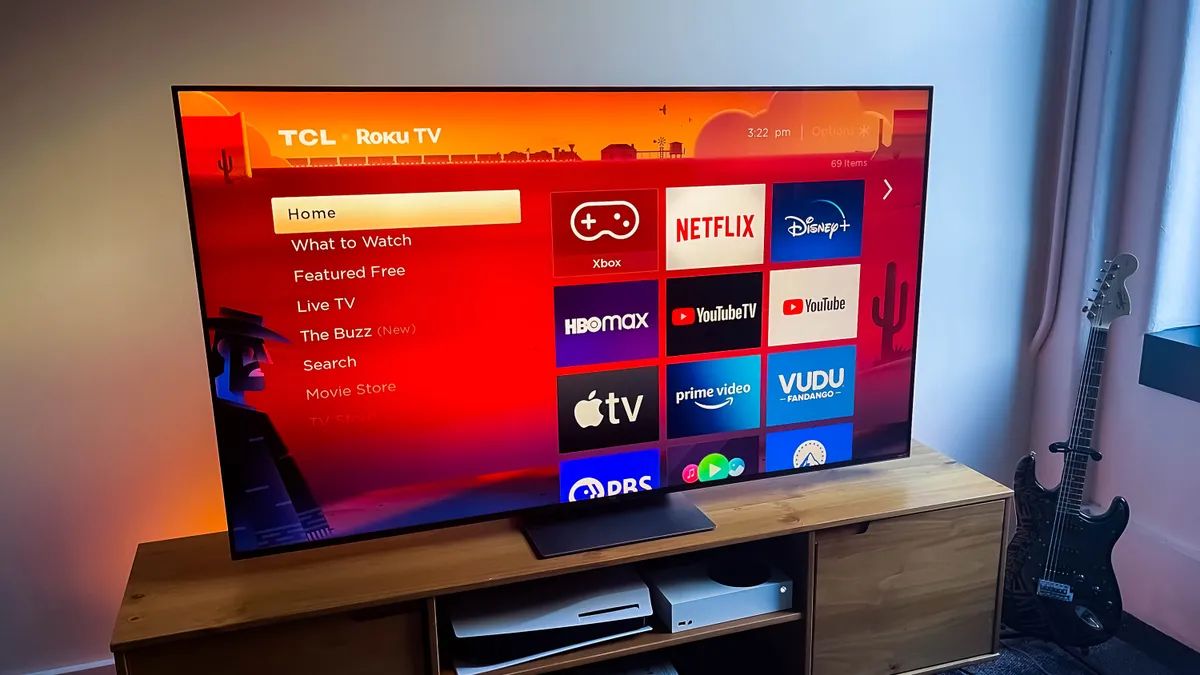
- Access the Roku home screen: Use the Roku remote to navigate to the home screen by pressing the Home button.
- Select “Settings”: Scroll to the left or right on the home screen to highlight the Roku settings icon. Press the OK button to enter the settings menu.
- Select “TV inputs”: In the settings menu, navigate to the “TV inputs” option and press the OK button to access it.
- Select “Antenna TV setup”: Under the “TV inputs” menu, find and select the “Antenna TV setup” option. This will initiate the channel scanning process.
- Start channel scan: Follow the on-screen prompts to initiate the channel scan. The Roku device will search for available channels from your TV antenna.
- Wait for the scan to complete: The channel scan may take a few minutes to complete. During this time, make sure that your TV antenna is properly positioned and connected to receive the best signal quality.
- Review the scanned channels: Once the scan is complete, you will see a list of the channels that the Roku device has detected from your TV antenna. Review the channel list to see which ones have been successfully added.
- Organize channel list (optional): If desired, you can rearrange the order of the channels or hide certain channels from the list. You can do this by selecting “Edit channel lineup” or a similar option, depending on your Roku device model and software version.
After completing these steps, you have successfully scanned for channels on your Roku device. You can now access both the streaming services and the over-the-air channels from your TV antenna, providing you with a wide range of content options to enjoy.
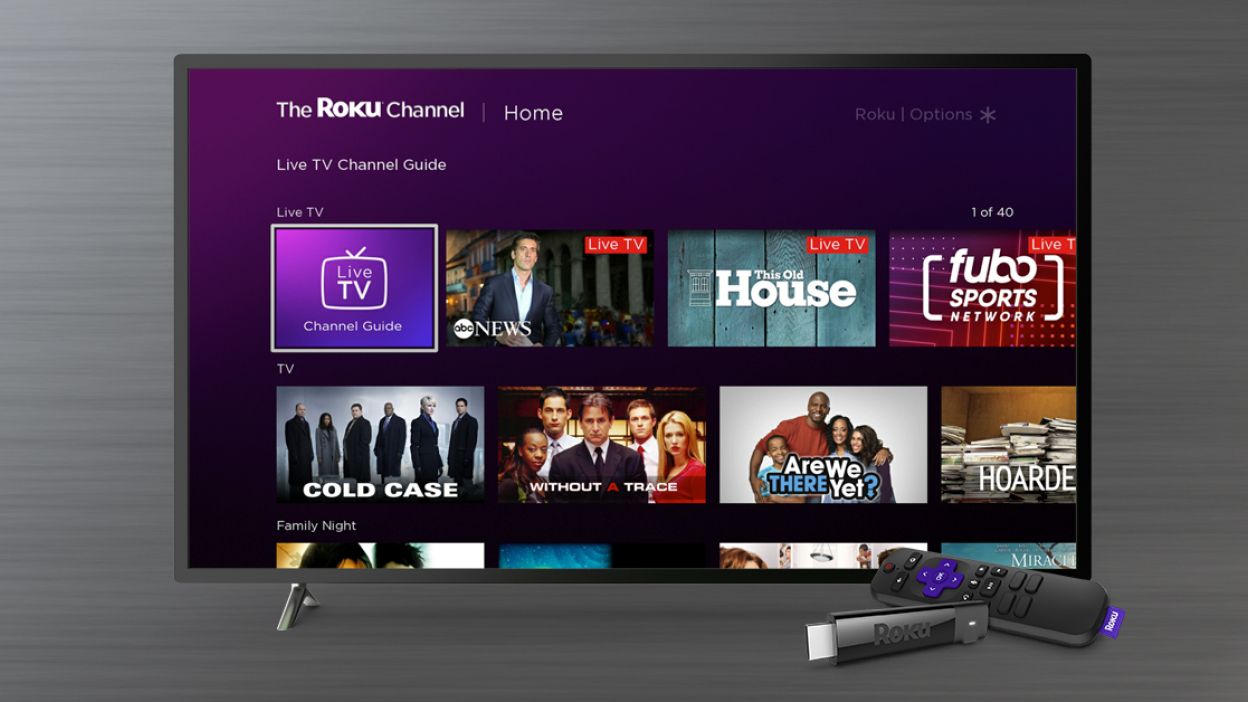
Step 6: Enjoy Watching TV with Roku and an Antenna
Now that you have successfully connected your TV antenna to your Roku device and scanned for channels, it’s time to sit back, relax, and enjoy watching TV. Here are a few tips to enhance your viewing experience:
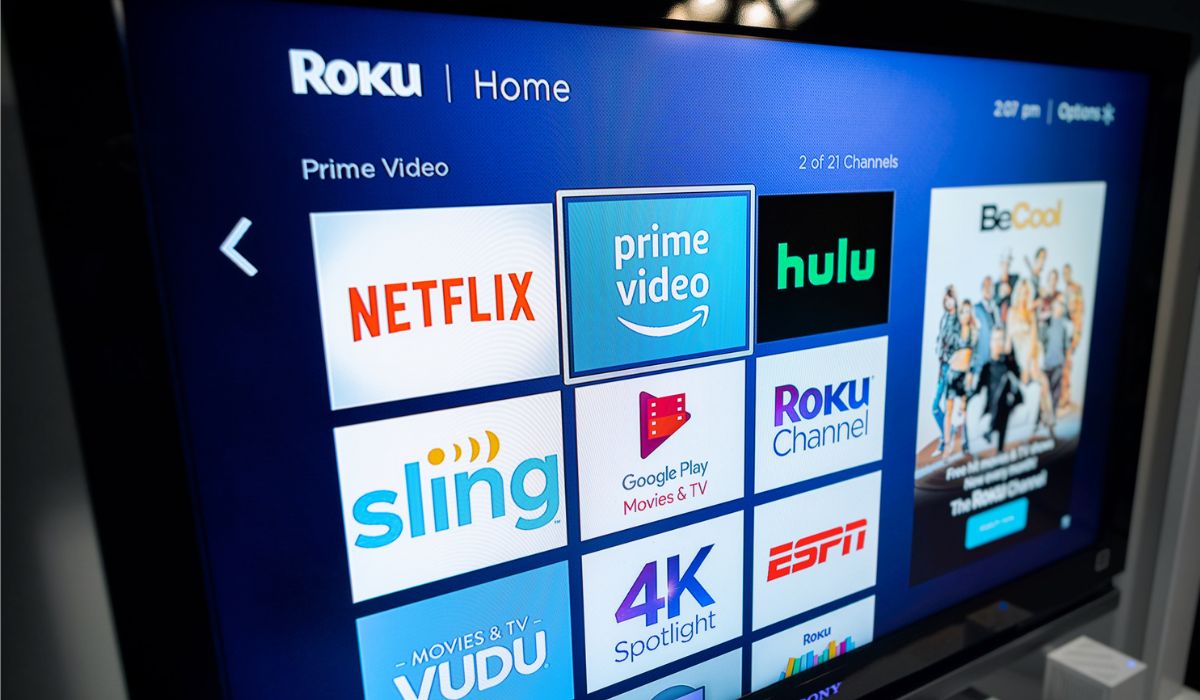
- Switching between streaming content and broadcast channels: With your Roku device, you can easily switch between streaming services like Netflix, Hulu, or Amazon Prime Video, and the broadcast channels received through your TV antenna. Use the Roku remote to navigate through the available channels and apps.
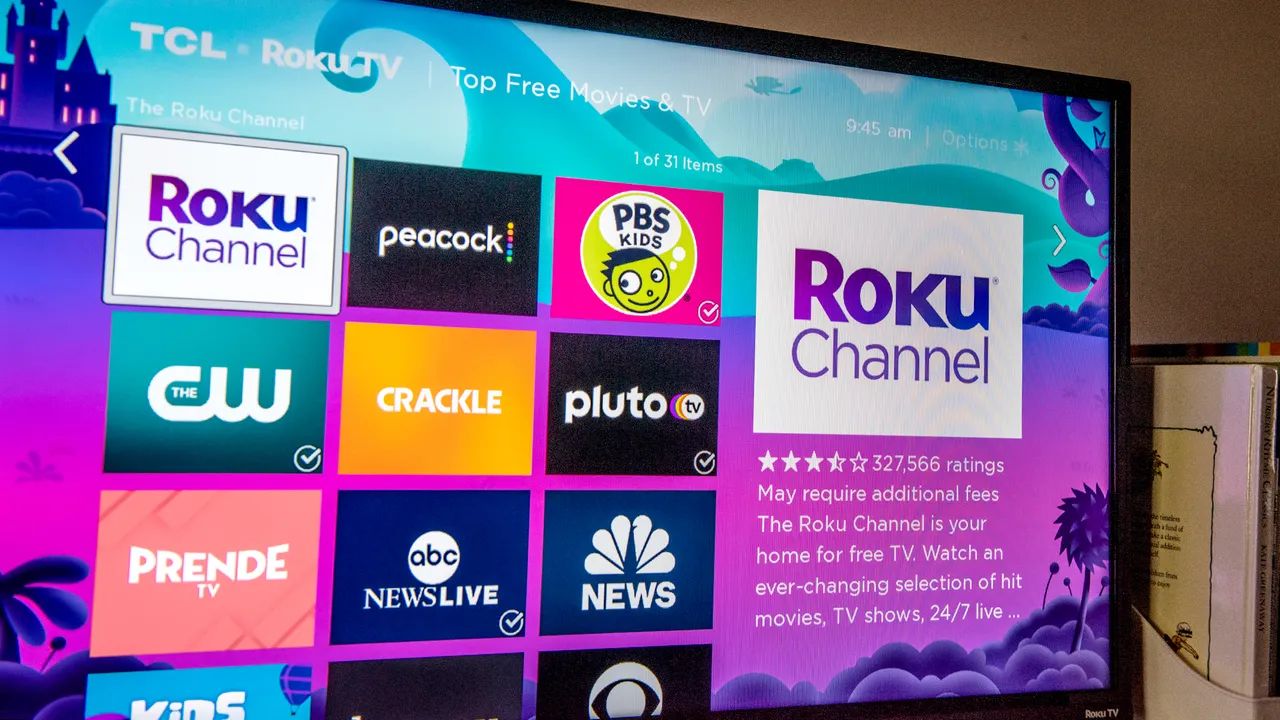
- Take advantage of the Roku Channel Store: Explore the Roku Channel Store to discover additional streaming apps, games, and other entertainment options. There are numerous channels available, including free and subscription-based services.
- Optimize your antenna placement: If you experience issues with channel reception, try repositioning your TV antenna. Experiment with different locations and angles to find the best position for optimum signal quality.
- Stay up to date with software updates: Periodically check for software updates for your Roku device. Software updates can enhance performance, improve features, and ensure compatibility with the latest streaming services.
- Explore additional Roku features: Roku devices offer various features like voice control, screen mirroring, private listening, and more. Take the time to explore these features and make the most out of your Roku experience.
By following these tips, you can fully enjoy the benefits of combining your Roku device with a TV antenna. Whether you’re streaming your favorite shows, watching live sports, or staying up to date with local news, the combination of Roku and an antenna provides a versatile and comprehensive entertainment solution.
Conclusion
Congratulations! You have successfully connected your TV antenna to your Roku device and now have access to a wider range of entertainment options. By integrating the versatility of streaming services with the convenience of over-the-air channels, you can enjoy a comprehensive and personalized TV viewing experience.
Throughout this guide, we explored the step-by-step process of connecting a TV antenna to your Roku device. We discussed the benefits of combining these technologies and provided clear instructions on how to set up the Roku device, connect it to your TV, scan for channels, and start enjoying your favorite shows and broadcasts.
Remember to check the requirements before starting the setup process, position your antenna for optimal signal reception, and explore the numerous features and channels available on your Roku device. With a stable internet connection, regular software updates, and proper antenna placement, you can maximize your streaming experience and never miss out on live TV events or local news.
Now, it’s time to grab your Roku remote, sit back, and enjoy a world of entertainment at your fingertips. Whether you’re binge-watching your favorite shows, catching up on the latest news, or discovering new streaming channels, the combination of Roku and a TV antenna offers endless possibilities for your TV viewing pleasure.
Thank you for following this guide, and we hope you have a fantastic time exploring the countless entertainment options that Roku and your TV antenna have to offer!