Introduction
Connecting your Xbox console to Xbox Live brings a world of gaming and entertainment right to your fingertips. With Xbox Live, you can play multiplayer games, stream your favorite movies and TV shows, and access a wide range of apps and exclusive content. One of the most common ways to connect your console to Xbox Live is through a wireless router. By following a few simple steps, you can enjoy a seamless online gaming experience and unlock the full potential of your Xbox.
In this guide, we will walk you through the process of connecting your Xbox console to Xbox Live using a wireless router. Whether you’re a seasoned gamer or new to the Xbox community, this article will provide you with all the information you need to get started. We’ll ensure that you have the necessary network requirements, explain how to set up your wireless router, guide you through the steps to connect your Xbox console to the wireless network, and help you configure network settings on your console. Finally, we’ll assist you in testing your connection to Xbox Live to ensure a smooth gaming experience.
Before we dig into the step-by-step instructions, it’s important to note that the specific process may vary slightly depending on your router model and Xbox console version. However, the general principles remain the same, and this guide will offer a solid foundation for you to build upon.
So, if you’re ready to take your Xbox gaming experience to the next level, let’s dive into the world of Xbox Live and learn how to connect your Xbox console to a wireless router.
Step 1: Check Network Requirements
Before you begin the process of connecting your Xbox console to Xbox Live using a wireless router, it’s important to ensure that you have the necessary network requirements. This will ensure a smooth and uninterrupted gaming experience. Here’s what you’ll need:
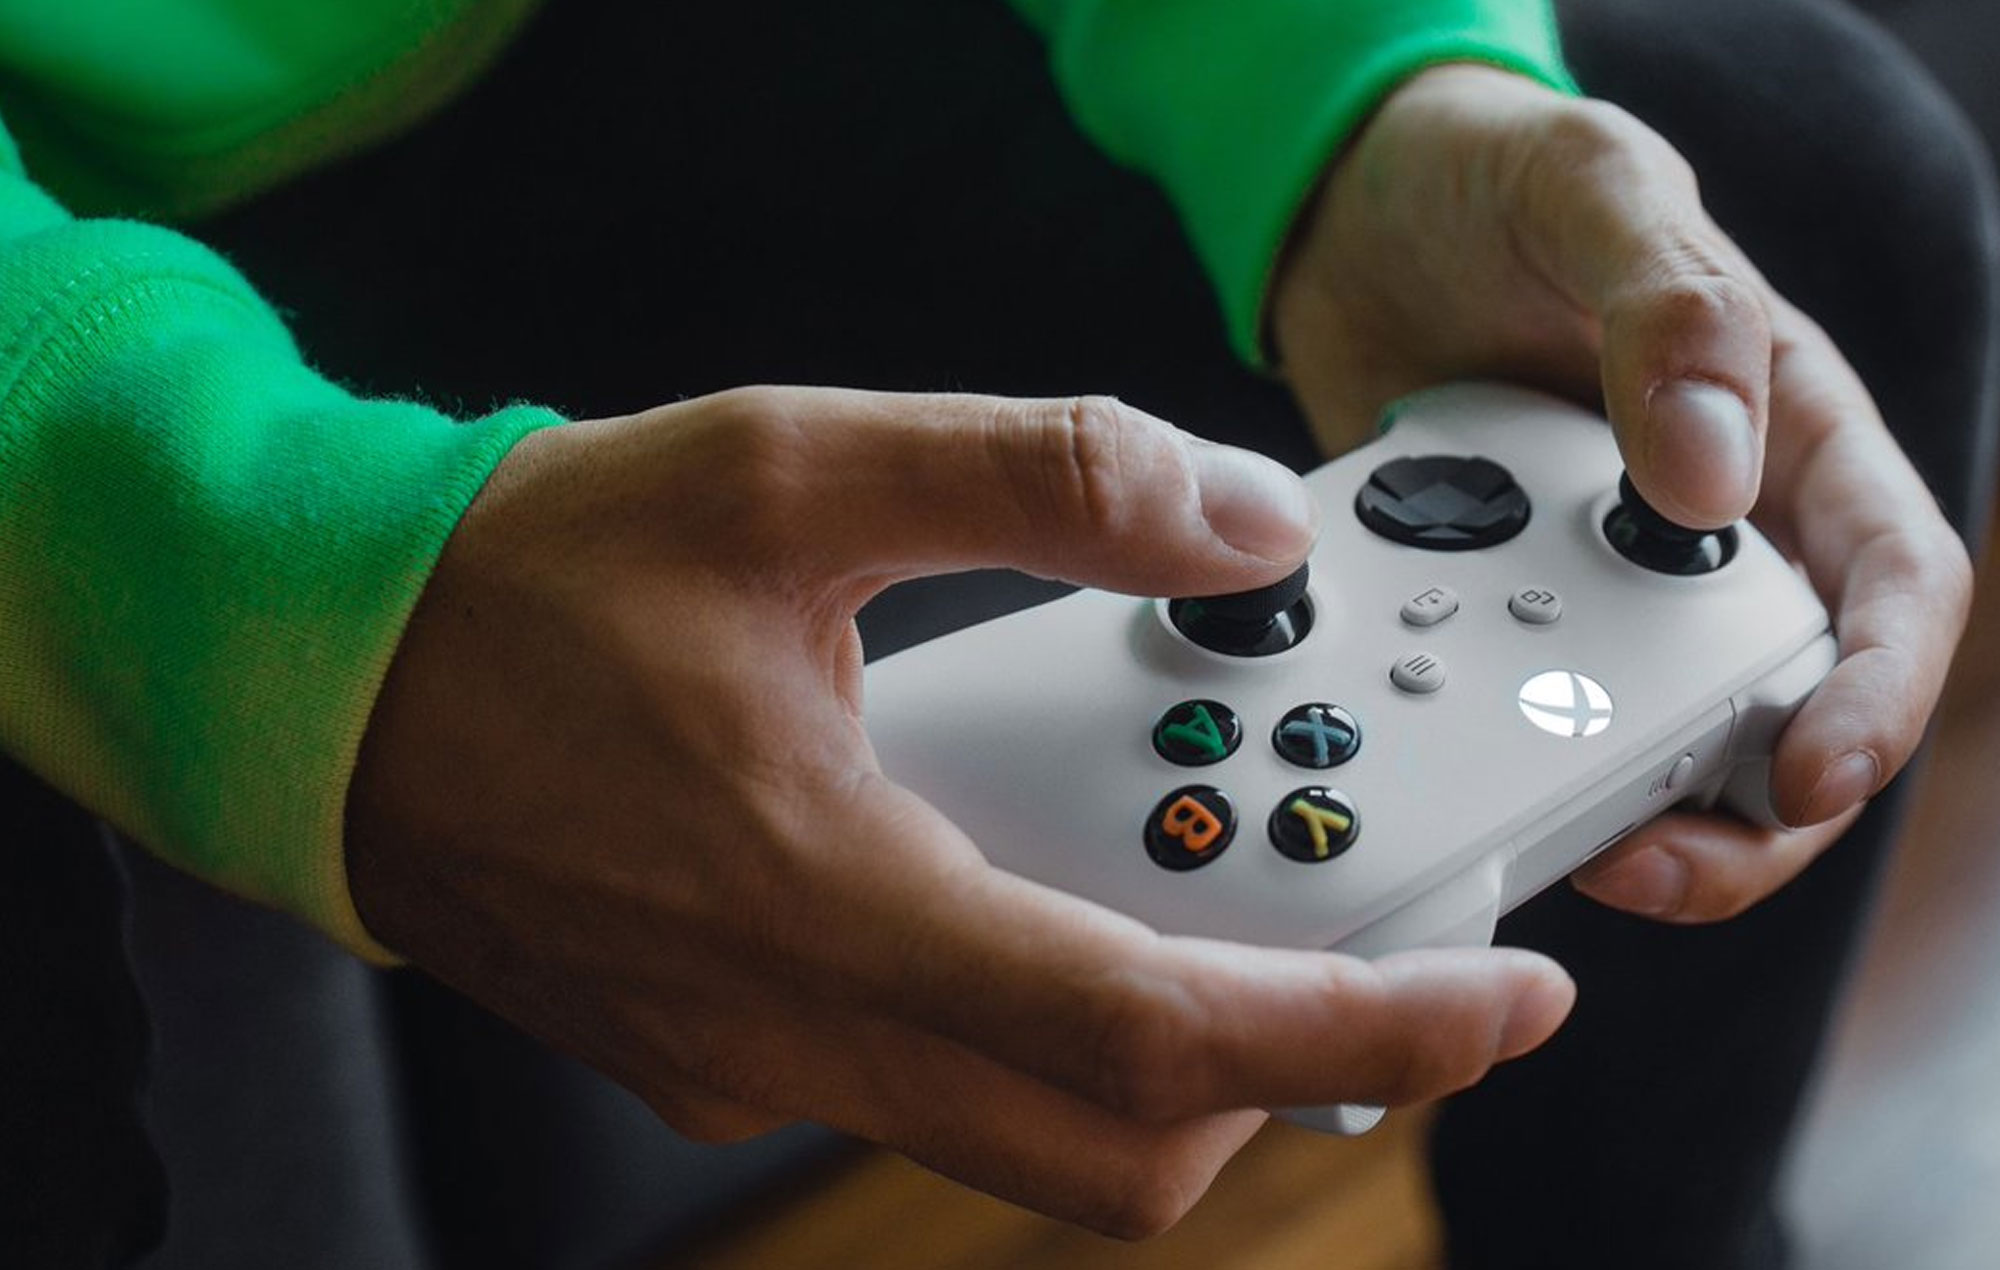
- Your Xbox console: Whether you have an Xbox One, Xbox Series X, or Xbox 360, make sure it’s powered on and ready to connect to the wireless network.
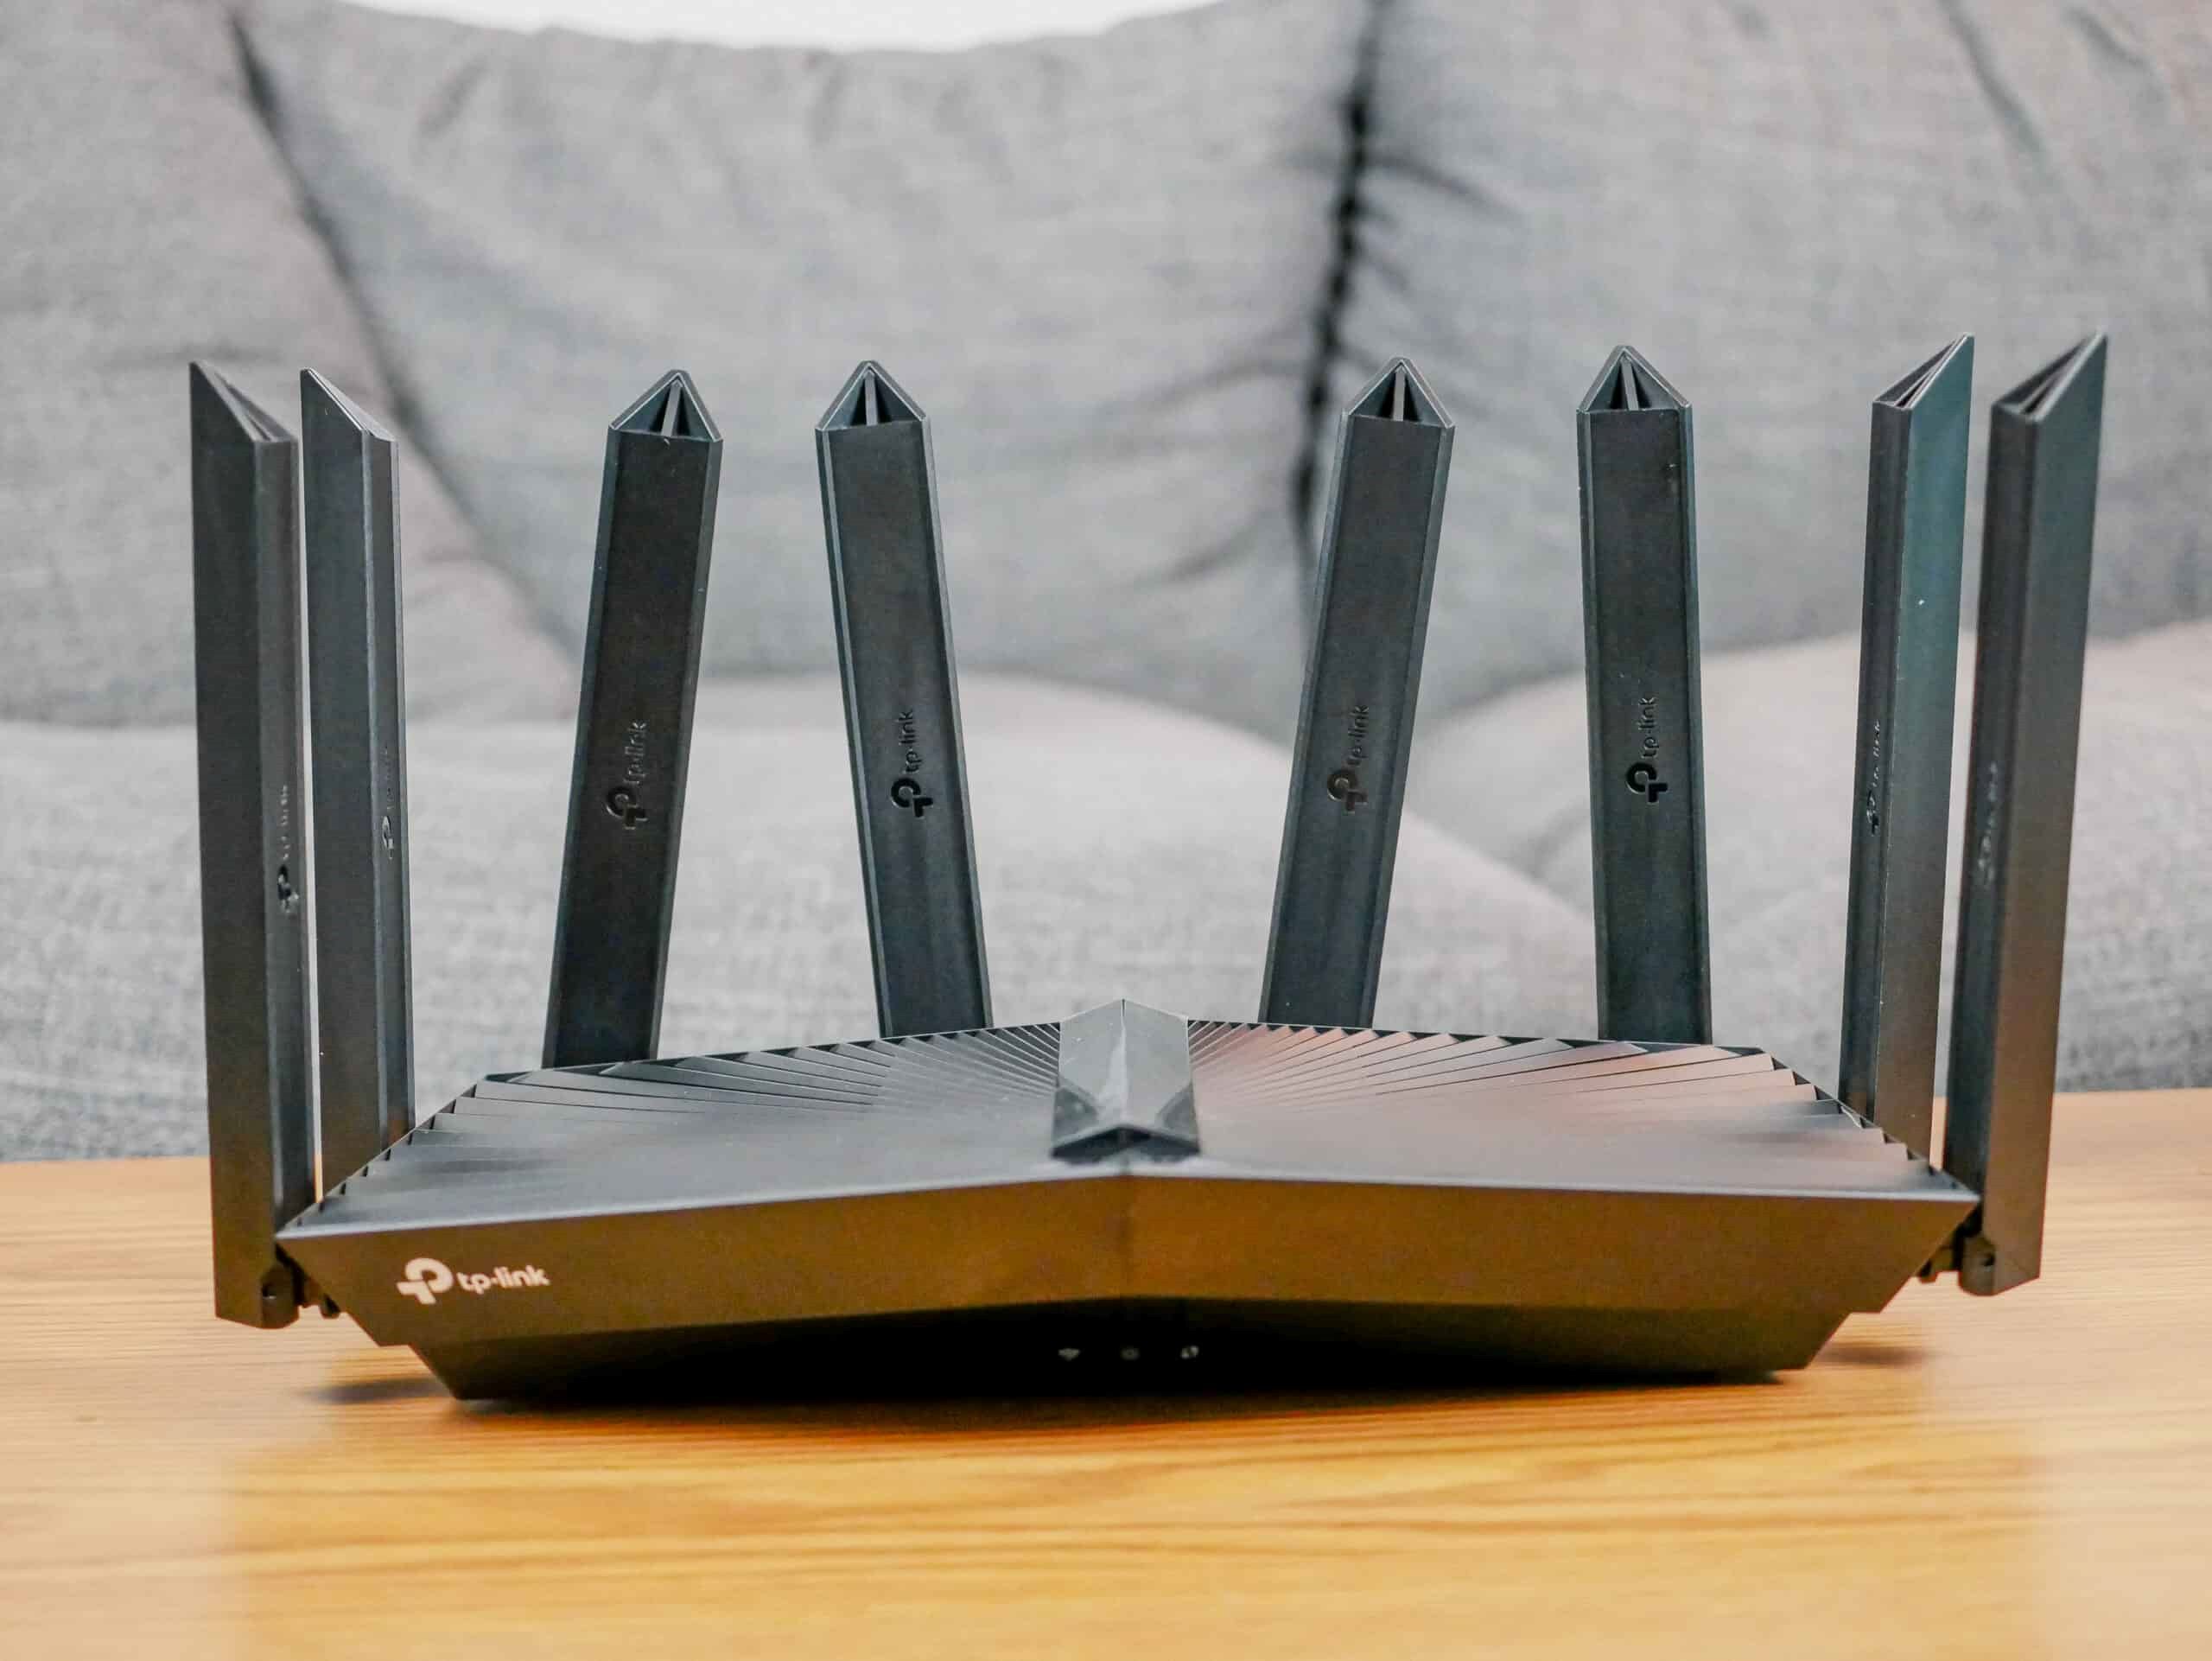
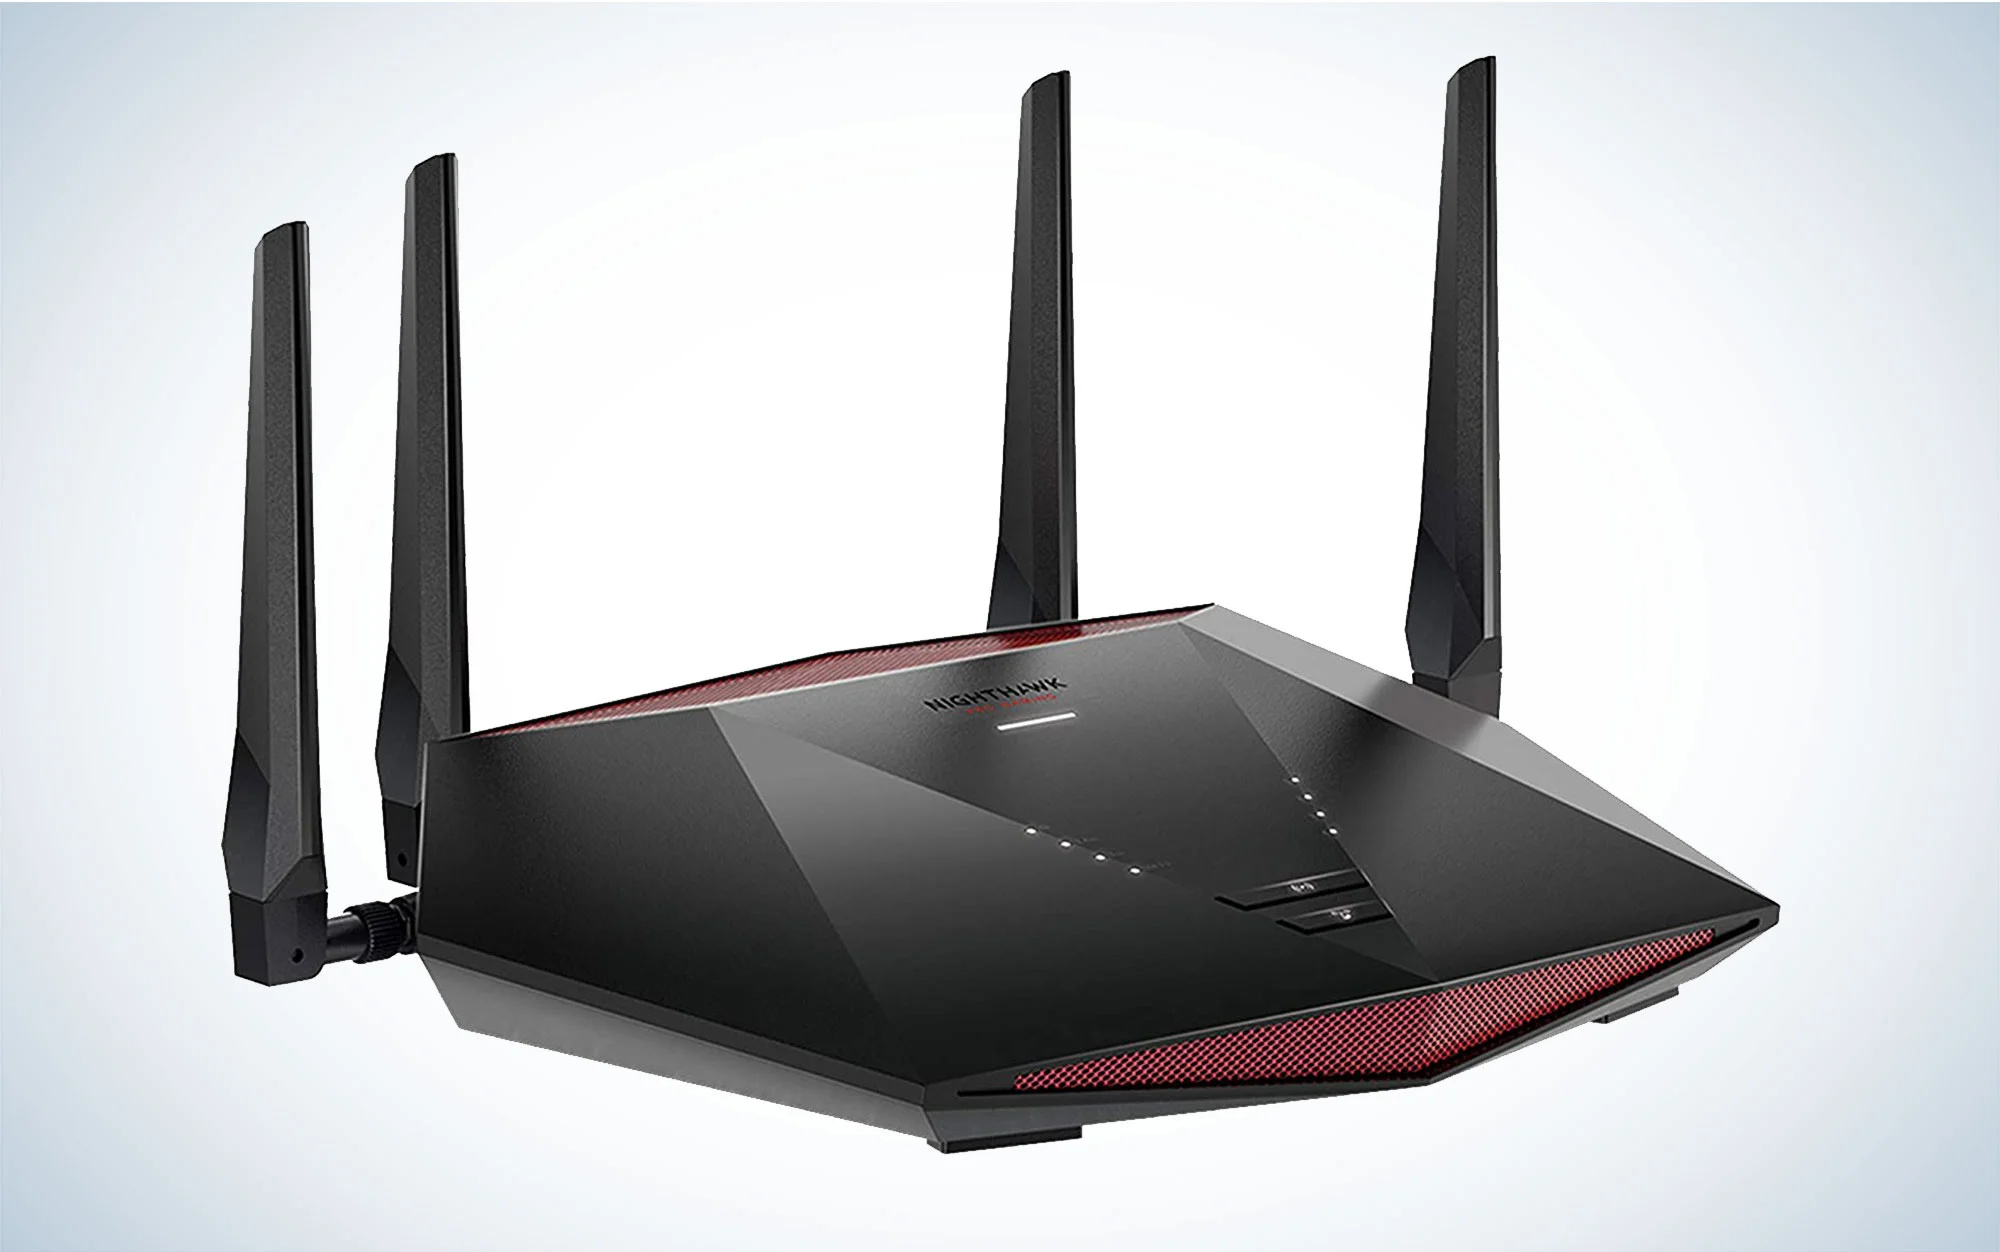
- A wireless router: Ensure that you have a functioning wireless router that can establish a Wi-Fi connection. Refer to your router’s manual or the manufacturer’s website to confirm its compatibility and functionality.
- An active internet connection: Your wireless router must be connected to a high-speed internet connection. Check with your internet service provider (ISP) to ensure that your connection meets the minimum speed requirements for online gaming.
- A valid Xbox Live subscription: To access the full range of Xbox Live features, including online multiplayer gaming, you’ll need an active Xbox Live subscription. If you don’t have one yet, you can sign up for a subscription through the Xbox Live website or directly from your console.
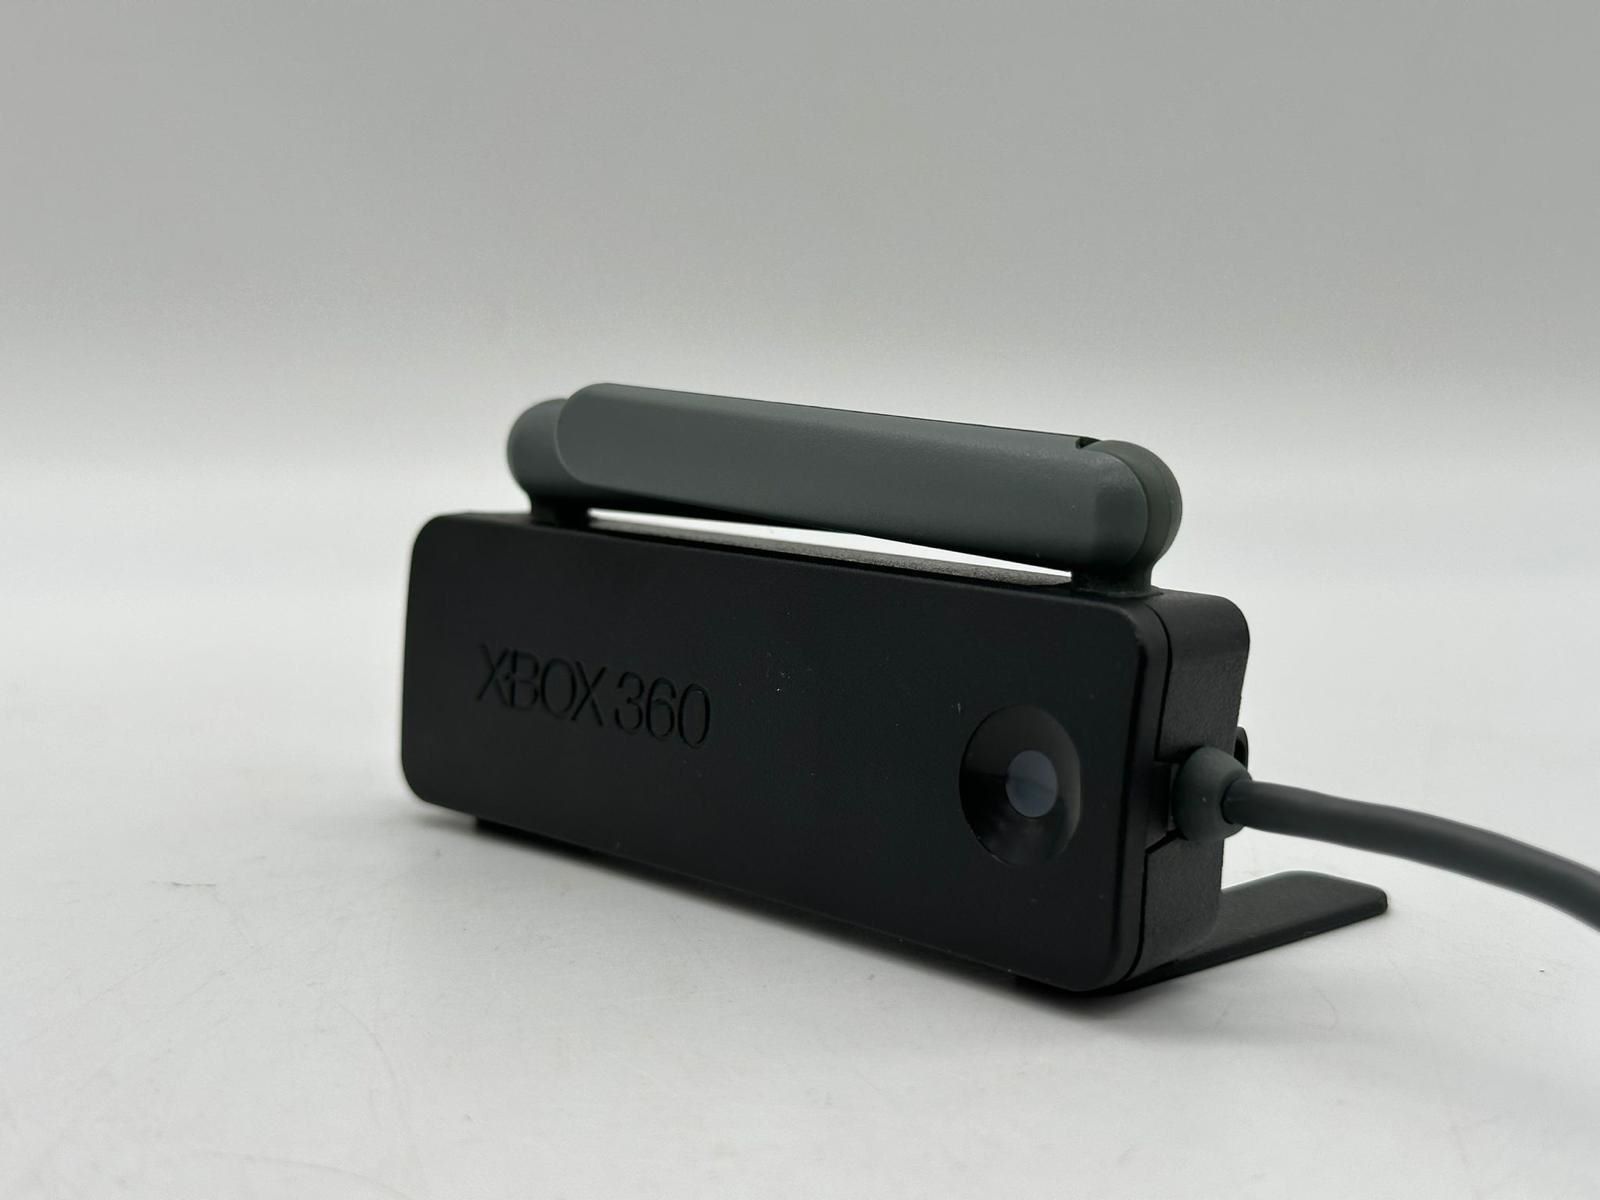
- A Wi-Fi adapter (for Xbox 360, if necessary): If you’re using an Xbox 360 and it doesn’t have built-in Wi-Fi capabilities, you’ll need to purchase a separate Wi-Fi adapter. This adapter connects to the USB port on your console and enables Wi-Fi connectivity.
Once you’ve verified that you have all the necessary requirements in place, you’re ready to move on to the next step: setting up your wireless router. Ensuring that you have everything you need upfront will save you time and frustration later on.
In the next section, we’ll walk you through the process of setting up your wireless router to establish a Wi-Fi network in your home or gaming space.
Step 2: Set Up Your Wireless Router
To connect your Xbox console to Xbox Live, you’ll first need to set up your wireless router. This involves configuring the router’s settings and establishing a Wi-Fi network in your gaming space. Follow these steps to get started:
- Find a suitable location for your router: Place your wireless router in a central location, preferably elevated, to ensure optimal coverage and signal strength throughout your home or gaming area.
- Connect your router to the modem: Use an Ethernet cable to connect the Ethernet port on your router to the modem provided by your internet service provider (ISP). This will establish a connection between your router and the internet.
- Power on your router: Plug in the power adapter for your router and turn it on. Allow the router a few minutes to boot up and establish a connection with the modem.
- Access the router’s settings page: Open a web browser on a computer or mobile device connected to the same network as the router. Enter the default IP address provided by the router’s manufacturer (such as 192.168.1.1 or 192.168.0.1) in the browser’s address bar and press Enter. This will take you to the router’s settings page.
- Log in to the router’s admin interface: Enter the administrator username and password. If you haven’t changed these default credentials, refer to your router’s manual or the manufacturer’s website for the default login details.
- Configure the Wi-Fi settings: Once logged in, navigate to the wireless settings section of the router’s admin interface. Set the network name (SSID) and password for your Wi-Fi network. Make sure to choose a strong password for security purposes.
- Save the settings: After configuring the Wi-Fi settings, save the changes and allow the router to update its settings. This may take a few moments.
- Make note of the network name and password: Once the settings are saved, make a note of the network name and password (also known as the Wi-Fi credentials) as you will need them to connect your Xbox console to the wireless network.
With your wireless router set up and ready, you can now proceed to the next step: connecting your Xbox console to the wireless network. Keep the Wi-Fi credentials handy as you’ll need them in the upcoming steps.
In the next section, we’ll guide you through the process of connecting your Xbox console to the wireless network you just created on your router.
Step 3: Connect Your Xbox Console to the Wireless Network
Now that your wireless router is set up and ready, it’s time to connect your Xbox console to the wireless network you created. Follow these steps to establish the connection:
- Turn on your Xbox console: Press the power button on your console to turn it on. Wait for the console to fully boot up.
- Navigate to the network settings: Use your Xbox controller to navigate to the settings menu on your console. Select “Network” or “Settings” and then choose “Network Settings.”
- Choose the wireless network option: In the network settings menu, select “Set up wireless network” or “Wireless network settings.” This will initiate the process of connecting to a wireless network.
- Select your Wi-Fi network: Your Xbox console will scan for available Wi-Fi networks. From the list of networks displayed, select the network name (SSID) that matches the one you configured on your router.
- Enter the Wi-Fi password: Once you’ve selected your Wi-Fi network, you will be prompted to enter the password. Use your controller or an attached keyboard to enter the password accurately. Take care to type in the correct characters, as Wi-Fi passwords are case-sensitive.
- Connect to the network: After entering the password, select “Connect” or a similar option. Your Xbox console will attempt to connect to the wireless network using the provided credentials.
- Wait for the connection: Give your console a moment to establish the connection to the Wi-Fi network. Wait for a confirmation message indicating that the connection was successful.
Congratulations! You have successfully connected your Xbox console to the wireless network. This means that your console is now ready to access Xbox Live and enjoy all the online gaming, streaming, and entertainment options it offers.
In the next section, we’ll guide you through the process of configuring network settings on your Xbox console, ensuring a seamless connection to Xbox Live.
Step 4: Configure Network Settings on Your Xbox Console
Once your Xbox console is connected to the wireless network, it’s important to configure the network settings to optimize your connection to Xbox Live. Follow these steps to customize your network settings:
- Access the network settings: Navigate to the settings menu on your Xbox console using your controller. Select “Network” or “Settings” followed by “Network Settings.”
- Choose the connected network: In the network settings menu, select the Wi-Fi network to which your console is connected. This will display detailed information about the network connection.
- Configure IP settings: Within the network settings menu, select “Advanced settings” or a similar option. Here, you can configure the IP settings for your console. Select “Automatic” to let your console automatically obtain the necessary IP settings from the network, or choose “Manual” to enter the settings manually if required by your network configuration.
- Set DNS settings: If you have specific DNS (Domain Name System) settings provided by your ISP or prefer to use custom DNS servers, select “DNS settings” and choose either “Automatic” or “Manual” to configure the DNS settings accordingly.
- Enable port forwarding (if necessary): If you’re experiencing connectivity issues or playing a game that requires specific port forwarding, you can access the port forwarding settings within the network settings menu. Follow the on-screen instructions or refer to the game’s documentation to enable port forwarding for the necessary ports.
- Save the settings: Once you have configured the network settings to your preferences, select “Save” or a similar option to apply the changes. Your Xbox console will update the settings accordingly.
By customizing the network settings on your Xbox console, you can optimize the connection to Xbox Live and improve your online gaming experience. These settings ensure that your console communicates properly with the network and minimizes any latency or connection issues.
In the final step, we’ll guide you on how to test your connection to Xbox Live, ensuring that all the previous steps were successful before you start your gaming adventure.
Step 5: Test Your Connection to Xbox Live
After setting up and configuring your network settings, it’s essential to test your connection to Xbox Live to ensure a seamless gaming experience. Here’s how to do it:
- Access the network settings: Using your Xbox controller, navigate to the settings menu on your console. Select “Network” or “Settings” followed by “Network Settings.”
- Test network connection: In the network settings menu, select “Test network connection” or a similar option. This will initiate the test and check the connectivity between your Xbox console and Xbox Live servers.
- Review the test results: Once the test is complete, you will see the results displayed on the screen. Pay attention to any warnings or error messages, as they may indicate network issues that need to be resolved.
- Check the NAT type: The test results will also indicate the NAT (Network Address Translation) type on your console. NAT determines how your console connects to other players and services on the internet. Ideally, you should have an “Open” or “Moderate” NAT type for the best online gaming experience. If your NAT type is “Strict,” you may encounter connectivity issues. To resolve this, refer to your router’s manual or the manufacturer’s website for instructions on how to configure the NAT settings.
By testing your connection to Xbox Live, you can ensure that your Xbox console is properly connected, and there are no issues affecting your gaming experience. If you encounter any issues or receive error messages during the test, refer to the troubleshooting steps provided by Xbox support or consult the Xbox community for assistance.
Now that you have tested your connection and resolved any potential issues, you are ready to fully enjoy the online gaming, streaming, and entertainment options available on Xbox Live. Grab your controller and dive into a world of exciting gameplay!
Conclusion
Connecting your Xbox console to Xbox Live through a wireless router opens up a world of gaming, entertainment, and online interaction. By following the step-by-step process outlined in this guide, you can set up your wireless router, connect your Xbox console to the wireless network, configure network settings, and test your connection to Xbox Live.
Checking the network requirements ensures that you have all the necessary components in place. Setting up your wireless router establishes a Wi-Fi network for your gaming space. Connecting your Xbox console to the wireless network allows you to access Xbox Live and its various features. Configuring network settings optimizes your connection to Xbox Live, resulting in a smooth and seamless gaming experience. Finally, testing your connection ensures that everything is working correctly before diving into online gameplay.
Remember, the specific process may vary depending on your router model and Xbox console version. However, the principles discussed in this guide provide a solid starting point for establishing a connection to Xbox Live.
Now that you’re connected to Xbox Live, immerse yourself in the world of online gaming, play with friends, stream your favorite shows, and explore the vast range of content available. Get ready to embark on exciting gaming adventures and discover endless entertainment possibilities!