Introduction
Welcome to our guide on how to connect Sonos to a new Wi-Fi network. Sonos speakers are known for their superior sound quality and seamless integration with a variety of streaming platforms. However, there may be instances where you need to connect your Sonos system to a new Wi-Fi network, such as when you move to a new home or change your internet service provider.
While the process may seem overwhelming at first, rest assured that connecting your Sonos speakers to a new Wi-Fi network is a relatively straightforward task. In this article, we will take you through the steps required to ensure a successful connection between your Sonos system and your new Wi-Fi network.
Before we dive into the technical details, it’s important to have a basic understanding of the Sonos system and its components. Sonos is a multi-room audio system that allows you to wirelessly stream music to multiple speakers throughout your home. The system consists of Sonos speakers, a Sonos app, and a dedicated Wi-Fi network that connects all the speakers together.
Now that you have a brief overview of the Sonos system, let’s move on to the next section, where we will guide you on how to prepare your Sonos speaker for the Wi-Fi network connection process.
Understand the Sonos System
Before we proceed with connecting your Sonos system to a new Wi-Fi network, it’s essential to have a clear understanding of how the Sonos system functions. This knowledge will help you navigate the setup process more confidently.
The Sonos system is designed to provide a seamless multi-room audio experience. It allows you to play music, podcasts, audiobooks, and more throughout your home using wireless connectivity. The system consists of several components, including Sonos speakers, a Sonos app, and a dedicated Wi-Fi network.
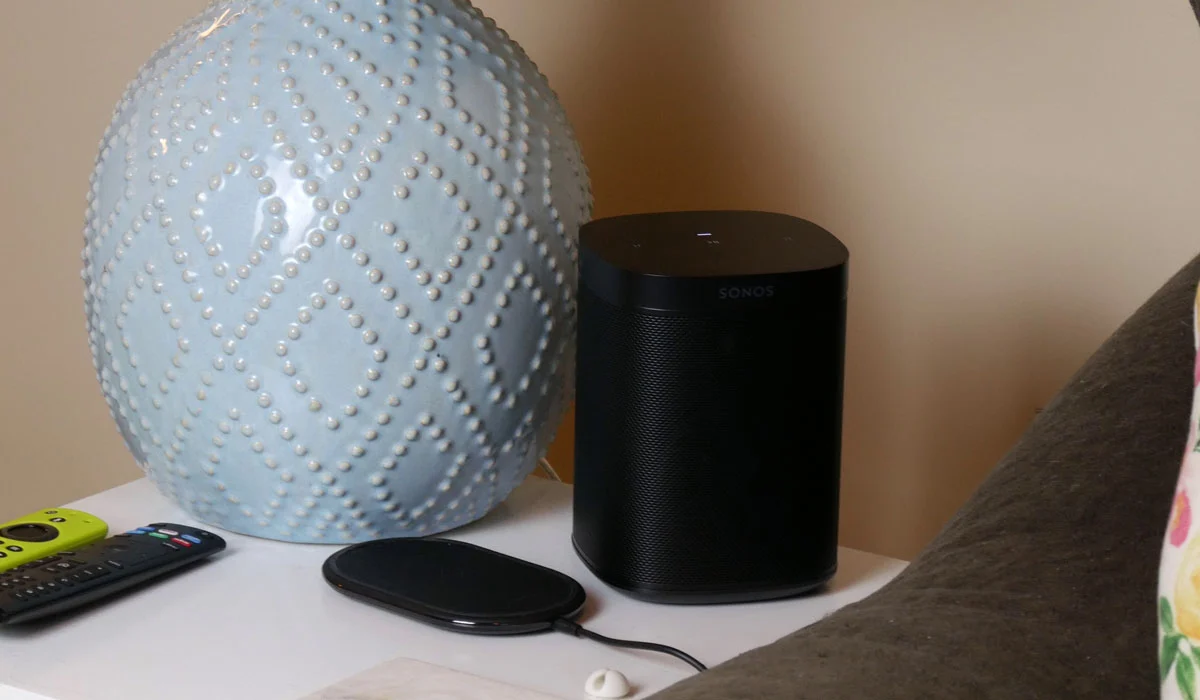
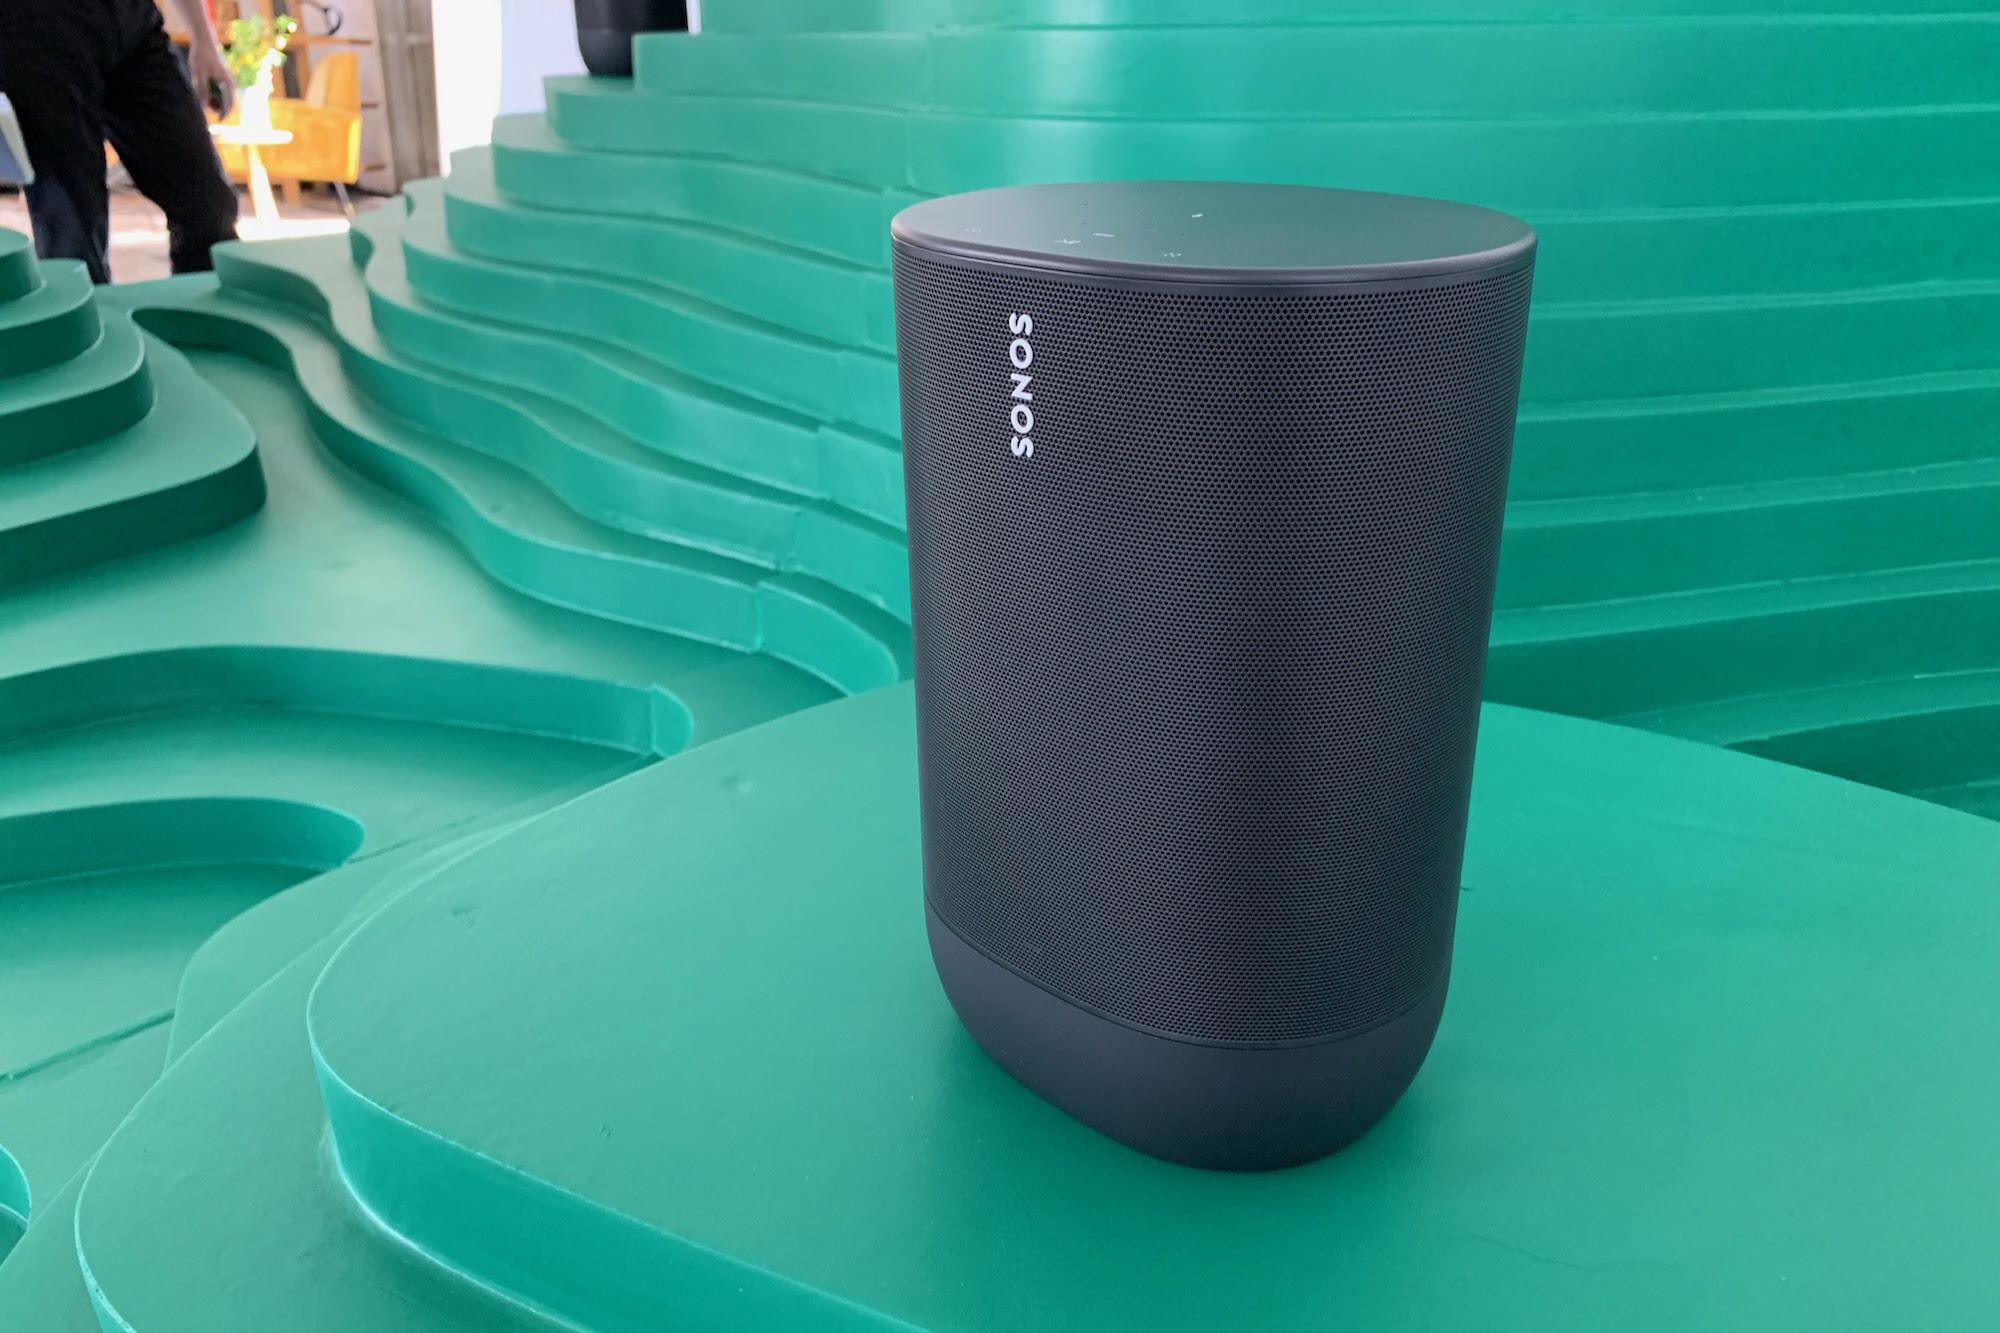
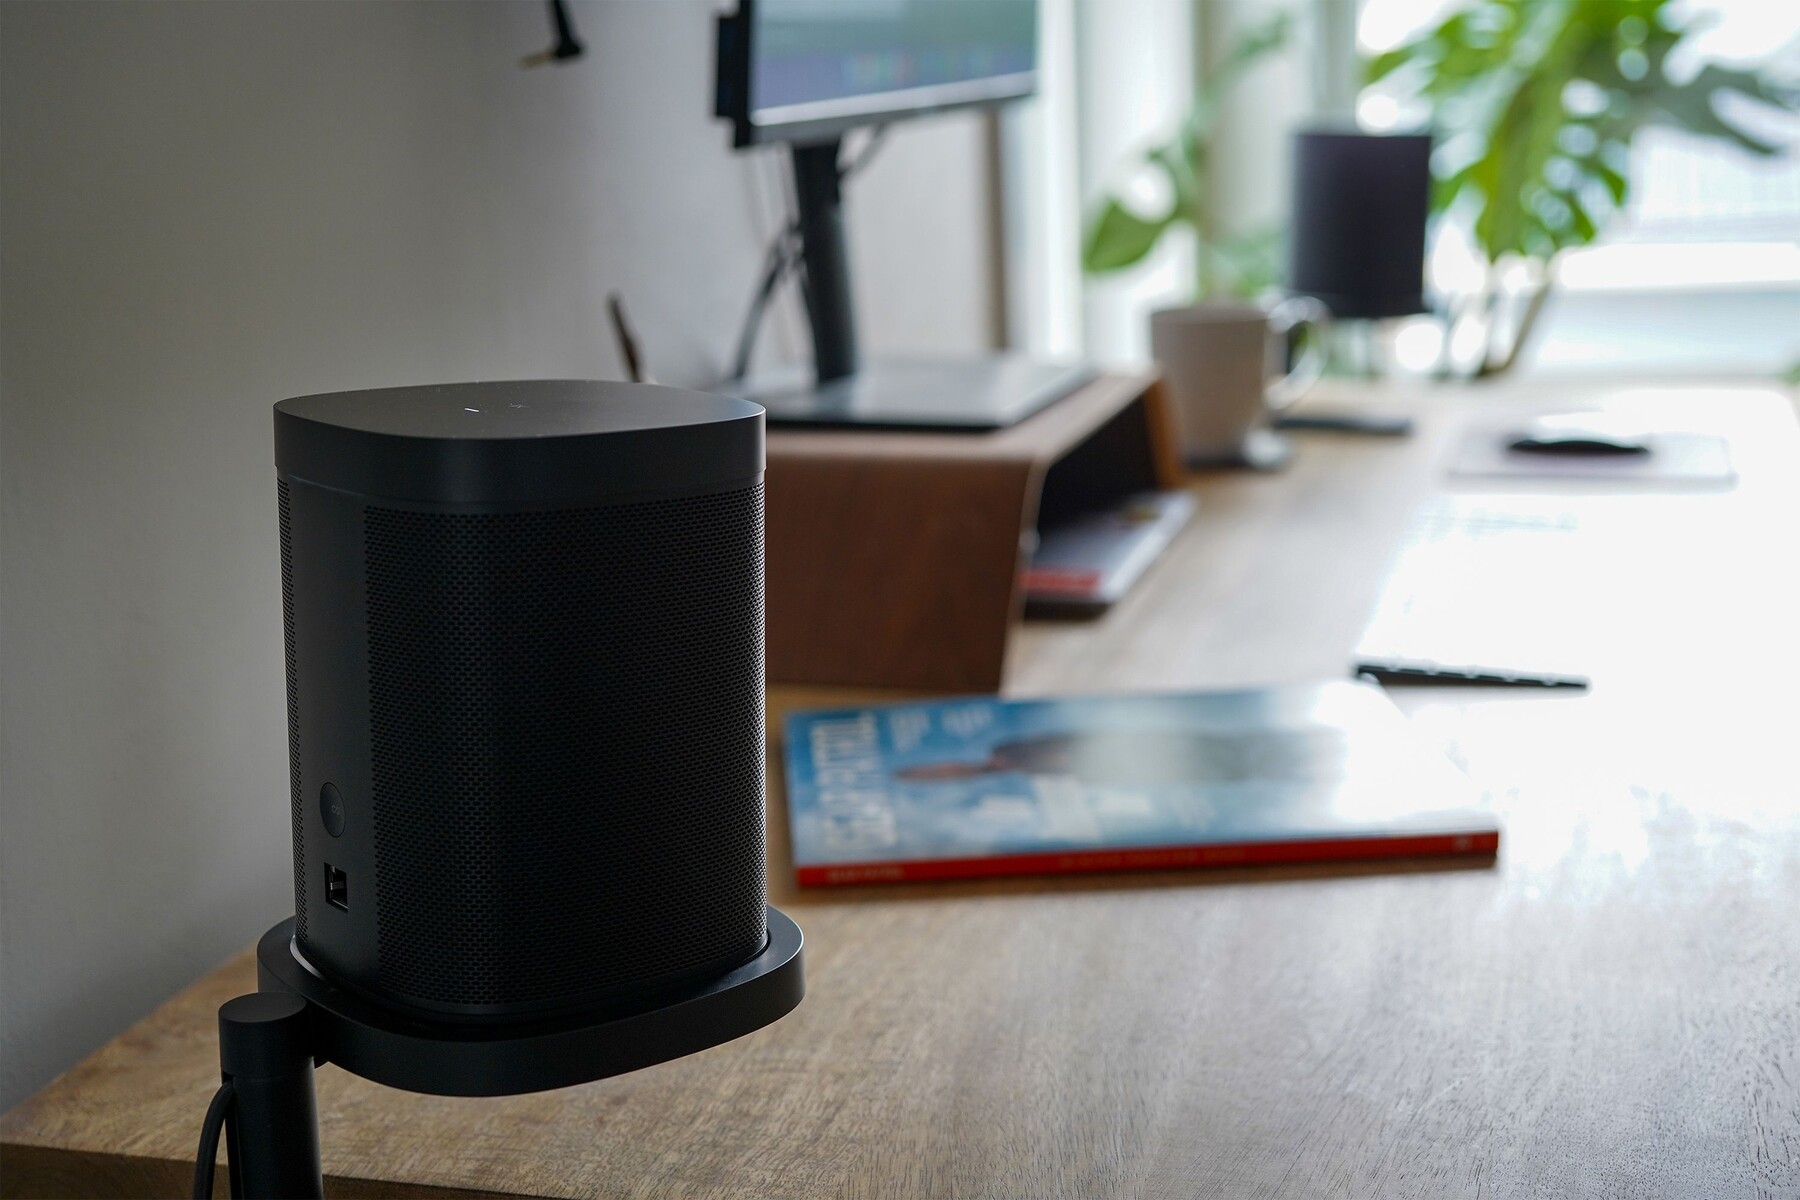
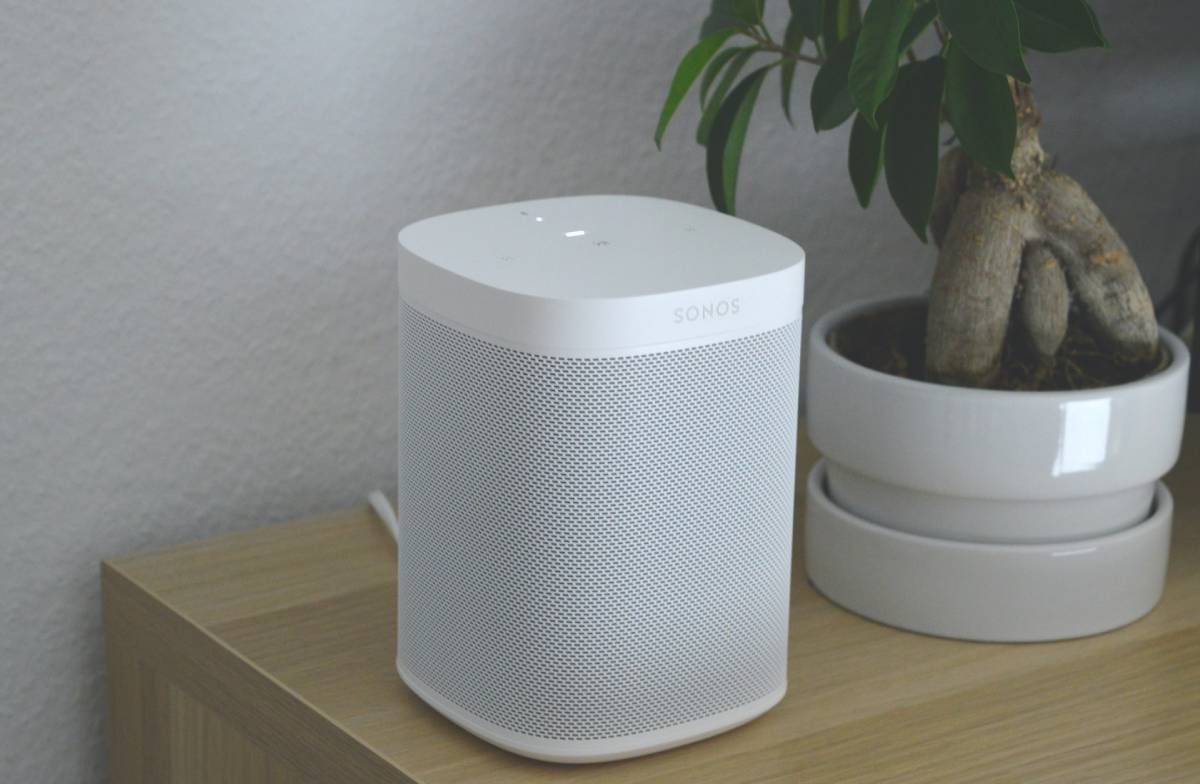
Sonos speakers: These are the physical speakers that you place in different rooms of your home. They come in various models, including portable speakers, soundbars, and even subwoofers. Sonos speakers are known for their exceptional sound quality and the ability to create a synchronized audio experience across multiple rooms.
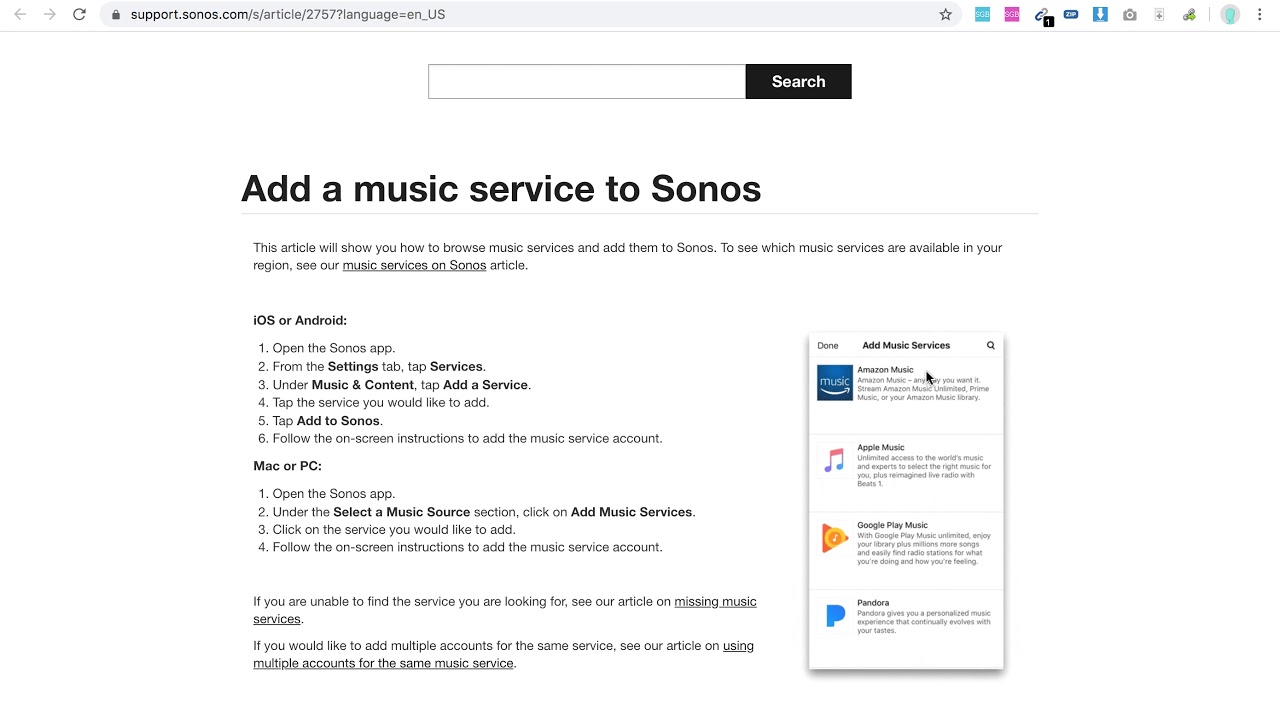
Sonos app: The Sonos app acts as the control center for your Sonos system. You can use the app to browse and play music from various streaming services, control the volume and playback of individual speakers, and create groups of speakers for synchronized playback. The Sonos app is available for both iOS and Android devices.
Dedicated Wi-Fi network: In order for your Sonos speakers to communicate with each other and with your streaming services, they need to be connected to a dedicated Wi-Fi network. This network is separate from your home’s regular Wi-Fi network and is specifically created and managed by the Sonos system. It ensures a stable and reliable connection between your speakers and the Sonos app.
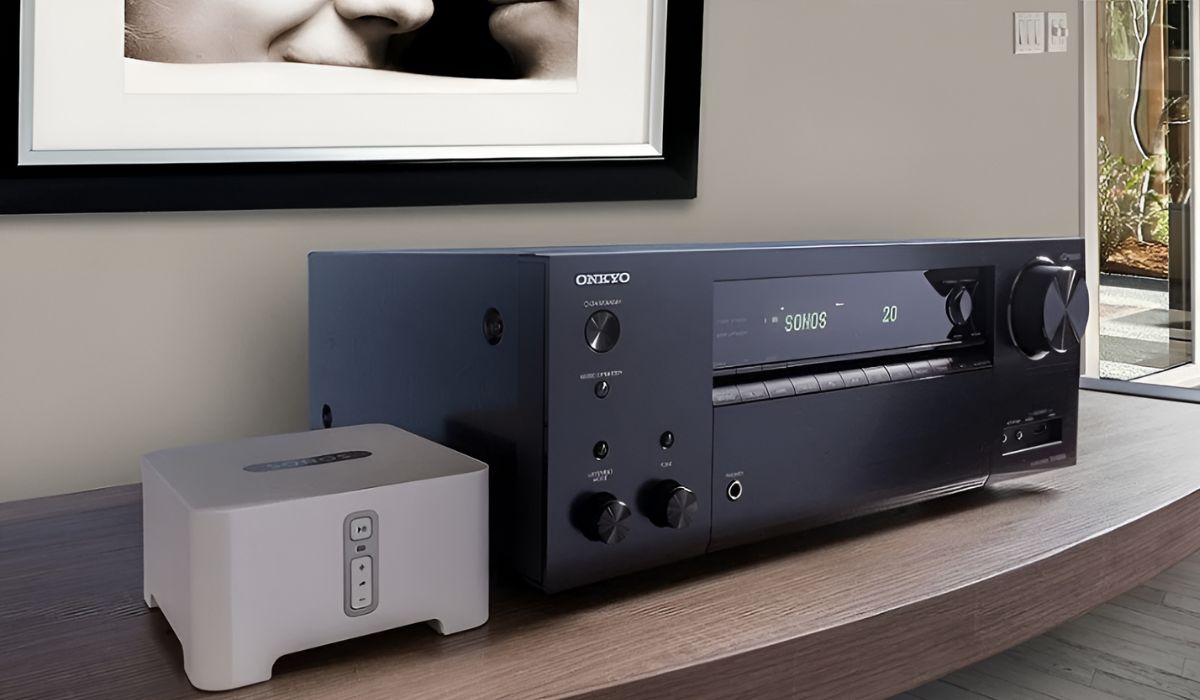
Setting up the Sonos system initially involves connecting one speaker to your Wi-Fi network using an Ethernet cable. This speaker then becomes the primary speaker, also known as the “Sonos Boost,” that creates and manages the dedicated Wi-Fi network for the rest of the speakers to connect to.
With a basic understanding of the Sonos system and its components, you are now ready to prepare your Sonos speaker for the connection to a new Wi-Fi network. We will discuss the necessary steps in the next section.
Preparing Your Sonos Speaker
Before you can connect your Sonos speaker to a new Wi-Fi network, you need to ensure that the speaker is ready for the setup process. This section will guide you through the steps required to prepare your Sonos speaker for the Wi-Fi network connection.
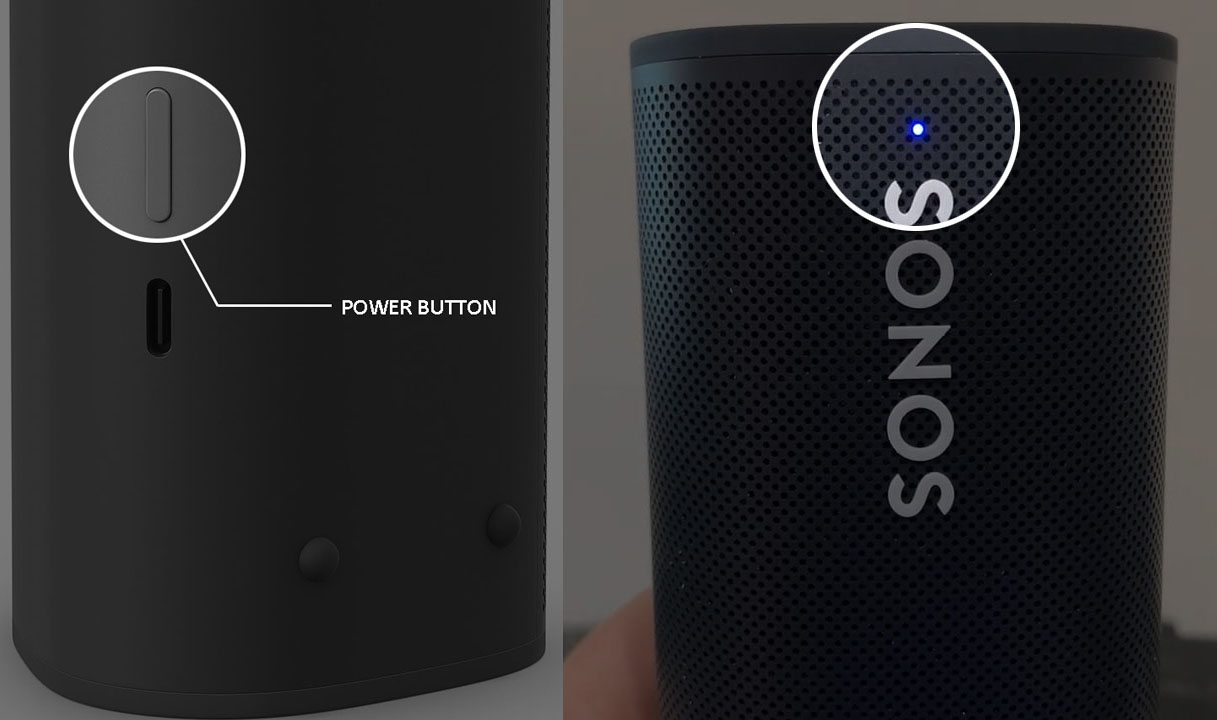
1. Power on your Sonos speaker: Make sure your Sonos speaker is plugged into a power outlet and turned on. You should see the indicator lights on the speaker indicating that it is powered and ready for setup.
2. Connect your Sonos speaker to your router: To establish an initial connection between your Sonos speaker and your network, you will need to use an Ethernet cable. Connect one end of the Ethernet cable to the Ethernet port on your Sonos speaker and the other end to an available Ethernet port on your router or network switch.
3. Wait for the connection status: Give your Sonos speaker some time to establish a connection with your network. The indicator lights on the speaker will show different statuses during this process. Once the speaker is successfully connected, you will see a solid white light or a pulsing green light.
4. Download and launch the Sonos app: While your Sonos speaker is connecting to the network, download the Sonos app on your smartphone or tablet from the App Store or Google Play Store. Launch the app and follow the on-screen instructions to set up your Sonos system.
5. Create a Sonos account: During the setup process, you will be prompted to create a Sonos account or sign in if you already have one. The Sonos account allows you to manage and control your Sonos system from any device with the Sonos app installed.
6. Follow the app instructions: The Sonos app will guide you through the remaining steps to complete the setup process. It will scan for available Sonos speakers, configure the Wi-Fi settings, and connect your Sonos system to the new Wi-Fi network.
7. Disconnect the Ethernet cable: Once the Sonos system is successfully connected to the new Wi-Fi network, you can disconnect the Ethernet cable from your Sonos speaker and your router. The speaker will now rely on the wireless connection for communication.
By following these steps, you have now prepared your Sonos speaker for the Wi-Fi network connection. In the next section, we will discuss how to connect your Sonos system to the new Wi-Fi network.
Connecting Sonos to the New Wi-Fi Network
Now that you have prepared your Sonos speaker, it’s time to connect your Sonos system to the new Wi-Fi network. This section will guide you through the steps required to establish a successful connection between your Sonos speakers and the new Wi-Fi network.
1. Open the Sonos app: Launch the Sonos app on your smartphone or tablet, and ensure that you are signed in to your Sonos account.
2. Access the Wi-Fi settings: In the Sonos app, navigate to the “Settings” option, usually represented by a gear icon. Look for the Wi-Fi settings or network settings within the app menu.
3. Select “Change Wi-Fi Network”: Within the Wi-Fi settings, select the option to change the Wi-Fi network that your Sonos system is connected to.
4. Follow the on-screen instructions: The Sonos app will guide you through the process of connecting your Sonos system to the new Wi-Fi network. The exact steps may vary depending on your device and app version.
5. Select the new Wi-Fi network: From the list of available Wi-Fi networks, choose the name of your new Wi-Fi network that you want to connect your Sonos system to.
6. Enter the Wi-Fi network password: If prompted, enter the password for your new Wi-Fi network. Make sure to do this accurately to ensure a successful connection.
7. Wait for the connection: The Sonos app will now attempt to connect your Sonos system to the new Wi-Fi network. This process may take a few moments, so be patient and allow the app to complete the connection.
8. Confirm the successful connection: Once the connection is established, you will see a confirmation message indicating that your Sonos system is now connected to the new Wi-Fi network.
9. Test your Sonos system: To ensure that the connection is working correctly, try playing music or audio through your Sonos speakers. If you can hear the sound, it means your Sonos system is successfully connected to the new Wi-Fi network.
By following these steps, you should be able to connect your Sonos system to the new Wi-Fi network seamlessly. However, if you encounter any issues or face difficulties during the connection process, refer to the troubleshooting section in the next part of this guide.
Troubleshooting Common Issues
While connecting your Sonos system to a new Wi-Fi network is usually a smooth process, there may be occasions when you encounter some issues. This section will provide you with some troubleshooting steps to address common problems that may arise during the connection process.
1. Check your Wi-Fi network: Ensure that your new Wi-Fi network is functioning properly and that other devices can connect to it successfully. Restart your router if needed and make sure the Wi-Fi signal is strong in the area where your Sonos speakers are located.
2. Verify the Wi-Fi network password: Double-check that you have entered the correct Wi-Fi network password when prompted during the connection process. Pay attention to capitalization and any special characters in the password.
3. Confirm the Sonos software version: Ensure that you are using the latest version of the Sonos app and that your Sonos speakers are running the most up-to-date firmware. Outdated software versions can sometimes cause connectivity issues.
4. Restart your Sonos system: Try restarting your Sonos speaker and the device running the Sonos app. This can often resolve minor connectivity issues and allow for a fresh start in the connection process.
5. Reset your Sonos speaker: If other troubleshooting steps fail, you may need to reset your Sonos speaker to factory settings. Refer to the Sonos support guides or the user manual for instructions on how to perform a factory reset.
6. Check for Wi-Fi interference: Other wireless devices, such as baby monitors or cordless phones, can interfere with the Wi-Fi signal. Try moving your Sonos speakers away from potential sources of interference or adjust the placement of your router.
7. Contact Sonos customer support: If you have exhausted all troubleshooting options and are still experiencing difficulties, it may be necessary to contact Sonos customer support for further assistance. They can provide personalized guidance and help resolve any complex issues you may be facing.
By following these troubleshooting steps, you should be able to overcome common issues and successfully connect your Sonos system to the new Wi-Fi network. Remember to remain patient and thorough in your troubleshooting efforts to achieve the best possible result.
Conclusion
Congratulations! You have successfully learned how to connect your Sonos system to a new Wi-Fi network. By understanding the Sonos system, preparing your Sonos speaker, and following the step-by-step process, you can enjoy your favorite music and audio throughout your home on your newly connected Sonos speakers.
Remember, the key to a smooth connection is to ensure that your Sonos speakers are powered on, properly connected to the network, and that you have a stable and reliable Wi-Fi signal. The Sonos app will guide you through the setup process and allow you to easily connect your system to the new Wi-Fi network.
If you encounter any issues or run into difficulties, don’t panic. Troubleshooting common problems, such as checking your Wi-Fi network, verifying the password, and restarting your Sonos system, can often quickly resolve any issues that may arise.
Always keep your Sonos software and firmware up to date to benefit from the latest features and enhancements. Additionally, remember to ensure a strong Wi-Fi connection and minimize potential sources of interference to optimize the performance of your Sonos system.
Connecting your Sonos system to a new Wi-Fi network is just one step in unlocking the full potential of your Sonos speakers. Explore the Sonos app to discover more features, create speaker groups, and enjoy synchronized audio playback throughout your home.
We hope this guide has been helpful in assisting you with connecting your Sonos system to a new Wi-Fi network. Now, go ahead and enjoy the incredible sound quality and convenience that Sonos speakers bring to your home entertainment experience.