Introduction
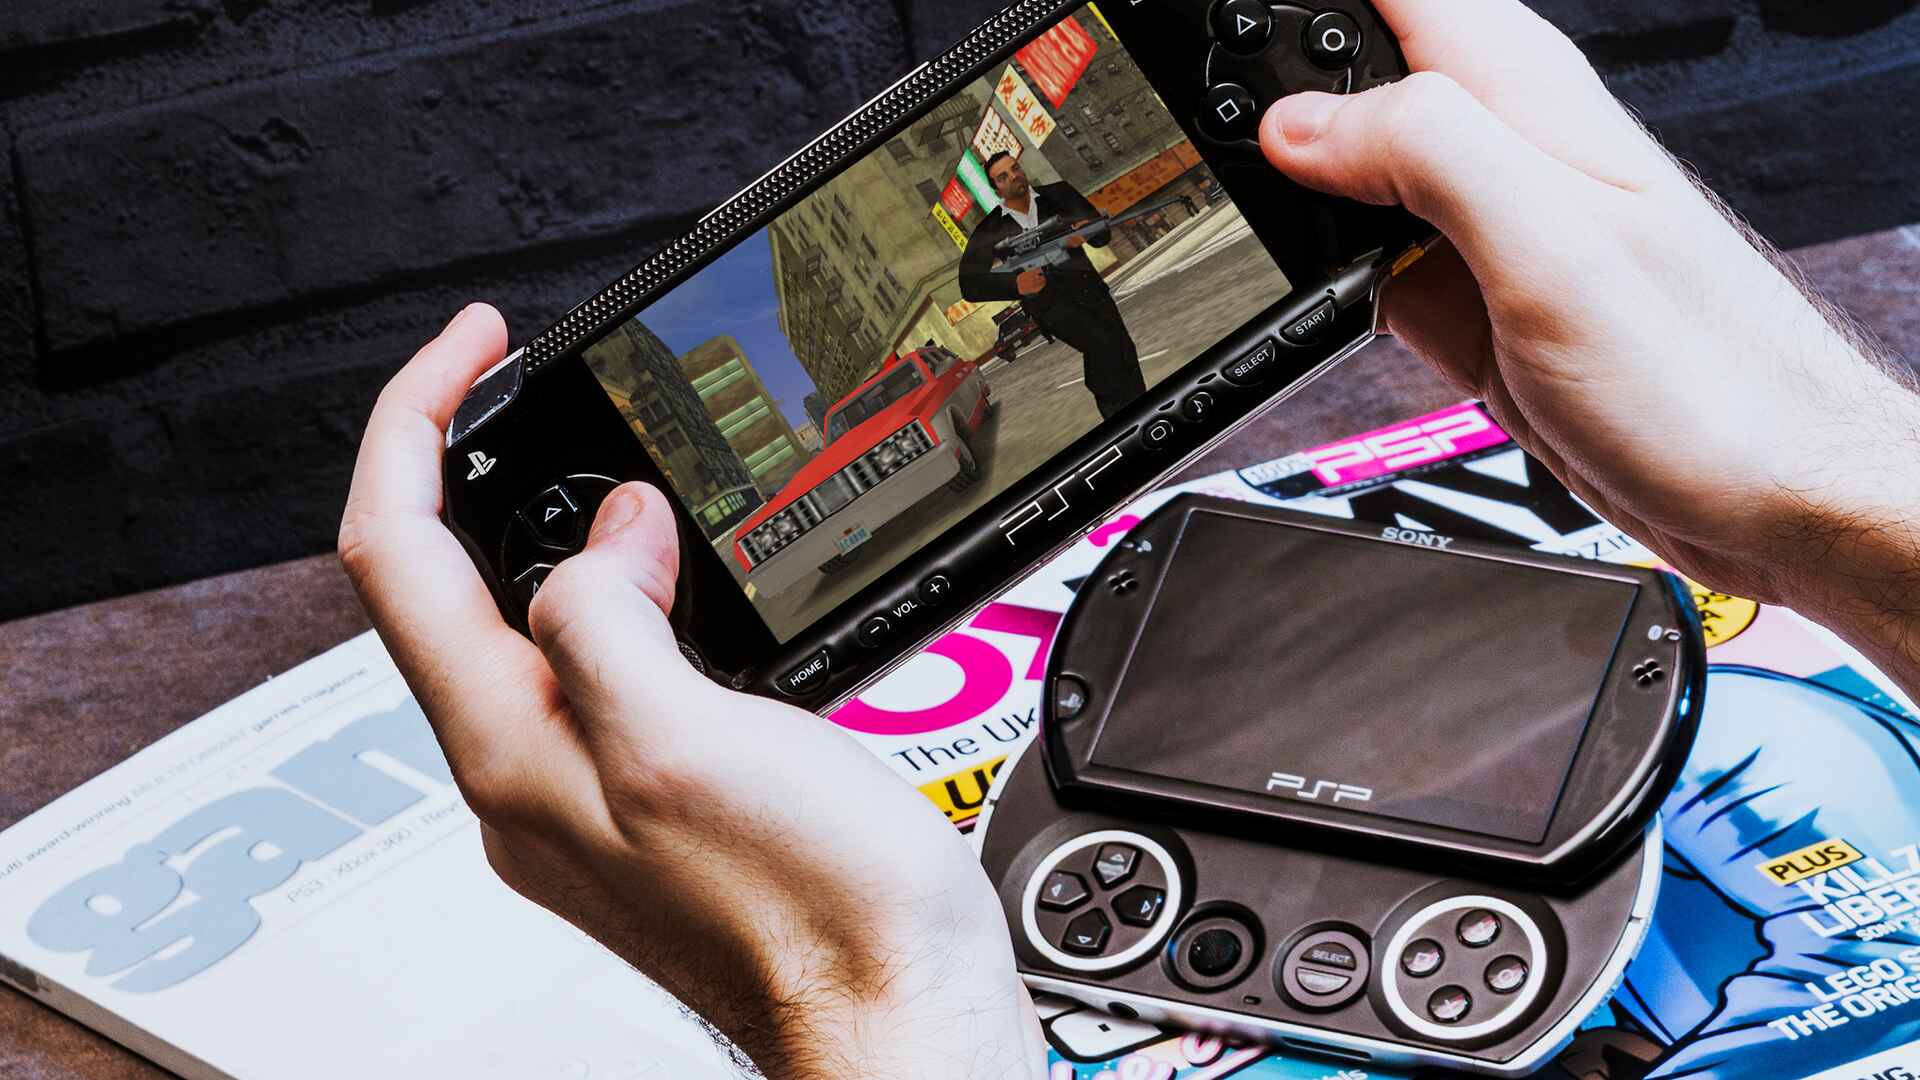
Welcome to the world of portable gaming with the PlayStation Portable (PSP) from Sony. The PSP offers a range of exciting games and multimedia features to keep you entertained on the go. One of the key features of the PSP is its ability to connect to the internet, allowing you to play online games, download content, and browse the web.
In order to enjoy these online features, you need to connect your PSP to a Wi-Fi network. Wi-Fi, short for wireless fidelity, is a technology that enables devices to connect to the internet without the need for a physical wired connection. With Wi-Fi, you can access the internet from any location within range of a wireless network.
In this guide, we will walk you through the process of connecting your PSP to a Wi-Fi network. Whether you’re at home, at a friend’s house, or at a public Wi-Fi hotspot, the steps outlined in this guide will help you get your PSP online.
Before we begin, it’s important to note that not all PSP models have built-in Wi-Fi capabilities. Make sure to check your PSP’s compatibility before proceeding with the steps in this guide. If you have a compatible PSP and are ready to get connected, let’s dive in and get your PSP online in no time!
Step 1: Check your PSP’s compatibility
Before attempting to connect your PSP to a Wi-Fi network, it’s crucial to verify that your PSP model is compatible with wireless internet connectivity. Most PSP models released after the PSP-1000 have Wi-Fi capabilities, but it’s always best to double-check.
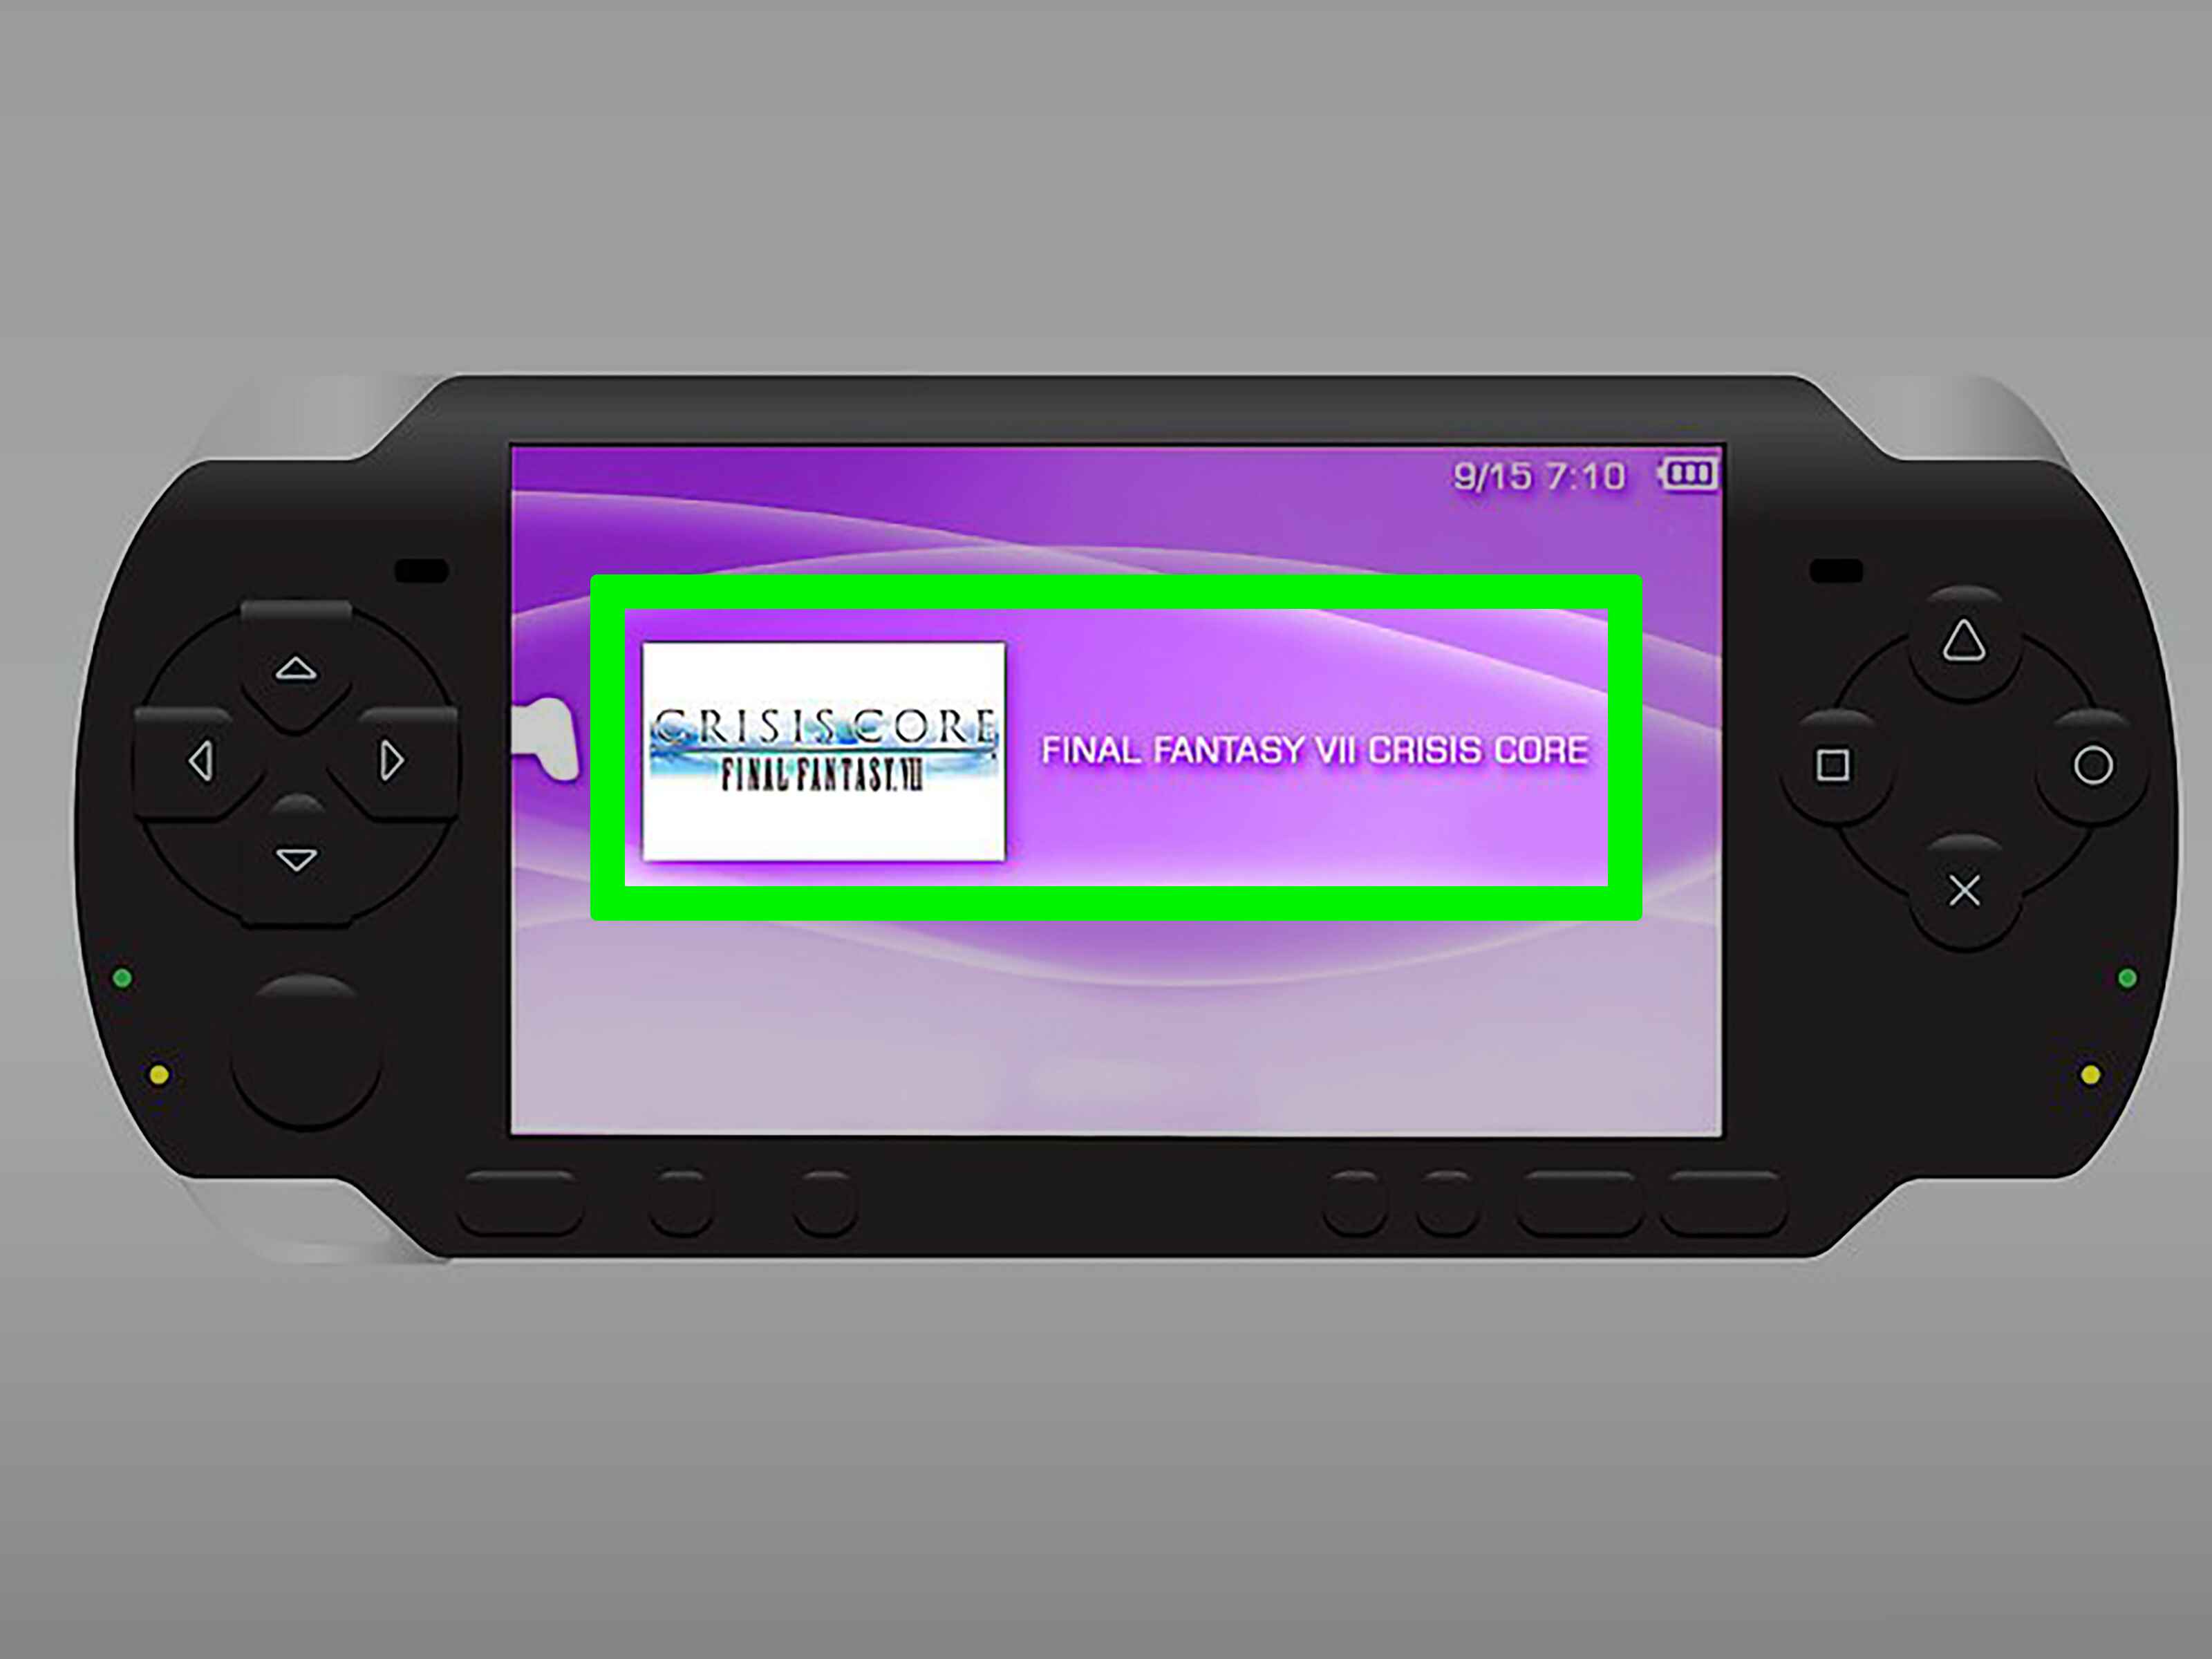
To determine if your PSP has Wi-Fi functionality, look for the Wi-Fi switch or button on the PSP itself. Typically, this switch is located on the side or the top of the device. It may vary slightly depending on the PSP model you own.
If you cannot find a physical Wi-Fi switch on your PSP, navigate to the Settings menu on your PSP’s home screen. From there, scroll down and select the Network Settings option. If you see an option for Wi-Fi, then your PSP is compatible with wireless connectivity.
If, after following these steps, you do not find any indication of Wi-Fi capability, it is likely that your PSP model does not support wireless internet connections. However, you may still be able to connect to the internet using a wired connection through an Ethernet cable and a PC or router.
It’s important to note that even if your PSP has Wi-Fi functionality, older models may not support the latest encryption protocols or be compatible with newer Wi-Fi networks. In such cases, you may need to update your PSP’s firmware to ensure compatibility with modern wireless networks.
Once you’ve verified that your PSP is Wi-Fi capable, you’re ready to move on to the next step: setting up your wireless network. Remember to keep your PSP charged or connected to a power source throughout the setup process to prevent any interruptions.
Step 2: Set up your wireless network
To connect your PSP to a Wi-Fi network, you first need to have a wireless network set up at your location. If you already have a Wi-Fi network in place, you can skip this step and proceed to the next one.
If you don’t have a Wi-Fi network, fret not! Setting up a wireless network is relatively straightforward. Here are the basic steps:
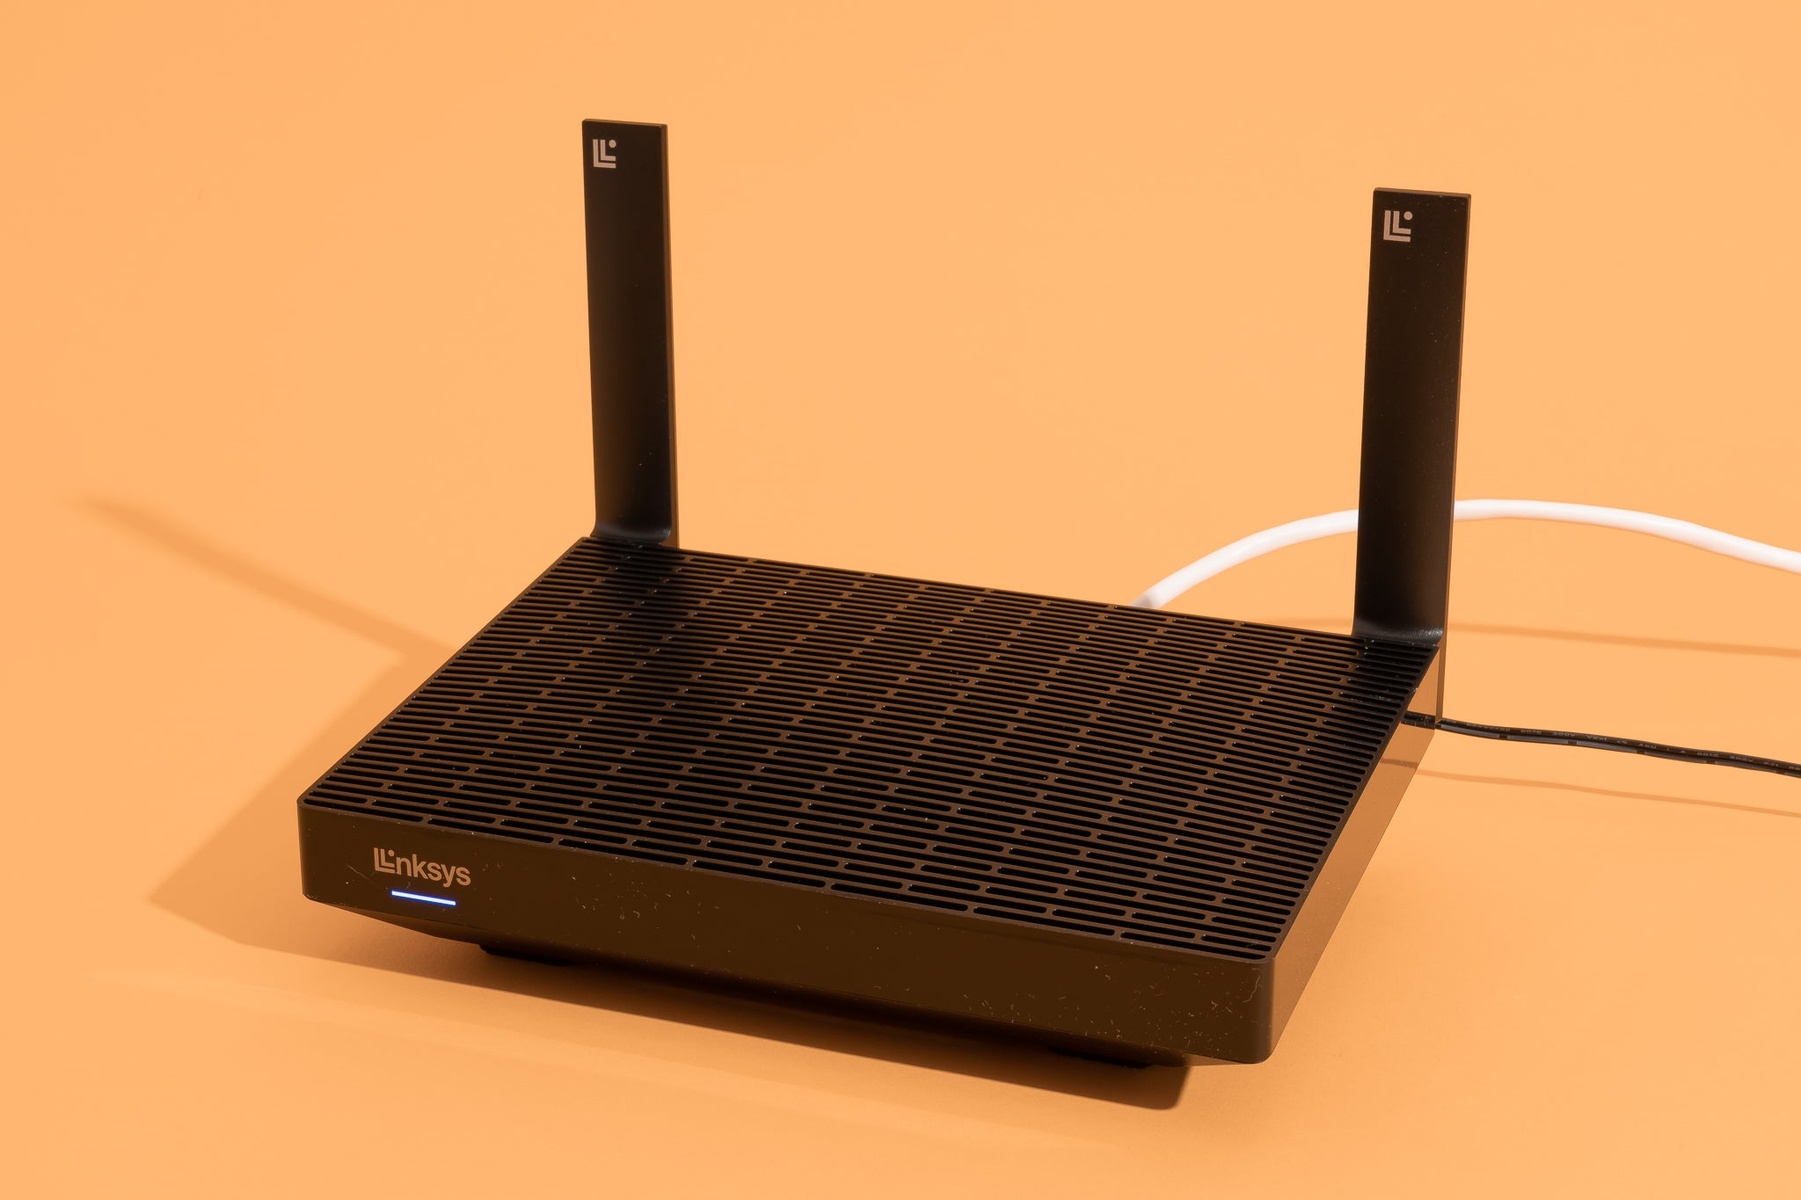
- Obtain a wireless router: To create a Wi-Fi network, you’ll need a wireless router. These routers can be purchased from electronics stores or online retailers. Ensure you choose a router that suits your needs and has the required range to cover the area where you’ll be using your PSP.
- Connect the router to your modem: Once you have your wireless router, connect it to your internet modem using an Ethernet cable. This cable typically connects to the WAN or Internet port on the router and the corresponding port on your modem.
- Power up the router: Plug in the power adapter for your router and turn it on. Wait for the router to boot up and establish a connection with your modem. This process may take a few minutes, so be patient.
- Access the router’s settings: Open a web browser on a computer or device connected to the router’s network. Enter the router’s IP address (e.g., 192.168.1.1) in the address bar and press Enter. This will take you to the router’s configuration page.
- Configure the Wi-Fi settings: On the router’s configuration page, locate the wireless settings section. Here, you can set the network name (SSID) and choose a security mode (such as WPA2-PSK) and password. It’s important to choose a strong password to secure your network.
- Save and apply the settings: After configuring the Wi-Fi settings, save the changes and apply the settings. Your router will reboot, and the new Wi-Fi network will be available for devices to connect to.
Congratulations! You now have a wireless network set up and ready for your PSP to connect to. In the next step, we will guide you through configuring your PSP’s network settings to connect to the Wi-Fi network you just set up.
Step 3: Configure your PSP’s network settings
Now that you have a Wi-Fi network set up, it’s time to configure your PSP’s network settings. This step involves providing your PSP with the necessary information to connect to the Wi-Fi network.
To begin, turn on your PSP and navigate to the Settings menu on the home screen. Scroll down and select the Network Settings option. From there, choose the Infrastructure Mode and select the New Connection option.
Your PSP will now scan for available Wi-Fi networks. Once it detects your network, select it from the list of available networks. If you have set up a password for your Wi-Fi network, a prompt will ask you to input the network security key or password. Enter the password using the on-screen keyboard, and proceed by selecting the OK option.
Next, you will be prompted to customize the settings for your Wi-Fi connection. Select the Easy option to let your PSP automatically configure the network settings, including the IP address, Subnet Mask, Default Router, and DNS settings. Alternatively, you can choose the Custom option if you prefer to manually enter these settings.
Once you have selected the desired setting option, your PSP will attempt to connect to the Wi-Fi network using the specified settings. If the connection is successful, you will see a confirmation message. Congratulations, your PSP is now connected to the Wi-Fi network!
If the connection fails, double-check the network settings and ensure that the password you entered is correct. You may also want to make sure that your router is functioning properly and within range of your PSP.
Keep in mind that if your Wi-Fi network uses a specific security protocol, such as WPA2-PSK, your PSP must support that protocol to establish a successful connection. If your PSP doesn’t support the required security protocol, you may need to adjust the Wi-Fi security settings on your router to a more compatible option.
Before moving on to the next step, take a moment to test your internet connection on the PSP to ensure that everything is working correctly. In the next step, we will guide you through the process of connecting the PSP to the wireless network and accessing the internet.
Step 4: Connect the PSP to the wireless network
With your PSP’s network settings configured, it’s time to connect your PSP to the wireless network you have set up. This step will establish the connection between your PSP and the Wi-Fi network, allowing you to access the internet and enjoy online features.
To connect your PSP to the wireless network, navigate to the Network Settings menu on your PSP. Select the Connection Name you created earlier, and your PSP will attempt to establish a connection with the network using the configured settings.
If the connection is successful, your PSP will display a confirmation message, indicating that it is now connected to the wireless network. You can now proceed to access various online features, including multiplayer gaming, downloading content, and browsing the web, with your PSP.
It’s worth noting that some games or applications on your PSP may require additional network setup or registration. In such cases, follow the instructions provided by the game or application to configure the necessary settings.
If the connection fails, double-check the network settings on your PSP, ensuring that the correct SSID, security type, and password are entered. Also, confirm that your wireless router is functioning correctly and within range of your PSP. If necessary, try restarting both your PSP and router before attempting the connection again.
Keep in mind that the quality and stability of your internet connection can affect your gaming or browsing experience on the PSP. If you experience lag or disconnections, try moving closer to the router or reducing interference from other electronic devices.
Congratulations! Your PSP is now connected to the wireless network, and you can begin enjoying the online features and capabilities of your portable gaming device. In the next step, we will guide you through testing your internet connection to ensure everything is working as expected.
Step 5: Test your internet connection
Now that your PSP is connected to the wireless network, it’s important to test your internet connection to ensure that it is functioning properly. This step will help verify that your PSP can access the internet and allow you to troubleshoot any connectivity issues if necessary.
To test your PSP’s internet connection, go to the PSP’s home screen and navigate to the Settings menu. Scroll down and select the Network Settings option, then choose the Infrastructure Mode.
Select the Connection Name you created earlier and choose the Test Connection option. Your PSP will perform a series of tests to determine if it can successfully connect to the internet.
During the testing process, your PSP will check for an IP address, establish a connection to the router, perform a DNS resolution, and finally, test the internet connection itself.
If the tests are successful, you will see a confirmation message indicating that your PSP is connected to the internet. Congratulations! You can now enjoy all the online features that the PSP has to offer.
However, if the tests fail, don’t worry. There are a few troubleshooting steps you can take to resolve the issue. First, double-check the network settings on your PSP, making sure that the SSID, security type, and password are correctly entered.
Next, ensure that your wireless router is functioning properly and that it is connected to the internet. Restart both your PSP and router, and attempt the test connection again.
If the problem persists, you may need to troubleshoot your router’s settings or contact your internet service provider for further assistance. They can help you resolve any potential network issues that may be affecting your PSP’s internet connection.
By testing your PSP’s internet connection, you can ensure that it is working correctly and enjoy a seamless online gaming experience or surf the web hassle-free.
With that, you have successfully connected your PSP to a Wi-Fi network, configured the network settings, and tested the internet connection. You are now ready to dive into the exciting world of online gaming and multimedia with your PSP. Play on and enjoy the experience!
Troubleshooting tips
While connecting your PSP to a wireless network can be a straightforward process, you may encounter some issues along the way. Here are a few common troubleshooting tips to help you overcome any obstacles and ensure a successful connection:
- Ensure you have entered the correct network information: Double-check the SSID, security type, and password you entered in your PSP’s network settings. Typos or incorrect information can prevent your PSP from connecting to the network.
- Restart your PSP and router: Sometimes a simple restart can resolve connectivity issues. Power off your PSP and router, wait a few moments, and then turn them back on. This can refresh the connection and resolve any temporary glitches.
- Move closer to the wireless router: If you’re experiencing a weak Wi-Fi signal, try moving closer to the router. Obstacles like walls or distance can weaken the signal strength, resulting in a poor connection or intermittent drops.
- Check for router firmware updates: Outdated router firmware can cause compatibility issues with your PSP. Visit the manufacturer’s website to check for any available updates and follow the instructions to update your router’s firmware if necessary.
- Adjust your router’s wireless channel: If you’re experiencing interference from other nearby Wi-Fi networks, changing your router’s wireless channel can help improve connectivity. Access your router’s settings and try different channels to find the one with the least interference.
- Reset your router to factory settings: If all else fails, you can try resetting your router to its factory settings. Be aware that this will erase any custom configurations, so make sure to note down any necessary information before proceeding. After the reset, reconfigure your router and attempt the connection again.
If you have exhausted these troubleshooting tips and are still unable to connect your PSP to the wireless network, it may be worth seeking assistance from technical support or consulting online forums for further advice. Remember, every network setup is unique, and the specific solutions may vary depending on your equipment and circumstances.
With patience and perseverance, you can overcome any connectivity issues and enjoy the full benefits of connecting your PSP to a Wi-Fi network. Happy gaming!
Conclusion
Congratulations! You have successfully learned how to connect your PSP to a Wi-Fi network. By following the steps outlined in this guide, you can now enjoy the benefits of online gaming, downloading content, and browsing the web on your PSP.
We began by checking the compatibility of your PSP and ensuring that it had Wi-Fi capabilities. Then, we walked through the process of setting up a wireless network if you didn’t already have one in place.
Next, we guided you through configuring your PSP’s network settings and connecting it to the Wi-Fi network. After that, we emphasized the importance of testing your internet connection to ensure everything is functioning as expected.
Lastly, we provided troubleshooting tips to help you address any connectivity issues you may encounter along the way. These tips can help you overcome obstacles and enjoy a seamless and uninterrupted online gaming experience with your PSP.
Remember that each Wi-Fi network setup may be unique, and it’s essential to adapt the steps and troubleshooting tips to your specific situation. Reach out to technical support or online forums if you need additional assistance.
Now that you’re connected, it’s time to dive into the exciting world of online gaming, download new content, and connect with other PSP users. Enjoy the versatility and freedom that Wi-Fi connectivity brings to your gaming experience!
Thank you for following this guide, and best of luck in your adventures with your PSP!