Introduction
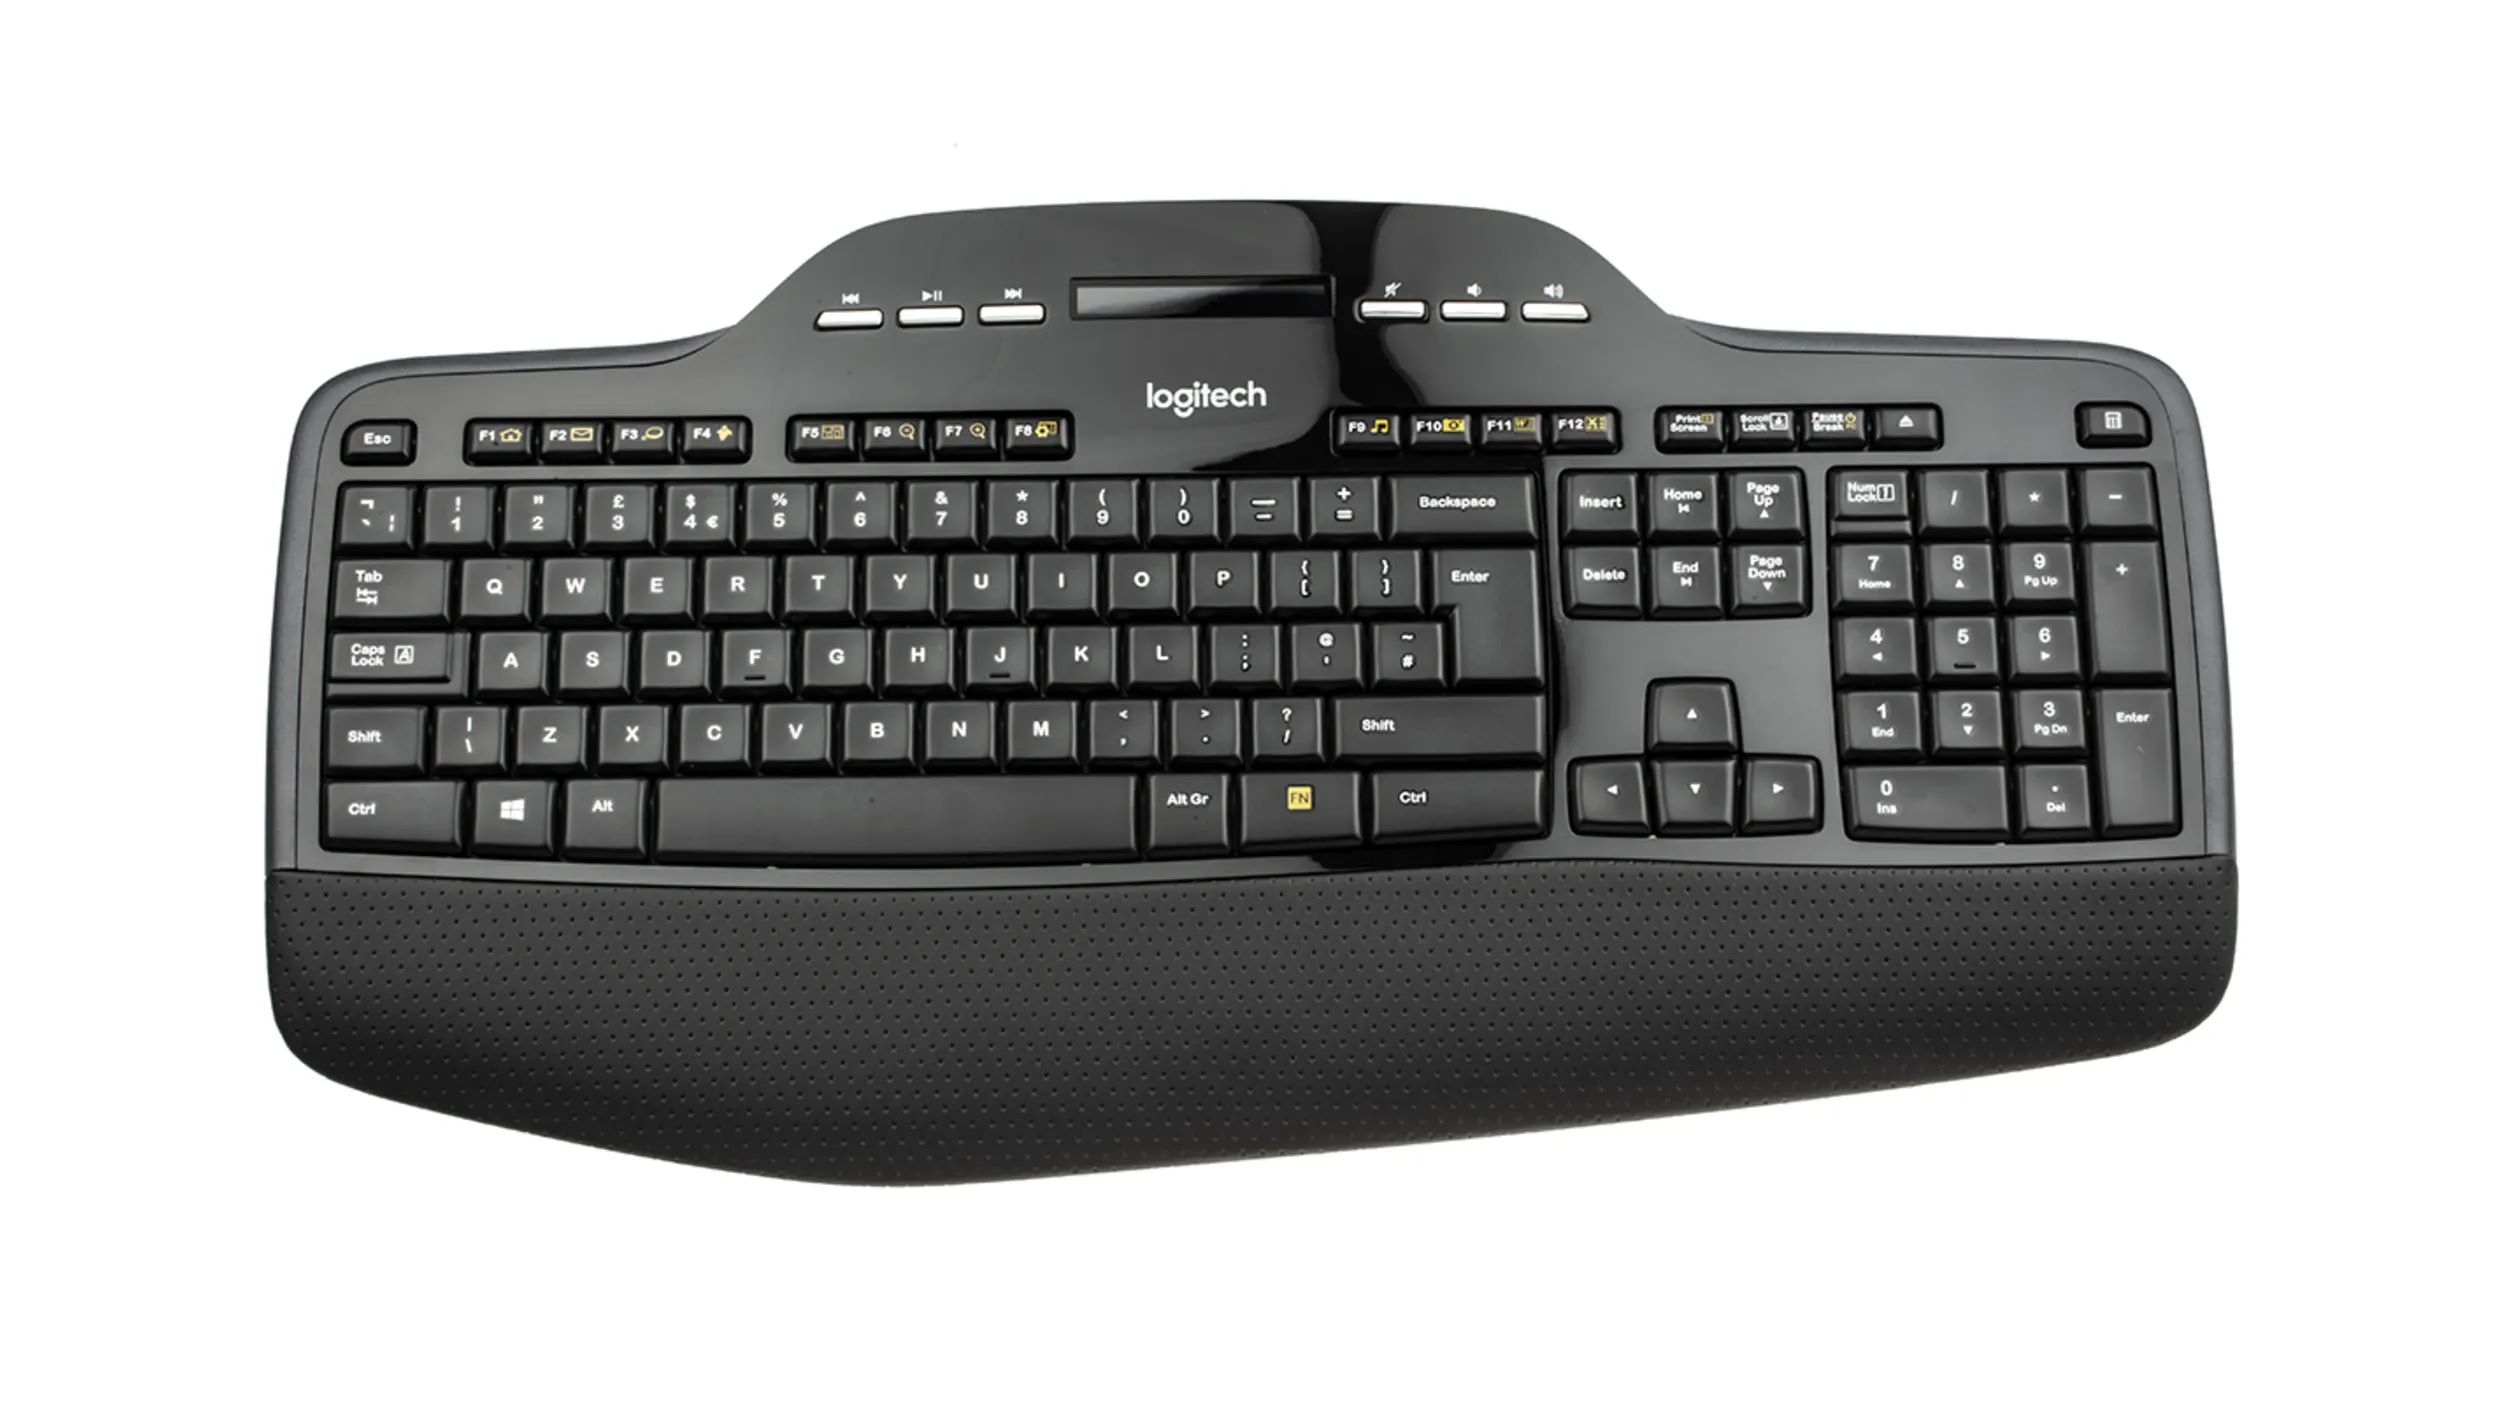
Welcome to this guide on how to connect the Logitech Keyboard K540. The Logitech K540 is a versatile wireless keyboard that offers a comfortable typing experience with its full-sized layout and convenient features. Whether you’re a professional needing a reliable keyboard for work or a casual user looking to enhance your typing experience at home, this guide will walk you through the steps to connect your Logitech K540 keyboard and start enjoying its functions.
The Logitech K540 keyboard utilizes wireless technology, allowing you to connect it to your computer or laptop without the hassle of tangled cords. With its sleek design, responsive keys, and long battery life, the Logitech K540 ensures a seamless and productive typing experience for extended periods.
By following the step-by-step instructions in this guide, you’ll be able to set up and connect your Logitech K540 keyboard quickly and easily. Whether you’re a tech-savvy individual or a beginner, this guide provides clear instructions and helpful tips to ensure a successful connection.
So, let’s dive into the process of connecting your Logitech Keyboard K540 and unlock its full potential!
Step 1: Unboxing and Checking the Contents
The first step to connecting your Logitech Keyboard K540 is to unbox it and check that all the necessary components are present. Here’s what you should do:
- Begin by carefully opening the package containing your Logitech Keyboard K540. Remove the keyboard and all accompanying accessories from the box.
- Inspect the keyboard to ensure there are no visible damages or defects. Logitech is known for its quality products, but it’s always good to double-check before proceeding.
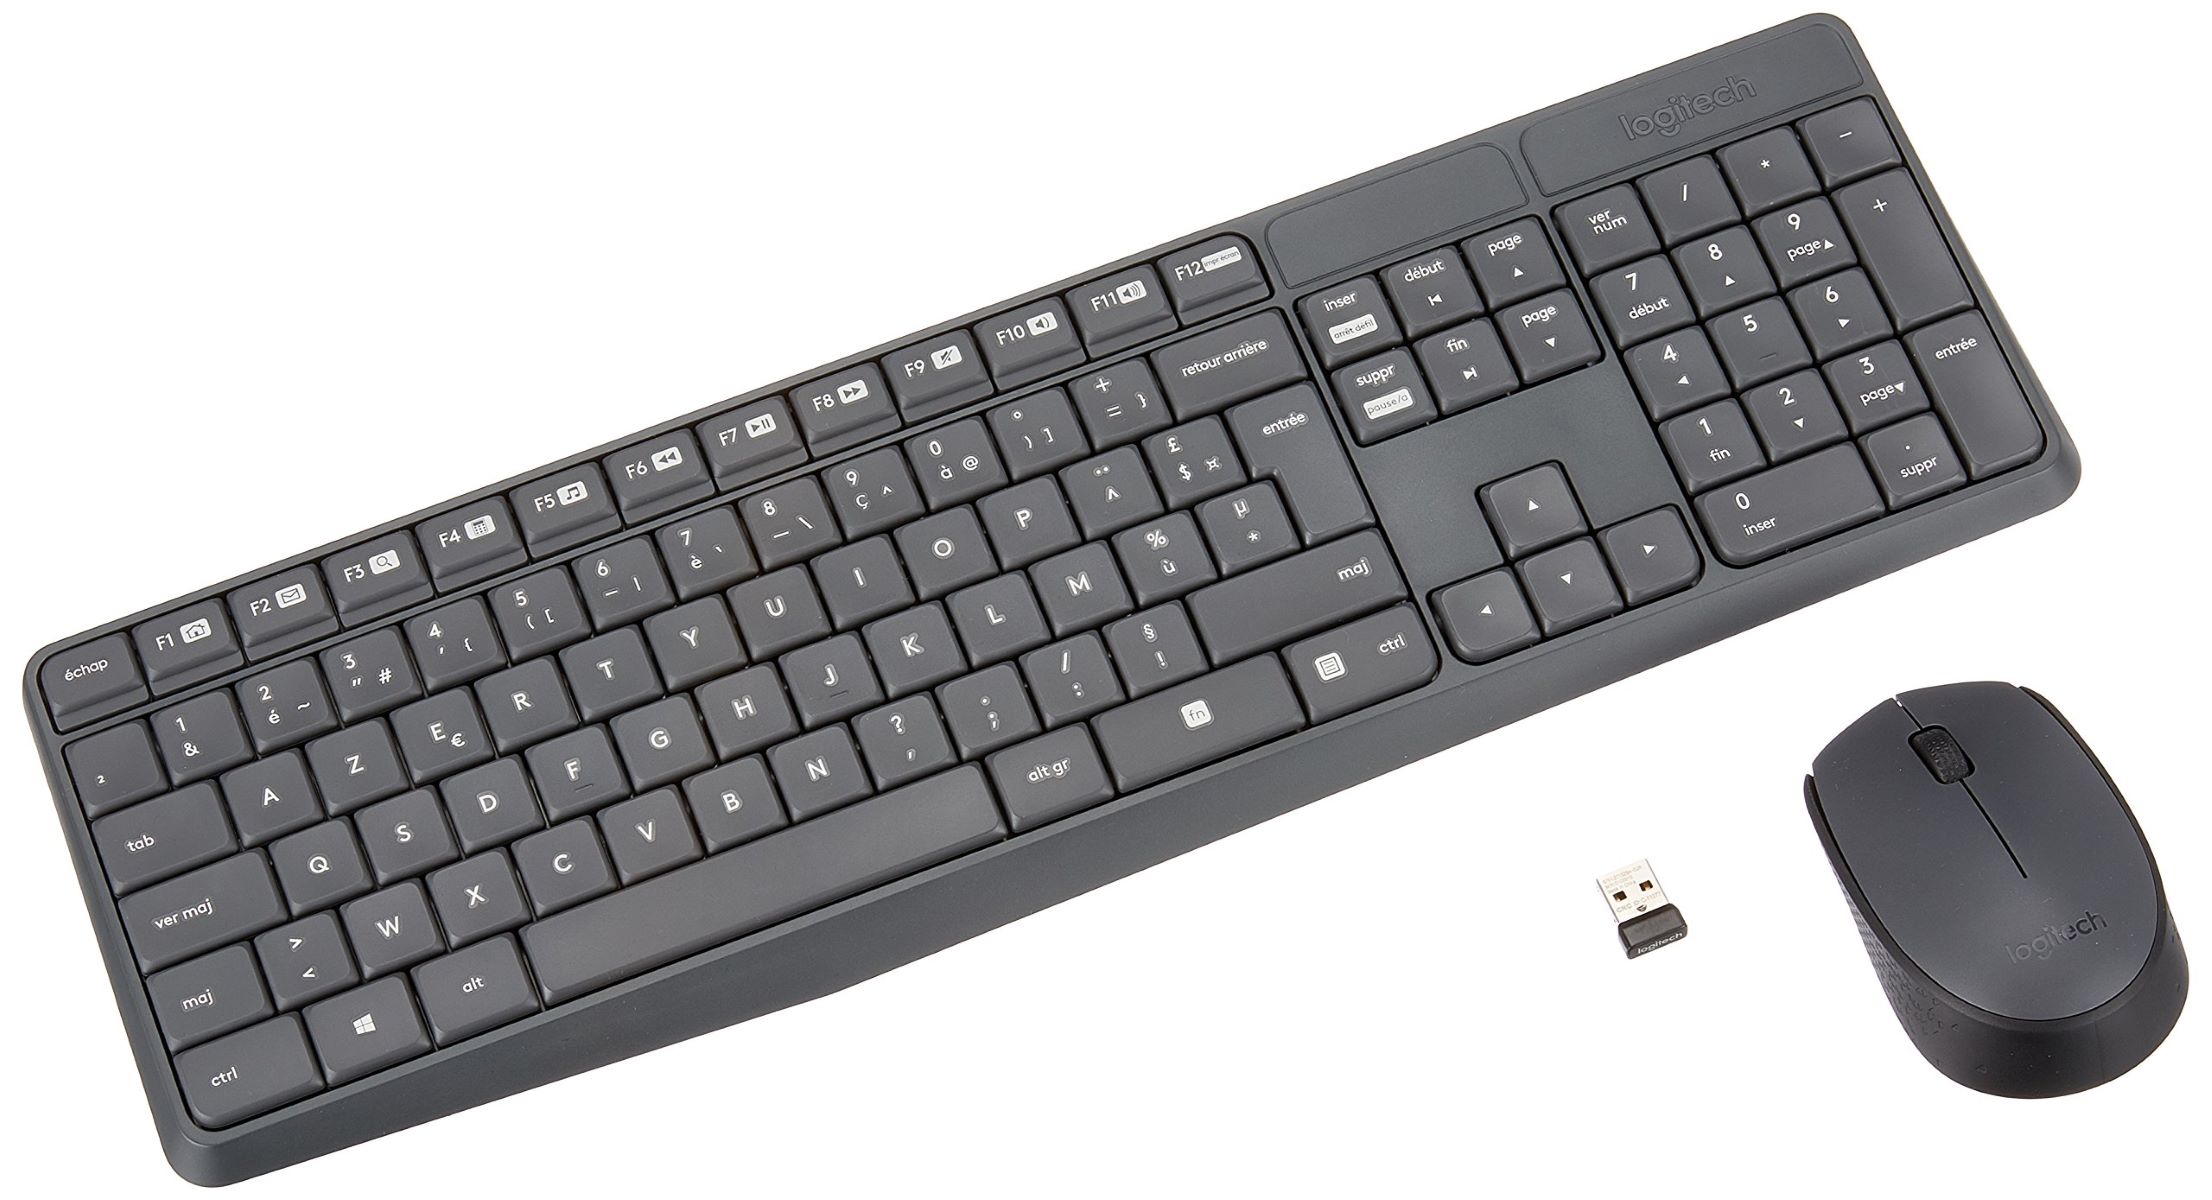
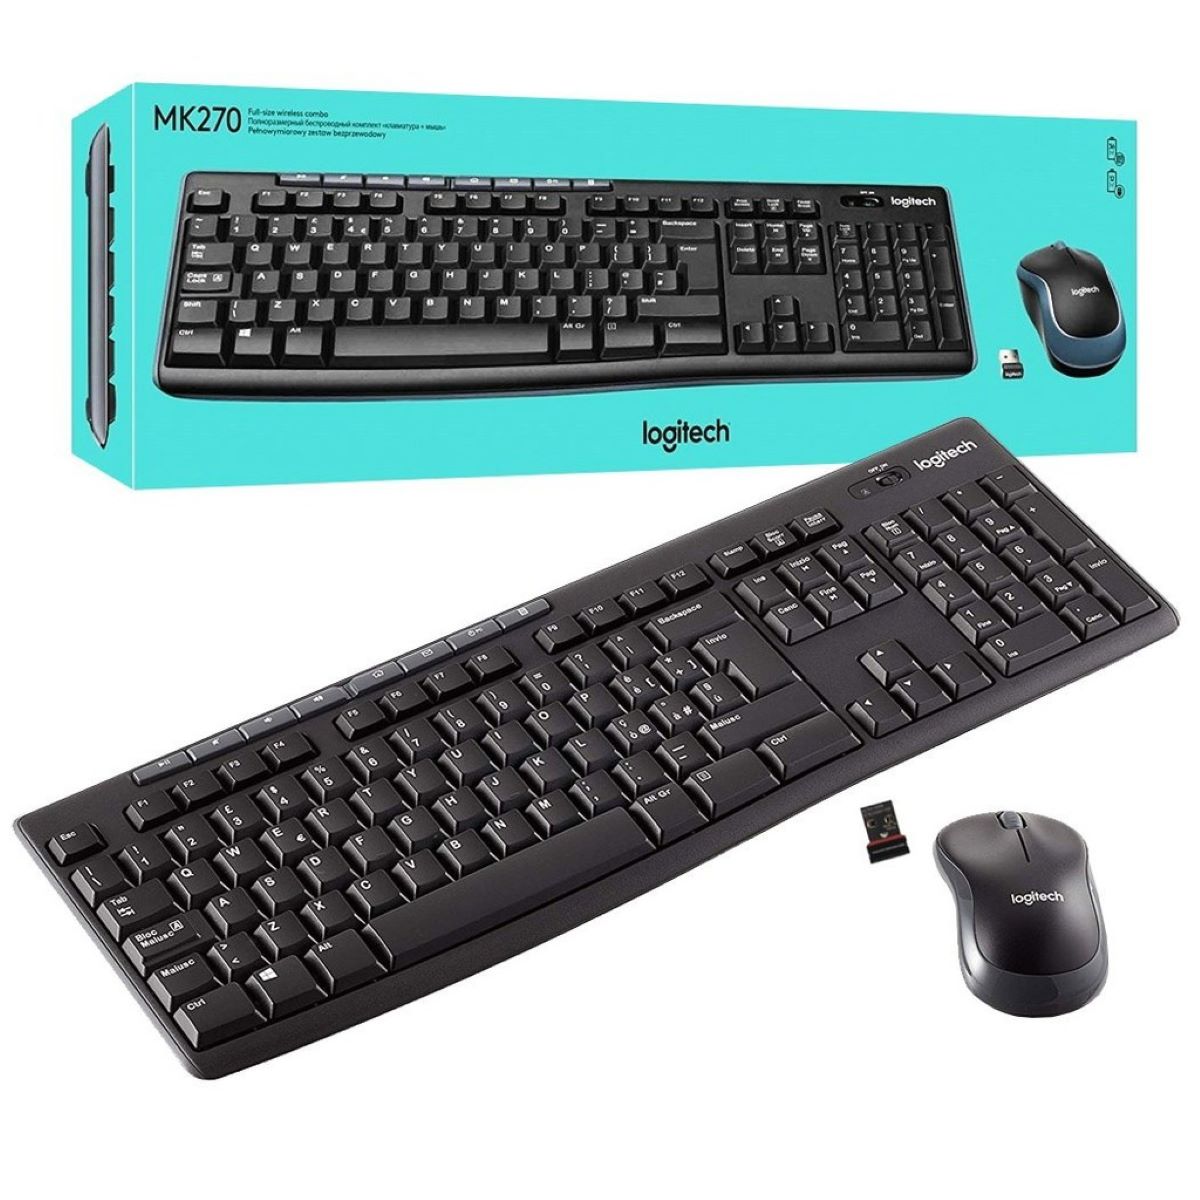
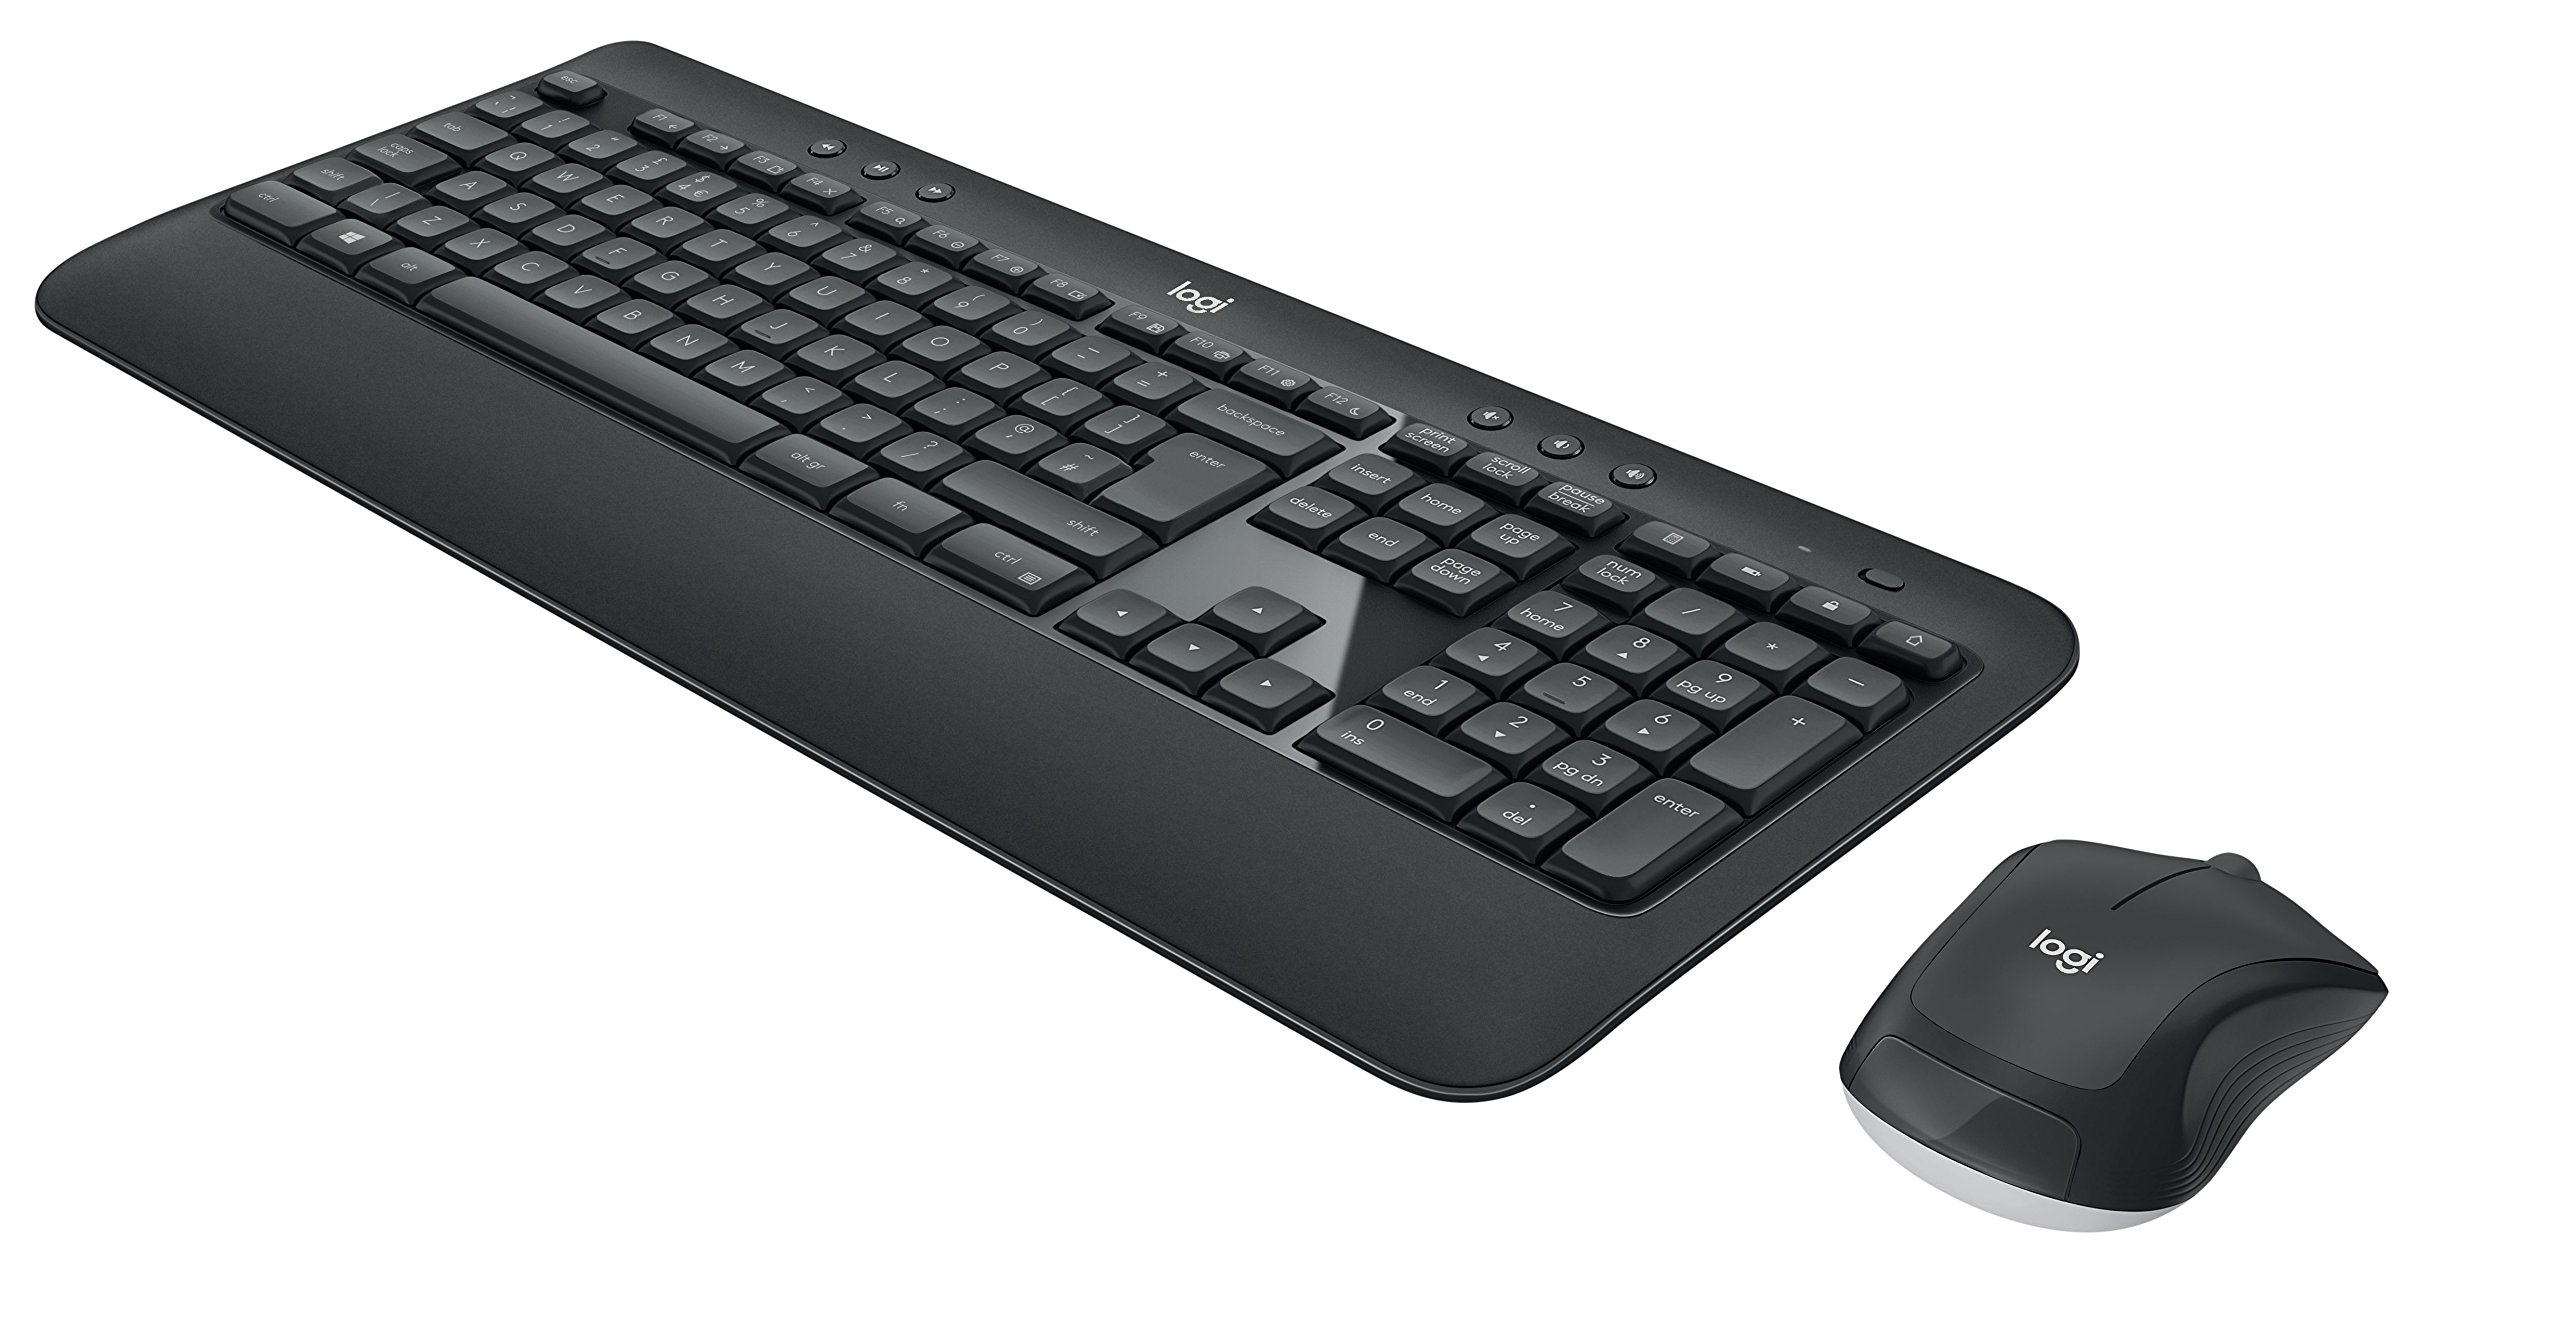
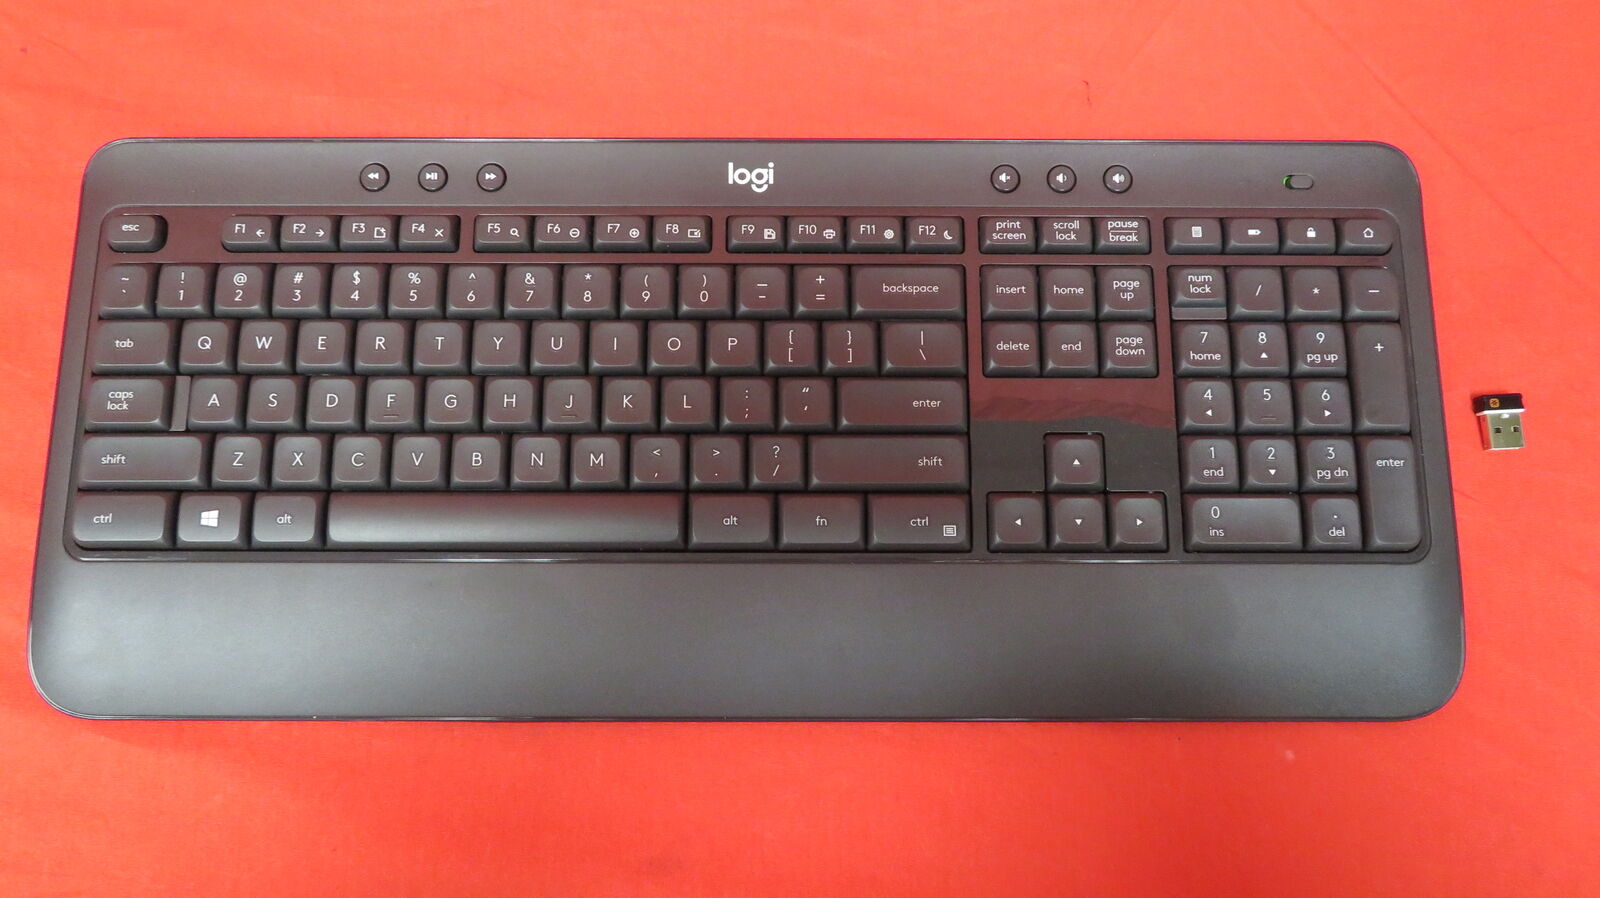
- Take a moment to familiarize yourself with the contents of the package. The Logitech Keyboard K540 typically includes the keyboard itself, a USB receiver, and the user manual. Ensure all these items are present.
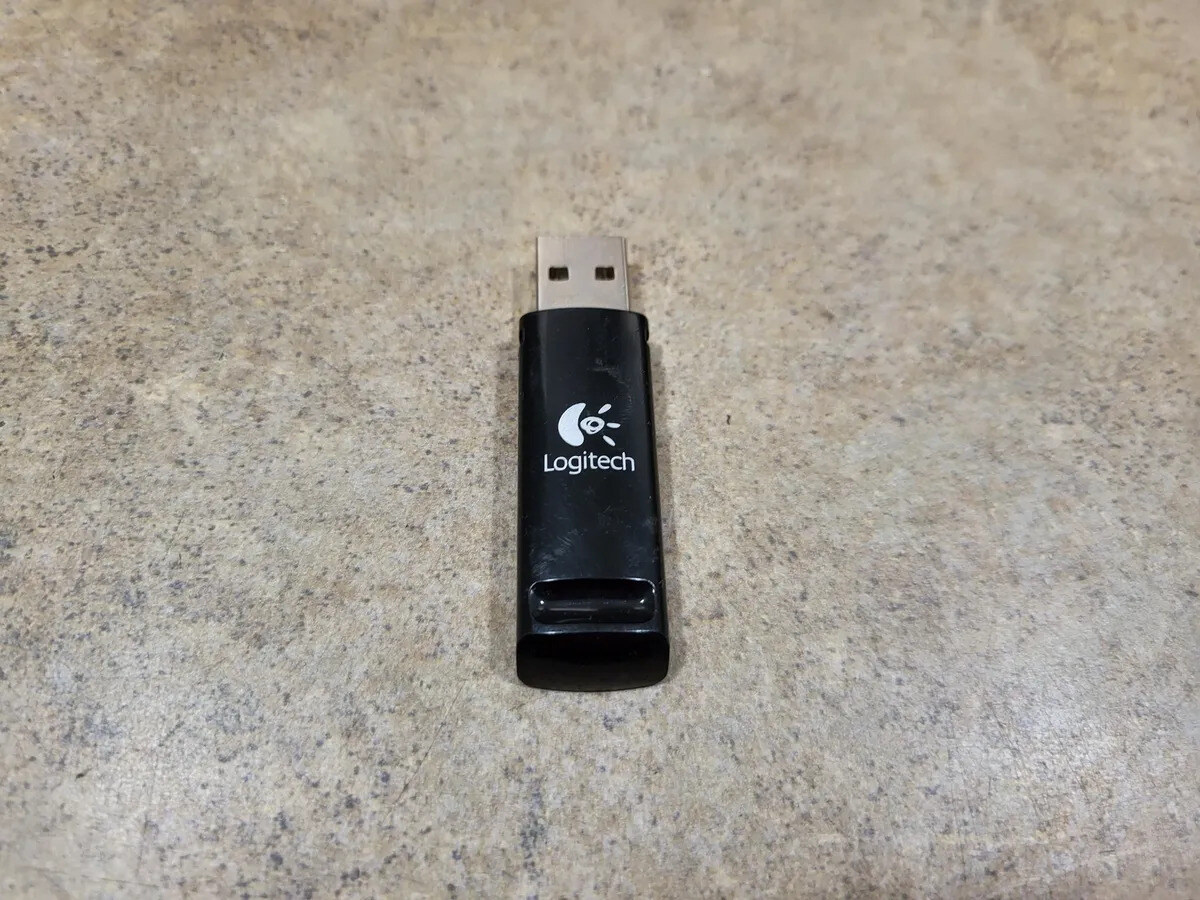
- Locate the USB receiver, which is responsible for wirelessly connecting the keyboard to your computer or laptop. It is usually small and plugs into a USB port.
Checking the contents and inspecting the keyboard for any damages or defects ensures that you have a smooth and trouble-free setup process. If you notice any issues with the keyboard or any missing components, it is advisable to contact Logitech’s customer support for assistance or to arrange a replacement.
Once you have confirmed that all the necessary components are present and the keyboard is in good condition, you are ready to move on to the next step: inserting batteries into the keyboard.
Step 2: Inserting Batteries into the Keyboard
Before you can start using your Logitech Keyboard K540, you need to insert batteries to power the device. Here’s how:
- Flip the Logitech Keyboard K540 over so that the bottom side is facing up.
- Locate the battery compartment cover on the back of the keyboard. It is usually at the top-right corner or bottom-right corner.
- Slide the battery compartment cover to open it. Some models may have a latch that needs to be released before sliding the cover open.
- Insert the required batteries into the compartment. The Logitech Keyboard K540 typically uses two AA batteries.
- Ensure that the batteries are inserted correctly according to the polarity markings indicated inside the compartment.
- Slide the battery compartment cover back into place until it clicks or securely fits.
It is important to use fresh, high-quality batteries to ensure optimal performance and battery life. Cheap or old batteries may not provide sufficient power, leading to connectivity issues or shorter battery life.
Once the batteries are inserted correctly and the battery compartment cover is securely closed, your Logitech Keyboard K540 is now powered and ready to be turned on. Proceed to the next step to learn how to power on the keyboard.
Step 3: Turning on the Keyboard
Now that you’ve inserted the batteries into your Logitech Keyboard K540, it’s time to power it on. Follow the steps below to turn on the keyboard:
- Locate the power switch on your Logitech Keyboard K540. The power switch is usually located on the top-left or top-right corner of the keyboard.
- Slide the power switch to the “On” position. You may see a small LED light up to indicate that the keyboard is powered on.
- Wait for a few seconds to let the keyboard initialize and establish a connection with the wireless receiver.
- Make sure that the power switch is securely set to the “On” position and that the LED remains lit.
Turning on the keyboard ensures that it is ready to establish a connection with the USB receiver and your computer or laptop. The LED indicator will confirm that the keyboard is active and powered on.
Now that your Logitech Keyboard K540 is powered on, you’re ready to move on to the next step: connecting the USB receiver.
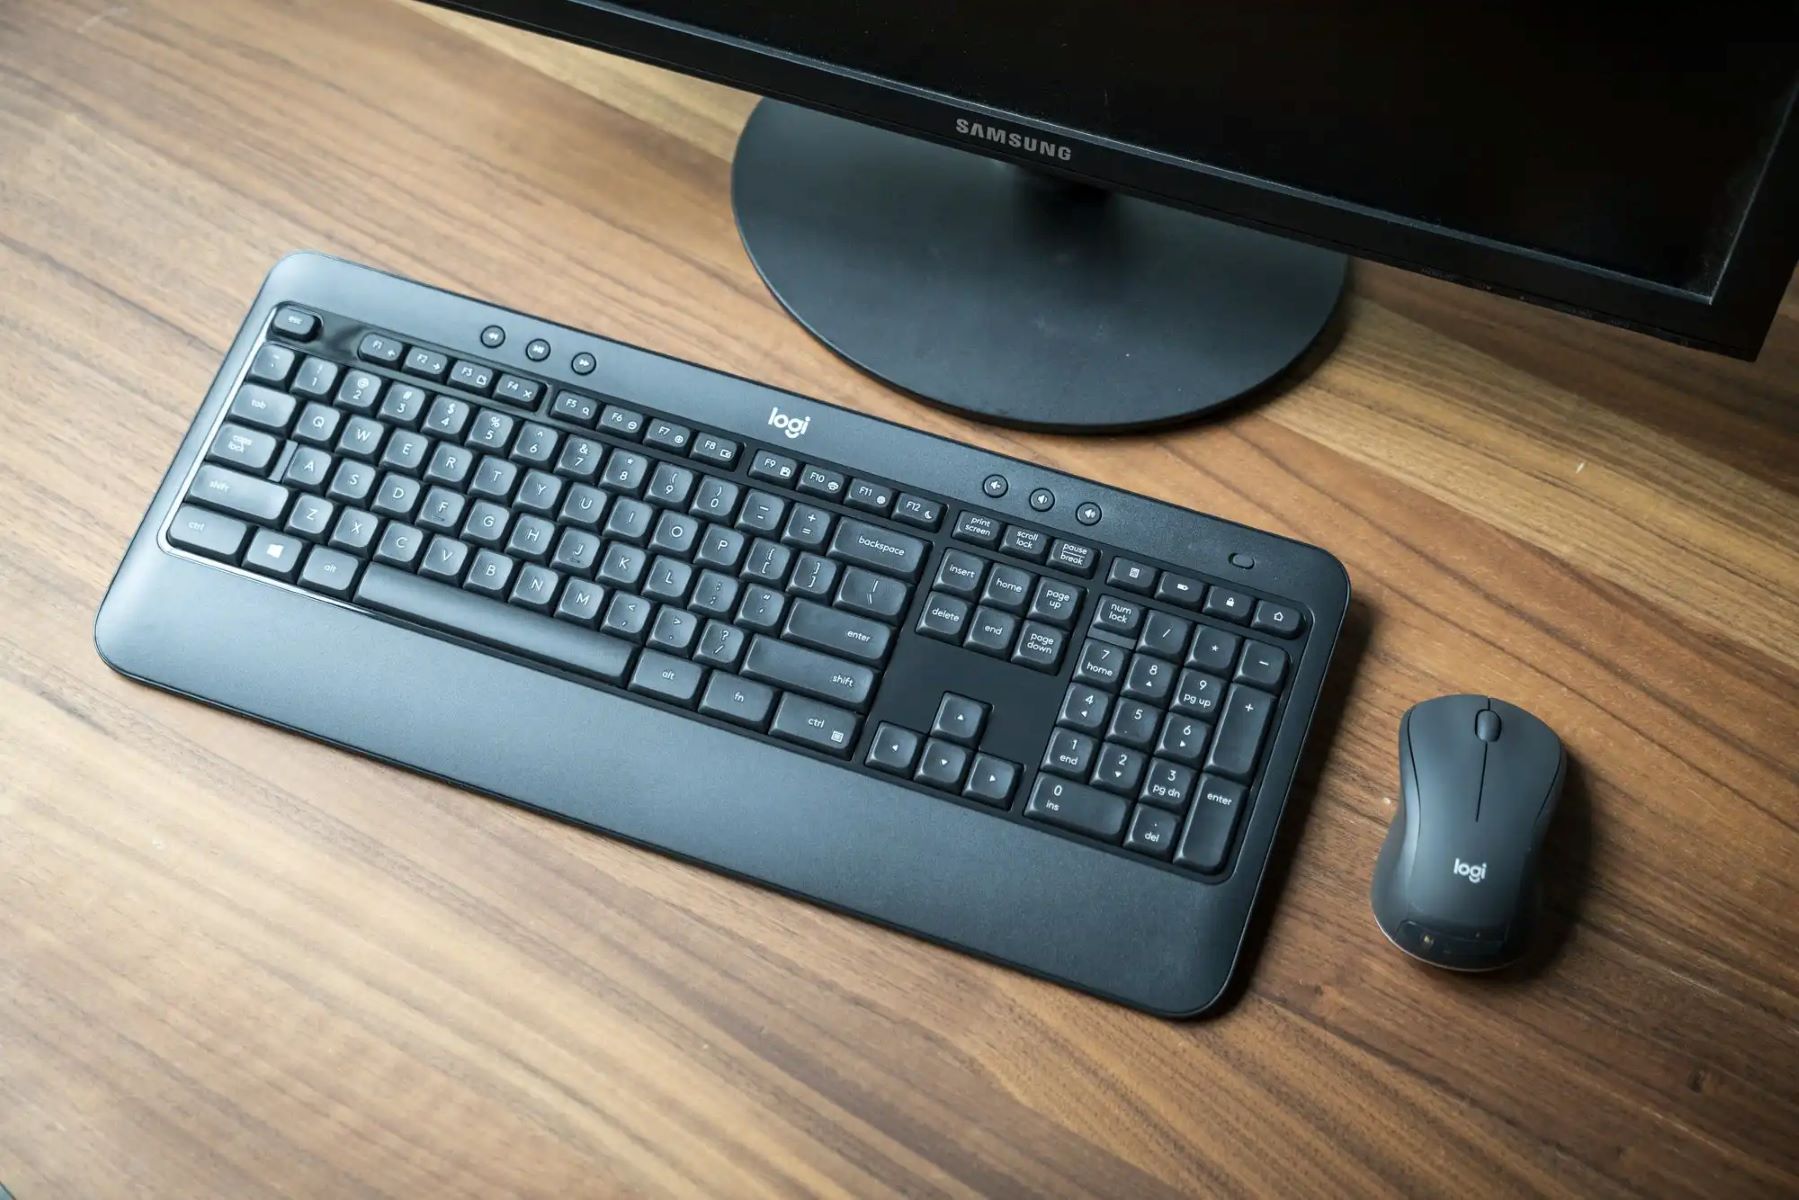
Step 4: Connecting the USB Receiver
In order to establish a wireless connection between your Logitech Keyboard K540 and your computer or laptop, you need to connect the USB receiver. Follow these steps:
- Locate an available USB port on your computer or laptop.
- Take the USB receiver that came with your Logitech Keyboard K540 and insert it into the USB port. Ensure it is inserted securely.
- Wait for a few moments while your computer or laptop detects and installs the necessary drivers for the USB receiver.
- You may see a notification or an indicator light on the USB receiver once the connection has been established.
It’s important to note that the USB receiver has a limited range, typically around 10 meters or 33 feet. To ensure reliable connectivity, it’s recommended to keep the USB receiver and the keyboard within this range.
Once the USB receiver is connected and the drivers are installed, your Logitech Keyboard K540 is ready to be paired with the receiver. Proceed to the next step to learn how to pair them.
Step 5: Pairing the Keyboard with the Receiver
After connecting the USB receiver, the next step is to pair your Logitech Keyboard K540 with the receiver. Pairing allows the keyboard and receiver to communicate with each other securely. Here’s how you can do it:
- Look for the connect button on the USB receiver. It is usually located on the top or side of the receiver.
- Press and hold the connect button on the USB receiver until the LED light starts blinking. The blinking light indicates that the receiver is ready to pair.
- Next, locate the connect button on the bottom of your Logitech Keyboard K540.
- Press and hold the connect button on the keyboard for a few seconds until the LED light on the keyboard starts blinking.
- Wait for a moment while the keyboard and receiver establish a secure connection. Once the connection is established, the LED lights on both the receiver and the keyboard should stabilize, indicating a successful pairing.
It’s important to note that the exact procedure for pairing may vary slightly depending on the specific model of your Logitech Keyboard K540 and the receiver. Always refer to the user manual provided with your keyboard for precise instructions.
Once the keyboard and receiver are successfully paired, you can move on to the next step to verify the connection and ensure everything is working correctly.
Step 6: Verifying the Connection
After pairing your Logitech Keyboard K540 with the USB receiver, it’s important to verify that the connection between the keyboard and your computer or laptop is working properly. Follow these steps to ensure a successful connection:
- Open any text or document application on your computer or laptop.
- Place the cursor in a text entry field to confirm that the keyboard is functioning correctly.
- Type a few characters on the keyboard to check if the input is registering correctly on your computer screen.
- If the characters appear as expected on the screen, it means that the connection between the keyboard and your computer is established and functioning properly.
If you encounter any issues at this stage, such as characters not appearing on the screen or keyboard input lag, try the following troubleshooting steps:
- Make sure the batteries in the keyboard are fresh and properly inserted.
- Ensure that the USB receiver is securely connected to the USB port.
- Check if there are any Bluetooth devices nearby that may interfere with the wireless connection.
- Consider moving the USB receiver to a different USB port to rule out any port-related issues.
- If the problem persists, consult the user manual for further troubleshooting options or contact Logitech’s customer support for assistance.
Verifying the connection ensures that the Logitech Keyboard K540 is functioning correctly and ready to be used for your typing needs. If everything is working smoothly, you can proceed to the final step to test the keyboard’s functionality in more detail.
Step 7: Testing the Keyboard’s Functionality
Once you have verified the connection between your Logitech Keyboard K540 and your computer or laptop, it’s time to test its functionality to ensure that all the keys and features are working as expected. Follow these steps to perform a basic functionality test:
- Open a text editor or any application that allows you to type.
- Begin typing on the keyboard and check if all the keys are responsive and registering accurately on the screen.
- Try using special function keys, such as volume control or media playback keys, and check if they perform their designated actions.
- If your Logitech Keyboard K540 has additional customizable keys or features, test them to ensure their functionality as well.
If you encounter any issues with the keyboard’s functionality during the testing process, you can try the following steps to troubleshoot:
- Ensure that the batteries have enough power. Replace them if necessary.
- Restart your computer or laptop and re-establish the connection between the keyboard and the USB receiver.
- Check if there are any software or driver updates available for your Logitech Keyboard K540. Install them if necessary.
- Refer to the user manual or Logitech’s support documentation for troubleshooting steps specific to your device.
By thoroughly testing the keyboard’s functionality, you can ensure that it meets your typing needs and functions reliably for everyday use.
With this final step completed, you have successfully connected and tested your Logitech Keyboard K540. You can now enjoy the convenience and comfort of a wireless keyboard for your typing tasks.
Conclusion
Congratulations! You have successfully connected and tested your Logitech Keyboard K540. By following the steps outlined in this guide, you have set up a wireless connection between your keyboard and your computer or laptop, allowing for a more convenient and comfortable typing experience.
Remember, the Logitech Keyboard K540 offers a full-sized layout, responsive keys, and a long battery life, making it a great choice for both professional and casual use.
If at any point you encounter difficulties during the setup process or experience issues with the keyboard’s functionality, don’t hesitate to consult the user manual provided with your device or reach out to Logitech’s customer support for further assistance. They will be able to guide you through any troubleshooting steps or provide solutions to any problems you may encounter.
Now that your Logitech Keyboard K540 is ready to use, take some time to customize it to your preferences. Explore the various features, such as programmable keys or media controls, and discover how they can enhance your productivity or multimedia experience.
Whether you’re typing up important documents, browsing the web, or enjoying your favorite media, your Logitech Keyboard K540 provides a reliable and versatile tool for all your typing needs.
Thank you for following this guide, and we hope that you enjoy your Logitech Keyboard K540 and the seamless wireless connection it provides!