Introduction
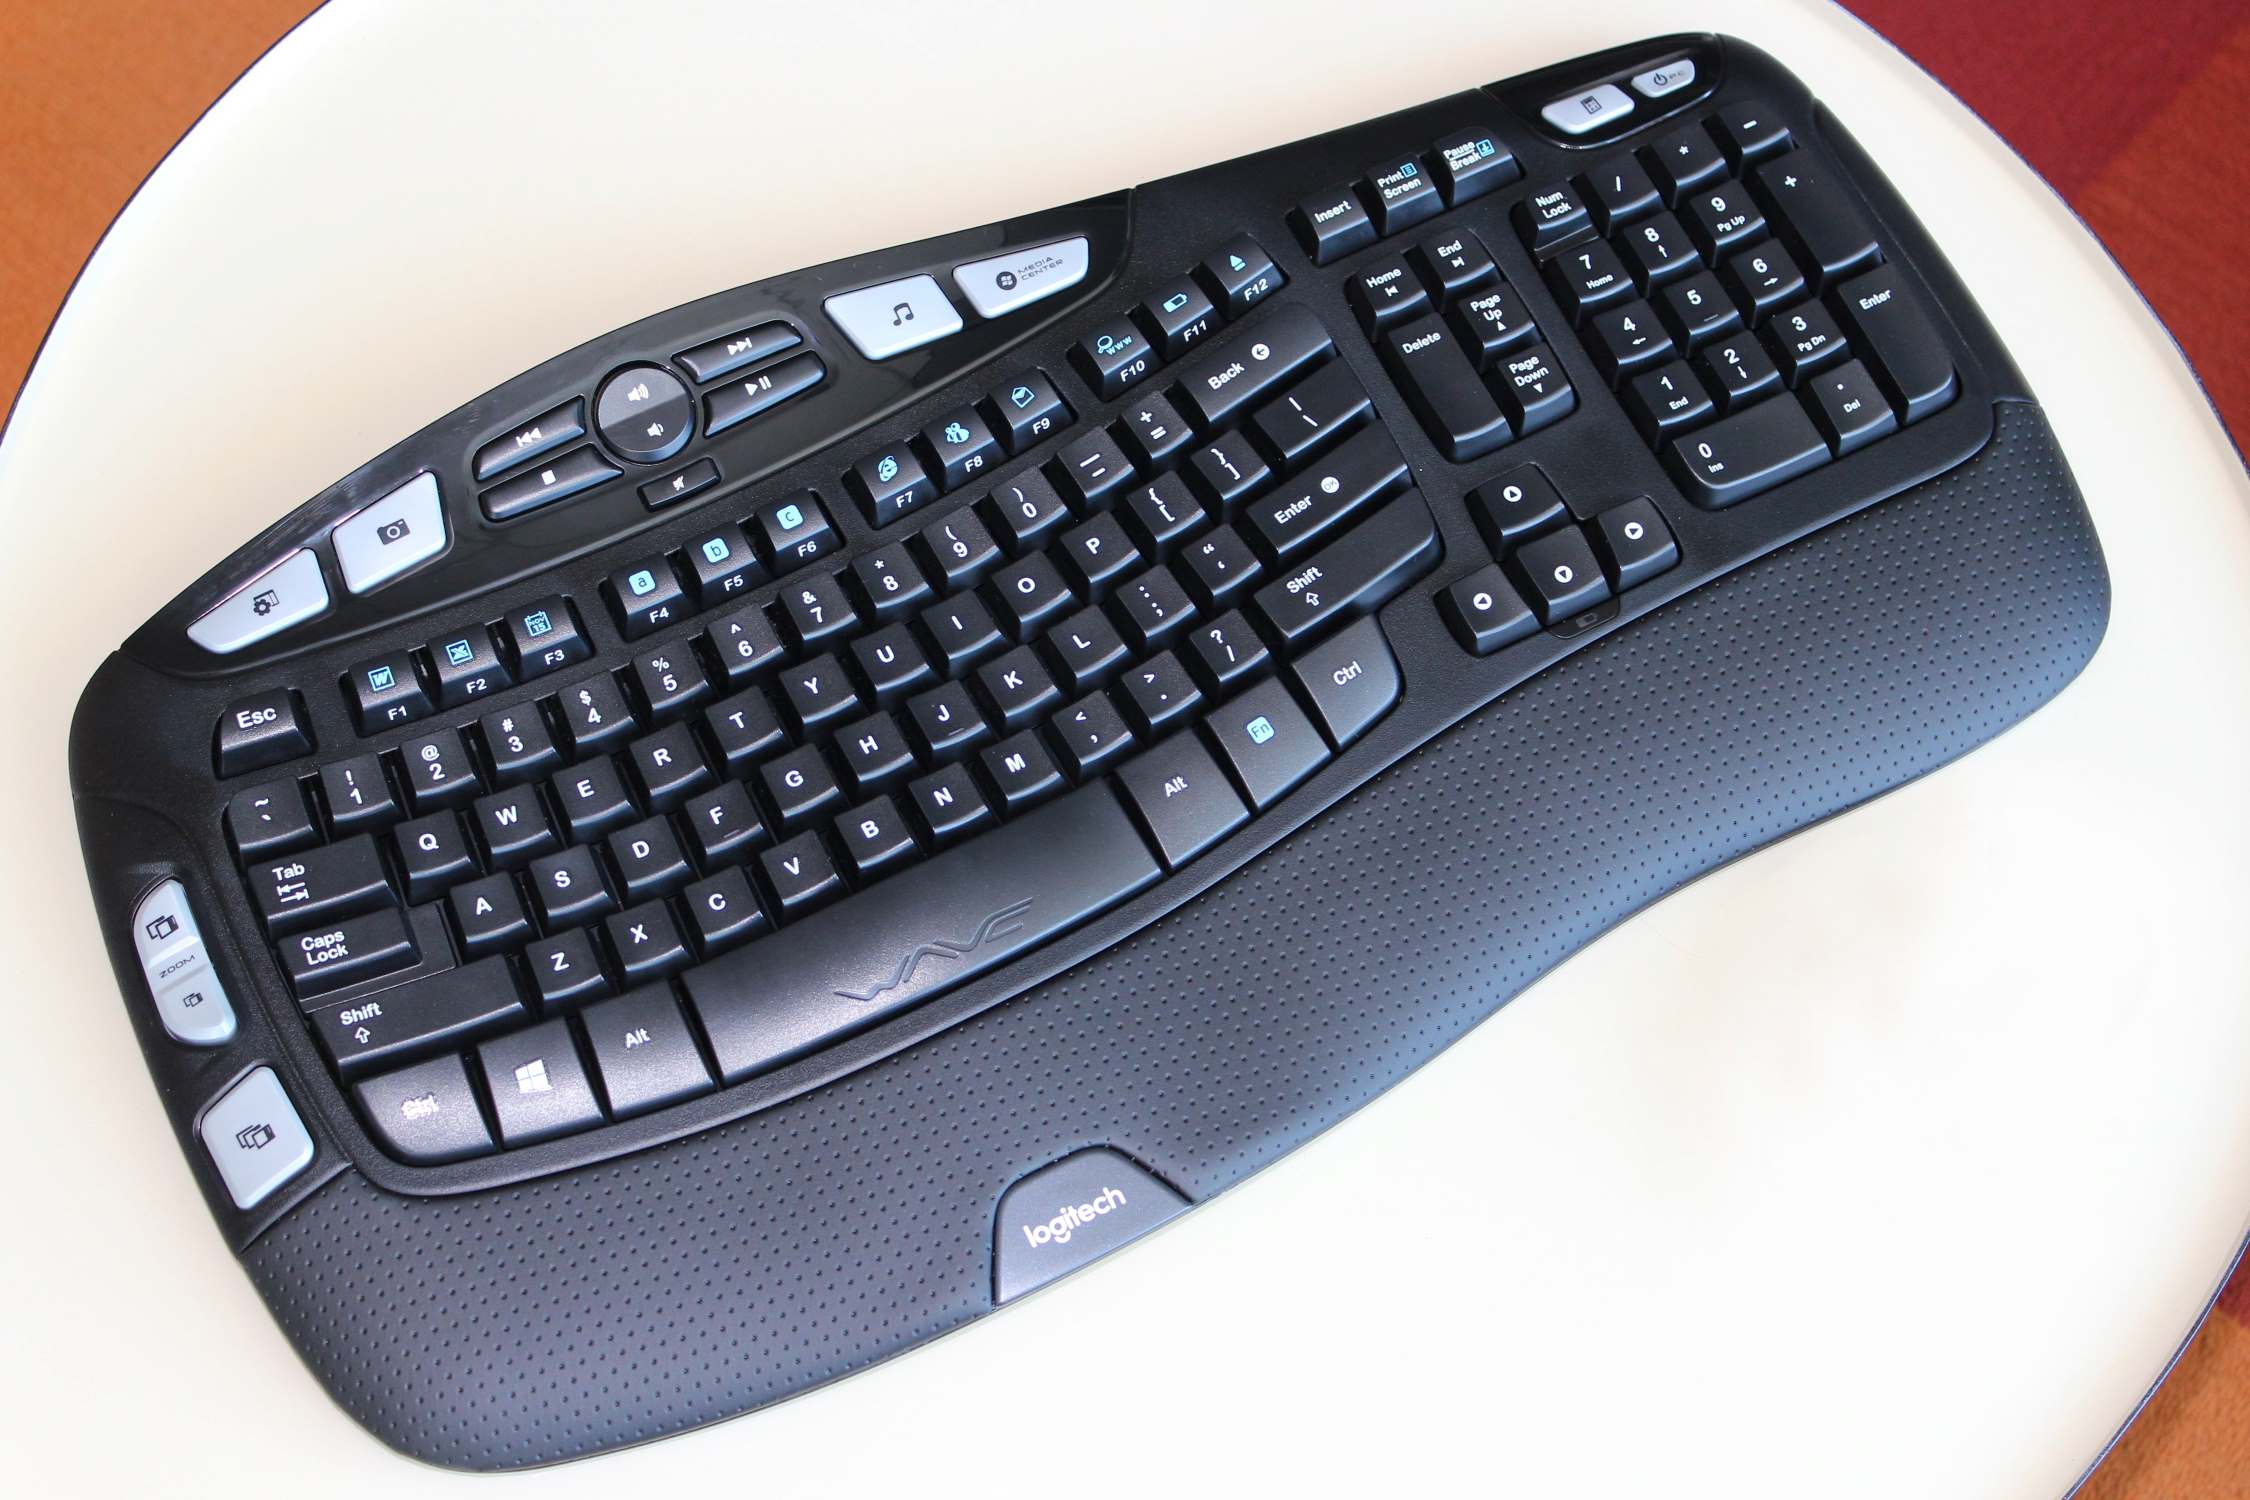
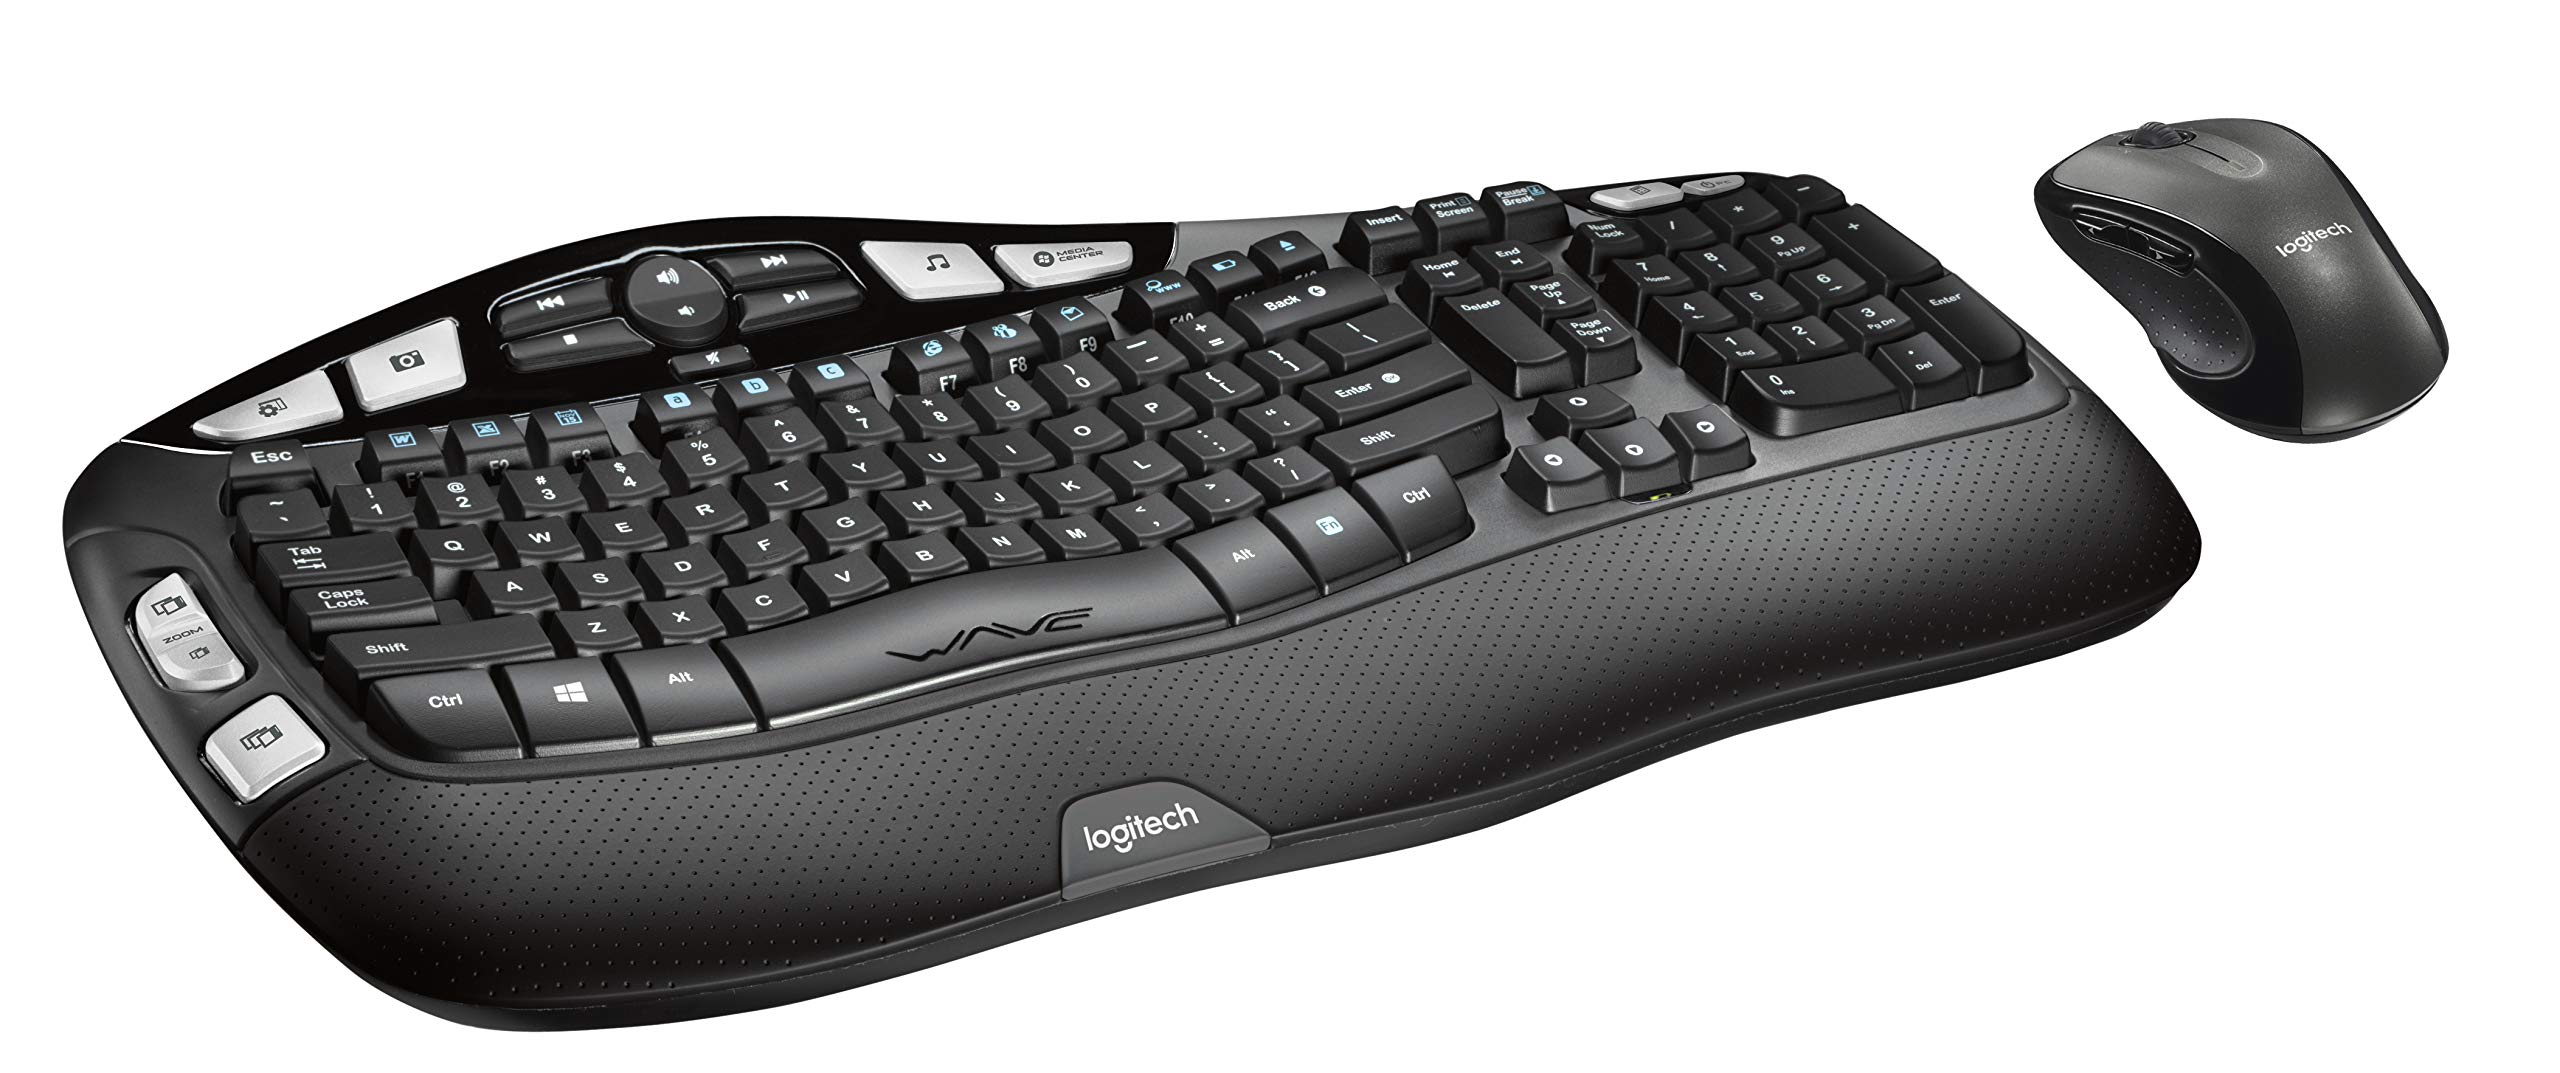
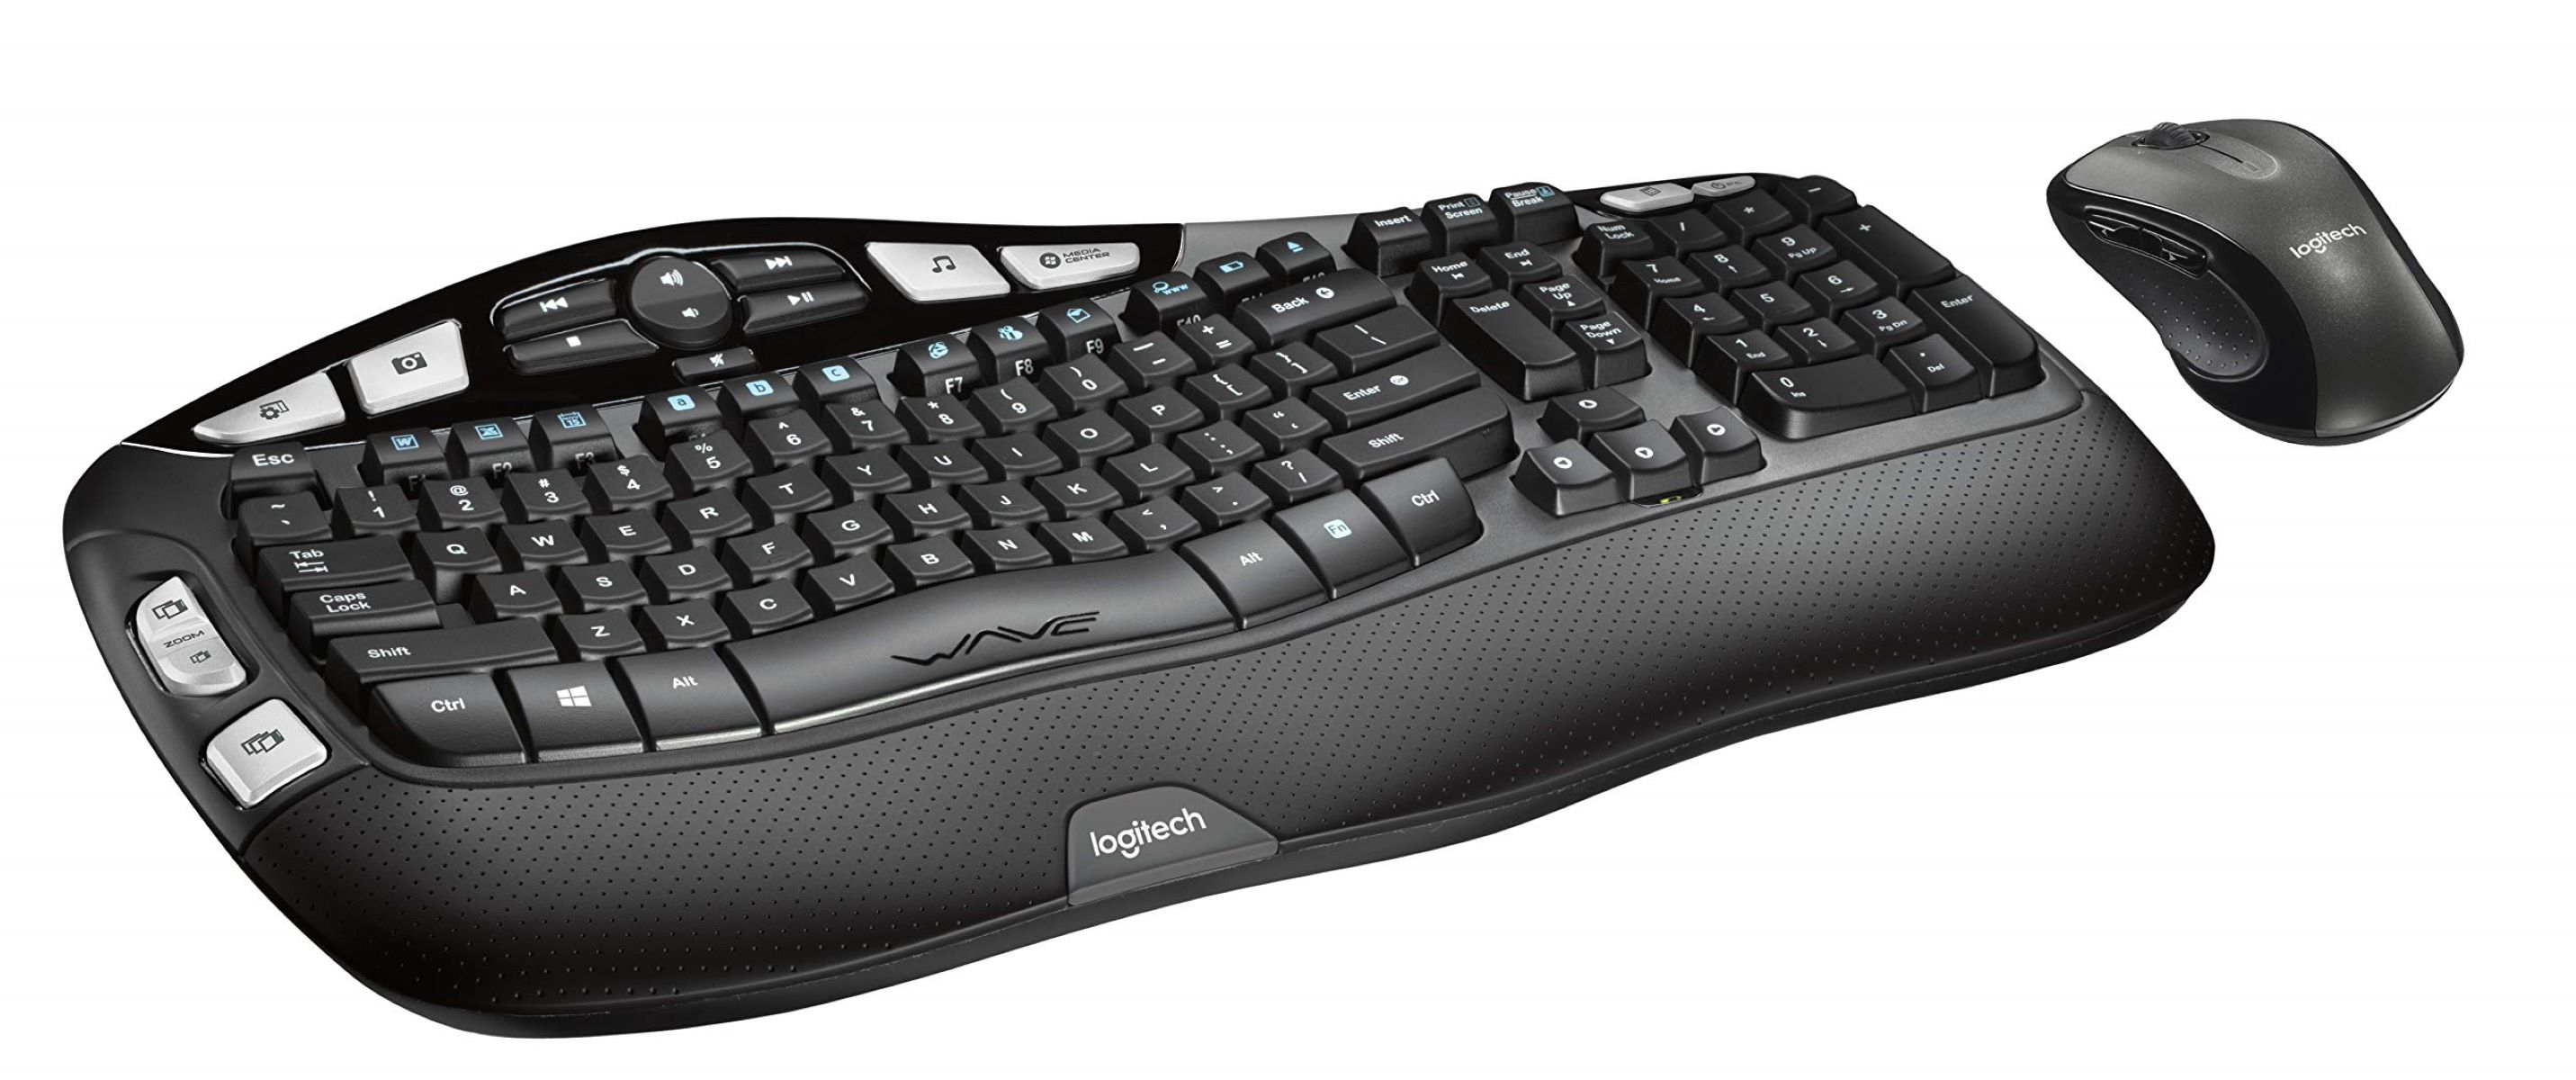
Welcome to this step-by-step guide on how to connect the Logitech K350 keyboard! Whether you’ve just purchased a brand new Logitech K350 or want to reconnect it to your computer, we’re here to help you through the process. The Logitech K350 is a wireless keyboard that offers ergonomic design and comfortable typing experience, ideal for long hours of work or gaming sessions.
In this guide, we will walk you through each step, from unboxing the keyboard to pairing it with the USB receiver. By the end of this tutorial, you’ll have your Logitech K350 keyboard up and running smoothly.
Before we dive into the process, it’s important to note that the Logitech K350 keyboard uses a USB receiver to establish a connection with your computer. This receiver is conveniently stored in the battery compartment of the keyboard when not in use. So let’s get started and have your Logitech K350 connected in no time!
Step 1: Unboxing the Logitech K350 Keyboard
Before you can start using your Logitech K350 keyboard, you’ll need to unbox it first. Here’s a step-by-step guide on how to unbox your Logitech K350 keyboard:
- Locate the packaging of your Logitech K350 keyboard.
- Carefully remove the packaging materials, such as plastic wrap or tape, from the box.
- Open the box to reveal the Logitech K350 keyboard.
- Take a moment to admire the sleek design and ergonomic features of the keyboard.
- Remove any protective covering or stickers from the keyboard.
- Inspect the keyboard for any visible damage or defects. If you notice any issues, contact Logitech customer support for assistance.
- Also, check inside the packaging for any additional accessories that may come with the keyboard, such as a USB receiver or user manual.
Once you have successfully unboxed your Logitech K350 keyboard, you are ready to proceed to the next step of connecting it to your computer.
Step 2: Inserting the Batteries
Now that you have unboxed your Logitech K350 keyboard, it’s time to insert the batteries. The Logitech K350 keyboard requires two AA batteries for power. Here’s how you can insert the batteries:
- Locate the battery compartment on the back of the keyboard.
- Slide or push the battery compartment cover in the direction indicated by the arrows to open it.
- Insert the two AA batteries into the battery compartment. Make sure to align the positive (+) and negative (-) terminals correctly.
- Close the battery compartment cover by sliding it back into place.
- Ensure that the battery compartment cover is securely closed to prevent any accidental openings during use.
It’s recommended to use high-quality alkaline batteries for optimal performance. Rechargeable batteries can also be used with the Logitech K350 keyboard. Once the batteries are inserted, you’re ready to move on to the next step of connecting the USB receiver.
Step 3: Connecting the USB Receiver
The next step in setting up your Logitech K350 keyboard is connecting the USB receiver. The USB receiver is responsible for establishing a wireless connection between the keyboard and your computer. Here’s how you can connect the USB receiver:
- Locate the USB receiver that came with your Logitech K350 keyboard. It is usually stored in the battery compartment.
- Insert the USB receiver into an available USB port on your computer. It’s important to ensure that the USB receiver is inserted fully and securely to establish a stable connection.
- Wait for your computer to recognize the USB receiver and install any necessary drivers. This process might take a few moments, so be patient.
- Once the USB receiver is successfully connected to your computer, it’s time to turn on the Logitech K350 keyboard.
Connecting the USB receiver is a crucial step in getting your Logitech K350 keyboard ready for use. Make sure to follow the instructions carefully for a hassle-free connection.
Step 4: Turning on the Logitech K350 Keyboard
After connecting the USB receiver, the next step is to turn on your Logitech K350 keyboard. Here’s how to do it:
- Locate the power switch on the top or side of the Logitech K350 keyboard. It may be labeled as “On/Off” or have a power symbol.
- Slide the power switch to the “On” position. You may see an LED indicator light up to indicate that the keyboard is now powered on.
- Wait for a few seconds for the keyboard to establish a connection with the USB receiver.
- Once the LED indicator stops blinking and remains steady, it means that the Logitech K350 keyboard and the USB receiver have successfully paired.
By turning on the Logitech K350 keyboard, you are now ready to move on to the next step of pairing it with the USB receiver.
Step 5: Pairing the Keyboard with the USB Receiver
Once you have turned on your Logitech K350 keyboard, the next step is to pair it with the USB receiver. Pairing allows the keyboard to establish a secure and reliable connection with your computer. Follow these steps to pair the keyboard with the USB receiver:
- Press the “Connect” button located on the USB receiver. This button is often small and may require a pen or paperclip to press.
- Next, press the “Connect” button on the bottom of the Logitech K350 keyboard. It is usually located on the underside of the keyboard.
- Wait for a few seconds. The keyboard and USB receiver will attempt to establish a connection.
- Once the LED indicator on the USB receiver stops blinking and remains steady, and the LED on the keyboard also becomes steady, it means that the keyboard has been successfully paired with the USB receiver.
Pairing the Logitech K350 keyboard with the USB receiver ensures that they communicate with each other effectively, allowing you to use the keyboard without any interruptions.
Step 6: Testing the Keyboard Connection
Once you have completed the pairing process, it’s essential to test the keyboard connection to ensure everything is functioning correctly. Here’s how you can test the Logitech K350 keyboard connection:
- Launch an application on your computer that requires keyboard input, such as a word processor or web browser.
- Begin typing to verify that the keyboard is responding accurately to your keystrokes.
- Test out different keys, including modifier keys like Shift, Ctrl, and Alt, as well as special function keys to verify their functions.
- If the keystrokes are not registering or the keyboard is not responding as expected, try moving closer to the USB receiver to ensure a stronger signal.
- If you are still experiencing issues with the keyboard connection, consider replacing the batteries with fresh ones and repeating the pairing process.
By testing the keyboard connection, you can ensure that your Logitech K350 keyboard is working properly and providing a seamless typing experience.
Conclusion
Congratulations! You have successfully connected and paired your Logitech K350 keyboard with your computer. By following the steps outlined in this guide, you can now enjoy the convenience and comfort of using this wireless keyboard for your work or gaming needs.
Remember, always use high-quality batteries and keep them properly inserted in the battery compartment to ensure optimal performance. If you ever encounter any issues with the keyboard connection, try replacing the batteries and re-pairing the keyboard with the USB receiver.
The Logitech K350 keyboard offers ergonomic design and a comfortable typing experience, which makes it an excellent choice for long hours of use. Take advantage of its wireless capabilities and enjoy the freedom to move around without being tethered to your computer.
We hope this guide has been helpful in guiding you through the process of connecting the Logitech K350 keyboard. If you require further assistance or have any questions, don’t hesitate to consult the user manual or contact Logitech customer support for additional guidance.
Now that your Logitech K350 keyboard is up and running, it’s time to put it to use and enjoy its seamless performance. Happy typing!