Introduction
Welcome to our guide on how to connect a keyboard and mouse to your Nintendo Switch! The Nintendo Switch is a versatile gaming console that allows you to enjoy a wide variety of games both at home and on the go. While the default controller joy-cons offer a great gaming experience, some players prefer the precision and control that a keyboard and mouse setup can provide.
Connecting a keyboard and mouse to your Nintendo Switch can offer a more traditional gaming feel, especially for games that are better suited for precise aiming and quick actions. Whether you’re playing first-person shooters, strategy games, or simply prefer the familiarity of a keyboard and mouse, this guide will walk you through the process of setting it up.
Before we dive into the steps, it’s important to note that not all games on the Nintendo Switch support keyboard and mouse inputs. Make sure to check the game’s compatibility before attempting to connect them. Additionally, you will need a USB adapter that supports keyboard and mouse connections in order to proceed.
In the following sections, we will discuss the necessary compatibility requirements, step-by-step instructions on connecting the devices, adjusting controller settings, and testing your keyboard and mouse configuration. So let’s get started on enhancing your gaming experience with a keyboard and mouse on your Nintendo Switch!
Step 1: Check Compatibility
Before connecting a keyboard and mouse to your Nintendo Switch, it’s crucial to ensure that the game you want to play supports these input devices. While some games natively support keyboard and mouse inputs, others may require specific settings or adapters to be compatible.
One of the easiest ways to determine a game’s compatibility is by checking the official game documentation or the developer’s website. They usually provide information on the supported input types, including whether or not keyboard and mouse inputs are supported.
If you can’t find the information through official channels, you can also search online forums or community websites dedicated to Nintendo Switch gaming. Look for discussions or guides specifically about using a keyboard and mouse for your desired game. Other players may have already tested the compatibility and can provide valuable insights and recommendations.
For certain games, you might also need to adjust in-game settings to allow for keyboard and mouse inputs. These settings can usually be found in the game’s options menu, under the controller or input settings. Make sure to explore these settings thoroughly to enable the keyboard and mouse functionality.
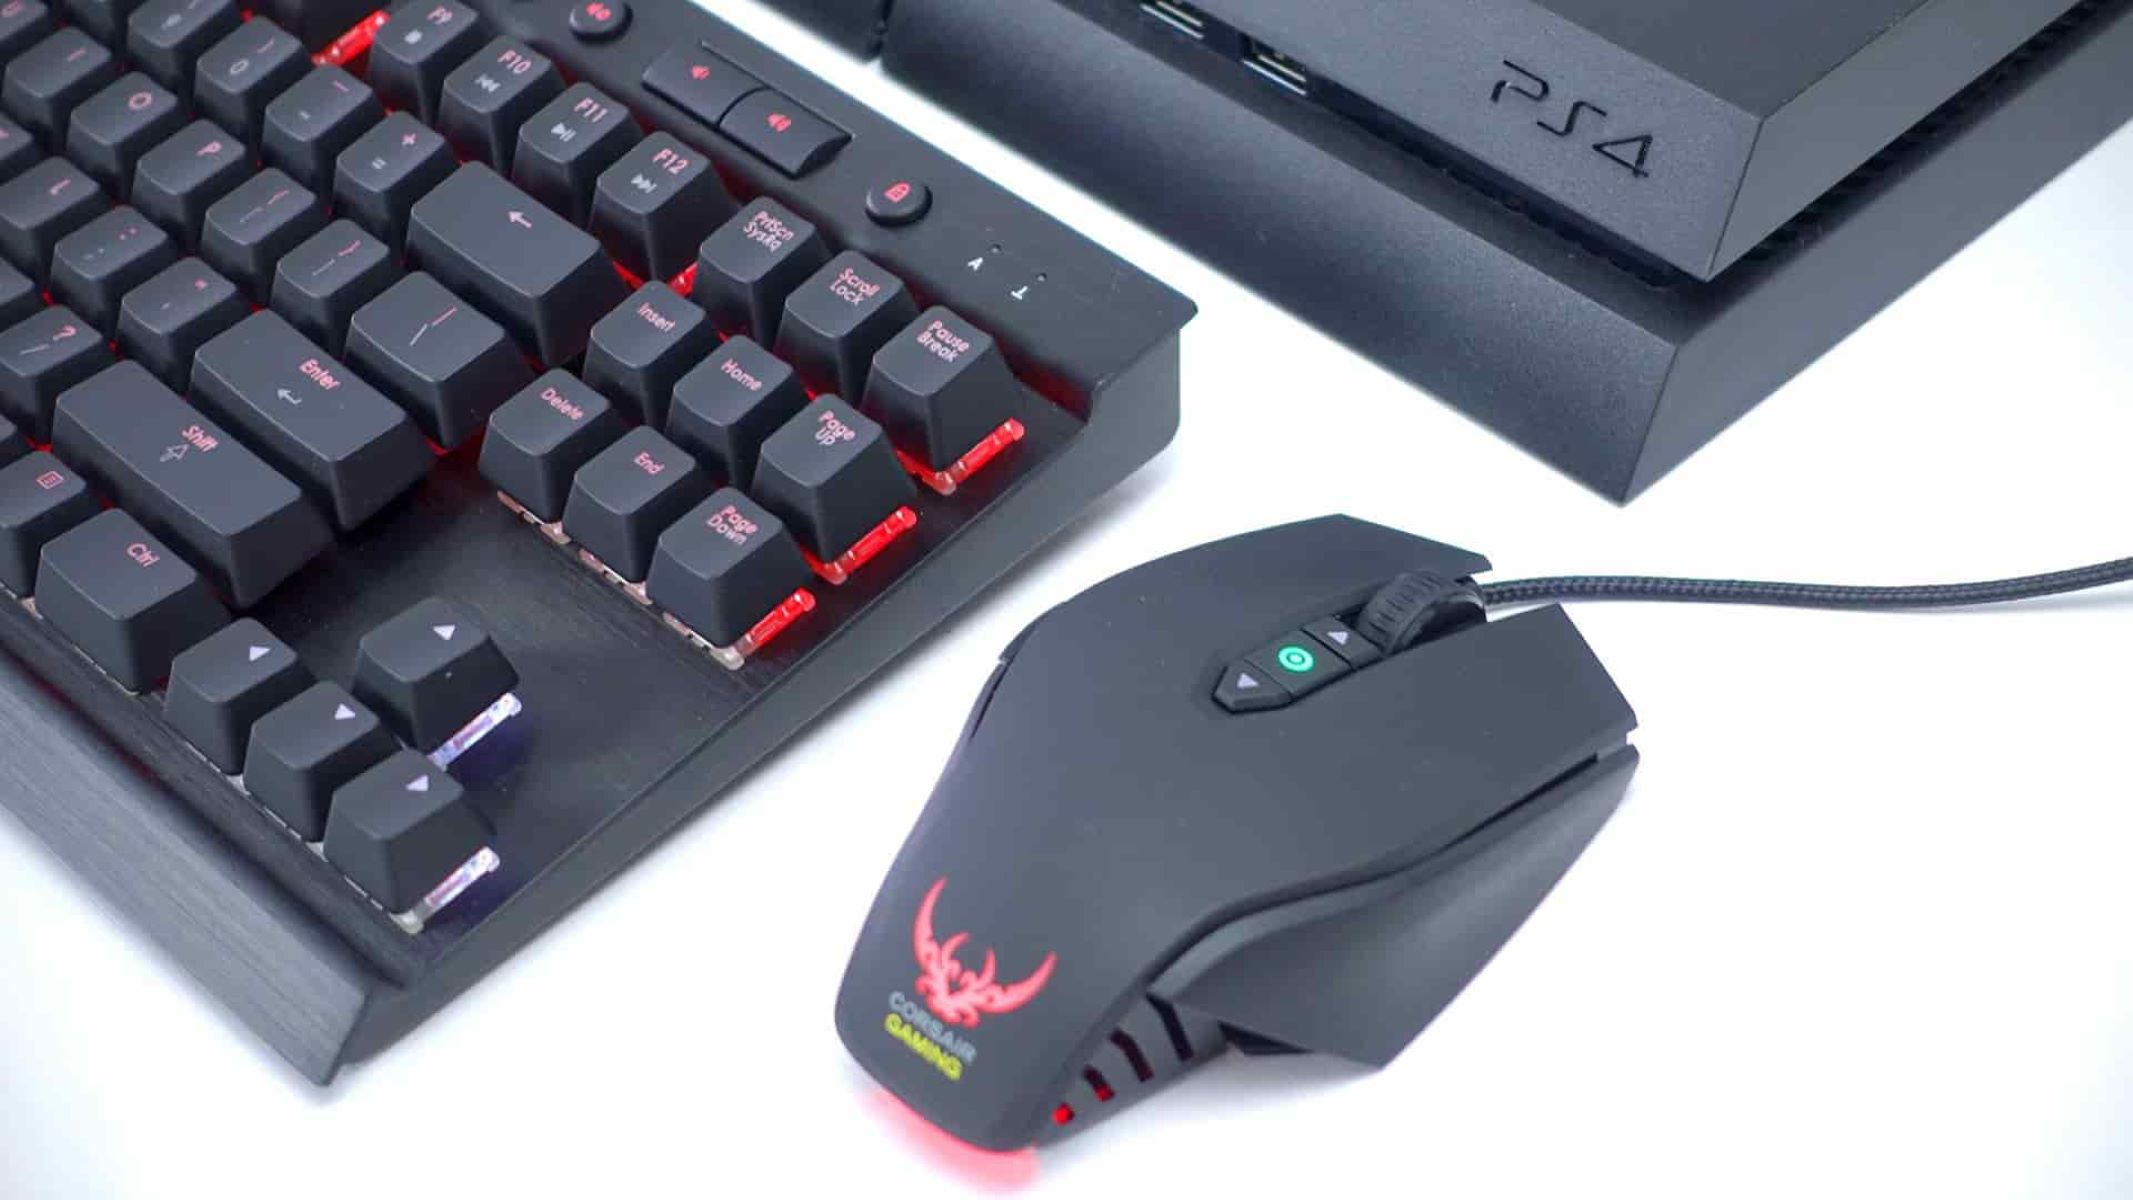
When it comes to hardware compatibility, you will also need to check if your Nintendo Switch supports USB connections. The Nintendo Switch dock has a USB port that you can use to connect a keyboard and mouse, but if you’re playing in handheld mode, you will need a USB-C adapter that allows for USB connections. Make sure you have the necessary adapters or accessories to connect the keyboard and mouse to your Nintendo Switch.
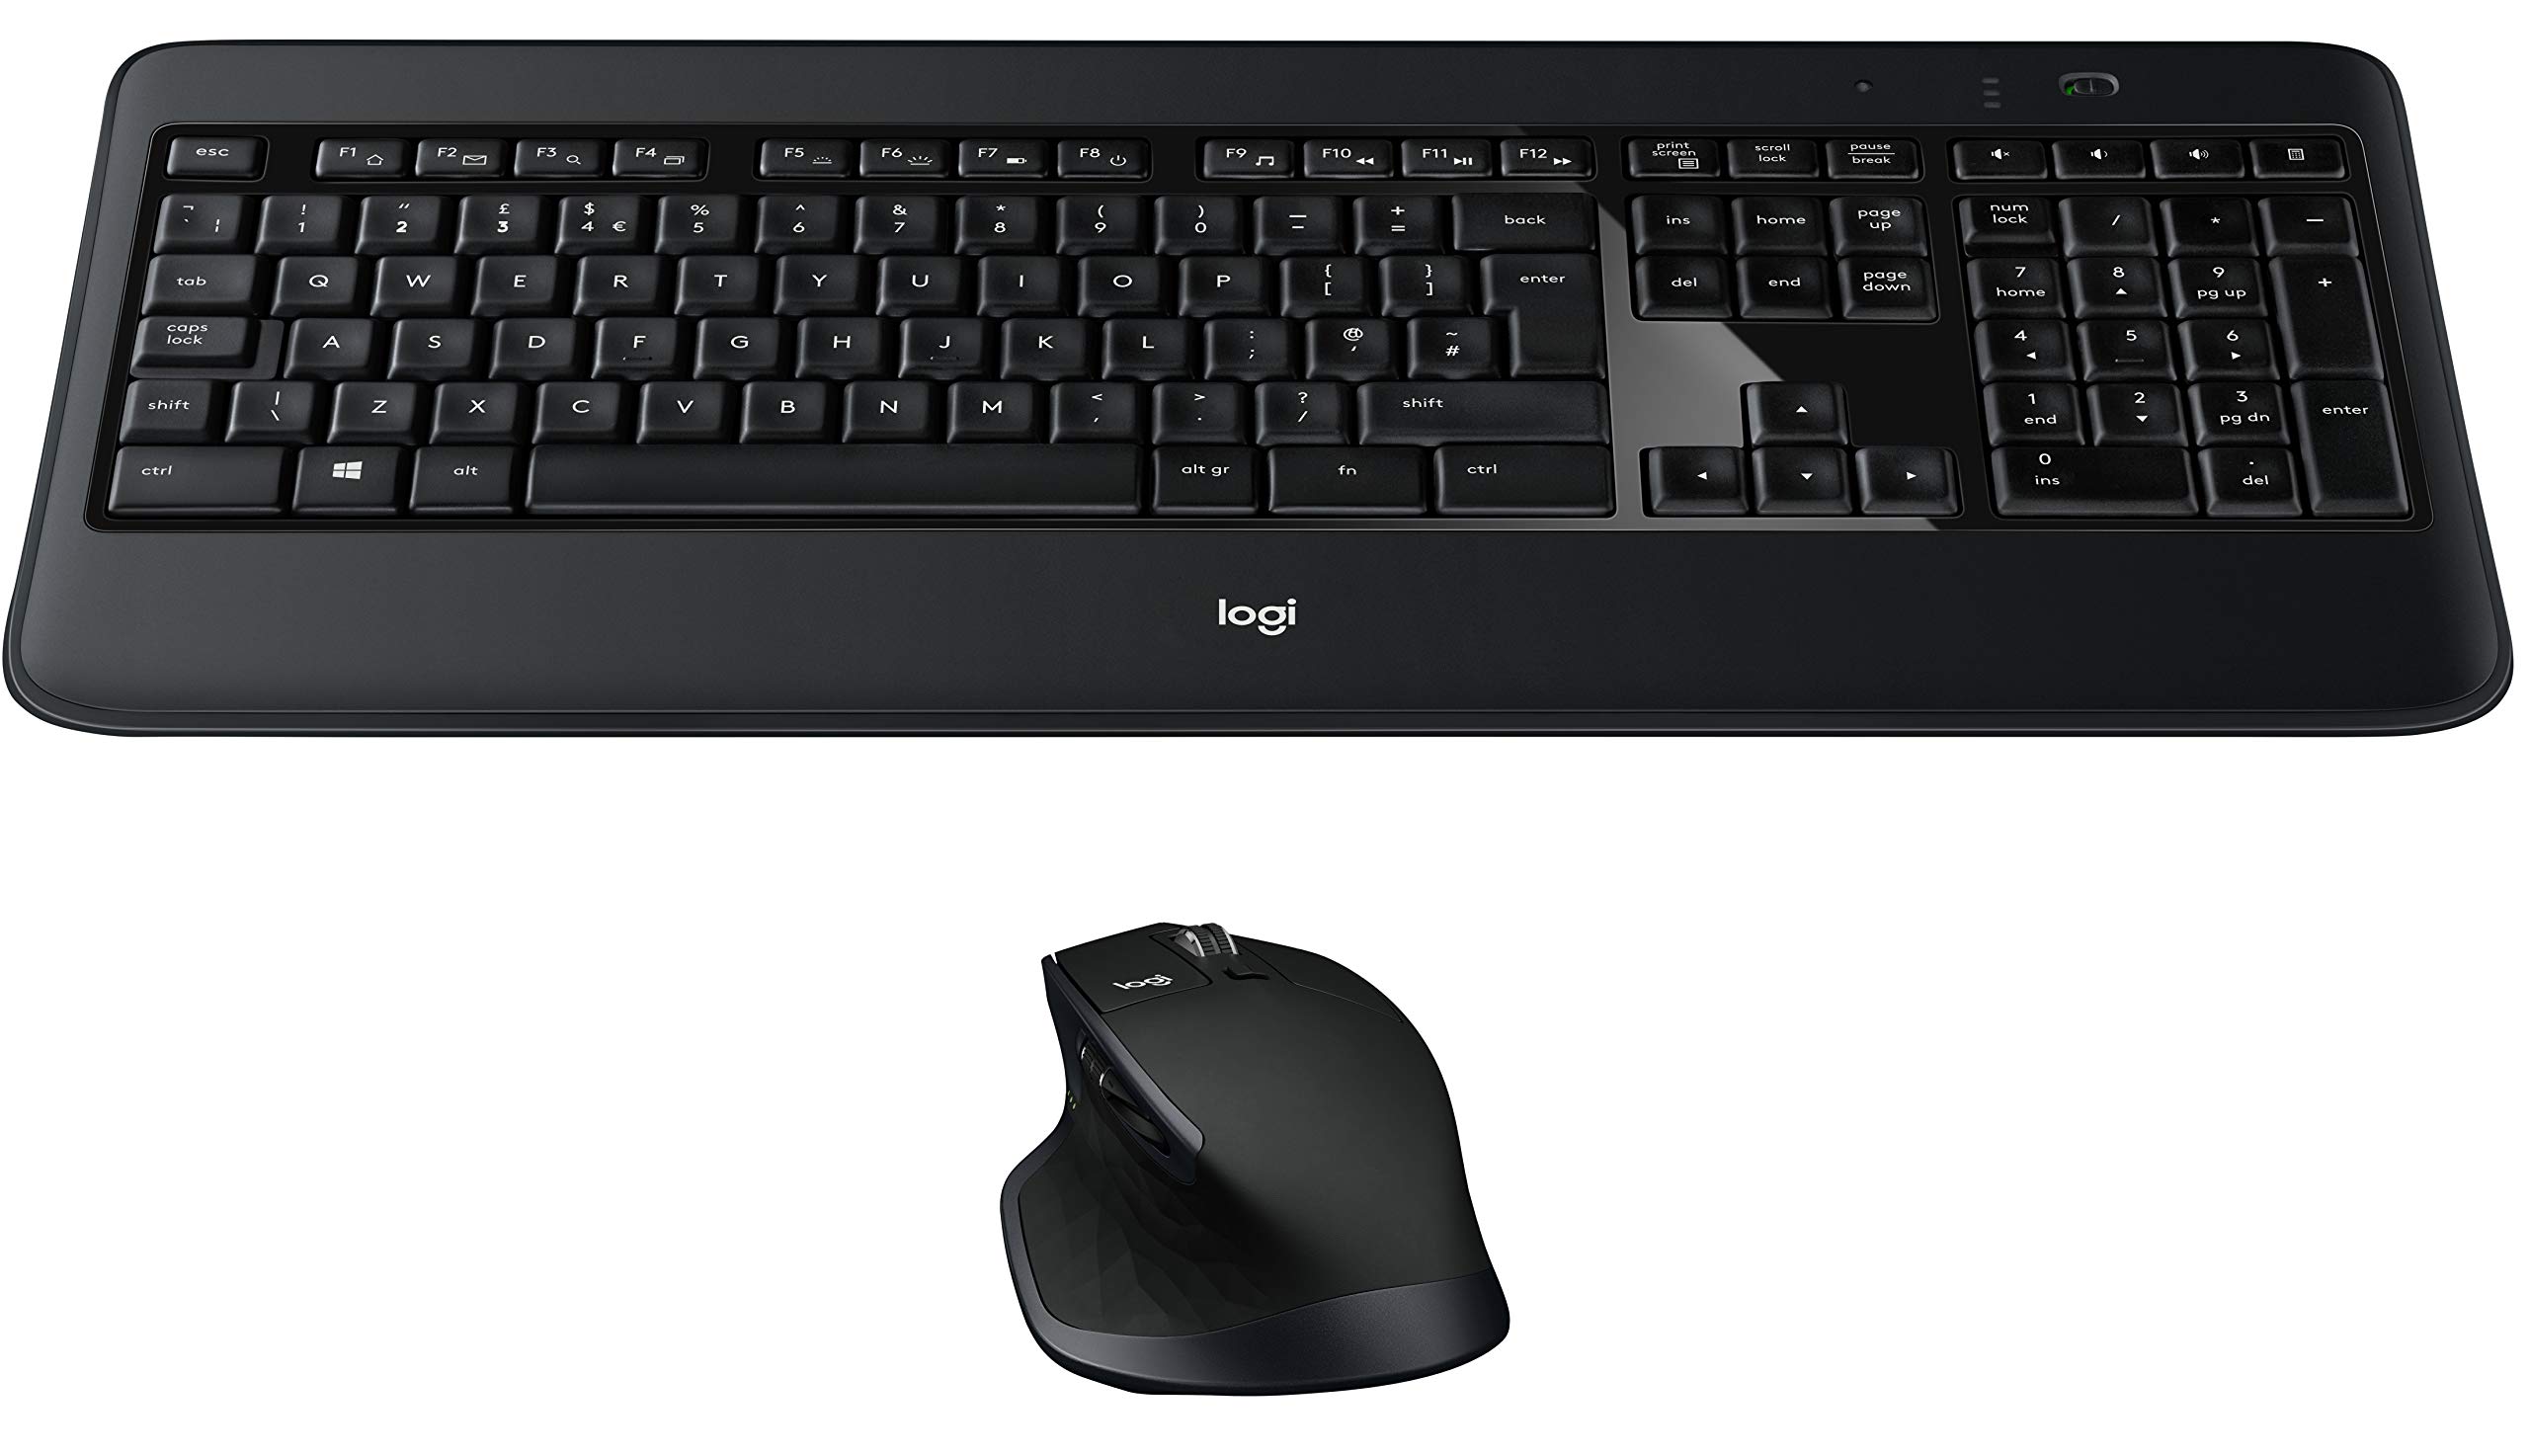
Keep in mind that not all keyboards and mice are compatible with the Nintendo Switch. It’s recommended to use wired keyboards and mice, as wireless devices may introduce latency or connectivity issues. However, if you prefer wireless peripherals, make sure they are specifically designed to work with the Nintendo Switch.
By ensuring compatibility with both the game you want to play and the hardware you have, you’ll have a smoother experience when connecting your keyboard and mouse to your Nintendo Switch. Once you’ve confirmed compatibility, you can move on to the next step of the process.
Step 2: Connect Keyboard and Mouse to Nintendo Switch
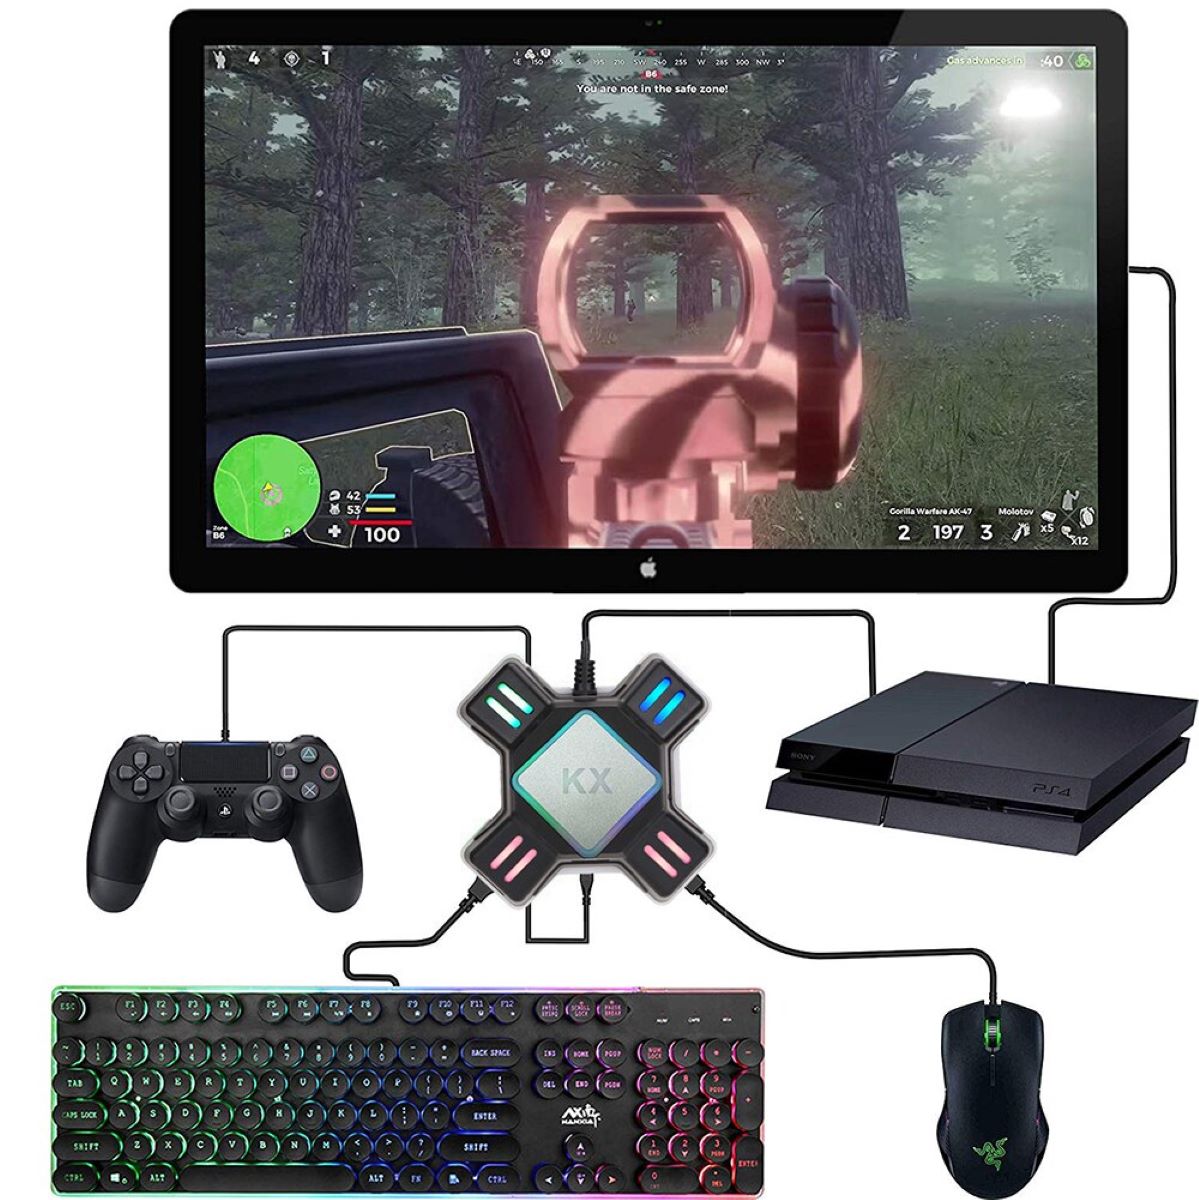
Now that you have confirmed the compatibility of your game and have the necessary adapters or accessories, it’s time to connect your keyboard and mouse to your Nintendo Switch. Follow these simple steps to get started:
- Make sure your Nintendo Switch is in TV mode, connected to the dock, and powered on.
- Locate the USB port on the side or back of the Nintendo Switch dock.
- Connect the USB end of your keyboard and mouse to the USB port on the dock.
- Once connected, your Nintendo Switch should recognize the keyboard and mouse automatically.
- If prompted, follow any on-screen instructions to configure the keyboard and mouse.
- That’s it! Your keyboard and mouse are now connected to your Nintendo Switch.
Please note that if you are playing in handheld mode, you will need a USB-C adapter to connect your keyboard and mouse to the USB-C port on the bottom of the Switch console. Plug the adapter into the USB-C port, and then connect your keyboard and mouse to the adapter.
It’s important to test your keyboard and mouse after connecting to ensure they are functioning properly. You can move on to the next step to adjust the controller settings and fine-tune their performance.
Keep in mind that some games may require additional configuration to fully utilize the keyboard and mouse inputs. Refer to the game’s documentation or settings menu to explore any specific customization options available.
With your keyboard and mouse successfully connected to your Nintendo Switch, you are one step closer to an enhanced gaming experience. Now, let’s move on to the next step and fine-tune the controller settings to optimize your gameplay.
Step 3: Adjust Controller Settings
Once you have your keyboard and mouse connected to your Nintendo Switch, you may need to adjust the controller settings to ensure optimal functionality. Follow these steps to adjust the controller settings:
- Access the System Settings on your Nintendo Switch. You can do this by navigating to the home screen and then selecting the gear-shaped icon.
- Select “Controllers and Sensors” from the menu.
- Choose “Change Grip/Order” to enter the controller configuration screen.
- Press and hold the sync button on your keyboard and mouse simultaneously. This allows your Nintendo Switch to recognize them as separate controllers.
- Select “Change Order” to rearrange the order of the connected controllers. This step is optional but can help you ensure that your keyboard and mouse are the primary input devices.
- Test the buttons on your keyboard and mouse to ensure that they are registering correctly. If any keys or buttons are not functioning as intended, you may need to troubleshoot or reconfigure the input settings accordingly.
- Exit the controller configuration screen once you are satisfied with the setup.
It’s important to note that not all games may provide extensive controller customization options. However, you can still manage certain settings within the game itself. Explore the game’s settings menu to see if there are any specific options to remap keys or configure mouse sensitivity.
Remember to refer to the game’s documentation or online resources for any specific instructions on adjusting controller settings. Each game may have its own unique controller customization options.
By fine-tuning the controller settings, you can ensure that your keyboard and mouse are functioning optimally, providing you with a comfortable and precise gaming experience on your Nintendo Switch.
Now that you have adjusted the controller settings, it’s time to move on to the final step – testing your keyboard and mouse configuration.
Step 4: Test Your Keyboard and Mouse Configuration
After connecting your keyboard and mouse to your Nintendo Switch and adjusting the controller settings, it’s essential to test your configuration to ensure everything is working correctly. This will help you familiarize yourself with the controls and make any necessary adjustments. Follow these steps to test your keyboard and mouse configuration:
- Launch a compatible game on your Nintendo Switch.
- Enter the game’s settings or options menu.
- Look for the controller or input settings within the game.
- Verify that the game recognizes your keyboard and mouse as input devices.
- Test the functionality of your keyboard by pressing various keys. Check if they correspond correctly to the actions in the game.
- Test the mouse movement and buttons to ensure they provide the desired sensitivity and respond accurately.
- Make any necessary adjustments to the controls within the game’s settings to optimize your gaming experience.
During the testing phase, take note of any issues or inconsistencies you may encounter. It’s possible that certain games may require additional adjustments or keyboard and mouse-specific settings for optimal performance. Refer to the game’s documentation or consult online resources and forums for troubleshooting suggestions specific to your game.
Keep in mind that every game may have different control schemes and customization options. Explore the settings menu thoroughly to find options that allow you to adjust key mappings, mouse sensitivity, and other relevant settings.
By thoroughly testing your keyboard and mouse configuration, you can ensure that they are working as expected and provide you with the control and precision you desire while gaming on your Nintendo Switch.
With the successful testing of your keyboard and mouse configuration, you are now ready to fully enjoy your gaming experience on the Nintendo Switch with the enhanced control that a keyboard and mouse setup provides!
Conclusion
Congratulations! You have now learned how to connect a keyboard and mouse to your Nintendo Switch and optimize your gaming experience. By following the steps outlined in this guide, you have gained the ability to enjoy a more precise and familiar control scheme for a variety of games.
We started by emphasizing the importance of checking compatibility, ensuring that the game you want to play supports keyboard and mouse inputs. We also discussed the necessity of having the appropriate adapters or accessories for connecting your peripherals.
Next, we provided step-by-step instructions on how to connect your keyboard and mouse to the Nintendo Switch. Whether you’re playing in TV mode or handheld mode, we outlined the necessary steps to establish a successful connection.
Adjusting the controller settings was the subsequent step. We guided you through accessing the system settings on your Nintendo Switch and making any necessary changes to optimize your gaming experience.
Finally, we encouraged you to thoroughly test your keyboard and mouse configuration within your chosen game. By doing so, you can ensure that all inputs are functioning properly and make any adjustments needed for optimal performance.
Remember, each game may have its own unique options and settings for keyboard and mouse customization. Don’t hesitate to explore the in-game settings to fine-tune the controls to your liking.
Now that you have successfully connected, adjusted, and tested your keyboard and mouse on the Nintendo Switch, you are ready to embark on your gaming journey. Enjoy the enhanced precision, control, and familiarity that this setup provides, and have a fantastic time exploring the vast library of games available on your Nintendo Switch!