Introduction
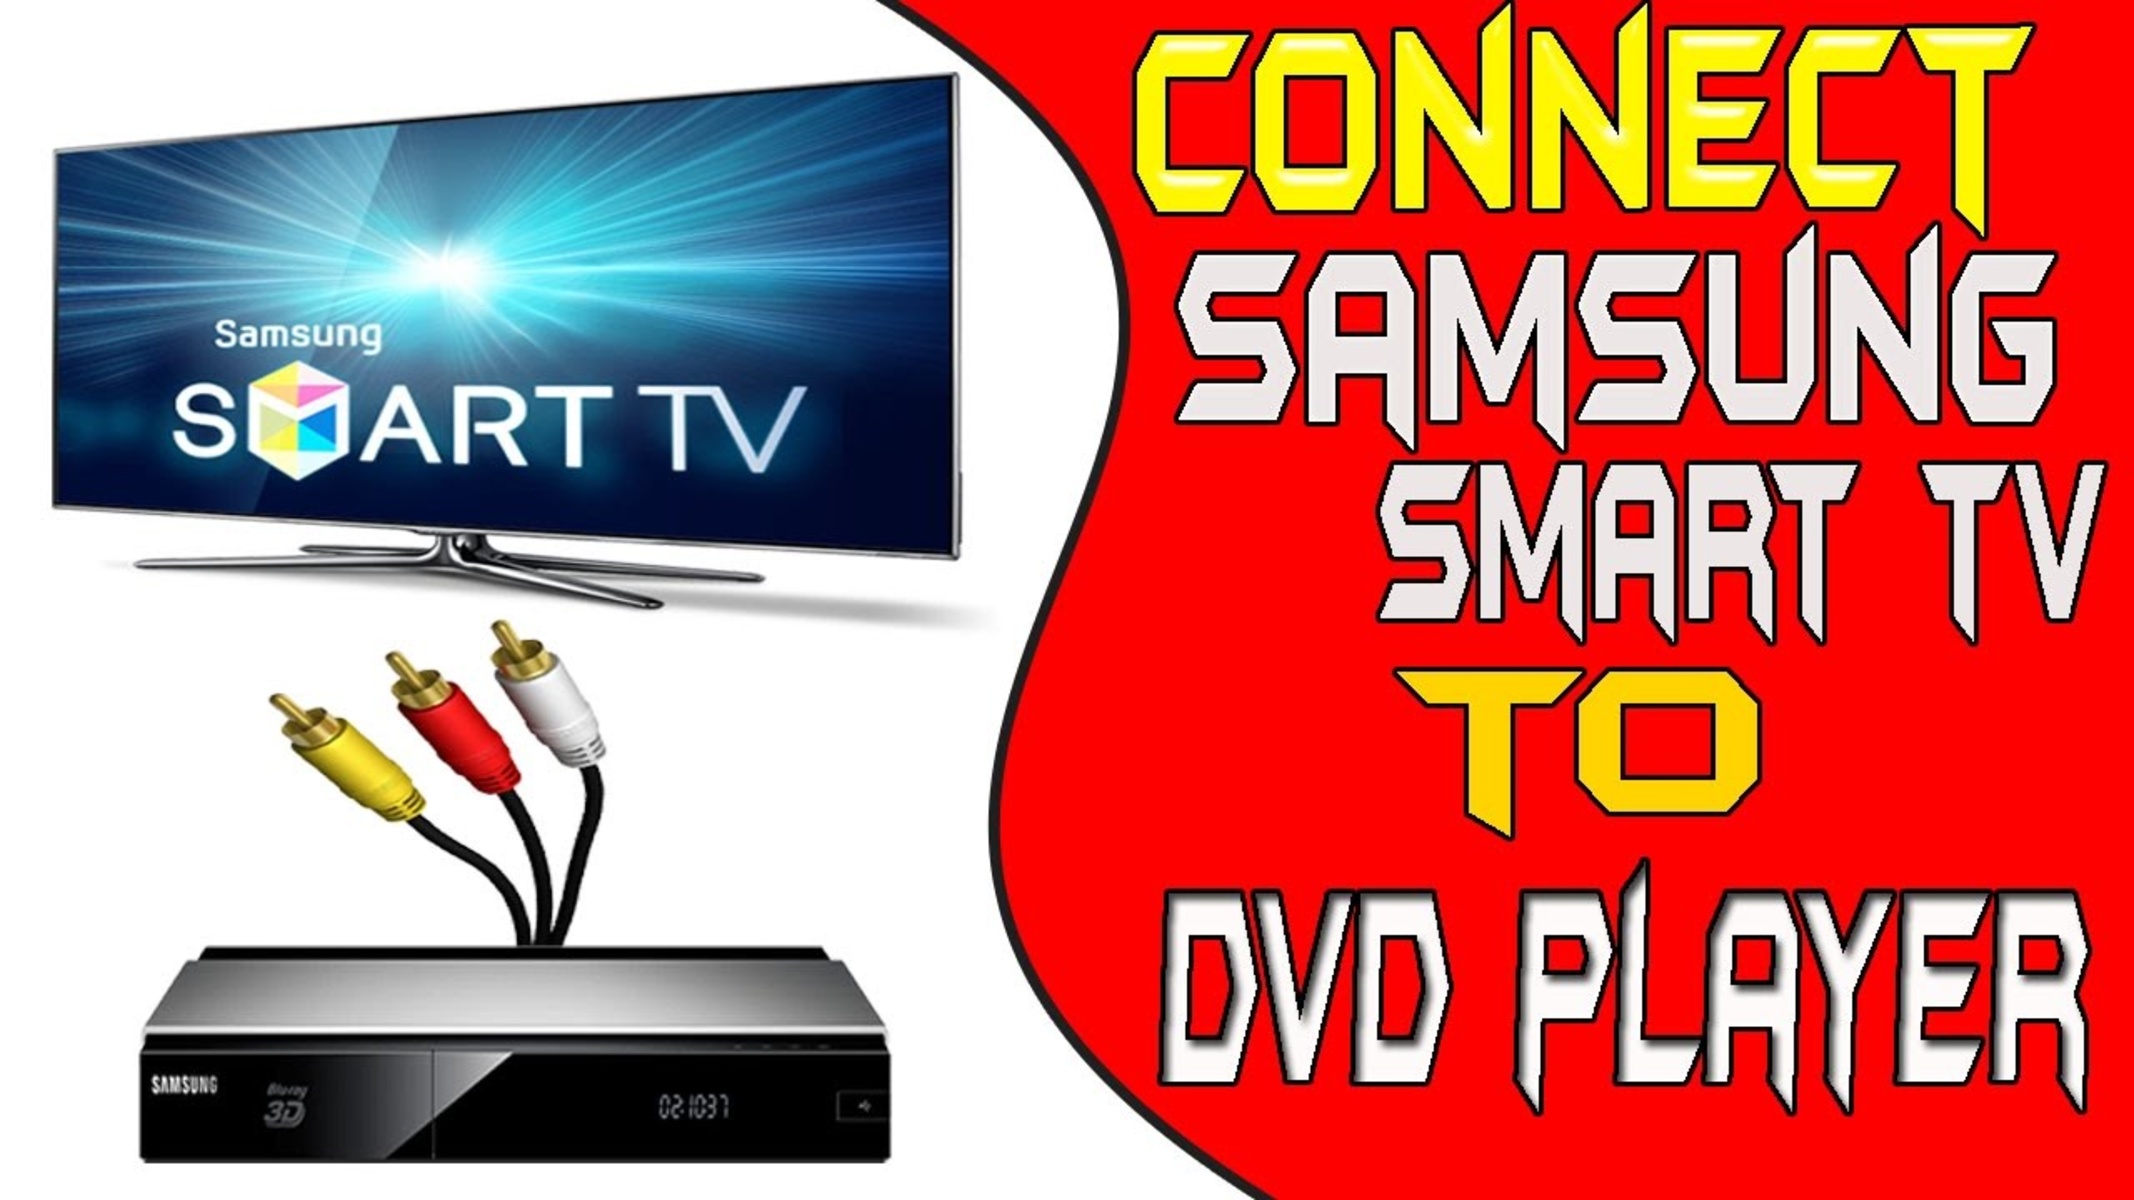
Welcome to our guide on how to connect a DVD player to a Samsung Smart TV without HDMI. While HDMI cables have become the standard for connecting devices to TVs, not all DVD players have an HDMI port. But don’t worry, we’ve got you covered with alternative options.
Whether you have an older DVD player or simply prefer not to use HDMI, there are two main options for connecting your DVD player to your Samsung Smart TV: using component cables or composite cables. Both options will allow you to enjoy your favorite movies and TV shows on the big screen.
In the following sections, we will walk you through the steps for each option, including checking compatibility, connecting the cables, and configuring the input settings on your TV. By the end of this guide, you’ll be ready to sit back, relax, and watch your DVD collection in all its glory.
It’s important to note that the specific method you choose may depend on the available ports on your DVD player and TV. Make sure to check the user manuals of your devices to ensure compatibility and to locate the necessary input and output ports.
Now, let’s dive into the details and get you connected to your Samsung Smart TV!
Option 1: Using Component Cables
If your DVD player and Samsung Smart TV both have component cable ports, this is a great option for connecting them. Component cables are capable of transmitting high-quality video and audio signals, which will ensure a fantastic viewing experience.
Here are the steps to connect your DVD player to your Samsung Smart TV using component cables:
Step 1: Check your DVD player and TV for component cable compatibility
Take a look at the back of your DVD player and Samsung Smart TV to see if they have component cable ports. Component ports are usually color-coded as red, green, and blue for video, and red and white for audio.
Step 2: Connect the component cables to your DVD player
Take the component cables and match them with the corresponding colored ports on the back of your DVD player. Insert the red, green, and blue cables into their respective ports for video, and the red and white cables into the audio ports.
Step 3: Connect the other end of the component cables to your TV
Locate the component input ports on your Samsung Smart TV and connect the other end of the cables, ensuring that the colors of the cables match the colors of the ports.
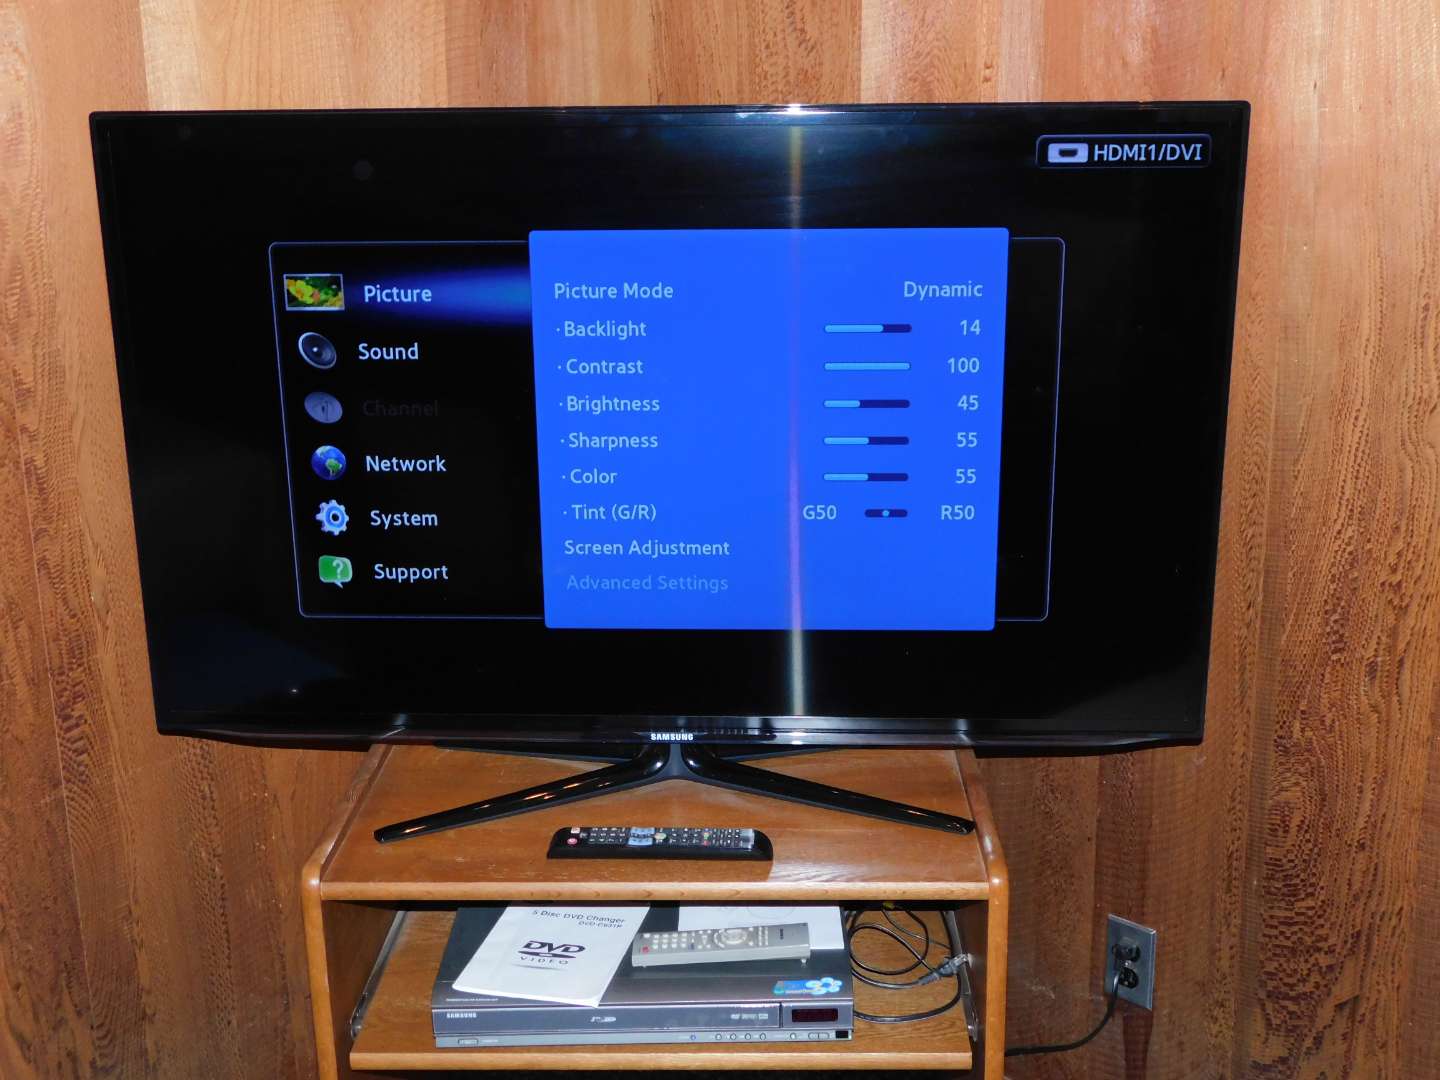
Step 4: Configure the input settings on your TV
Using your TV remote, navigate to the input/source menu and select the component input where you connected the cables. This will allow your Samsung Smart TV to recognize the DVD player and display the content.
And there you have it! Your DVD player is now successfully connected to your Samsung Smart TV using component cables. You can now enjoy your favorite movies and shows with excellent video and audio quality.
Next, let’s explore an alternative option using composite cables.
Step 1: Check your DVD player and TV for component cable compatibility
Before you begin connecting your DVD player to your Samsung Smart TV using component cables, it’s essential to check if both devices are equipped with the necessary ports for component cable connections.
Start by examining the back panel of your DVD player and Samsung Smart TV. Look for a set of component ports usually color-coded as red, green, and blue for video, and red and white for audio.
If you find these component ports on both devices, it means they are compatible with component cables, and you can proceed with the connection process. On the other hand, if either your DVD player or TV lacks these ports, you may need to explore alternative connection options such as composite cables or consider upgrading your devices.
It’s important to note that while component cables can provide high-quality video and audio transmission, some newer DVD players and Samsung Smart TVs may not feature these ports. The industry has gradually shifted towards HDMI as the primary connectivity option. Therefore, older DVD players are more likely to have component ports compared to newer models. Similarly, while Samsung Smart TVs typically have plenty of connectivity options, it’s worth confirming the availability of component ports on the specific model you own.
If you are unsure about the presence or location of component ports on your DVD player or Samsung Smart TV, consult the user manuals provided with each device. These manuals often include diagrams or illustrations that highlight the different ports and their functionalities.
Once you have confirmed the compatibility of your DVD player and TV with component cables, you are ready to move on to the next step: connecting the component cables to your DVD player.
Step 2: Connect the component cables to your DVD player
Now that you have confirmed the compatibility of your DVD player and TV with component cables, it’s time to connect the cables to your DVD player. Follow these steps to ensure a successful connection:
1. Take a close look at the component cables. You will notice that there are three cables with different colors – red, green, and blue. These cables are responsible for transmitting the video signals.
2. Locate the corresponding component video output ports on the back of your DVD player. These ports are usually labeled as “Y,” “Pb,” and “Pr.” The red cable connects to the “Pr” port, the blue cable connects to the “Pb” port, and the green cable connects to the “Y” port.
3. Insert the red cable into the red “Pr” port by aligning the colors. Similarly, insert the blue cable into the blue “Pb” port and the green cable into the green “Y” port. Ensure that the cables are securely plugged in.
4. In addition to the video signals, you need to connect the audio signals as well. Locate the red and white audio output ports on your DVD player, typically labeled as “R” and “L” respectively.
5. Take the red audio cable and insert it into the red “R” port, and the white audio cable into the white “L” port. Again, ensure a secure connection.
With the component cables properly connected to the DVD player, you have successfully completed the second step! The next step involves connecting the other end of the component cables to your Samsung Smart TV.
Step 3: Connect the other end of the component cables to your TV
With the component cables securely connected to your DVD player, it’s time to connect the other end of the cables to your Samsung Smart TV. Follow these steps to ensure a successful connection:
1. Take a look at the back of your Samsung Smart TV and locate the component input ports. These ports are usually labeled as “Component In” or “Y/Pb/Pr.”
2. Match the colors of the component cables with the corresponding input ports on your TV. The red cable should connect to the red input port, the green cable to the green input port, and the blue cable to the blue input port.
3. Make sure the cables are securely plugged into the component input ports. It’s important to ensure a tight connection to prevent any signal loss or interference.
4. Locate the audio input ports on your TV, which are usually located near the component input ports and labeled as “Audio In” or “L/R.”
5. Connect the red audio cable to the red audio input port on your TV, and the white audio cable to the white audio input port. Once again, ensure that the cables are securely inserted.
Now that you have successfully connected the component cables to your Samsung Smart TV, you’re one step closer to enjoying your DVD collection on the big screen. The final step in this process involves configuring the input settings on your TV to recognize the DVD player and display the content.
Step 4: Configure the input settings on your TV
Once you have connected the component cables from your DVD player to your Samsung Smart TV, it’s time to configure the input settings on your TV to recognize the DVD player and display the content. Follow these steps to complete the setup:
1. Take your TV remote and press the “Input” or “Source” button. This will bring up a menu on your TV screen that displays the different input options.
2. Navigate through the input options using the arrow keys on your remote until you find the input labeled as “Component” or “AV.” This input corresponds to the component input where you connected the component cables.
3. Once you have selected the component input, press the “Enter” or “OK” button on your remote to confirm the selection.
4. Your Samsung Smart TV will now switch to the component input and display the video and audio signals from your DVD player. It may take a few seconds for the TV to recognize the signal and establish a connection.
5. If you don’t see any content playing on your TV screen, make sure your DVD player is powered on and the disc is inserted properly. You may also want to check the volume settings on both your DVD player and TV to ensure the audio is not muted or set to a low level.
With the input settings properly configured, you should now be able to watch your favorite movies and shows from your DVD player on your Samsung Smart TV. Enjoy the immersive experience with high-quality video and audio!
It’s important to note that each TV model may have slight variations in the menus and options. If you’re having difficulty finding the input settings or experiencing any issues with the connection, refer to the user manual of your Samsung Smart TV for specific instructions.
Now that you have successfully connected and configured your DVD player, you’re all set to enjoy your movie marathon or TV series binge-watch sessions. Grab some popcorn, sit back, and relax as you indulge in your favorite entertainment!
Option 2: Using Composite Cables
If your DVD player doesn’t have component outputs or your Samsung Smart TV doesn’t have component input ports, don’t worry! You can still connect them using composite cables. While composite cables don’t offer the same level of video and audio quality as component cables, they are a reliable alternative.
Here are the steps to connect your DVD player to your Samsung Smart TV using composite cables:
Step 1: Check your DVD player and TV for composite cable compatibility
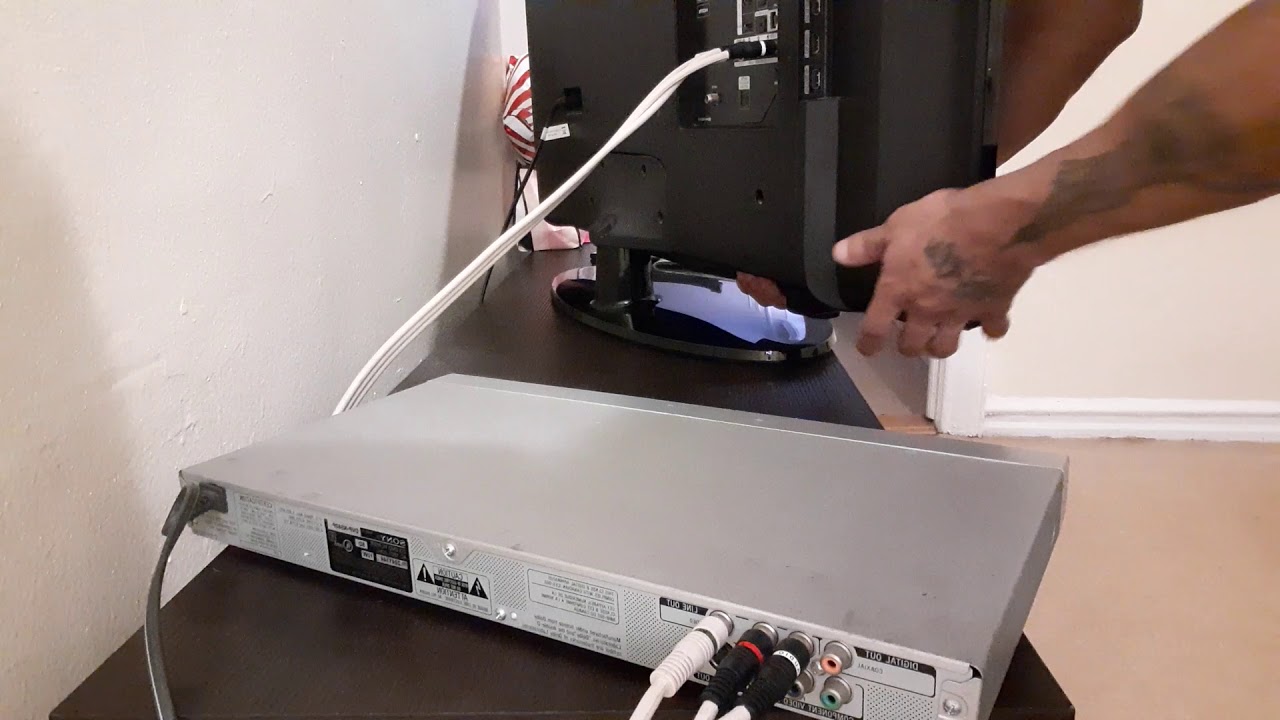
Take a look at the back of your DVD player and Samsung Smart TV to see if they have composite cable ports. Composite ports are usually color-coded as yellow (for video) and red/white (for audio).
Step 2: Connect the composite cables to your DVD player
Take the yellow composite cable and insert it into the yellow video output port on the back of your DVD player. Then, take the red and white composite cables and insert them into the red and white audio output ports, respectively.
Step 3: Connect the other end of the composite cables to your TV
Locate the composite input ports on your Samsung Smart TV and connect the other end of the cables. The yellow composite cable should go into the yellow video input port, while the red and white composite cables should go into the corresponding audio input ports.
Step 4: Configure the input settings on your TV
Using your TV remote, navigate to the input/source menu and select the composite input where you connected the cables. This will allow your Samsung Smart TV to recognize the DVD player and display the content.
With the composite cables properly connected and the input settings configured on your TV, you can now enjoy your favorite movies and shows on your Samsung Smart TV. While the video quality may not be as high as with component cables, composite cables still provide a reliable connection for your DVD player.
It’s worth noting that some newer Samsung Smart TV models may not have composite input ports. If your TV doesn’t have composite ports, you may need to consider using an HDMI to composite converter or explore other connection options available to you.
Next, let’s summarize the steps we’ve covered for both options and conclude our guide on how to connect a DVD player to a Samsung Smart TV without HDMI.
Step 1: Check your DVD player and TV for composite cable compatibility
Before you start connecting your DVD player to your Samsung Smart TV using composite cables, it’s important to check if both devices have the necessary ports for composite cable connections.
Begin by examining the back panel of your DVD player and Samsung Smart TV. Look for a set of ports labeled specifically for composite cables. The composite ports typically consist of a yellow port for video and red/white ports for audio.
If you find these composite ports on both devices, it means that they are compatible with composite cables, and you can proceed with the connection process. However, if either your DVD player or your Samsung Smart TV lacks these composite ports, you may need to consider alternative connection options or explore external adapters that can convert composite signals to a compatible format for your TV.
It’s worth mentioning that composite cables are a common connectivity option for older devices, as newer devices often prefer HDMI or other digital connection types. Therefore, if you have an older DVD player or TV, there is a higher likelihood of finding composite ports on them.
Also, keep in mind that while composite cables can transmit video and audio signals, the quality may not be as high as other connection methods like HDMI or component cables. However, composite cables still provide a reliable way to connect your DVD player to your Samsung Smart TV if no other options are available.
If you’re unsure about whether your DVD player or TV supports composite cables or need assistance in identifying the specific ports, consult the user manuals that came with your devices. These manuals often include diagrams and descriptions that can help you locate the appropriate ports.
Once you have confirmed the compatibility of your DVD player and TV with composite cables, you are ready to proceed to the next step: connecting the composite cables to your DVD player.
Step 2: Connect the composite cables to your DVD player
Now that you have confirmed the compatibility of your DVD player and TV with composite cables, it’s time to connect the cables to your DVD player. Follow these steps to ensure a successful connection:
1. Take a look at the composite cables. You will notice that there are three cables – a yellow cable for video and red and white cables for audio. These cables are responsible for transmitting the video and audio signals from your DVD player to your TV.
2. Locate the corresponding composite output ports on the back of your DVD player. The yellow cable should connect to the yellow video output port, while the red and white cables should connect to the corresponding audio output ports.
3. Insert the yellow composite cable into the yellow video output port. Ensure that the cable is securely plugged in and the connection is tight.
4. Take the red composite cable and insert it into the red audio output port. Similarly, insert the white composite cable into the white audio output port. Again, ensure a secure connection.
By successfully connecting the composite cables to your DVD player, you have completed the second step. The next step involves connecting the other end of the composite cables to your Samsung Smart TV.
Step 3: Connect the other end of the composite cables to your TV
With the composite cables securely connected to your DVD player, it’s time to connect the other end of the cables to your Samsung Smart TV. Follow these steps for a successful connection:
1. Take a look at the back or side of your Samsung Smart TV and locate the composite input ports. These ports are usually color-coded and labeled as “Video In” or “Composite In.” The yellow port is for video, while the red and white ports are for audio.
2. Match the colors of the composite cables with the corresponding input ports on your TV. Insert the yellow composite cable into the yellow video input port, and the red and white composite cables into their respective audio input ports.
3. Make sure the cables are securely plugged into the composite input ports on your TV. It’s crucial to ensure a tight connection to prevent any signal loss or interference.
4. Once the cables are properly connected, you can adjust the position of your TV to accommodate the placement of your DVD player and ensure that the cables are not strained or twisted.
It’s worth noting that some Samsung Smart TVs may have additional options or specific settings related to composite input. If needed, refer to the user manual of your TV to understand any specific requirements or advanced settings related to composite connections.
With the composite cables successfully connected to your Samsung Smart TV, you have completed the third step of the process. The final step involves configuring the input settings on your TV to recognize the DVD player and display the content.
Step 4: Configure the input settings on your TV
Now that you have connected the composite cables from your DVD player to your Samsung Smart TV, it’s time to configure the input settings on your TV. This will enable your TV to recognize the DVD player and display the content. Follow these steps:
1. Take your TV remote and locate the “Input” or “Source” button. Press the button to access the input/source menu on your Samsung Smart TV.
2. Using the arrow keys on your remote, navigate through the input options until you find the input labeled as “Composite,” “AV,” or “Video.” This input corresponds to the composite input where you connected the composite cables.
3. Once you have selected the appropriate input, press the “Enter” or “OK” button on your remote to confirm the input selection.
4. Your Samsung Smart TV will now switch to the composite input, and you should see the video and hear the audio from your DVD player. Please be patient, as it may take a few seconds for the TV to establish the connection and display the content.
If you don’t see any content on your TV screen, make sure your DVD player is powered on and the disc is inserted correctly. Additionally, check the volume settings on both your DVD player and TV to ensure the audio is not muted or set too low.
It’s also worth checking if your DVD player has any on-screen display or menu system that you may need to access separately to control the playback and navigation options of your DVD.
Keep in mind that the specific labels and options in the input/settings menu may vary depending on your Samsung Smart TV model. If you encounter any difficulties or require detailed instructions, refer to the user manual or online support resources provided by Samsung.
With the input settings successfully configured on your TV, you are now ready to enjoy your DVD collection on your Samsung Smart TV using composite cables.
Let’s conclude this guide by summarizing the steps we covered for both options and highlighting the key takeaways.
Conclusion
Connecting a DVD player to a Samsung Smart TV without HDMI is possible using alternative options such as component cables or composite cables. While HDMI has become the standard for modern devices, older DVD players or TVs may not have HDMI ports, making these alternative connections essential.
We explored two options in this guide: using component cables and using composite cables. Component cables offer higher video and audio quality, while composite cables are a reliable alternative. Both options allow you to enjoy your favorite movies and shows on the big screen of your Samsung Smart TV.
In the first option, using component cables, we outlined the steps to check compatibility, connect the cables to your DVD player, connect the other end to your TV, and configure the input settings on your TV. The process involves matching colors, securing connections, and selecting the appropriate input source on your Samsung Smart TV.
If your devices don’t have component ports, the second option, using composite cables, provides an alternative. We covered the steps to check compatibility, connect the cables to your DVD player, connect the other end to your TV, and configure the input settings on your TV. Although composite cables provide slightly lower video and audio quality, they still offer a reliable connection.
Remember to consult the user manuals of your DVD player and Samsung Smart TV for detailed information on specific ports, functionalities, and settings. Additionally, keep in mind that newer TV models may not have composite input ports, and in such cases, exploring external adapters or other connection options may be necessary.
By following the steps outlined in this guide, you can connect your DVD player to your Samsung Smart TV without HDMI and enjoy your favorite movies and shows with ease. Whether you choose component cables or composite cables, you will have a seamless viewing experience right from your couch.
Now, grab your popcorn, settle into your favorite spot, and savor the excitement of watching your DVD collection on the big screen of your Samsung Smart TV!