Introduction
Connecting a printer to your Wi-Fi network has become essential in today’s digital age. It allows you to print wirelessly from multiple devices, including your computer, laptop, smartphone, or tablet. If you own a Brother printer and want to enjoy the convenience of wireless printing, this article will guide you through the process of connecting your Brother printer to Wi-Fi.
Having a printer connected to your Wi-Fi network eliminates the need for messy cables and allows you to print from any device connected to the same Wi-Fi network. Whether you’re a student needing to print assignments or a professional working from home, Wi-Fi printing provides the flexibility and convenience necessary for efficient and seamless document management.
Before diving into the step-by-step instructions, it’s important to ensure that your Brother printer is compatible with wireless connectivity. Some older printer models may not support Wi-Fi connectivity, in which case, you may need to consider upgrading to a newer model that supports wireless printing. Check the manufacturer’s specifications or consult the printer’s documentation to verify Wi-Fi compatibility.
Once you’ve confirmed that your Brother printer is Wi-Fi-enabled, you can proceed with the set-up process. This typically involves connecting the printer to a power source, accessing its network settings, connecting to your Wi-Fi network, and installing the necessary printer drivers on your computer or device.
In the following sections, we will provide a detailed guide on how to connect your Brother printer to Wi-Fi in a simple and hassle-free manner. By following these steps, you’ll be able to enjoy the convenience of wireless printing without any difficulties.
Step 1: Check Compatibility
Before you begin the process of connecting your Brother printer to Wi-Fi, it’s important to ensure that your printer model is compatible with wireless connectivity. While most modern Brother printers support Wi-Fi, it’s always a good idea to double-check the specifications to avoid any compatibility issues.
To determine if your printer is Wi-Fi-enabled, you can refer to the user manual or visit the Brother website for detailed information about your printer model. Look for keywords such as “Wireless” or “Wi-Fi” in the specifications or features section. If you’re unable to find this information, contacting Brother’s customer support can provide you with the necessary clarification.
If your printer doesn’t support wireless connectivity, you may still be able to connect it to your Wi-Fi network using other methods. Some printer models have the option to connect to a Wi-Fi network via an external Wi-Fi adapter or by connecting it to a wireless router using an Ethernet cable. Refer to your printer’s manual for specific instructions on alternative connection methods.
Upgrading to a Wi-Fi-enabled printer is also a viable option if your current printer lacks wireless capabilities. Wi-Fi-enabled printers offer greater flexibility and convenience, allowing you to seamlessly print from any device connected to the same Wi-Fi network.
By checking the compatibility of your Brother printer before beginning the set-up process, you can save time and avoid frustration in case your printer is not equipped for wireless connectivity. This step ensures that you have the necessary tools to proceed with the Wi-Fi connection process smoothly.
Step 2: Gather the Necessary Equipment
Before you can connect your Brother printer to Wi-Fi, it’s important to gather all the necessary equipment. Having everything prepared will streamline the set-up process and ensure that you have everything you need at hand.
Here’s a list of the essential equipment you’ll need:
- Your Brother printer: Make sure it’s within range of your Wi-Fi network and easily accessible for connecting cables, accessing buttons, and navigating settings.
- Power cable: Ensure that you have the power cable that came with your printer. This cable will be used to connect your printer to a power source.
- Computer or device: You’ll need a computer or device that is connected to the same Wi-Fi network to install the necessary printer drivers later on.
- USB cable (optional): In some cases, you may need a USB cable to establish an initial connection between your printer and computer. This is especially true if your printer supports Wi-Fi Direct or if you encounter any difficulties during the Wi-Fi setup process.
- Wi-Fi network information: Make sure you have the SSID (network name) and password for your Wi-Fi network. This information is crucial for connecting your printer to the correct network.
Having all these items readily available will ensure that you can complete the printer setup without any interruptions. It’s always a good idea to check if you have everything on the list before proceeding to the next step.
By gathering the necessary equipment beforehand, you’ll be well-prepared to tackle the Wi-Fi connection process and avoid any unnecessary delays or frustration.
Step 3: Connect the Printer to Power
Once you have gathered all the necessary equipment, the next step is to connect your Brother printer to a power source. This will supply the printer with the necessary electrical power to function properly.
Here’s how you can connect your printer to power:
- Locate the power cable that came with your Brother printer.
- Ensure that the printer is turned off.
- Find the power input port on the back or side of the printer.
- Connect one end of the power cable to the printer’s power input port.
- Plug the other end of the power cable into a nearby electrical outlet.
- Turn on the printer by pressing the power button, if it doesn’t automatically power on.
Once your printer is connected to power, it should start initializing and preparing for the Wi-Fi connection process. You may hear sounds or see lights blinking as the printer powers on and performs its start-up routine.
It’s important to ensure that your printer is connected to a reliable power source to prevent any unexpected interruptions during the Wi-Fi connection process or while printing. Avoid using power outlets that are controlled by a switch or have a history of power fluctuations.
By properly connecting your Brother printer to a power source, you are one step closer to enjoying the convenience of wireless printing. The printer should now be ready to establish a connection with your Wi-Fi network in the subsequent steps.
Step 4: Access the Printer’s Network Settings
Now that your Brother printer is powered on, it’s time to access the printer’s network settings. This step allows you to connect your printer to your Wi-Fi network and establish a wireless connection.
Follow these steps to access the network settings on your printer:
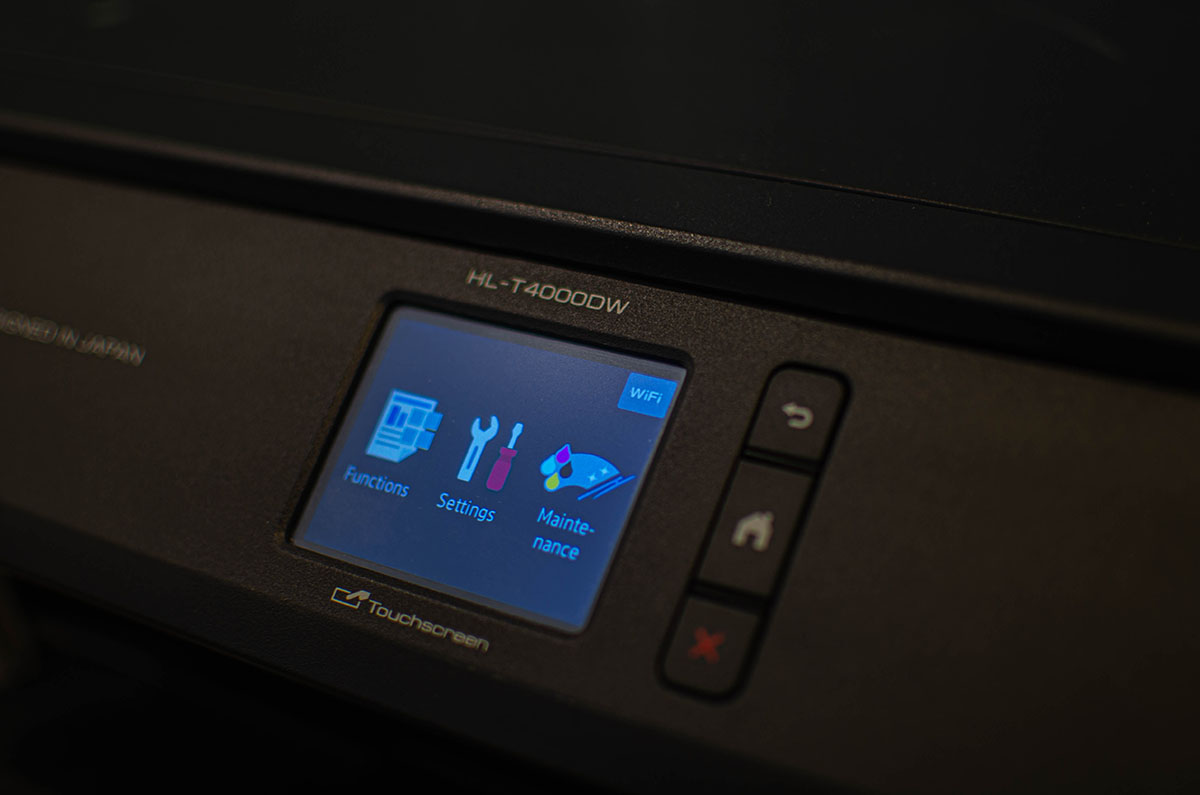
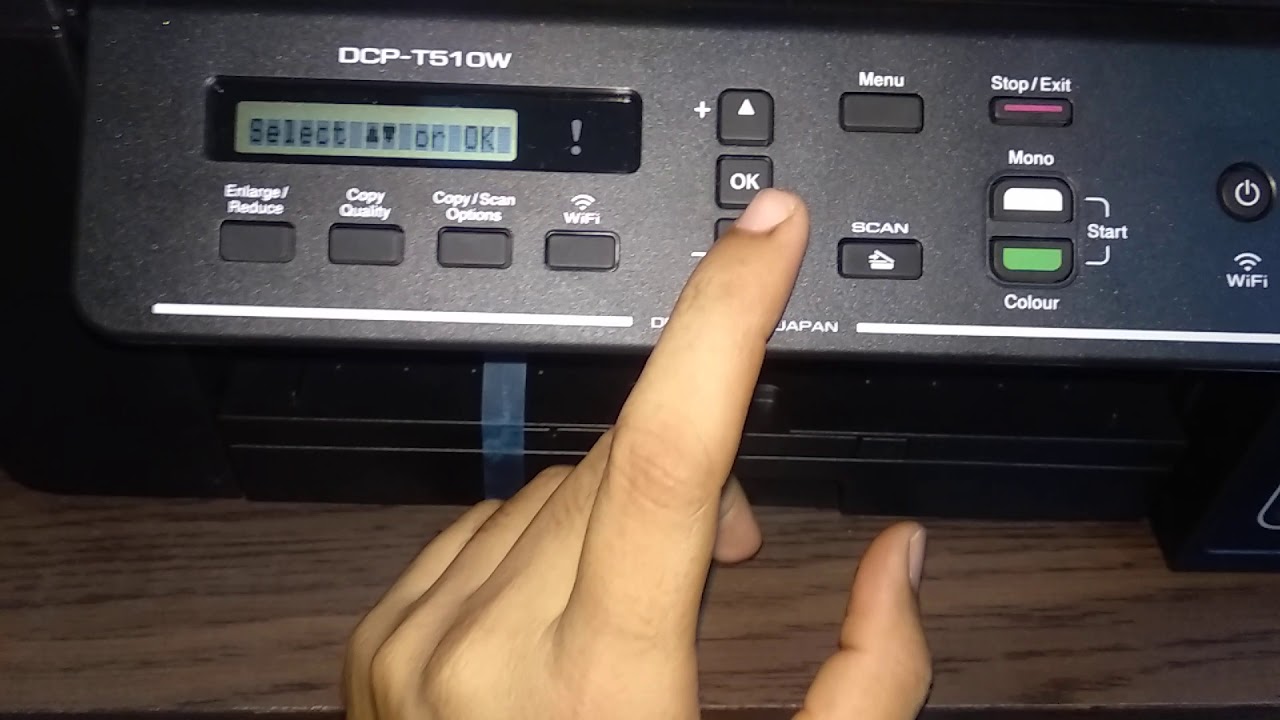
- On the control panel of your Brother printer, locate the “Menu” or “Settings” button.
- Press the “Menu” or “Settings” button to enter the printer’s menu.
- Navigate through the menu options using the arrow keys or directional pad on the control panel.
- Look for an option related to “Network” or “Wireless” settings. The exact wording and location may vary depending on the model of your Brother printer.
- Select the “Network” or “Wireless” option to access the network settings menu.
Once you have accessed the printer’s network settings, you may be prompted to enter a password or PIN to proceed. This is a security measure to prevent unauthorized access to the printer’s settings. Consult your printer’s user manual or documentation for the default password or PIN, or if you have previously set a custom password.
Within the network settings menu, you should see options to connect to a Wi-Fi network or configure the wireless connection. Select the appropriate option and proceed to the next step to connect your Brother printer to your Wi-Fi network.
Accessing the printer’s network settings is an essential step in establishing a wireless connection. It allows you to configure the network settings, such as connecting to your Wi-Fi network, setting the IP address, and adjusting other network-related parameters.
By following these steps, you’ll be ready to move on to the next stage of the setup process and connect your Brother printer to your Wi-Fi network seamlessly.
Step 5: Connect the Printer to your Wi-Fi Network
With the printer’s network settings menu accessed, the next step is to connect your Brother printer to your Wi-Fi network. This will enable your printer to communicate wirelessly with other devices on the same network.
Follow these steps to connect your Brother printer to your Wi-Fi network:
- Within the printer’s network settings menu, locate the option to connect to a Wi-Fi network.
- Select the Wi-Fi network option.
- A list of available Wi-Fi networks should appear on the screen. Locate and select the name of your Wi-Fi network from the list.
- If prompted, enter the password for your Wi-Fi network. Use the arrow keys or the control panel to input the password accurately.
- Confirm the entered password and proceed to connect to the Wi-Fi network.
- Wait for your Brother printer to establish a connection with the Wi-Fi network. This may take a few moments.
- Once the connection is successfully established, you should see an indication on the printer’s screen or control panel that it is now connected to the Wi-Fi network.
After connecting your Brother printer to your Wi-Fi network, it is recommended to double-check the network connection by printing a network configuration report. This report will provide information about the printer’s IP address, network status, and other relevant details. Consult your printer’s user manual or documentation for instructions on how to print a network configuration report.
By connecting your Brother printer to your Wi-Fi network, you have eliminated the need for a direct connection between your printer and computer. This allows you to print from any device connected to the same Wi-Fi network, providing a convenient and flexible printing experience.
In the next step, we will cover how to install the necessary printer drivers on your computer or device to ensure seamless printing.
Step 6: Install Printer Drivers on your Computer
Now that your Brother printer is connected to your Wi-Fi network, the next step is to install the necessary printer drivers on your computer or device. Printer drivers are software programs that facilitate communication between the printer and your computer, allowing you to send print jobs and control various printing settings.
Follow these steps to install the printer drivers:
- Ensure that your computer or device is connected to the same Wi-Fi network as your Brother printer.
- Open a web browser and navigate to the Brother support website.
- Search for your printer model using the search bar or browse through the available printer models.
- Locate the correct printer model and click on it to access the printer’s support page.
- Look for the “Downloads” or “Drivers” section on the support page.
- Choose your operating system from the available options.
- Download the latest printer driver package for your operating system.
- Once the download is complete, locate the driver package file and run it.
- Follow the on-screen instructions to install the printer drivers on your computer.
- During the installation process, you may be prompted to select the connection type. Choose the wireless or network connection option.
- Wait for the installation to complete.
After the printer drivers are installed, your computer should recognize your Brother printer and establish a connection. You can verify the connection by attempting to print a test page or any document.
If you encounter any issues during the driver installation, consult the printer’s user manual or documentation for troubleshooting steps or visit the Brother support website for further assistance.
By installing the printer drivers on your computer, you have successfully set up the necessary software components to ensure hassle-free printing from your device to your Brother printer via the Wi-Fi network.
In the next step, we will test the connection to ensure that everything is functioning correctly.
Step 7: Test the Connection
After connecting your Brother printer to your Wi-Fi network and installing the printer drivers on your computer, it’s important to test the connection to ensure that everything is functioning correctly. This final step will confirm that your computer can communicate with the printer seamlessly.
Here’s how you can test the connection between your computer and Brother printer:
- Open a document or file that you want to print.
- Select the print option from the file menu or press “Ctrl + P” on your keyboard to open the print dialog.
- Ensure that your Brother printer is selected as the default or chosen printer in the print settings.
- Adjust any print settings, such as paper size or print quality, according to your preferences.
- Click on the “Print” button to send the print job to your Brother printer.
- Observe the printer to see if it starts printing the document.
- If the document is printed successfully, the connection between your computer and Brother printer is working correctly.
- If the document does not print, ensure that your Brother printer is turned on, connected to the Wi-Fi network, and there are no error messages displayed.
- Refer to the printer’s user manual or documentation for troubleshooting steps or visit the Brother support website for further assistance.
By testing the connection and successfully printing a document, you can have peace of mind knowing that your Brother printer is fully operational and ready for wireless printing. If any issues arise during the print test, it’s important to consult the necessary resources for troubleshooting steps to resolve the problem.
Congratulations! You have successfully connected your Brother printer to your Wi-Fi network, installed the required drivers, and tested the connection. You can now enjoy the convenience of wireless printing from your computer or other devices on the same Wi-Fi network.
Remember to keep your printer and computer updated with the latest firmware and software updates to ensure optimal performance and compatibility.
Conclusion
Connecting your Brother printer to your Wi-Fi network opens up a world of convenience and flexibility in printing. By following the step-by-step guide outlined in this article, you can successfully establish a wireless connection between your printer and devices on the same Wi-Fi network.
We began by emphasizing the importance of checking the compatibility of your Brother printer with wireless connectivity. It’s crucial to ensure that your printer model supports Wi-Fi before proceeding with the setup process.
We then discussed the significance of gathering the necessary equipment, including the Brother printer, power cable, computer or device, USB cable (if required), and Wi-Fi network information. Having these items readily available streamlines the setup process.
We walked through the steps of connecting the printer to power, accessing the printer’s network settings, and connecting it to your Wi-Fi network. These steps are essential in establishing a stable and secure wireless connection.
We then focused on installing the printer drivers on your computer or device to enable seamless communication between the printer and your device. The installation process ensures that you can effectively send print jobs and control printing settings from your computer.
After all the necessary steps were completed, we emphasized the importance of testing the connection. By printing a document or test page, you can confirm that the wireless connection between your computer and Brother printer is working correctly.
By following these steps, you are now able to enjoy the convenience of wireless printing, eliminating the need for cables and providing efficient printing solutions for your home or office needs.
Remember to consult the printer’s user manual, documentation, or the Brother support website for any further assistance or troubleshooting tips specific to your printer model.
With your Brother printer successfully connected to your Wi-Fi network, you can now enjoy effortless printing from your computer or device, enhancing productivity and simplifying document management.