Introduction
Connecting an ultrawide monitor and a regular monitor to a GTX 780 Ti video card can provide you with a versatile and immersive workstation setup. Whether you’re a graphic designer, video editor, or gamer, having dual monitors can greatly enhance your productivity and enjoyment.
In this guide, we will walk you through the steps to successfully connect both an ultrawide monitor and a regular monitor to your GTX 780 Ti video card. We’ll cover the necessary requirements, the different types of output ports on the GPU, and the proper configuration and adjustment of display settings to ensure optimal performance.
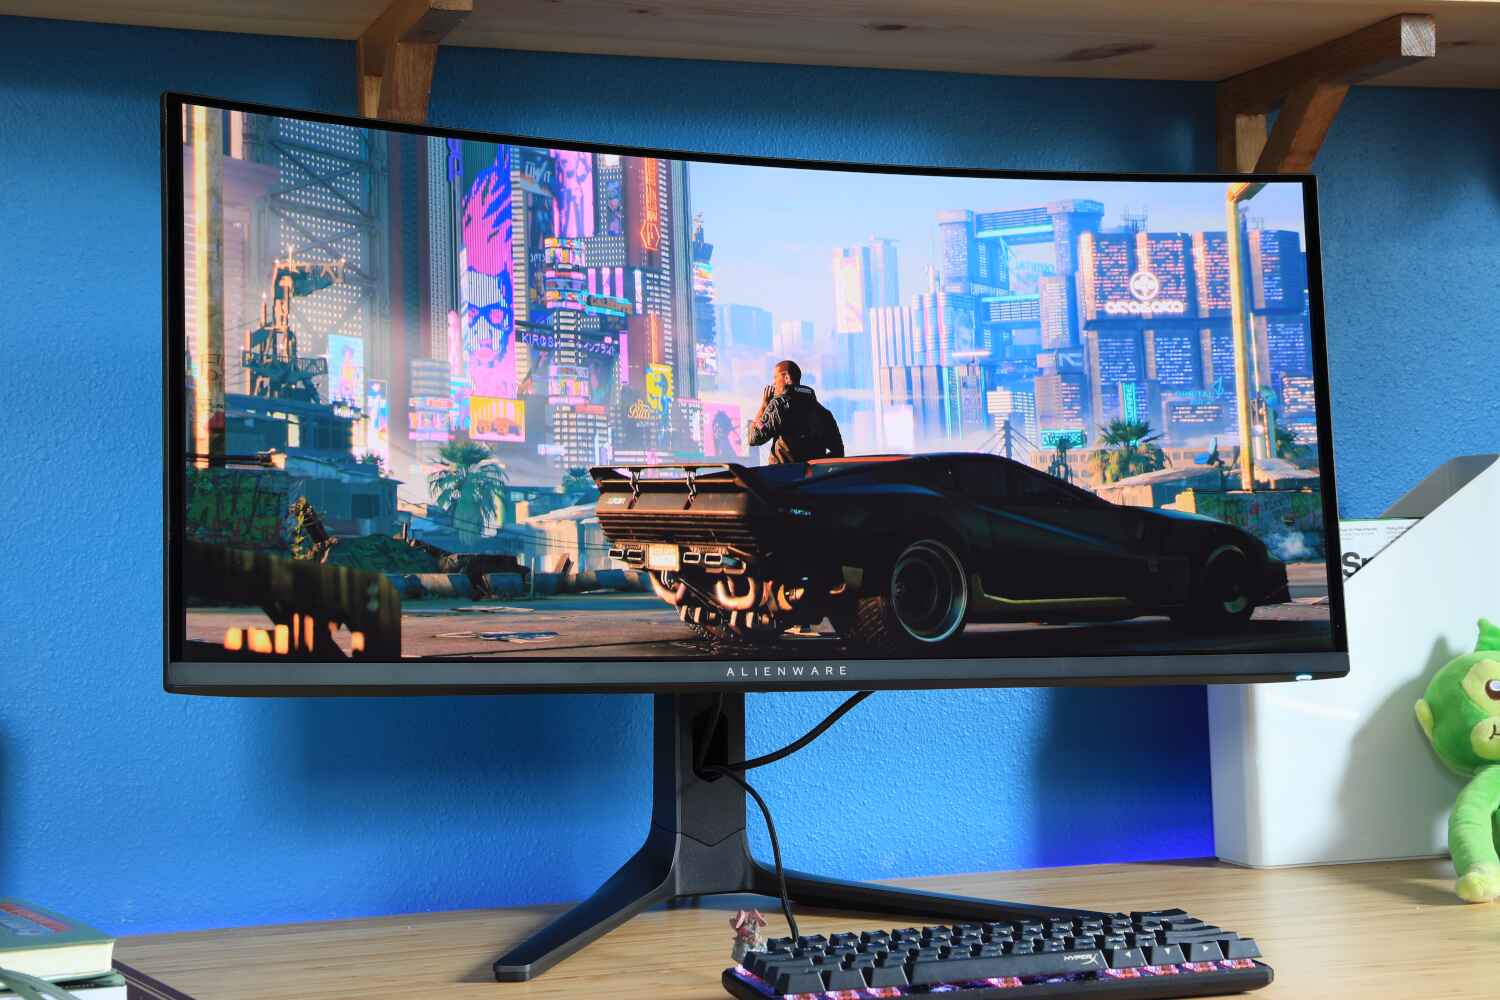
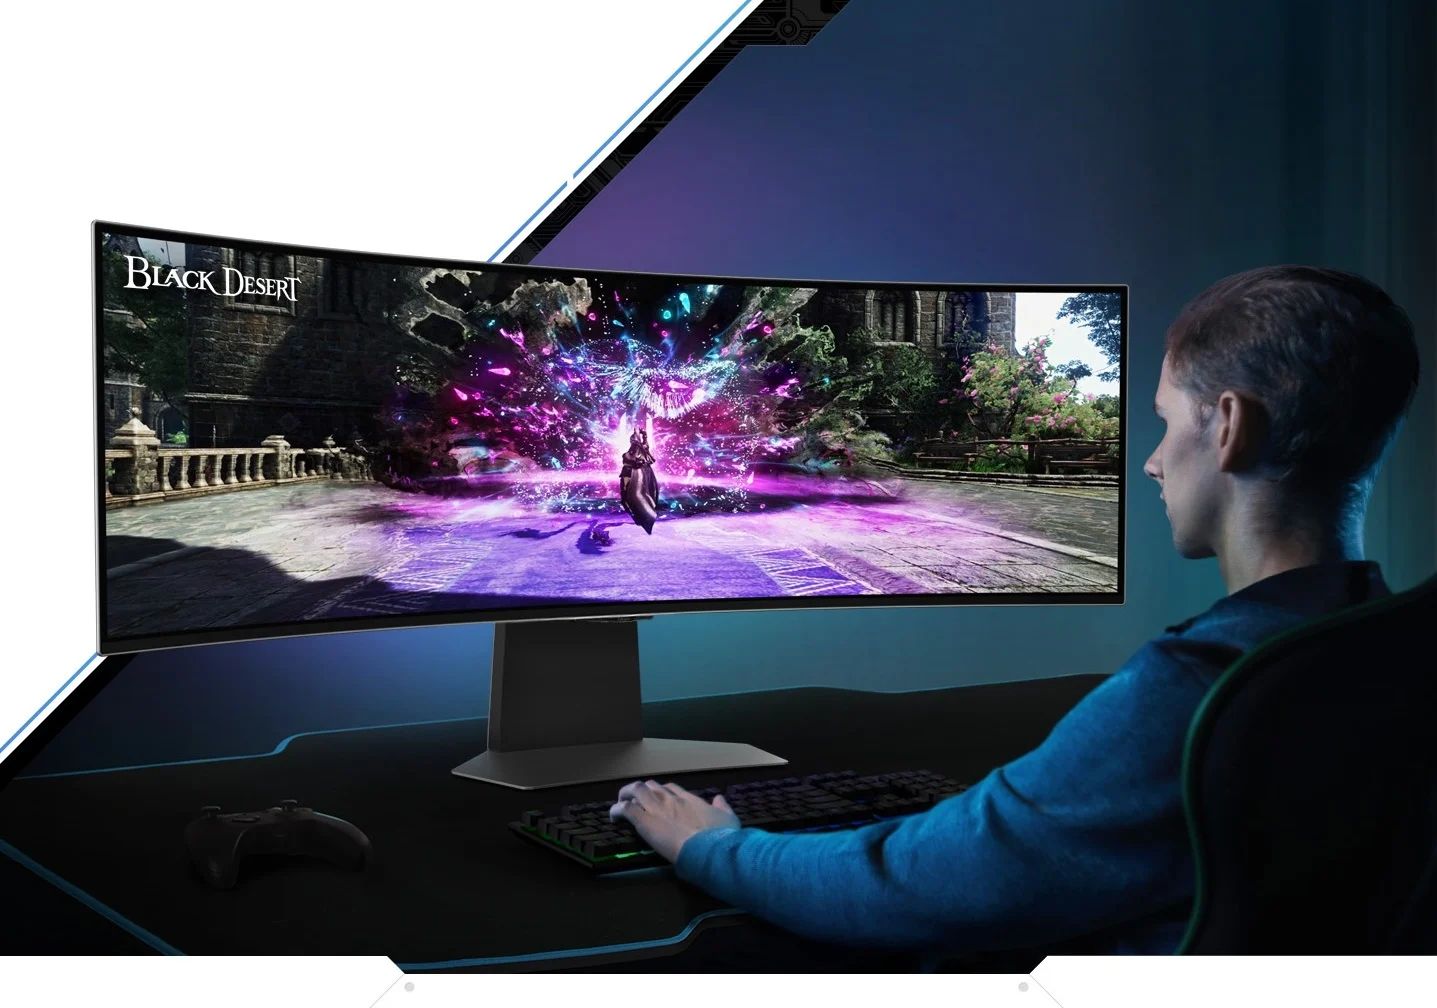
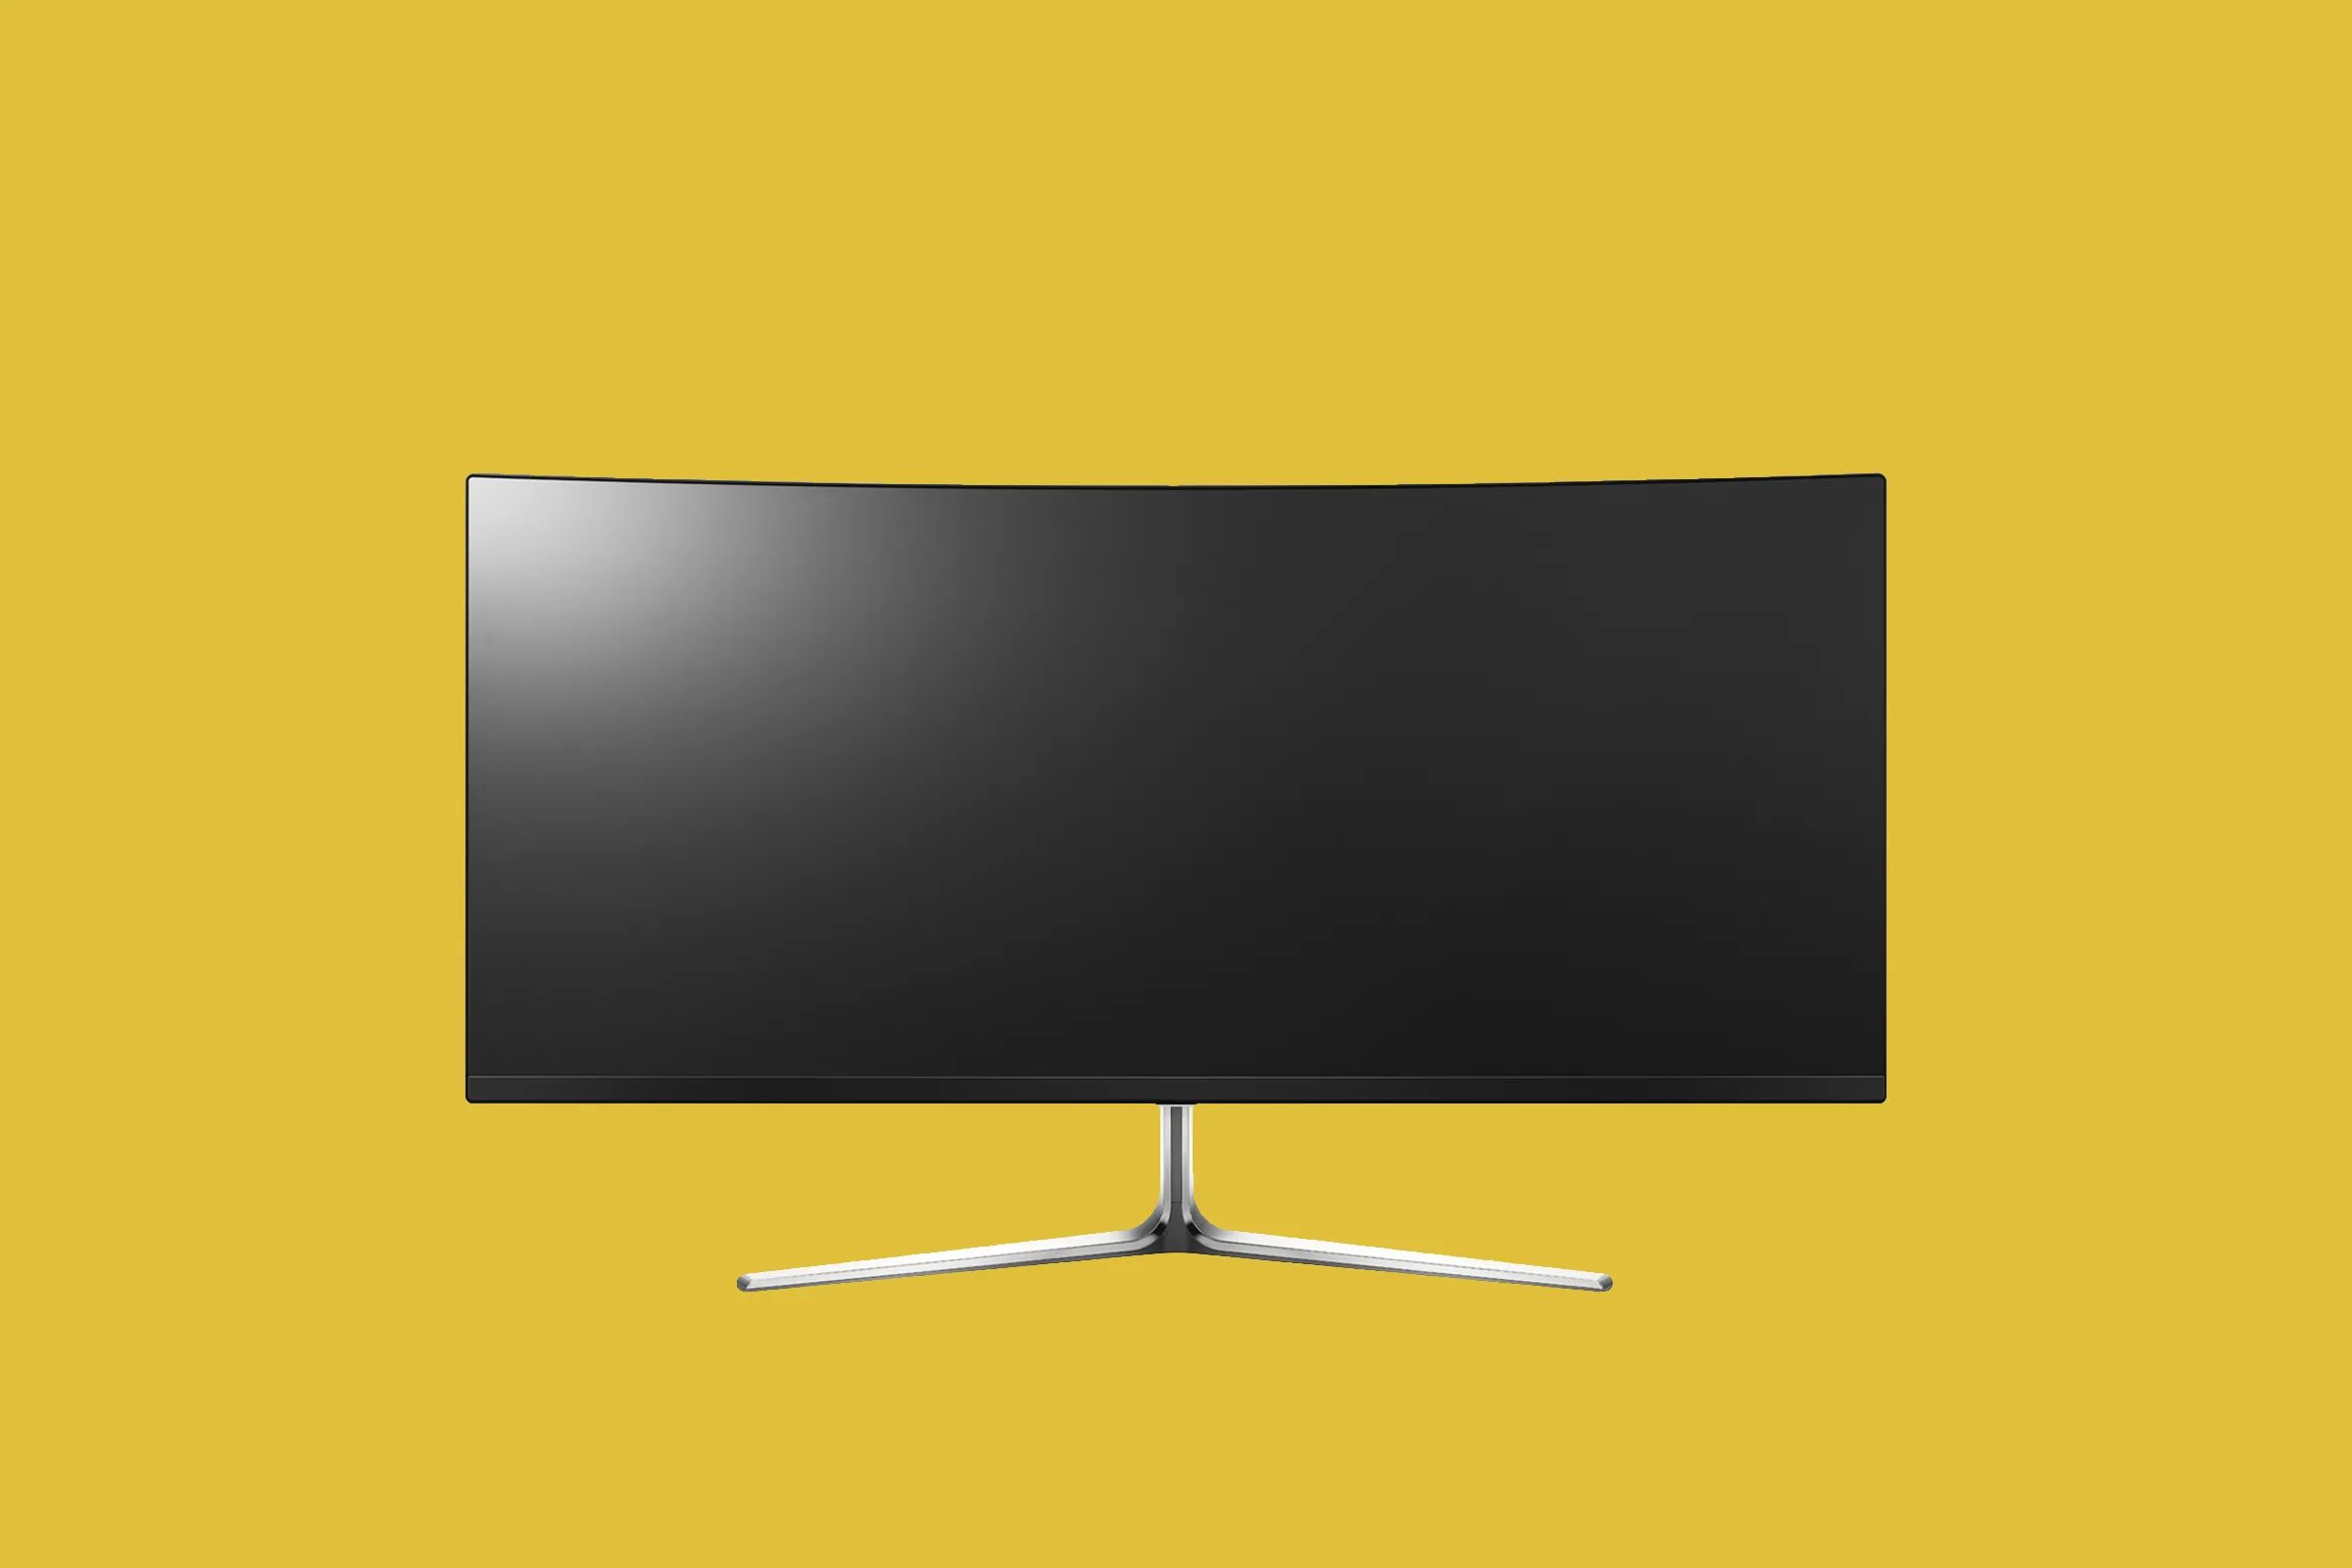
Before we dive into the steps, it’s important to have a clear understanding of the benefits of using dual monitors. With an ultrawide monitor, you can enjoy a wider field of view and immerse yourself in every detail of your work or game. The extra screen real estate allows for better multitasking, as you can have multiple windows or applications open and visible at the same time.
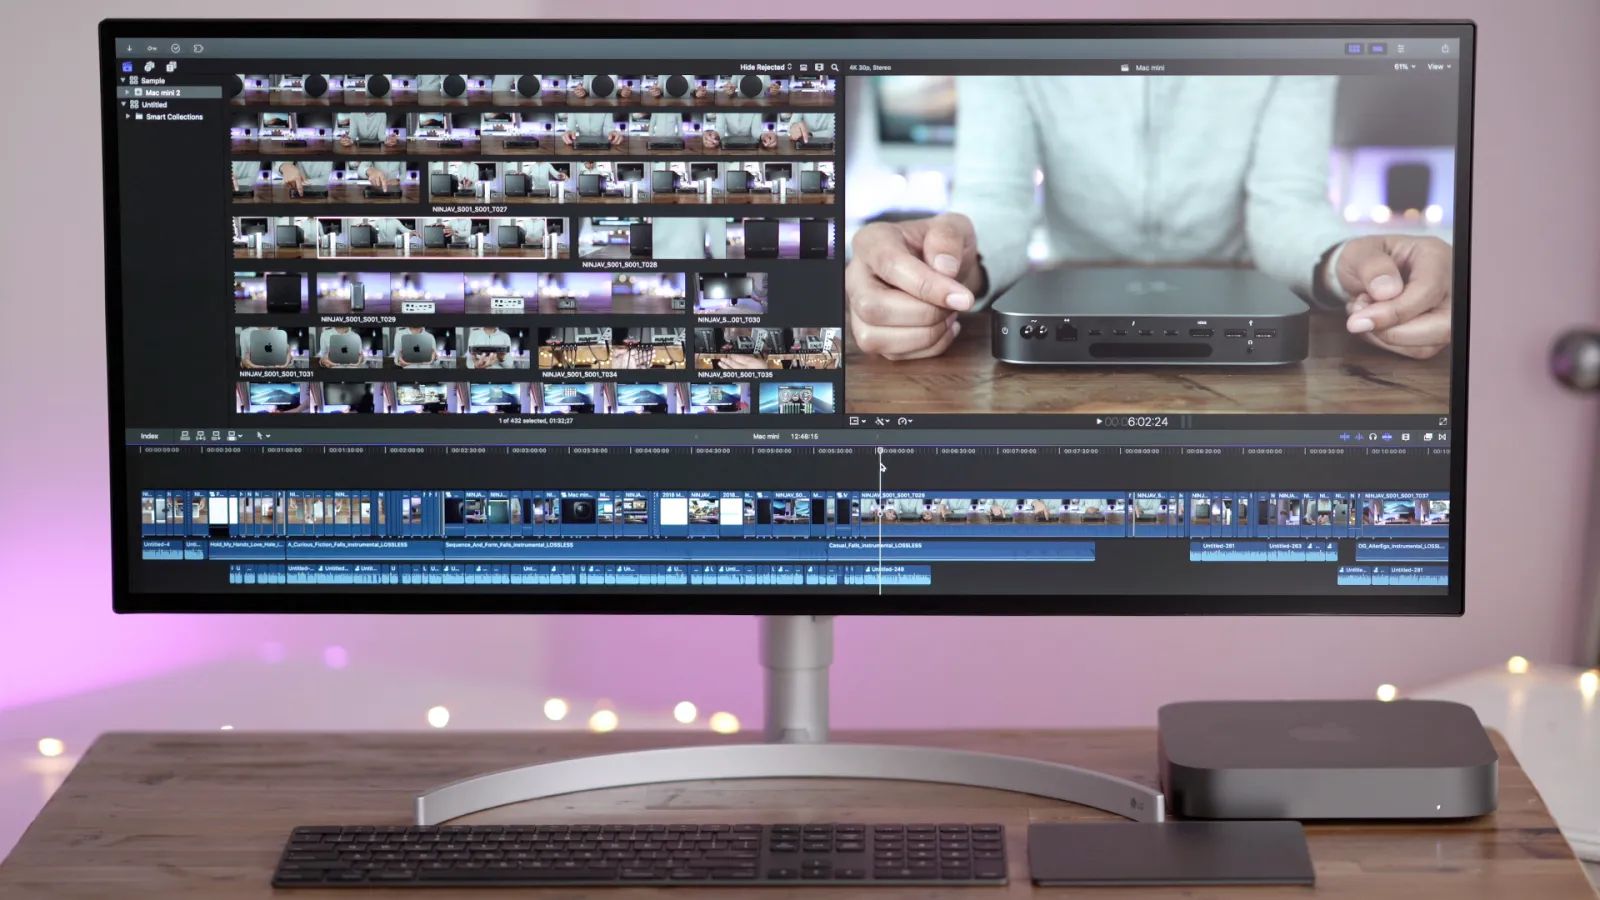
On the other hand, a regular monitor can be used for more focused tasks. This can be particularly beneficial for video editing or programming, where having a dedicated screen for timelines, coding windows, or reference materials can make your workflow more efficient and organized.
By combining an ultrawide monitor for immersion and a regular monitor for focused work, you can create a powerful workspace that caters to your specific needs.
Now, let’s move on to the requirements and the step-by-step process of connecting an ultrawide monitor and a regular monitor to your GTX 780 Ti video card.
Requirements
Before you begin, make sure you have the following items:
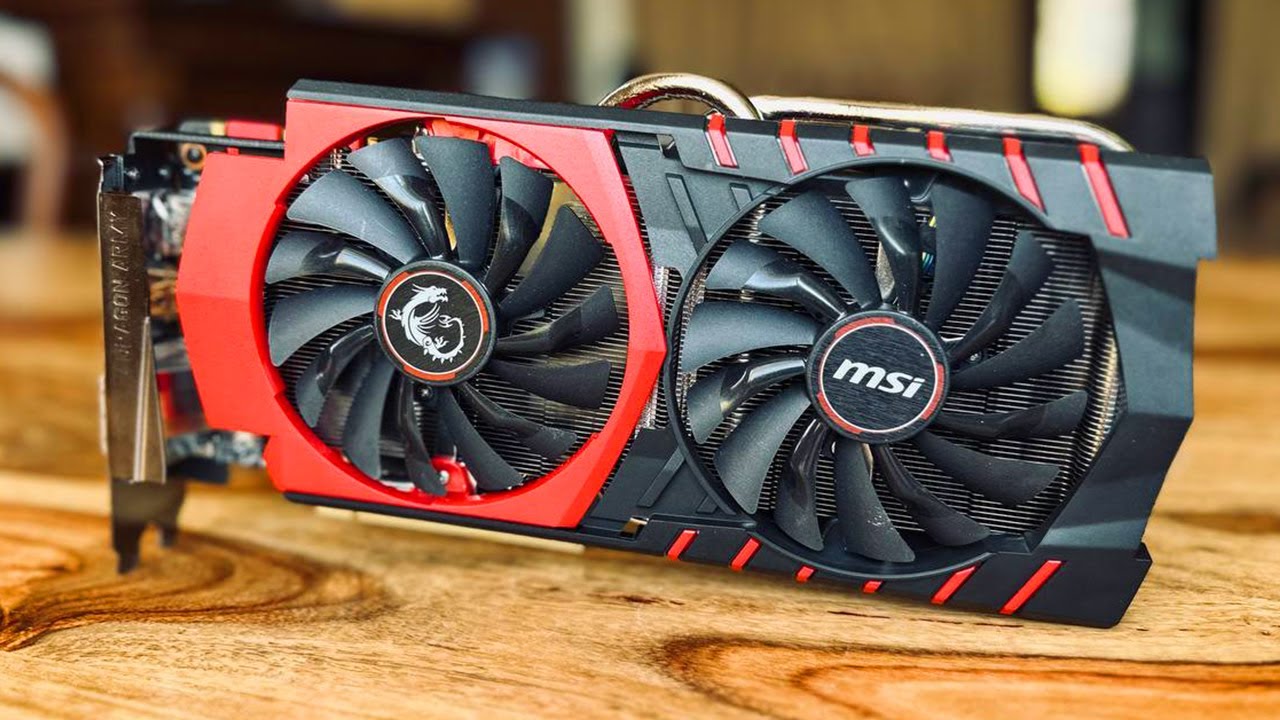
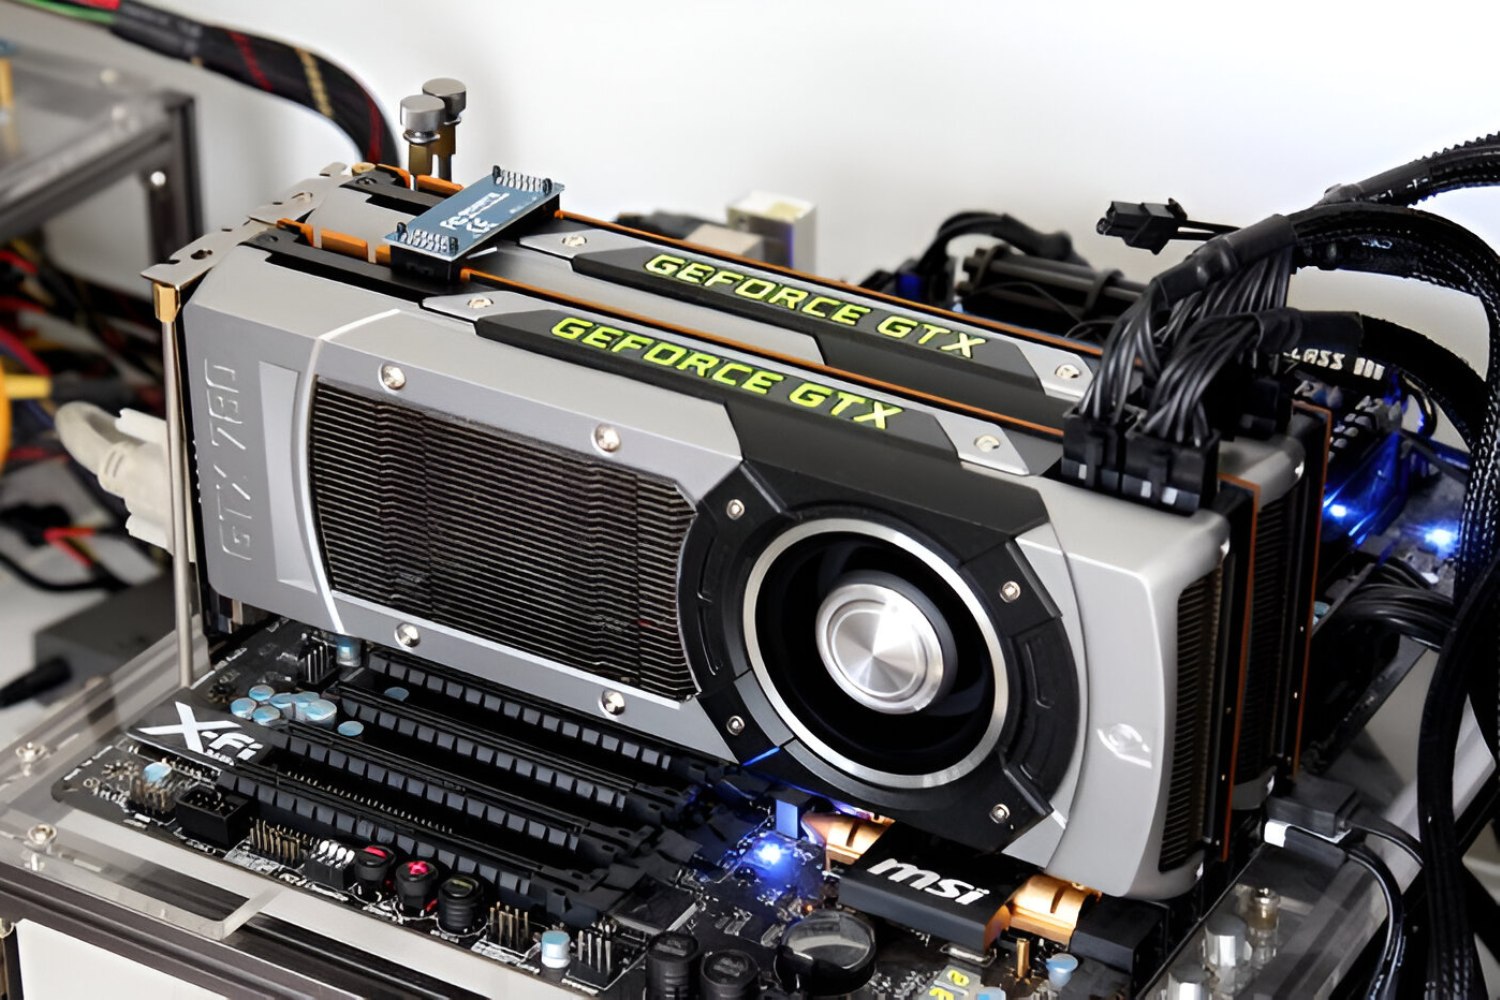
1. GTX 780 Ti video card: Ensure that you have a functioning GTX 780 Ti video card with compatible output ports.
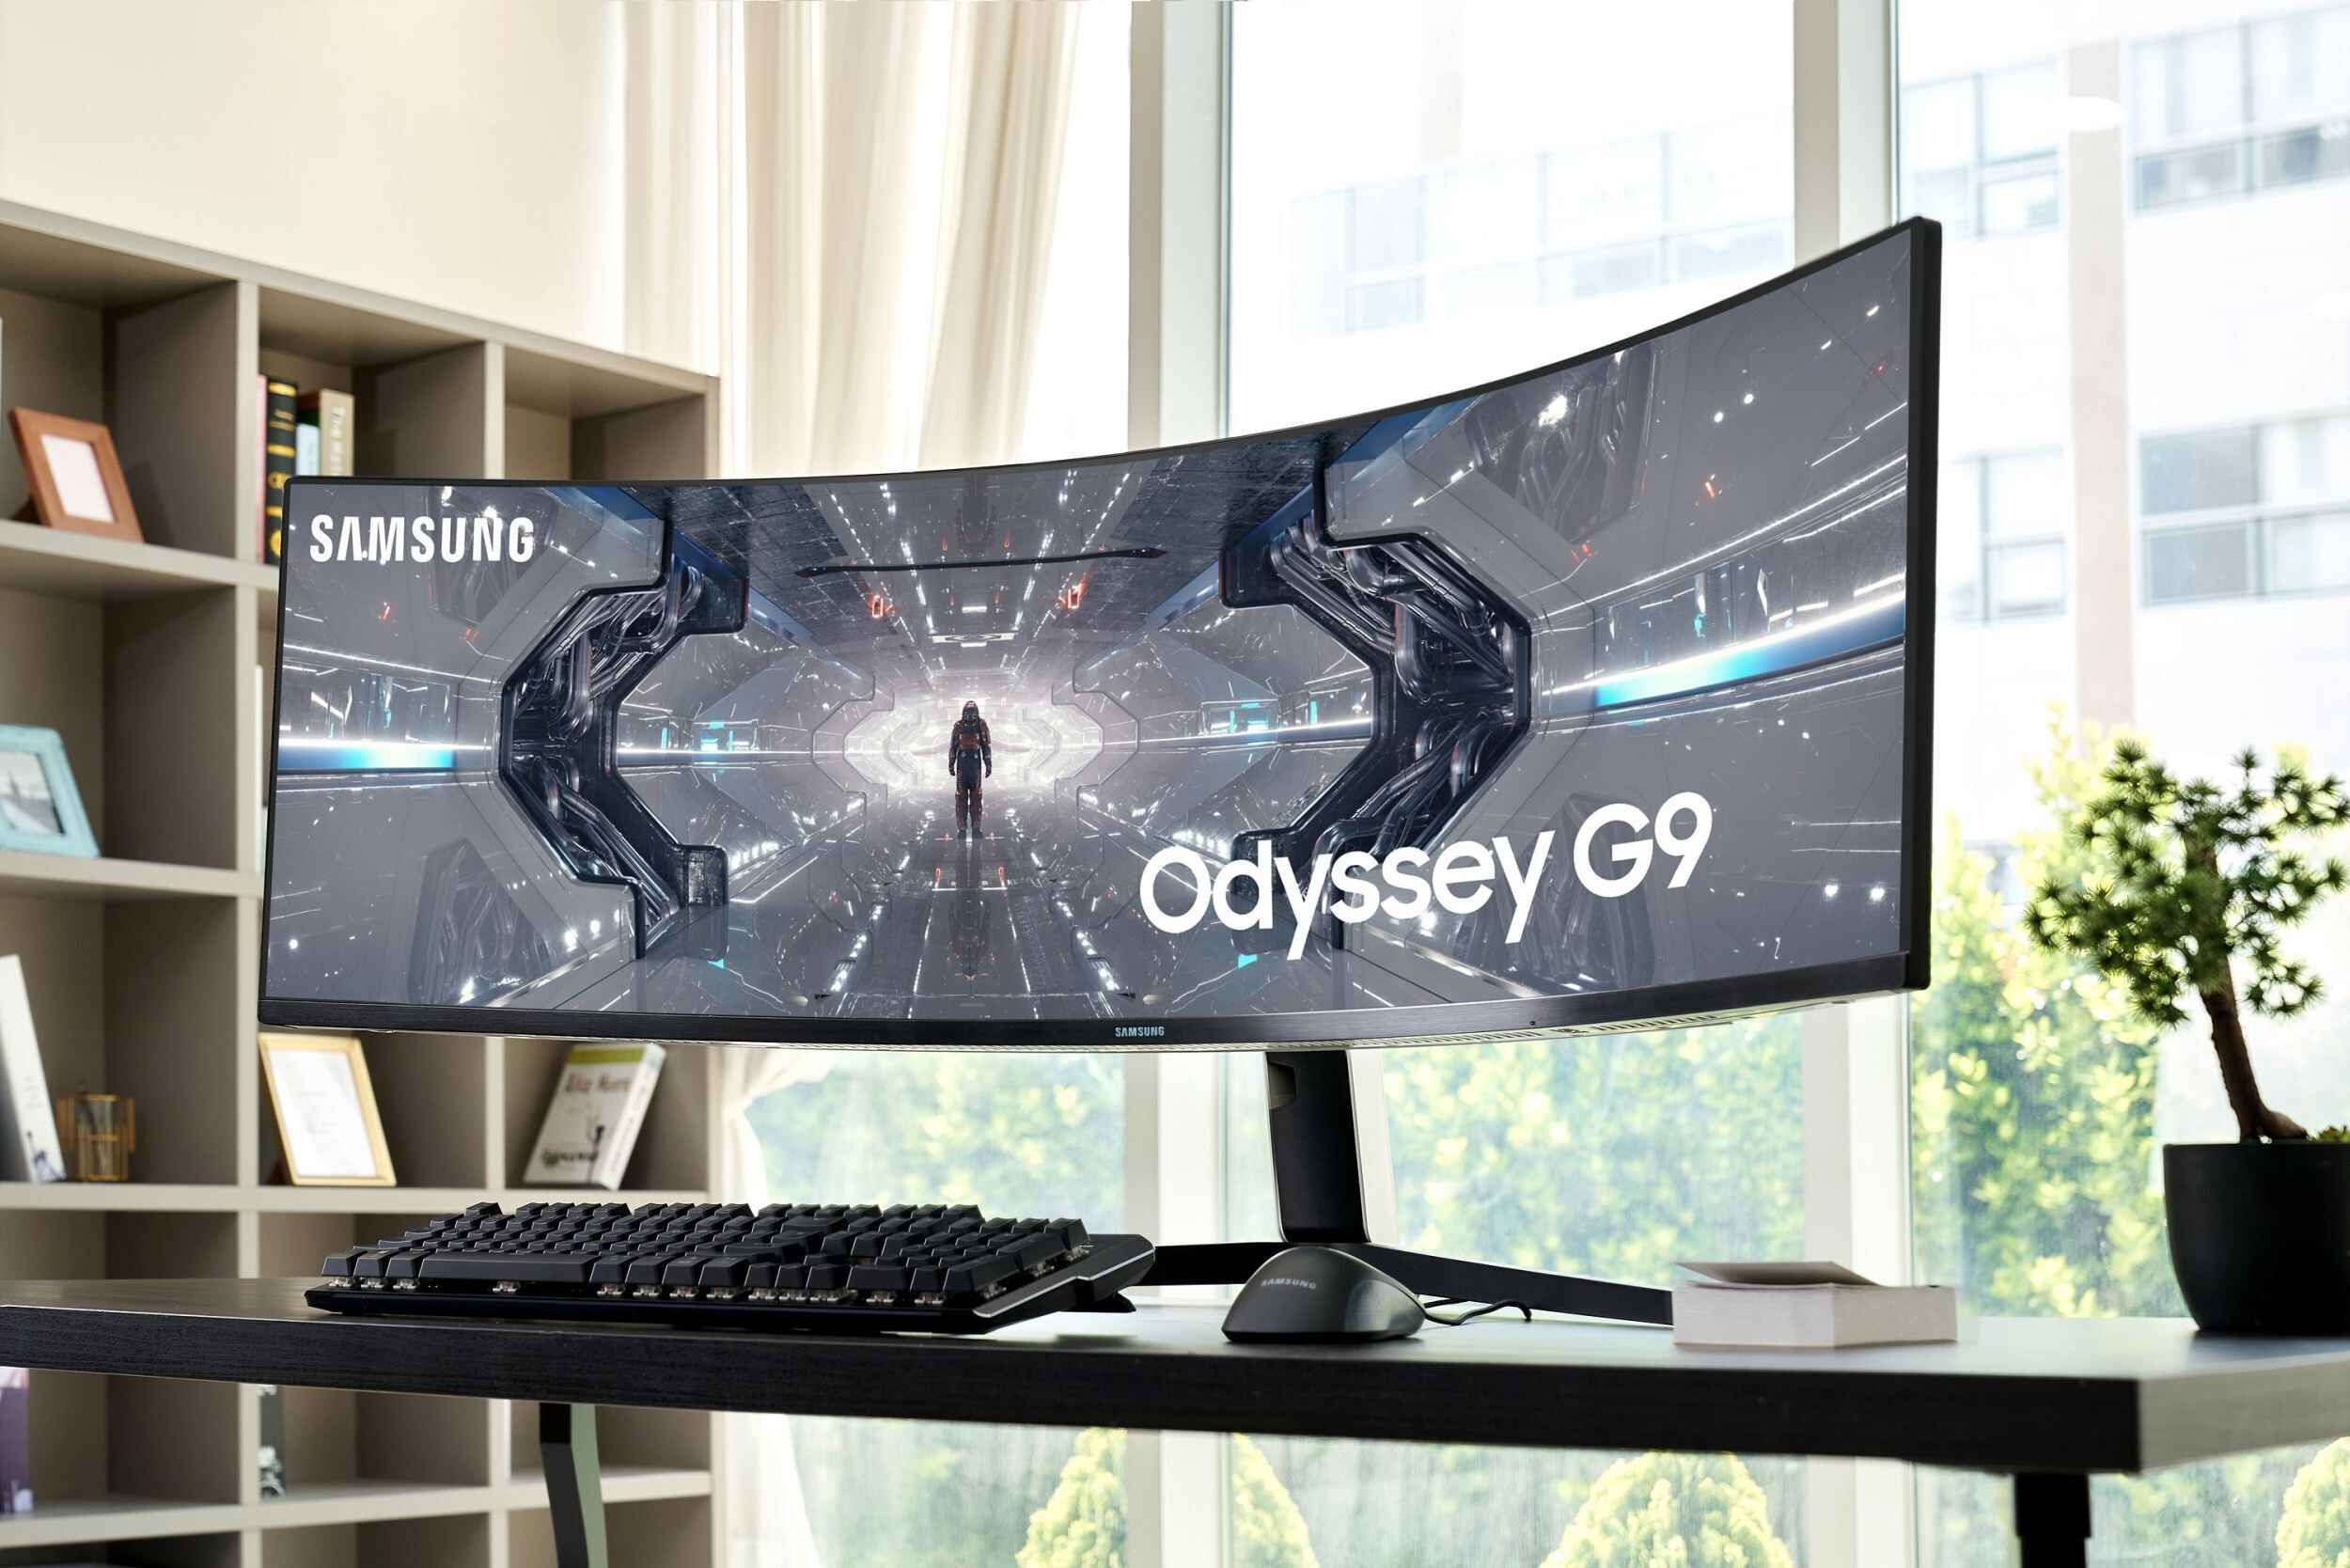
2. Ultrawide monitor: Purchase a high-quality ultrawide monitor that suits your needs and preferences. Make sure it has the necessary input ports (such as HDMI, DisplayPort, or DVI) to connect to your GTX 780 Ti video card.
3. Regular monitor: Obtain a regular monitor with a size and resolution that complements your setup. This monitor should also have compatible input ports to connect to your video card.
4. Cables: Depending on the input ports available on your monitors and video card, you may need HDMI, DisplayPort, or DVI cables for the connections. Ensure that you have the appropriate cables for your setup.
5. Power cables: Make sure you have the necessary power cables to connect both monitors to a power source.
6. Software and drivers: Check that you have the latest drivers for your GTX 780 Ti video card installed on your computer. You can download these drivers from the manufacturer’s website.
Having all these requirements in place will ensure a smooth and successful connection between your ultrawide monitor, regular monitor, and GTX 780 Ti video card.
Now that you have everything you need, let’s proceed to the step-by-step process of connecting your monitors to the video card.
Step 1: Check GPU Output Ports
Before connecting your monitors, it’s essential to identify the available output ports on your GTX 780 Ti video card. These output ports determine the type of cables you will need to connect your monitors.
Common output ports found on a GTX 780 Ti video card include:
- HDMI: High-Definition Multimedia Interface, commonly used for audio and video transmission.
- DisplayPort: A digital display interface known for its high resolution and versatility.
- DVI: Digital Visual Interface, which supports both analog and digital video signals.
Inspect the back or side panel of your video card to locate these ports. It’s important to note the quantity and types of ports available as this information will be crucial for selecting the appropriate cables.
If you have an ultrawide monitor, check if it supports a specific type of input port, such as DisplayPort or HDMI. Ensure that your video card has a corresponding output port that matches the input port of your ultrawide monitor.
Similarly, check the input ports on your regular monitor and find a compatible output port on your video card. If your monitor only supports VGA or DVI, you may need to use an adapter to convert the digital signal from your video card to an analog signal that your monitor can understand.
By carefully examining the output ports on your GTX 780 Ti video card and the input ports on your monitors, you can determine the most suitable cables and adapters required for establishing the connections. Once you have a clear understanding of the available output ports, you can move on to the next step.
Step 2: Determine Monitor Resolutions and Refresh Rates
Before connecting your monitors to the GTX 780 Ti video card, it is important to determine the resolutions and refresh rates supported by each monitor. This information will help you configure your display settings accurately.
Start by checking the specifications of your ultrawide monitor and regular monitor. Look for details regarding the native resolution and the maximum supported refresh rate. The native resolution refers to the optimal resolution at which the monitor can display images with the best clarity and sharpness. The refresh rate, measured in hertz (Hz), represents the number of times the monitor refreshes the image it displays per second.
Once you have determined the native resolution and refresh rate for each monitor, consider how you want to configure them. You can choose to set both monitors to the same resolution and refresh rate, or you can opt for different settings depending on your specific needs.
Keep in mind that the GTX 780 Ti video card may have limitations on the maximum resolution and refresh rate it can support across multiple monitors simultaneously. Consult the manufacturer’s documentation or website to ensure that your desired monitor configurations are within the capabilities of your video card.
Having a clear understanding of the resolutions and refresh rates supported by each monitor will facilitate the proper setup and configuration later on. After determining these details, it’s time to proceed to the next step and connect your ultrawide monitor to the GTX 780 Ti video card.
Step 3: Connect the Ultrawide Monitor
Now that you have identified the output ports on your GTX 780 Ti video card and determined the resolutions and refresh rates of your monitors, it’s time to connect the ultrawide monitor.
Start by locating the appropriate output port on your video card that matches the input port on your ultrawide monitor. If both devices have a DisplayPort, connect one end of the DisplayPort cable to the output port on the GTX 780 Ti video card, and the other end to the input port on the ultrawide monitor.
If your ultrawide monitor uses an HDMI input, use an HDMI cable instead. Connect one end of the HDMI cable to the HDMI output port on the video card and the other end to the input port on your ultrawide monitor.
Once you have secured the cable connections, power on your ultrawide monitor and ensure that it detects the signal from the video card. If the screen remains black or shows an “No signal” message, double-check the cable connections and ensure that both devices are powered on.
Now is the time to adjust the display settings for your ultrawide monitor. Right-click on your desktop and select “Display settings” (Windows) or “System Preferences” > “Displays” (macOS). From there, you can adjust the resolution and orientation of your ultrawide monitor to your preference.
Make sure to select the native resolution and refresh rate of your ultrawide monitor for the best display quality. You may also choose to extend or duplicate the display to your regular monitor depending on your workflow and preference.
With the ultrawide monitor successfully connected and configured, it’s time to move on to the next step and connect your regular monitor to the GTX 780 Ti video card.
Step 4: Connect the Regular Monitor
After connecting and configuring your ultrawide monitor, it’s time to connect your regular monitor to the GTX 780 Ti video card.
Start by identifying the appropriate output port on your GTX 780 Ti video card that matches the input port on your regular monitor. Common input port options include HDMI, DisplayPort, and DVI.
Once you have determined the type of output and input ports, connect one end of the corresponding cable to the output port on your video card and the other end to the input port on your regular monitor.
Ensure that the connections are secure and power on your regular monitor. Similar to the ultrawide monitor setup, verify that the regular monitor is receiving a signal from the video card and that the display appears correctly.
To adjust the display settings for your regular monitor, follow the same steps outlined in Step 3 for connecting the ultrawide monitor. Access the display settings through your computer’s operating system and make any necessary adjustments, such as selecting the appropriate resolution and refresh rate.
Depending on your preferences and requirements, you can choose to extend the display, duplicate it, or use the regular monitor as the primary display. This flexibility allows you to optimize your workspace and enhance productivity in various tasks.
Once the regular monitor is successfully connected and configured, you are almost ready to utilize your dual monitor setup. However, before moving on, it’s crucial to ensure that the display settings are adjusted correctly to accommodate both monitors.
In the next step, we will cover the process of adjusting the display settings to create a seamless and efficient dual monitor setup.
Step 5: Adjust Display Settings
Now that both your ultrawide monitor and regular monitor are connected to your GTX 780 Ti video card, it’s time to adjust the display settings to ensure optimal performance and usability.
Start by accessing the display settings on your computer. On Windows, right-click on your desktop and select “Display settings” from the context menu. On macOS, go to “System Preferences” and click on “Displays.”
In the display settings, you will see a visual representation of both your monitors. From here, you can adjust various settings, including resolution, orientation, and display arrangement.
To optimize your dual monitor setup, consider the following adjustments:
- Resolution: Set the resolution of each monitor to its native resolution for the best clarity and sharpness.
- Display arrangement: Arrange the position of your monitors to match their physical placement on your desk. You can drag and arrange the monitors in the display settings to reflect their real-life positions.
- Orientation: Choose between landscape or portrait mode for each monitor based on your preference and the type of work you’ll be doing.
- Scaling: Adjust the scaling settings to ensure that the content on both monitors appears properly sized and proportionate.
Explore the various options in the display settings to customize your setup according to your specific needs. Experiment with different configurations to find the arrangement and settings that work best for you.
Once you have adjusted the display settings to your satisfaction, it’s time to move on to the final step: testing your dual monitor setup.
In the next step, we will guide you through the process of testing your newly connected ultrawide monitor and regular monitor to ensure everything is functioning correctly.
Step 6: Test the Setup
After connecting and adjusting the display settings of both your ultrawide monitor and regular monitor, it’s important to test the setup to ensure everything is working properly. This step will ensure that both monitors are recognized by your GTX 780 Ti video card and that they display content correctly.
Start by navigating through different applications, websites, and documents on each monitor. Check for any abnormalities, such as distorted images, screen flickering, or resolution mismatches. If you notice any issues, go back to the display settings and make the necessary adjustments.
Next, test the dual monitor functionality by dragging windows or applications across both screens. Verify that the content seamlessly transitions between the two monitors and adjusts to the correct resolution and size.
If you have specific use cases for your dual monitor setup, such as gaming, video editing, or programming, it is recommended to test the setup with those applications. Ensure that any software you use recognizes and utilizes both monitors effectively.
Additionally, test the performance of your dual monitor setup by playing high-definition videos or graphics-intensive games. Monitor the frame rates, visual quality, and overall experience to ensure that your GTX 780 Ti video card can handle the dual monitor load without any issues.
While testing, pay attention to any performance degradation or visual artifacts. If you notice any problems, consider adjusting the display settings, updating your graphics drivers, or checking for firmware updates for your monitors.
By thoroughly testing your dual monitor setup, you can identify and address any issues or limitations early on. This ensures a smooth and enjoyable experience as you work, play, or engage in any activities that make use of your newly connected monitors.
Once you are satisfied with the setup and the performance of your dual monitor configuration, congratulations! You have successfully connected an ultrawide monitor and a regular monitor to your GTX 780 Ti video card, transforming your workstation into a versatile and productive setup.
Enjoy the increased screen real estate, immersive visual experience, and enhanced productivity that come with your new dual monitor setup!
Conclusion
Connecting an ultrawide monitor and a regular monitor to a GTX 780 Ti video card can significantly enhance your workstation setup and boost your productivity. Throughout this guide, we have walked you through the step-by-step process of connecting both monitors, adjusting the display settings, and testing the setup.
By following the outlined steps, you were able to determine the available output ports on your video card, connect the ultrawide monitor, connect the regular monitor, adjust the display settings, and ultimately test the dual monitor setup.
Now, you can enjoy the benefits of a versatile workspace, with the ultrawide monitor providing an immersive visual experience and the regular monitor aiding in focused tasks. The increased screen real estate allows for better multitasking capabilities, improved workflow efficiency, and a more enjoyable computing experience.
Remember to keep an eye on your monitor resolutions, refresh rates, and display settings to ensure optimal performance and visual quality. Regularly update your graphics drivers and firmware to take advantage of any available enhancements and fixes.
Whether you are a professional graphic designer, video editor, programmer, or a passionate gamer, the dual monitor setup with an ultrawide monitor and regular monitor can take your work and play to the next level.
So, put your GTX 780 Ti video card to good use and enjoy the power and versatility of a dual monitor setup. Maximize your productivity, unleash your creativity, and immerse yourself in a world of possibilities with your newly connected monitors.