Introduction
As technology advances, upgrading to faster and more efficient hardware has become a common practice for computer users. One popular upgrade is replacing the traditional hard drive with a solid-state drive (SSD). The primary benefit of an SSD is its improved speed, which significantly enhances the overall performance of your computer.
However, migrating your operating system and data from your existing hard drive to the new SSD can be a daunting task. This is where cloning comes into play. Cloning your hard drive allows you to create an exact replica of your existing drive, including the operating system, applications, and files, and transfer it to the new SSD.
In this article, we will explore the various methods you can use to clone your hard drive to an SSD in Windows 10. We will discuss the built-in Windows utilities as well as third-party software that can simplify the process for you. Whether you are a beginner or an advanced user, you will find the instructions and tips provided here to be both helpful and accessible.
By following the step-by-step guides and troubleshooting tips, you will be able to successfully clone your hard drive to an SSD and reap the benefits of improved performance and faster boot times. So let’s dive in and explore the different methods available to complete this task.
Why do you need to clone your hard drive to SSD?
Upgrading your computer’s storage by replacing the traditional hard drive with a solid-state drive (SSD) offers several compelling benefits that make cloning your hard drive a worthwhile endeavor. Here are some key reasons why you should consider cloning your hard drive to an SSD:
1. Improved Performance: SSDs are significantly faster than traditional hard drives. They have no moving parts, which means faster data access times and quicker file transfers. By cloning your hard drive to an SSD, you can experience a noticeable boost in overall system performance, including faster boot times and reduced application loading times.
2. Enhanced Reliability: Unlike hard drives, SSDs are not susceptible to mechanical failures, such as disk platter damage or motor failure. This makes them more reliable and less prone to data loss. By cloning your hard drive to an SSD, you can benefit from improved data integrity and a decreased risk of hardware failure.
3. Energy Efficiency: SSDs consume considerably less power than hard drives. This translates into energy savings and increased battery life for laptops. By cloning your hard drive to an SSD, you can enjoy longer battery life and reduced energy consumption, contributing to a more sustainable and eco-friendly computing experience.
4. Noise Reduction: Traditional hard drives generate noise due to the spinning of the disk platters and movement of the read/write heads. SSDs, on the other hand, are completely silent as they have no moving parts. By cloning your hard drive to an SSD, you can eliminate the distracting mechanical noise and enjoy a quieter computing environment.
5. Space Optimization: SSDs are typically smaller and more compact than traditional hard drives. This allows for more flexibility in terms of system design and expansion possibilities. By cloning your hard drive to an SSD, you can free up physical space within your computer and potentially create room for additional components or features.
In summary, cloning your hard drive to an SSD offers numerous advantages including improved performance, enhanced reliability, energy efficiency, noise reduction, and space optimization. Whether you’re a casual computer user or a power user, upgrading to an SSD through the process of cloning can transform your computing experience and unleash the full potential of your system.
Preparations before cloning
Before you embark on the process of cloning your hard drive to an SSD, it is important to make a few preparations to ensure a smooth and successful transition. Here are some key steps to take before you begin:
1. Backup your data: Before proceeding with any disk cloning operation, it is crucial to backup all your important files and data. This acts as a safety net in case anything goes wrong during the cloning process. You can create a backup by manually copying your files to an external storage device or by using a reliable backup software solution.
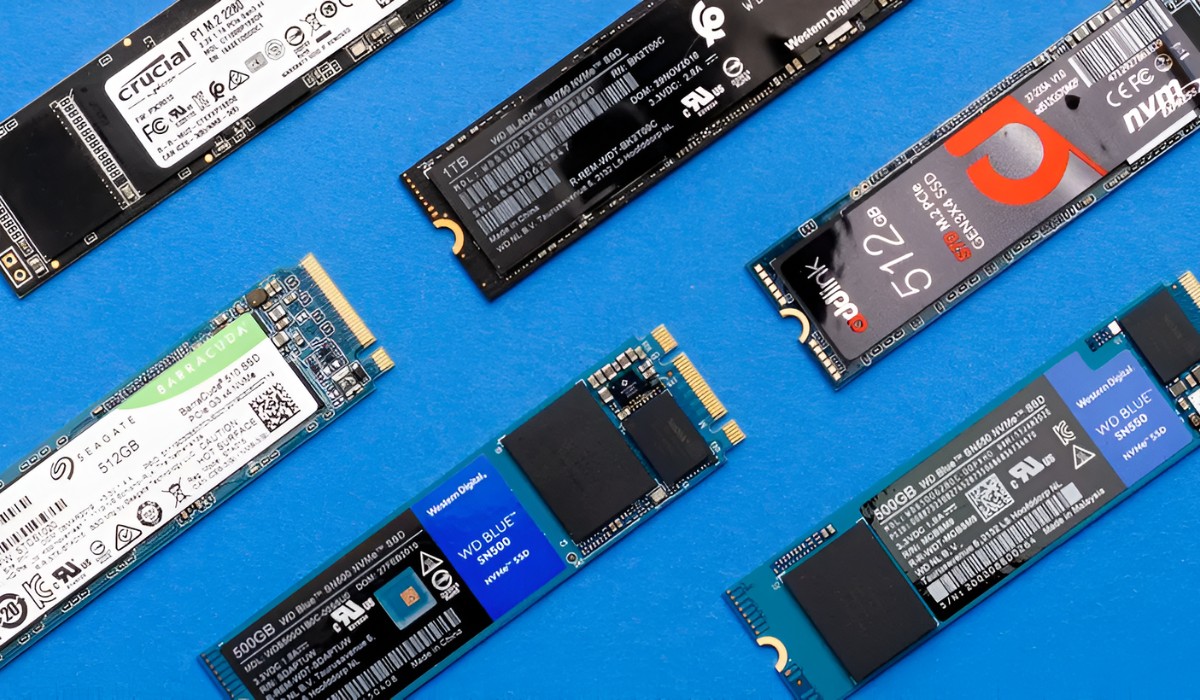
2. Choose the right SSD: Selecting the appropriate SSD for your needs is essential. Consider factors such as storage capacity, speed, and price when making your decision. Ensure that the SSD you choose has enough storage space to accommodate all the data from your current hard drive.
3. Check compatibility: Verify that your computer’s hardware and operating system are compatible with the SSD you have chosen. Check the manufacturer’s website or consult the user manual to ensure compatibility. Additionally, make sure your computer has an available connection interface, such as SATA or M.2, to connect the SSD.
4. Gather necessary tools: Depending on the method you choose for cloning, you may need additional tools or accessories. For instance, if you are using third-party cloning software, make sure to download and install it beforehand. If you are cloning using built-in Windows utilities, ensure that you have a SATA-to-USB adapter or an external drive enclosure to connect the SSD.
5. Clean up your hard drive: Before cloning, it is a good idea to clean up your hard drive by removing unnecessary files and applications. This will help reduce the amount of data that needs to be cloned and make the process faster and more efficient. You can use built-in Windows tools such as Disk Cleanup or third-party software to perform a thorough system cleanup.
By following these preparations, you can minimize the risk of encountering issues during the cloning process and ensure a successful transition from your hard drive to the SSD. Taking the time to backup your data, choose the right SSD, check compatibility, gather necessary tools, and clean up your hard drive will set the stage for a seamless cloning experience and allow you to fully enjoy the benefits of your new SSD.
Method 1: Clone hard drive to SSD using built-in Windows utilities
If you’re looking for a free and straightforward method to clone your hard drive to an SSD, Windows provides built-in utilities that can accomplish this task. Here’s a step-by-step guide to cloning your hard drive using these tools:
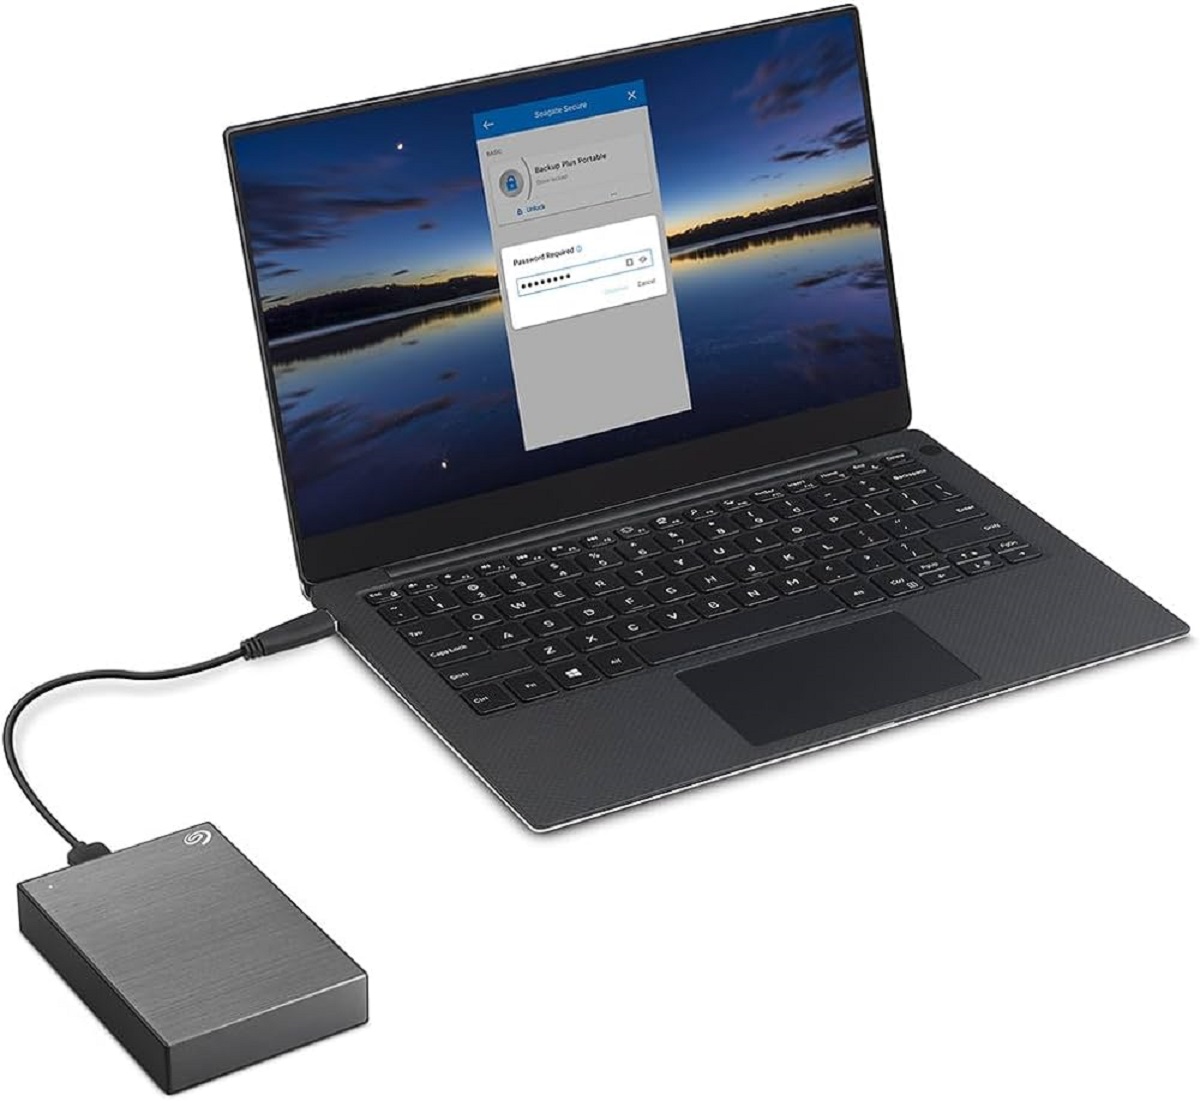
1. Connect the SSD: Install the SSD by connecting it to your computer using a SATA or M.2 port, depending on the type of SSD you have. Make sure the SSD is properly recognized by your system before proceeding.
2. Launch Disk Management: Open Disk Management by right-clicking on the Start button and selecting “Disk Management” from the context menu. Alternatively, you can press Windows key + X and then choose Disk Management from the menu.
3. Initialize the SSD: In Disk Management, you should see the new SSD listed. If the SSD shows up as “Not Initialized,” right-click on it and select “Initialize Disk.” Choose the appropriate disk initialization option and click OK.
4. Create a partition: Right-click on the SSD, select “New Simple Volume,” and follow the prompts to create a new partition on the SSD. Assign a drive letter and format the partition using the NTFS file system.
5. Open File Explorer: Open File Explorer and navigate to “This PC.” Take note of the drive letter assigned to your SSD and the drive letter of your current hard drive that you want to clone.
6. Launch the System Configuration tool: Press Windows key + R to open the Run dialog box. Type “msconfig” and hit Enter to open the System Configuration tool.
7. Set boot options: In the System Configuration tool, go to the “Boot” tab and check the box for “Safe boot.” Choose the “Minimal” option and click OK. This will restart your computer in Safe Mode for the cloning process.
8. Launch the Windows Backup and Restore tool: In Safe Mode, go to the Control Panel, click on “System and Security,” and select “Backup and Restore (Windows 7).” Click on “Create a system image” and choose the SSD as the destination for the backup image.
9. Start the cloning process: Follow the prompts to start the cloning process using the Windows Backup and Restore tool. This will create a complete image of your hard drive and transfer it to the SSD.
10. Complete the cloning process: Once the cloning process is complete, restart your computer and enter the BIOS settings. Set the SSD as the boot drive in the BIOS to ensure your computer boots from the SSD.
By following these steps, you can clone your hard drive to an SSD using the built-in Windows utilities. Keep in mind that this method might not be as advanced or feature-rich as using third-party software, but it provides a simple and cost-effective solution for most users looking to upgrade their storage to an SSD.
Method 2: Clone hard drive to SSD using third-party software
If you prefer a more versatile and feature-rich solution for cloning your hard drive to an SSD, you can opt to use third-party software. There are various software options available, both free and paid, that provide advanced cloning capabilities. Follow these steps to clone your hard drive using third-party software:
1. Research and choose cloning software: Explore different cloning software options available on the market. Look for reputable software providers with positive user reviews and features that meet your specific requirements. Some popular options include EaseUS Todo Backup, Acronis True Image, and Macrium Reflect.
2. Download and install the chosen software: Visit the official website of the software provider and download the appropriate version of the cloning software. Follow the installation instructions provided by the software to install it on your computer.
3. Connect the SSD: Connect the SSD to your computer using a SATA or M.2 port, depending on the SSD type. Ensure that the SSD is properly recognized by your system before proceeding.
4. Launch the cloning software: Open the cloning software you installed in the previous step.
5. Select the source and target drives: In the cloning software, choose your current hard drive as the source drive and the SSD as the target drive. Double-check these selections to avoid any accidental data loss during the cloning process.
6. Configure cloning options: Depending on the software you’re using, you may have additional options to configure, such as partition resizing, optimizing for SSD, or excluding certain files or folders from the cloning process. Customize these options according to your preferences or leave them at their default settings.
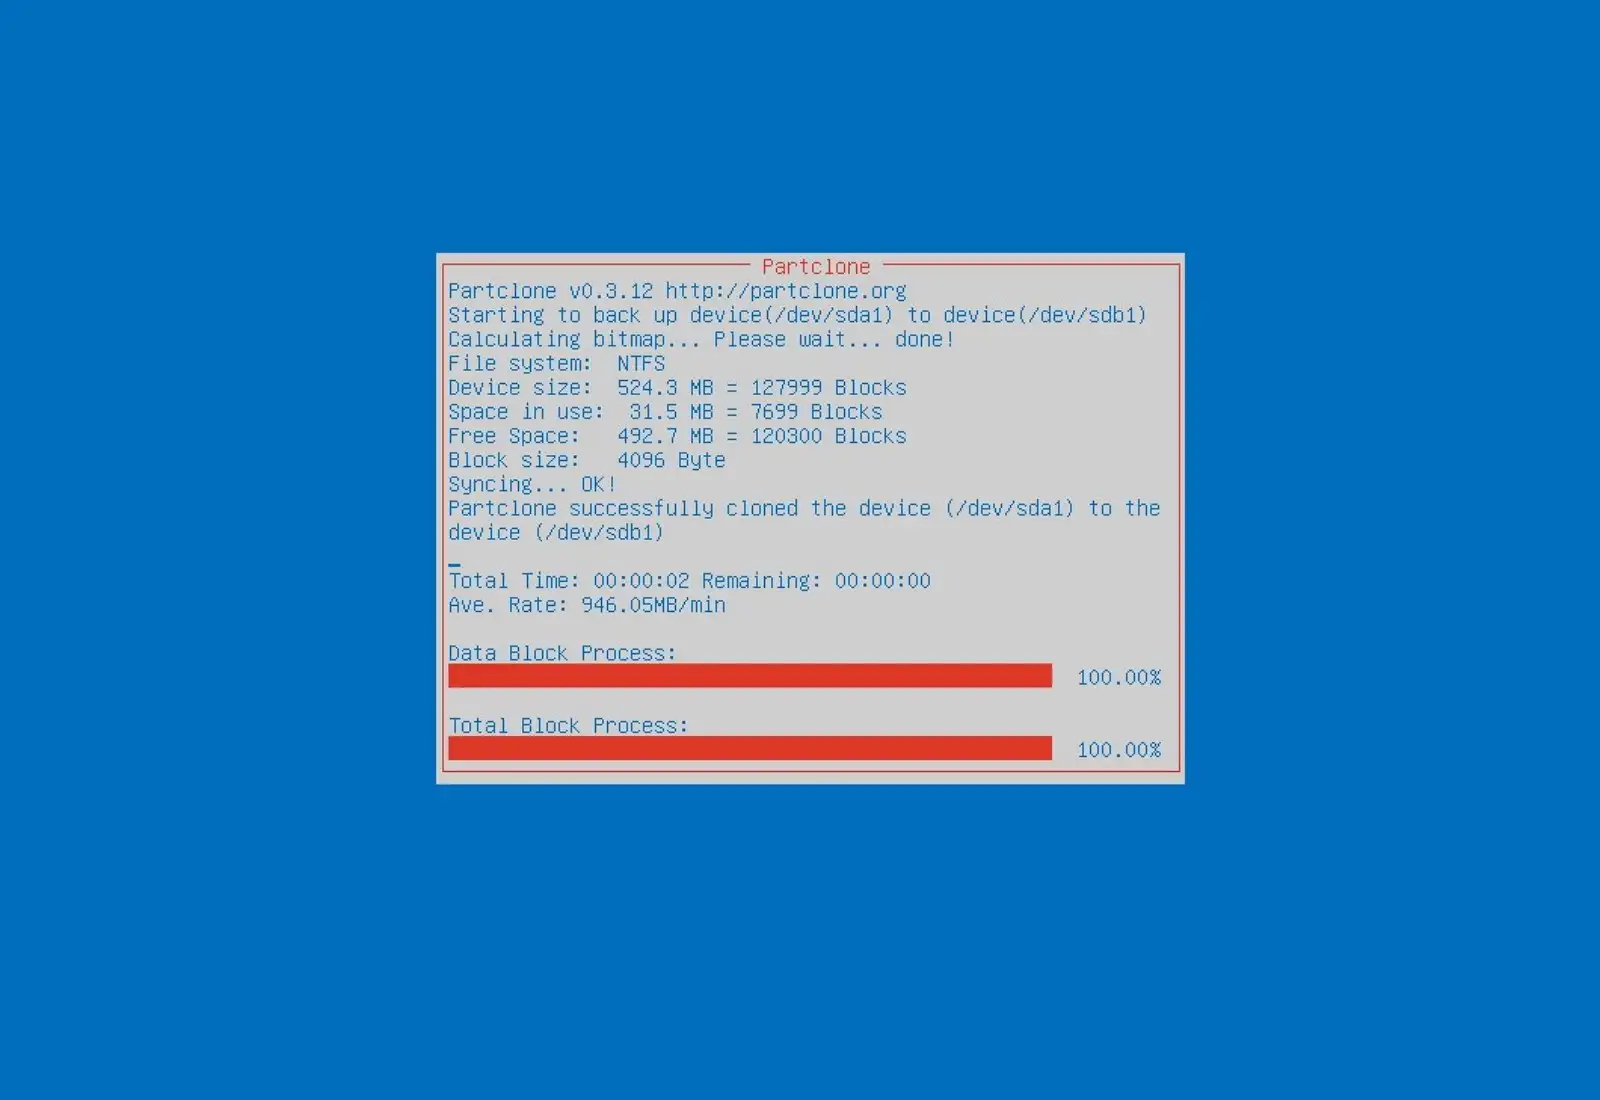
7. Start the cloning process: Review your settings one last time, and when you’re ready, click on the “Start” or “Clone” button in the software to initiate the cloning process.
8. Monitor the progress: The software will begin cloning your hard drive to the SSD. Monitor the progress, and depending on the size and speed of the drives, the process may take some time to complete. Ensure that your computer remains powered on and uninterrupted during this process.
9. Verify successful cloning: Once the cloning process is finished, the software will display a completion message. You can also check the target SSD to verify that all data from the source hard drive has been successfully copied.
10. Change boot drive in BIOS: Restart your computer and enter the BIOS or UEFI settings. Set the SSD as the primary boot drive to ensure that your computer boots from the newly cloned SSD.
By following these steps, you can clone your hard drive to an SSD using third-party software. These tools offer more flexibility, advanced options, and potentially faster cloning speeds compared to the built-in Windows utilities. Choose a reliable software solution, follow the instructions provided, and enjoy the benefits of a smoothly migrated operating system and data on your new SSD.
Step-by-step guide: Cloning hard drive to SSD using built-in Windows utilities
If you’re looking to clone your hard drive to an SSD using the built-in Windows utilities, follow these step-by-step instructions to ensure a successful migration:
1. Connect the SSD: Begin by connecting the SSD to your computer using a SATA or M.2 port, depending on the SSD type. Make sure the SSD is properly recognized by your system before proceeding.
2. Launch Disk Management: Right-click on the Start button and select “Disk Management” from the context menu. Alternatively, press Windows key + X and choose Disk Management from the menu.
3. Initialize the SSD: In Disk Management, locate the new SSD. If the SSD shows up as “Not Initialized,” right-click on it and select “Initialize Disk.” Choose the appropriate disk initialization option and click OK.
4. Create a partition: Right-click on the SSD, select “New Simple Volume,” and follow the prompts to create a new partition on the SSD. Assign a drive letter and format the partition using the NTFS file system.
5. Open File Explorer: Open File Explorer and go to “This PC.” Note the drive letters assigned to both your SSD and the hard drive you want to clone.
6. Launch the System Configuration tool: Press Windows key + R to open the Run dialog box. Type “msconfig” and hit Enter to open the System Configuration tool.
7. Set boot options: In the System Configuration tool, go to the “Boot” tab and check the box for “Safe boot.” Choose the “Minimal” option and click OK. Your computer will restart in Safe Mode for the cloning process.
8. Launch the Windows Backup and Restore tool: In Safe Mode, go to the Control Panel, click on “System and Security,” and select “Backup and Restore (Windows 7).” Click on “Create a system image” and choose the SSD as the backup destination.
9. Start the cloning process: Follow the on-screen prompts to start the cloning process using the Windows Backup and Restore tool. This will create a complete image of your hard drive and transfer it to the SSD.
10. Complete the cloning process: Once the cloning process is complete, restart your computer and access the BIOS settings. Set the SSD as the primary boot drive in the BIOS to ensure your computer boots from the SSD.
Following these steps will help you successfully clone your hard drive to an SSD using the built-in Windows utilities. It’s important to note that this method may not offer as many advanced features as third-party software, but it provides a simple and cost-effective solution for most users looking to upgrade their storage to an SSD.
Step-by-step guide: Cloning hard drive to SSD using third-party software
If you prefer to use third-party software to clone your hard drive to an SSD, follow these step-by-step instructions for a successful migration:
1. Research and choose cloning software: Begin by exploring different cloning software options available. Look for reputable software providers with positive user reviews and features that meet your specific requirements. Popular options include EaseUS Todo Backup, Acronis True Image, and Macrium Reflect.
2. Download and install the software: Visit the official website of your chosen cloning software and download the appropriate version. Follow the installation instructions provided to install the software on your computer.
3. Connect the SSD: Connect the SSD to your computer using a SATA or M.2 port, depending on the SSD type. Ensure that the SSD is properly recognized by your system before proceeding.
4. Launch the cloning software: Open the software you installed in the previous step.
5. Select the source and target drives: Within the cloning software, choose your current hard drive as the source drive and the SSD as the target drive. Carefully verify these selections to avoid any accidental data loss during the cloning process.
6. Configure cloning options (if applicable): Depending on the software, you may have additional options to configure, such as partition resizing, optimizing for SSD, or excluding certain files or folders from the cloning process. Customize these options according to your preferences or leave them at their default settings.
7. Start the cloning process: Double-check all settings one last time, and when you’re ready, click on the “Start” or “Clone” button within the software to initiate the cloning process.
8. Monitor the cloning progress: The software will begin cloning your hard drive to the SSD. Monitor the progress, as the duration of the process may vary depending on the size of the drives and their speed. Ensure that your computer remains powered on and uninterrupted throughout this process.
9. Verify successful cloning: Once the cloning process is complete, the software will notify you. You can also verify the success of the cloning process by checking the target SSD to ensure that all data from the source hard drive has been successfully copied.
10. Change boot drive in BIOS: Restart your computer and enter the BIOS or UEFI settings. Set the SSD as the primary boot drive to ensure that your computer boots from the newly cloned SSD.
By following these step-by-step instructions, you can easily clone your hard drive to an SSD using third-party software. These tools offer greater flexibility, advanced options, and potentially faster cloning speeds compared to the built-in Windows utilities. Choose a reliable software solution, carefully follow the instructions provided, and enjoy the benefits of a smoothly migrated operating system and data on your new SSD.
Troubleshooting common issues and errors during cloning
While cloning your hard drive to an SSD is generally a smooth process, there may be instances where you encounter issues or errors. Here are some common problems that may arise during the cloning process and how to troubleshoot them:
1. Insufficient disk space: If the SSD has less storage capacity than your current hard drive, you may encounter an error indicating insufficient disk space. In this case, you can either resize your partitions to fit within the available space on the SSD or consider using cloning software that offers partition resizing capabilities.
2. Incompatible hardware: It’s possible that your hardware configuration is not compatible with the cloning software or the SSD you are using. Ensure that your computer’s hardware and operating system meet the requirements specified by the cloning software or consult the software provider for further guidance.
3. Unrecognized SSD: If your SSD is not recognized by the cloning software or your computer, double-check the physical connection of the SSD to the SATA or M.2 port. You may need to reconnect the SSD or try using a different port. Additionally, make sure that the SSD is properly initialized and formatted.
4. Cloning process freezing or taking too long: If the cloning process freezes or takes an unusually long time, it could be due to certain file types or disk errors. Try excluding large files or folders that are not essential for the system’s functioning. You can also run a disk check on your current hard drive to identify and fix any errors before initiating the cloning process.
5. Boot issues: After successfully cloning your hard drive to the SSD, you may encounter boot issues where the computer fails to start from the SSD. In such cases, it is essential to ensure that the SSD is set as the primary boot drive in your computer’s BIOS or UEFI settings. Consult your computer’s user manual or the provider of the cloning software for specific instructions on how to change the boot drive.
6. Data corruption or loss: While rare, it is possible to experience data corruption or loss during the cloning process. To minimize the risk, always back up your important data before initiating the cloning process and perform a thorough verification of the cloned data after the process is completed. If data corruption or loss occurs, consult professional data recovery services for assistance.
If you encounter any issues or errors during the cloning process that you are unable to resolve, it is recommended to consult the support resources provided by the cloning software provider or seek assistance from online forums or communities dedicated to disk cloning and SSD migration.
Final thoughts and considerations
Cloning your hard drive to an SSD can be a rewarding and beneficial upgrade for your computer. Before concluding your cloning journey, it’s important to keep a few final thoughts and considerations in mind:
1. Backup regularly: While cloning is a reliable method for transferring your data to an SSD, it’s always recommended to have a backup of your important files and data. Regularly back up your data to an external storage device or to the cloud to ensure the safety and security of your information.
2. Verify data integrity: After the cloning process is complete, take the time to verify the integrity of the cloned data on the SSD. Access your files, run applications, and check for any discrepancies or errors. This step ensures that all your data was successfully transferred and is fully accessible on the SSD.
3. Dispose of the old hard drive properly: Once you have successfully cloned your hard drive to the SSD, you may be left with the old hard drive. It’s essential to dispose of it properly to protect your data and the environment. Consider wiping the drive using specialized software or physically destroying it to prevent data recovery.
4. Keep your system optimized: Upgrading to an SSD is just one aspect of optimizing your computer. Regularly perform system maintenance tasks such as disk cleanup, defragmentation (only if your SSD supports it), and updating software and drivers to ensure optimal performance and longevity of your system.
5. Consider additional upgrades: While cloning your hard drive to an SSD significantly enhances your computer’s performance, you may want to explore other upgrades as well. Increasing your RAM and upgrading to a more powerful processor can further enhance your computing experience and maximize the potential of your system.
By keeping these final thoughts and considerations in mind, you can ensure a successful transition from your old hard drive to a faster and more efficient SSD. The cloning process, coupled with regular backups and system maintenance, will help improve overall performance, reliability, and productivity in your computing journey.