Introduction
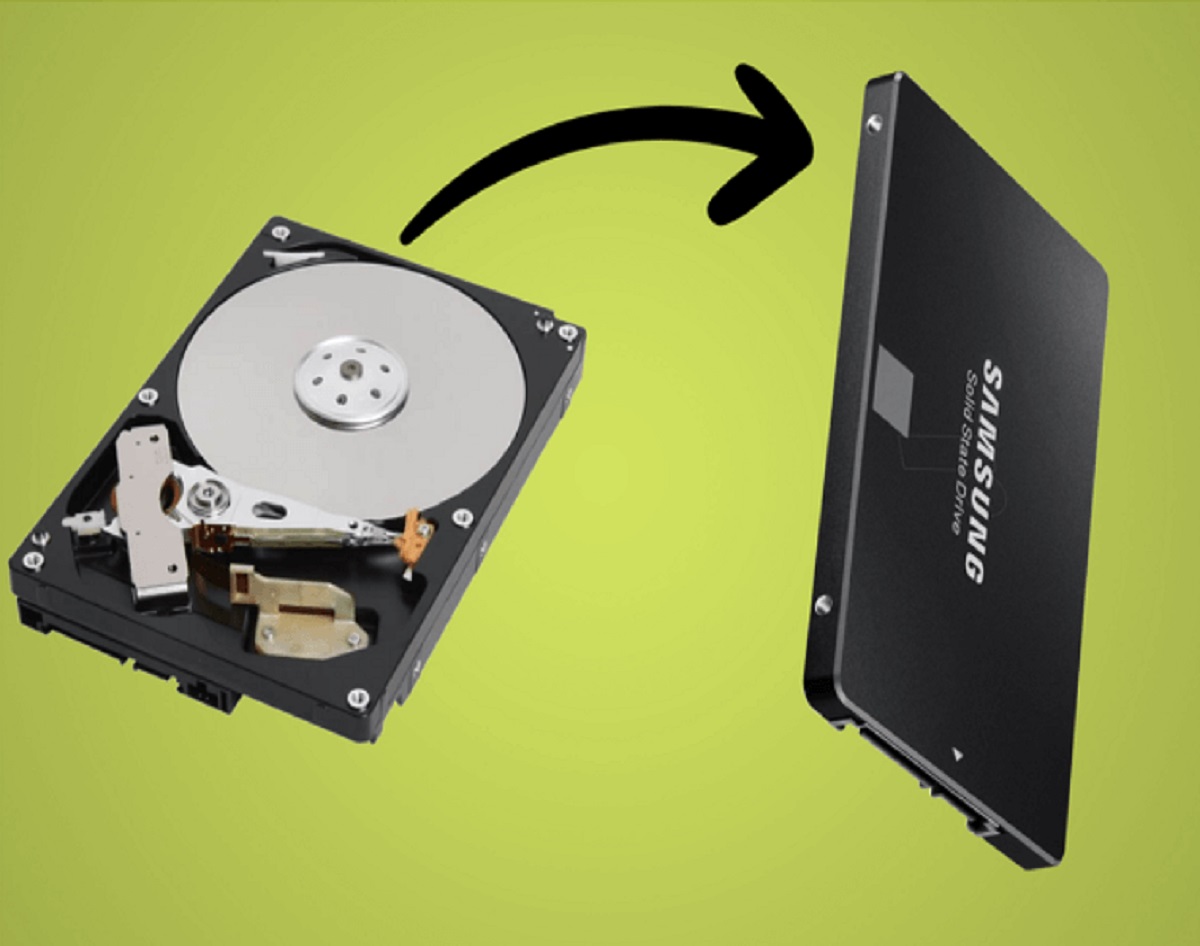
Cloning a bigger hard drive to a smaller SSD can be a daunting task, but with the right tools and guidance, it can be a smooth and seamless process. Whether you’re looking to upgrade your laptop’s storage, increase the speed of your system, or simply replace a failing hard drive, cloning allows you to transfer all your data and settings to a new drive without the hassle of reinstalling your operating system and applications.
When it comes to cloning, the primary challenge arises when trying to fit the data from a larger hard drive onto a smaller solid-state drive (SSD). This requires careful consideration of the available space and efficient data management.
In this article, we will guide you through the steps to successfully clone a bigger hard drive to a smaller SSD. You’ll learn how to choose the right cloning software, make a backup of your data, adjust cloning options for optimal results, and verify the cloned data to ensure a seamless transition. By following these steps, you can upgrade your storage without sacrificing performance or losing any precious files.
Before diving into the cloning process, it’s important to ensure that you are fully prepared. Familiarize yourself with the requirements and gather all the necessary equipment and software. This will help you avoid any unnecessary complications or errors during the process.
To facilitate a smooth cloning experience, we recommend following our step-by-step instructions and referring to the tips and troubleshooting section if you encounter any issues. Let’s get started on this exciting journey of cloning a bigger hard drive to a smaller SSD!
Preparing for the Cloning Process
Before starting the cloning process, it’s important to take a few preparatory steps to ensure a successful and hassle-free experience. Here are some key considerations:
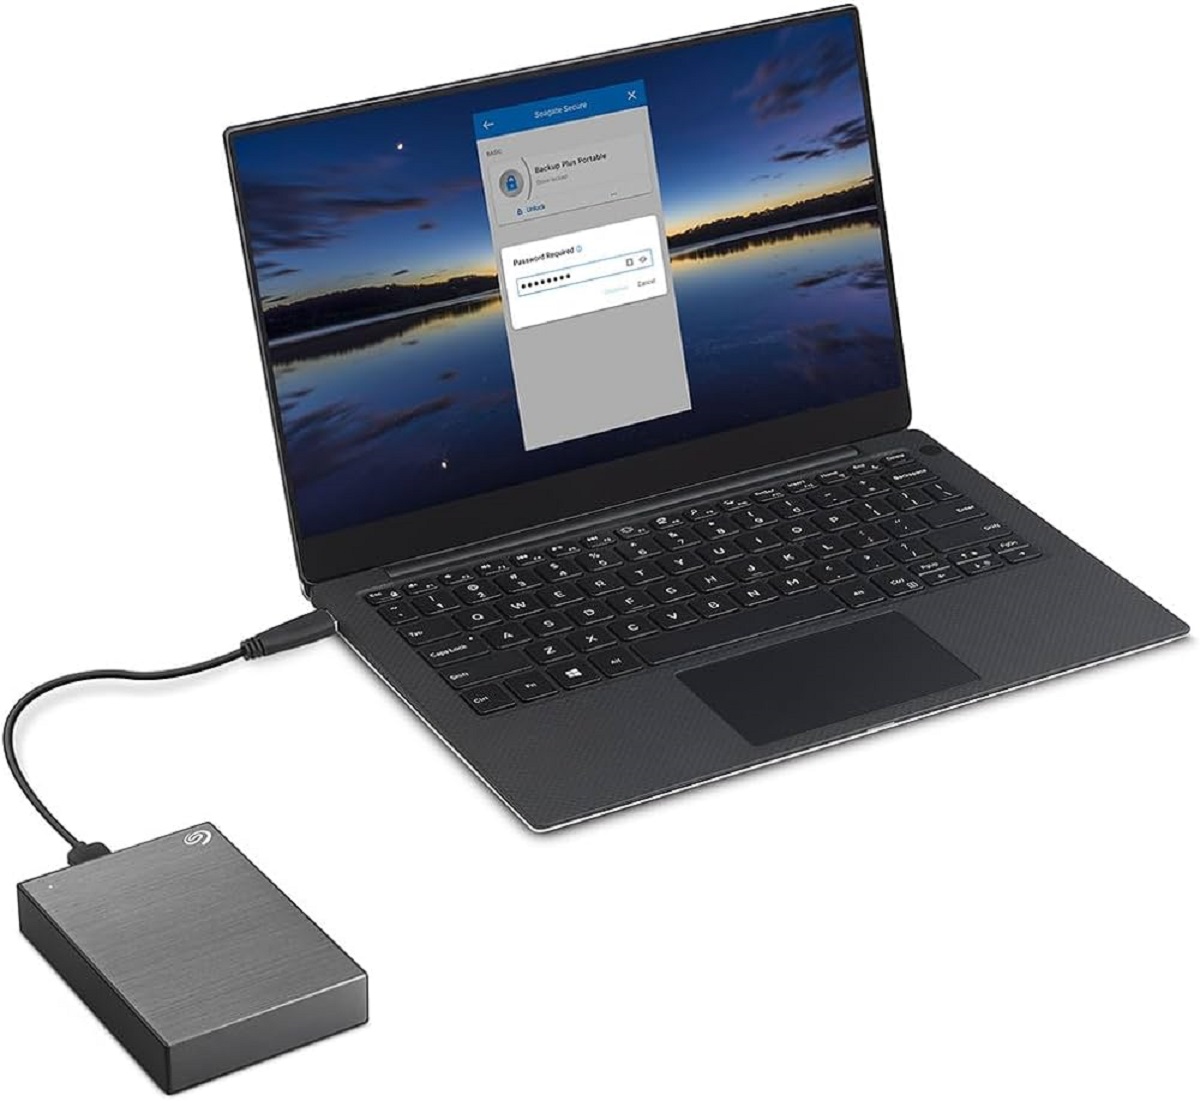
1. Back up your data: It’s crucial to create a backup of your data before attempting any disk cloning. This ensures that if something goes wrong during the process, you won’t lose your important files. You can use an external hard drive, cloud storage, or a backup software to create a secure backup of your data.
2. Check the available space: Before attempting to clone a bigger hard drive to a smaller SSD, make sure that the SSD has enough space to accommodate the data on the hard drive. It’s recommended to have at least 20% free space on the destination drive to ensure smooth operation.
3. Evaluate the data size: Assess the size of the data on your current hard drive. If the data size exceeds the capacity of the smaller SSD, you’ll need to free up space by removing unnecessary files or transferring some data to an external storage device.
4. Identify system requirements: Each cloning software has its own set of system requirements. Before proceeding, ensure that your computer meets these requirements to avoid any compatibility issues.
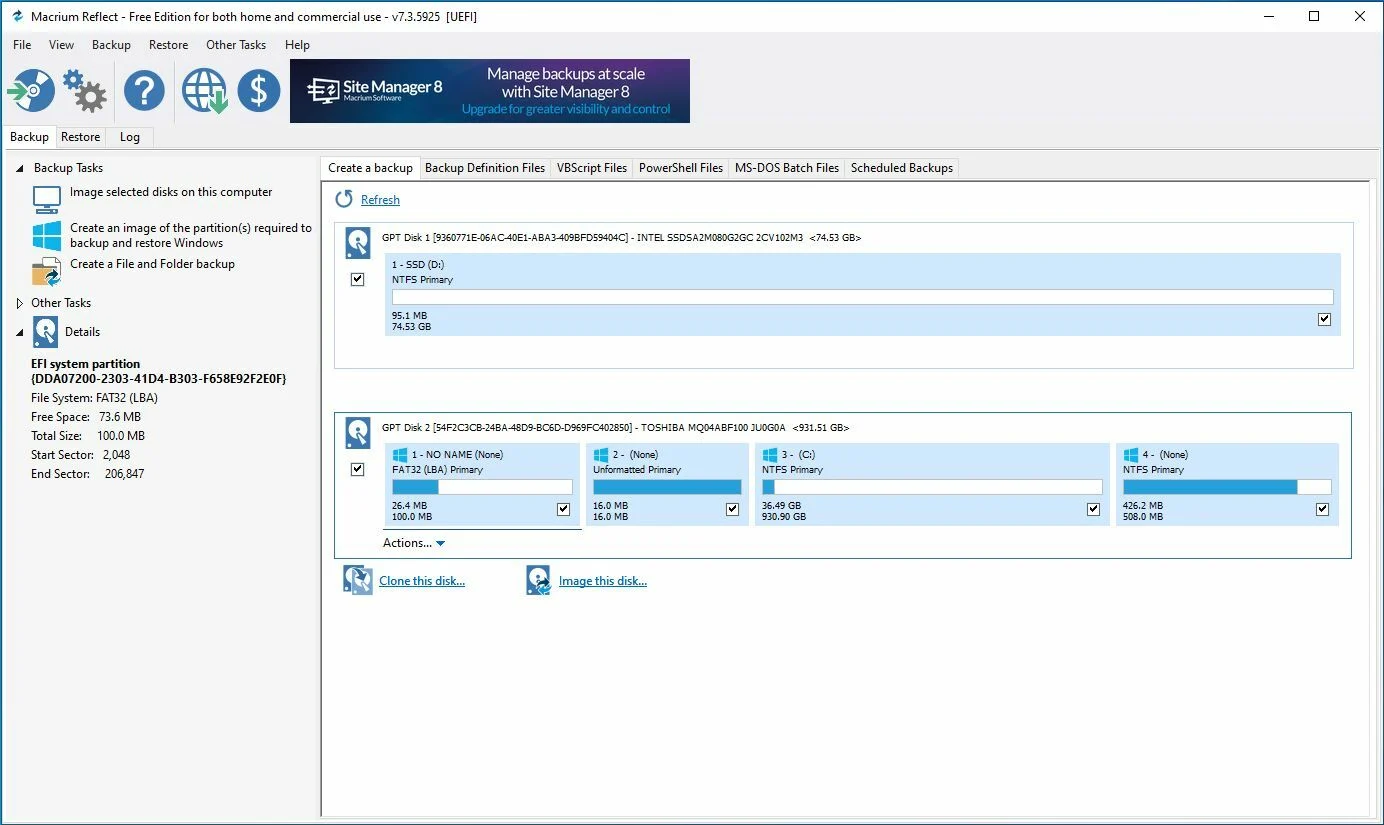
5. Gather necessary tools: To clone your hard drive to an SSD, you’ll need the appropriate cloning software. There are several reliable options available, such as EaseUS Todo Backup, Clonezilla, and Macrium Reflect. Research and select the one that suits your needs best.
6. Create a bootable USB or DVD: Some cloning software requires you to create a bootable USB or DVD to initiate the cloning process. Be sure to check the instructions provided by the software vendor and create the bootable media if necessary.
7. Disconnect non-essential devices: To prevent any interference during the cloning process, disconnect any non-essential devices from your computer. This includes external hard drives, printers, and USB devices.
By following these preparation steps, you’ll ensure that you have a smooth and successful cloning process. Once you’ve completed these preparations, you can move on to the next step: choosing the right cloning software.
Choosing the Right Cloning Software
When it comes to cloning a bigger hard drive to a smaller SSD, choosing the right cloning software is crucial for a successful outcome. There are several factors to consider when making this decision:
1. Compatibility: Ensure that the cloning software you choose is compatible with your operating system. Whether you’re using Windows or macOS, make sure that the software supports your specific OS version.
2. User-friendly interface: Look for cloning software that has a user-friendly interface and provides clear instructions. This will make the process more intuitive and easier to navigate, especially if you’re new to disk cloning.
3. Reliable performance: Research the reputation and user reviews of the cloning software to ensure that it offers reliable performance and successful cloning results. Look for software that consistently delivers accurate and error-free cloning processes.
4. Cloning options: Consider the cloning options that the software offers. Some programs provide advanced features such as sector-by-sector cloning, automatic partition resizing, or the ability to exclude specific files or folders from the cloning process. Evaluate your needs and choose the software that best suits your requirements.
5. Customer support: Check if the cloning software offers comprehensive customer support, including technical assistance and troubleshooting guidance. Having access to reliable customer support can be invaluable if you encounter any issues during the cloning process.
6. Price: Evaluate the cost of the cloning software and determine if it fits within your budget. While there are free cloning software options available, it’s important to ensure that the software you choose provides the necessary features and reliability for a smooth cloning process.
7. Additional features: Some cloning software may offer additional features, such as disk imaging, data recovery, or disk maintenance utilities. If these features align with your needs, it can be beneficial to choose software that provides added functionality beyond basic disk cloning.
Based on these factors, research and compare different cloning software options to make an informed decision. It’s also a good idea to refer to user reviews or seek recommendations from trusted sources to ensure you select a reliable and suitable software for your cloning needs.
Once you’ve chosen the right cloning software, you’re ready to move on to the next steps of connecting the bigger hard drive and the smaller SSD and making a backup of the data.
Connecting the Bigger Hard Drive and Smaller SSD
Before you can start the cloning process, it’s important to physically connect both the bigger hard drive and the smaller SSD to your computer. Here are the steps to do so:
1. Power off your computer: Start by shutting down your computer completely. This will ensure that no data is being read or written during the connection process.
2. Open your computer case: Depending on the type of computer you have, you may need to open the case to access the internal drives. Consult the user manual or online resources for specific instructions on how to open your computer case.
3. Locate the bigger hard drive: Identify the location of the bigger hard drive inside your computer. It is typically connected to the motherboard via SATA or IDE cables.
4. Connect the smaller SSD: Locate an available SATA port on your motherboard and connect the SATA data cable to it. Next, connect the other end of the SATA data cable to the SSD. Ensure that the connection is secure.
5. Power connections: Connect the power cable from your power supply unit to the smaller SSD. Again, make sure the connection is secure.
6. Disconnect the bigger hard drive: Carefully disconnect the SATA or IDE cables from the bigger hard drive. Take note of the connections and which cable is attached where, as you will need to reconnect them later.
7. Attach the bigger hard drive to the SSD: Connect the SATA or IDE cables that were previously connected to the bigger hard drive to the smaller SSD. Ensure that the connections are secure.
8. Close the computer case: Once you’ve connected both the bigger hard drive and the smaller SSD, close your computer case carefully and ensure that it is properly secured.
After completing these steps, you have successfully connected the bigger hard drive and the smaller SSD to your computer. In the next section, we will discuss how to make a backup of the data on the bigger hard drive before proceeding with the cloning process.
Making a Backup of the Bigger Hard Drive
Before proceeding with the cloning process, it is crucial to create a backup of the data on the bigger hard drive. This will serve as a safety net in case anything goes wrong during the cloning process. Here are the steps to make a backup:
1. Choose a backup method: There are various methods you can use to create a backup of your data. You can use built-in backup tools in your operating system, such as Windows Backup and Restore or Time Machine on macOS. Alternatively, you can use third-party backup software, which often provides more advanced features and customization options.
2. Select a backup destination: Determine where you want to store your backup. You can use an external hard drive, a network-attached storage (NAS) device, or cloud storage services. Make sure you have enough storage space to accommodate the data on the bigger hard drive.
3. Launch the backup software: If you are using third-party backup software, launch the program on your computer. Follow the prompts to set up a backup plan and specify the backup source as the bigger hard drive.
4. Configure backup settings: Depending on the backup software you are using, you may have the option to customize backup settings. You can choose to include or exclude specific files or folders, set up automatic backups on a schedule, and encrypt your backup for added security.
5. Start the backup: Once you have configured the backup settings, initiate the backup process. This may take some time, depending on the size of the data on your hard drive and the speed of your computer.
6. Verify the backup: After the backup process is complete, it’s crucial to verify the integrity of the backup. Check if all the files and folders have been successfully backed up and ensure that you can access and restore the data if needed.
7. Store the backup in a safe location: Once you have verified the backup, store it in a safe location away from the computer. This can protect it from physical damage, theft, or data loss due to unforeseen events.
By following these steps, you will have a secure backup of your data from the bigger hard drive. This backup will serve as a fallback option in case the cloning process encounters any issues or if you need to access any files or folders from the original hard drive in the future.
In the next section, we will discuss the steps to launch the cloning software and configure the options for the cloning process.
Launching the Cloning Software
With the bigger hard drive connected and a backup of your data created, it’s time to launch the cloning software and begin the cloning process. Here are the steps to get started:
1. Open the cloning software: Locate the cloning software that you have installed on your computer and launch it. Depending on the software you are using, you may need to run it as an administrator.
2. Grant necessary permissions: In some cases, the cloning software may require certain permissions to access your hard drive and initiate the cloning process. Grant the necessary permissions to the software when prompted.
3. Select the disk cloning option: Within the cloning software, look for the option to clone a disk or drive. This might be labeled as “Disk Clone,” “Drive Clone,” or a similar option depending on the software you are using.
4. Choose the source drive: In the cloning software interface, select the bigger hard drive as the source drive for the cloning process. Ensure that you are selecting the correct drive to avoid any unintended data loss.
5. Select the destination drive: Next, choose the smaller SSD as the destination drive for the cloning process. Make sure that you are selecting the correct drive and verify the available space on the SSD.
6. Review and adjust cloning options: The cloning software may offer various options and settings that can be adjusted for a customized cloning process. Review the options available to you, such as partition resizing or excluding specific files, and make any necessary adjustments according to your requirements.
7. Initiate the cloning process: Once you have reviewed and adjusted the cloning options, it’s time to initiate the cloning process. Double-check your source and destination drive selections and click on the “Clone” or “Start” button to begin the cloning process.
8. Monitor the progress: During the cloning process, keep an eye on the progress bar or any status notifications provided by the software. Depending on the size of your data, this process may take some time. Be patient and allow the software to complete the cloning process without interruptions.
By following these steps, you will have successfully launched the cloning software and configured the necessary options to begin the cloning process. The software will now start copying the data from the bigger hard drive to the smaller SSD. In the next section, we will discuss the steps to verify the cloned data and ensure a seamless transition.
Selecting the Bigger Hard Drive as the Source Drive
When using cloning software to clone a bigger hard drive to a smaller SSD, it is important to correctly select the source drive from which the data will be copied. Follow these steps to choose the bigger hard drive as the source drive:
1. Launch the cloning software: Open the cloning software that you have installed on your computer. Ensure that you have administrative privileges if required.
2. Locate the disk cloning option: Look for the specific option or feature in the cloning software that allows you to clone a disk or drive. This option might be labelled as “Disk Clone,” “Drive Clone,” or something similar.
3. Identify the bigger hard drive: In the cloning software interface, you will see a list of all the connected drives on your computer. Identify the bigger hard drive by its name, drive letter, or size. Double-check to ensure that you are selecting the correct drive.
4. Select the bigger hard drive: Click on the bigger hard drive in the cloning software to designate it as the source drive for the cloning process. It may be necessary to check a box or highlight the drive to indicate your selection.
5. Verify the source drive selection: Before proceeding, carefully review the selected source drive in the cloning software interface. Ensure that it matches the details of the bigger hard drive you wish to clone. Confirming the accurate source drive selection is crucial to prevent any unintended data loss.
6. Proceed to the next step: Depending on the specific cloning software, you may need to click on a “Next” or “Continue” button to proceed to the next step. This will allow you to choose the smaller SSD as the destination drive for the cloning process.
By following these steps, you will have successfully selected the bigger hard drive as the source drive in the cloning software. This ensures that the cloning process will copy the data from the correct drive. In the next section, we will discuss how to select the smaller SSD as the destination drive.
Selecting the Smaller SSD as the Destination Drive
After selecting the source drive, the next step in the cloning process is to choose the smaller SSD as the destination drive. It is important to accurately select the destination drive to ensure that the data is copied to the intended destination. Follow these steps to select the smaller SSD as the destination drive:
1. Proceed to the next step: In the cloning software interface, click on the “Next” or “Continue” button to advance to the next stage of the cloning process. This will allow you to select the destination drive.
2. Locate the smaller SSD: Look for the smaller SSD in the list of connected drives within the cloning software. Identify the SSD by its name, drive letter, or size. Double-check to make sure that you are selecting the correct drive.
3. Select the smaller SSD: Click on the smaller SSD in the cloning software to designate it as the destination drive for the cloning process. You may need to check a box or highlight the drive to indicate your selection.
4. Verify the destination drive selection: Before proceeding, carefully review the selected destination drive in the cloning software interface. Ensure that it corresponds to the smaller SSD to which you want to clone the data. Confirming the accurate destination drive selection is crucial to prevent any unintended overwriting or loss of data on other drives.
5. Set any additional destination options: Depending on the cloning software you are using, you may have the option to set additional preferences or options for the destination drive. This could include resizing partitions, excluding specific files or folders, or adjusting other cloning settings. If available, customize these options according to your needs.
6. Proceed with the cloning process: Once you have confirmed the selection of the smaller SSD as the destination drive and adjusted any necessary options, click on the “Clone” or “Start” button to initiate the cloning process. This will begin copying the data from the source drive to the destination SSD.
By following these steps, you will have successfully selected the smaller SSD as the destination drive in the cloning software. This ensures that the data from the source drive will be accurately copied to the intended destination. In the subsequent steps, we will explore how to adjust cloning options and initiate the cloning process efficiently.
Adjusting the Cloning Options
Before initiating the cloning process, it is important to review and adjust the cloning options in the software to ensure a smooth and successful transfer of data from the source drive to the destination drive. Here are some key considerations when adjusting the cloning options:
1. Partition resizing: If the size of the data on the source drive exceeds the available space on the destination drive, you may need to resize the partitions during the cloning process. Some cloning software provides the option to automatically adjust the partition sizes to fit the destination drive, while others allow manual adjustment. Evaluate your needs and choose the appropriate partition resizing option.
2. Sector-by-sector cloning: Depending on the cloning software, you may have the option to perform sector-by-sector cloning. This method copies every sector on the source drive to the destination drive, regardless of whether it contains data or not. Sector-by-sector cloning ensures an exact replica of the source drive, including hidden files and operating system files. However, it may take longer and requires the destination drive to have the same or larger capacity than the source drive.
3. Optimize for SSD: If you are cloning to an SSD, check if the cloning software offers an option to optimize the cloning process for SSDs. This option can align the partitions and optimize the system settings on the destination SSD for improved performance and longevity.
4. Exclude specific files or folders: Some cloning software allows you to exclude certain files or folders from the cloning process. This can be useful if you have large files or unnecessary items that you don’t want to transfer to the destination drive. Selecting this option helps to save time and storage space on the destination drive.
5. Verify cloning options: After adjusting the cloning options based on your preferences, carefully review the selected options in the cloning software interface. Double-check that the settings correspond to your specific requirements and ensure that you haven’t missed any critical adjustments.
6. Confirm and save the settings: Once you have reviewed and adjusted the cloning options, save the settings in the cloning software. The process of saving the settings may vary depending on the software you are using, but it usually involves clicking a “Save” or “Apply” button. This ensures that the software will use the selected options when initiating the cloning process.
By taking the time to adjust the cloning options according to your needs, you can ensure that the cloning process aligns with your specific requirements. After adjusting the options, you are ready to initiate the cloning process. We will explore how to initiate the process in the next section.
Initiating the Cloning Process
After adjusting the cloning options to suit your needs, it’s time to initiate the cloning process. This is the final step before the actual transfer of data from the source drive to the destination drive. Follow these steps to initiate the cloning process:
1. Double-check the source and destination drives: Before proceeding, carefully review the selected source and destination drives in the cloning software interface. Ensure that they match the correct drives and that you haven’t inadvertently selected the wrong drives.
2. Verify the available space on the destination drive: Double-check that the destination drive, such as the smaller SSD, has enough free space to accommodate the data from the source drive. Confirm that the available space on the destination drive is sufficient and that the cloning process can proceed without any issues.
3. Start the cloning process: Once you are satisfied with the selected drives and available space on the destination drive, click on the “Clone” or “Start” button to initiate the cloning process. The cloning software will now begin copying the data from the source drive to the destination drive.
4. Monitor the cloning progress: During the cloning process, monitor the progress bar or any status notifications provided by the software. Depending on the size of the data being transferred, the process may take some time. Avoid interrupting the process or shutting down your computer to ensure a smooth and uninterrupted cloning process.
5. Wait for the cloning process to complete: Be patient and wait for the cloning process to complete. Avoid using the computer for other resource-intensive tasks during this time to allow the cloning process to proceed as efficiently as possible.
6. Confirm the successful completion of the cloning process: Once the cloning process is finished, the cloning software will provide a confirmation message or notification. Take a moment to ensure that the process completed successfully without any errors or interruptions.
By following these steps, you will have successfully initiated the cloning process and started the transfer of data from the source drive to the destination drive. Once the cloning process is complete, you can proceed to the next steps of verifying the cloned data and preparing to boot from the cloned smaller SSD.
Verifying the Cloned Data
After the cloning process is complete, it is crucial to verify the integrity and accuracy of the cloned data before proceeding further. Conducting verification ensures that all your files and settings have been successfully transferred to the destination drive. Follow these steps to verify the cloned data:
1. Compare file and folder structure: Take some time to compare the file and folder structure on both the source drive and the cloned destination drive. Check if all the files and folders from the source drive are present and organized correctly on the destination drive. Look for any missing files or discrepancies in the folder hierarchy.
2. Confirm file sizes and properties: Open a few random files from various folders on both the source and destination drives. Verify that the file sizes and properties match between the two drives. This serves as a check to ensure that the data has been properly transferred without any data corruption or loss.
3. Check for any errors or warning messages: Keep an eye out for any errors or warning messages that may have been generated during the cloning process. The cloning software may provide a summary or log file with this information. Address any reported errors or issues promptly, and consider re-cloning if necessary.
4. Test application functionality: Open a few applications that were present on the source drive and check if they function correctly on the cloned destination drive. Ensure that all your applications are fully operational without any compatibility or functionality issues.
5. Validate system settings and configurations: Check system settings, configurations, and preferences on the cloned destination drive to ensure they match those on the source drive. Verify that your personalized settings, such as desktop backgrounds, screen resolutions, or custom shortcuts, have been successfully transferred.
6. Test booting from the cloned drive: If you’ve cloned your system drive, it is essential to test the booting process from the cloned destination drive. Restart your computer and ensure that it successfully boots from the cloned drive without any issues. This confirms that the cloned drive is functioning as expected and that the necessary boot files were transferred successfully during the cloning process.
7. Make any necessary adjustments: If you encounter any discrepancies or issues during the verification process, make the necessary adjustments or consider re-cloning the drive to ensure a seamless transition. It’s crucial to address any potential errors or inconsistencies to avoid future complications.
By following these steps to verify the cloned data, you can ensure that the cloning process was successful and that all your files, applications, and settings have been accurately transferred to the destination drive. Once you have confirmed the accuracy of the cloned data, you can proceed to the next steps of removing the source drive and preparing to boot from the cloned destination drive.
Removing the Bigger Hard Drive and Connecting the Smaller SSD
Once you have verified the cloned data and ensured that everything is functioning correctly on the smaller SSD, you can proceed with removing the bigger hard drive and connecting the smaller SSD as the primary drive. Follow these steps to safely remove the bigger hard drive and connect the smaller SSD:
1. Power off your computer: Start by shutting down your computer completely. This is an essential step to prevent any damage to the drives or data during the removal process.
2. Ground yourself: Before handling any internal components, it is vital to ground yourself to discharge any static electricity. You can do this by touching a grounded metal surface or by wearing an anti-static wrist strap.
3. Open your computer case: Depending on the type of computer you have, you may need to open the case to access the internal components. Refer to your computer’s user manual or online resources for specific instructions on how to open the case.
4. Locate the bigger hard drive: Identify the location of the bigger hard drive inside your computer. It is often attached to the drive bay using screws or mounting brackets.
5. Disconnect the power and data cables: Carefully detach the power and data cables connected to the bigger hard drive. Take note of the cables and their connections, as you will need to connect them to the smaller SSD later.
6. Remove the mounting brackets or screws: If the bigger hard drive is secured with mounting brackets or screws, remove them using appropriate tools. Keep these brackets or screws safely for future use or storage.
7. Remove the bigger hard drive: Once the cables and mounting brackets/screws are removed, gently slide the bigger hard drive out of the drive bay. Be mindful of any surrounding components and cables to avoid accidental damage.
8. Connect the smaller SSD: Carefully connect the power and data cables to the smaller SSD, using the same connections that were previously used for the bigger hard drive. Ensure that the connections are secure.
9. Place the smaller SSD in the drive bay: Insert the smaller SSD into the vacant drive bay, aligning it with the mounting holes or brackets. Use the appropriate screws or brackets to secure the smaller SSD in place.
10. Close the computer case: Once the smaller SSD is securely installed, close your computer case carefully and ensure that it is properly secured. Make sure that all screws or latches are tightened to prevent any loose components.
By following these steps, you have successfully removed the bigger hard drive and connected the smaller SSD as the primary drive. You are now ready to boot your computer from the cloned smaller SSD and enjoy the benefits of improved performance and storage capacity.
Booting from the Cloned Smaller SSD
Now that you have successfully connected the cloned smaller SSD as the primary drive, it is time to configure your computer to boot from the cloned SSD. Follow these steps to ensure a successful booting process:
1. Power on your computer: Start by turning on your computer and wait for the boot process to begin.
2. Access your computer’s BIOS/UEFI: To configure the boot order, you need to access your computer’s BIOS (Basic Input/Output System) or UEFI (Unified Extensible Firmware Interface). The key to access the BIOS/UEFI settings varies depending on your computer brand and model. Common keys to try are F2, F8, F12, or the Delete key. Refer to your computer’s documentation or the manufacturer’s website for the specific key to access the BIOS/UEFI settings.
3. Enter the BIOS/UEFI settings: Press the designated key repeatedly as the computer starts up until you enter the BIOS/UEFI settings. This will give you access to the various configuration options.
4. Navigate to the Boot menu: Once inside the BIOS/UEFI settings, navigate to the Boot menu. The exact location of this menu can vary depending on your system, so refer to the on-screen instructions or the BIOS/UEFI documentation for guidance.
5. Adjust the boot order: In the Boot menu, look for the boot order or boot priority settings. Change the boot order to prioritize the cloned smaller SSD as the primary boot device. Move the SSD to the top of the list or set it as the first boot option.
6. Save and exit the BIOS/UEFI settings: After adjusting the boot order, save the changes you made in the BIOS/UEFI settings. Look for an option to save and exit, such as “Save and Exit,” “Exit and Save Changes,” or similar. Ensure that you save the changes before exiting the BIOS/UEFI settings.
7. Restart your computer: Once you have saved the changes in the BIOS/UEFI settings, restart your computer. It will now boot from the cloned smaller SSD as the primary drive.
8. Verify the successful booting: During the startup process, observe if your computer boots smoothly and if the operating system loads from the cloned smaller SSD. Check for any error messages or unusual behavior that may indicate an issue with the booting process.
9. Test functionality and performance: After successfully booting from the cloned smaller SSD, test the functionality of your computer and ensure that everything is working as expected. Open applications, access files, and perform basic tasks to verify the performance of the cloned drive.
By following these steps and configuring your computer to boot from the cloned smaller SSD, you can enjoy the benefits of improved speed and storage. Your computer will now have a fresh start with all your files and settings transferred from the bigger hard drive to the smaller SSD.
Tips and Troubleshooting
Cloning a bigger hard drive to a smaller SSD can sometimes present challenges or issues. Here are some tips and troubleshooting steps to help you overcome common obstacles and ensure a smooth cloning process:
1. Check compatibility: Make sure that the cloning software you choose is compatible with your operating system and both the source drive and destination SSD. Compatibility issues may arise if the software or hardware is not supported.
2. Ensure sufficient space: Verify that the destination SSD has enough free space to accommodate the data from the source drive. If the data size exceeds the capacity of the SSD, you may need to remove unnecessary files or consider using a larger SSD.
3. Clone only the essential data: If you’re struggling with limited space on the destination SSD, consider cloning only the essential data such as the operating system and important files. You can manually transfer other non-essential files later.
4. Keep backups: Always create a backup of your data before attempting any disk cloning. This ensures that you have a fallback option in case something goes wrong during the cloning process.
5. Update firmware and drivers: Before starting the cloning process, ensure that your computer’s firmware and drivers are up to date. Outdated software may cause compatibility issues or interfere with the cloning process.
6. Optimize SSD settings: After cloning, make sure to optimize the SSD settings for better performance. Use the TRIM command on Windows or enable TRIM on macOS to maintain SSD longevity and performance.
7. Seek professional help if needed: If you encounter persistent errors or issues during the cloning process, it may be helpful to seek professional assistance. A computer technician or data recovery specialist can provide expert guidance and support.
8. Double-check connections: If the cloning process fails or the destination SSD is not detected, double-check all the connections between the drives and the motherboard. Ensure that cables are securely connected and properly seated.
9. Use reliable cloning software: Opt for reputable and reliable cloning software to minimize errors and ensure successful results. Check user reviews and ratings before selecting the software.
10. Be patient: Cloning a hard drive to an SSD takes time, especially if you have large amounts of data. Be patient and allow the cloning process to complete without interruption.
By following these tips and troubleshooting steps, you can overcome common challenges and ensure a successful cloning process. Remember, if you encounter any persistent issues or are unsure about any aspect of the process, it’s always recommended to seek professional assistance.
Conclusion
Cloning a bigger hard drive to a smaller SSD can be a complex task, but with the right tools and guidance, it is manageable. By following the steps outlined in this guide, you can successfully transfer all your data from the source drive to the destination SSD, allowing you to enjoy the benefits of enhanced speed, improved storage capacity, and a seamless transition.
Throughout the process, there are key considerations to keep in mind. Preparing for the cloning process involves making a backup of your data, ensuring compatibility, gathering the necessary tools, and selecting the right cloning software. Connecting the bigger hard drive and smaller SSD requires safely power off the system, opening the computer case, identifying the drives, and carefully connecting and securing the smaller SSD.
Once the physical connections are established, you need to make a backup of the data on the bigger hard drive and verify its integrity. Launching the cloning software allows you to select the source drive, typically the bigger hard drive, and the smaller SSD as the destination drive. Adjusting the cloning options, such as partition resizing or excluding specific files, helps fine-tune the cloning process for your specific needs.
With the cloning options set, you can initiate the cloning process and monitor its progress. After successful completion, it is crucial to verify the cloned data, ensuring its accuracy across file and folder structure, file sizes, and system settings. Once verified, you can remove the bigger hard drive and connect the smaller SSD as the primary drive.
Lastly, configure your computer to boot from the cloned smaller SSD, ensuring a smooth and efficient startup. Remember to follow troubleshooting steps, seek professional help if needed, and stay patient throughout the process.
By following these steps and keeping these considerations in mind, you can confidently clone a bigger hard drive to a smaller SSD, benefiting from improved performance and enhanced storage capabilities. Always prioritize data backup, exercise caution during physical connections, and double-check settings and configurations to ensure a successful and seamless cloning experience.