Why is Cleaning up RAM Important?
Random Access Memory (RAM) is a crucial component of your computer’s performance. It stores data and allows your system to quickly access and manipulate it. Over time, as you use your computer, the RAM can become cluttered with unnecessary data and processes, which can lead to a decrease in performance and slower response times. Cleaning up your RAM is important to maintain the optimal functioning of your computer and ensure smooth multitasking. Here are a few reasons why cleaning up RAM is crucial:
1. Improved speed and responsiveness: When your RAM is cluttered with excess data and processes, it can lead to slow performance and sluggish response times. By cleaning up your RAM, you free up memory space, allowing your computer to access and process information more quickly, resulting in improved speed and responsiveness.
2. Enhanced multitasking: If you often find yourself juggling multiple applications and tasks simultaneously, a clean RAM is essential for efficient multitasking. When your RAM is overloaded, your computer has to swap data between RAM and the hard drive, which can significantly slow down your workflow. Cleaning up RAM ensures that your system has enough memory to handle multiple tasks seamlessly.
3. Increased stability: A cluttered RAM can cause stability issues, such as frequent crashes and freezes. When your system runs out of available RAM, it starts using virtual memory, which is significantly slower and less stable than physical RAM. By cleaning up your RAM, you reduce the chances of running out of memory and experiencing stability issues.
4. Optimal gaming performance: Gamers often require a substantial amount of RAM to run resource-intensive games smoothly. A clean RAM ensures that your computer has enough memory to handle demanding games, preventing lag and improving overall gaming performance.
5. Efficient resource allocation: Cleaning up your RAM allows your computer to allocate resources more efficiently. Rather than wasting memory on unnecessary processes or programs, you can ensure that your RAM is dedicated to the tasks and applications that are currently in use, maximizing efficiency and performance.
By regularly cleaning up your RAM, you can optimize your computer’s performance, improve multitasking capabilities, and enhance overall stability. It is a simple yet effective way to ensure that your system operates at its full potential, providing you with a seamless and efficient computing experience.
How Does RAM Work?
Random Access Memory (RAM) plays a crucial role in the performance of your computer. It is a type of volatile memory that temporarily stores data that the computer’s processor needs for immediate access. RAM allows for quick and efficient data retrieval, which is necessary for smooth multitasking and fast system response times. Here’s a closer look at how RAM works:
1. Data Storage: RAM is composed of tiny capacitors and transistors that store and hold data in the form of electrical charges. Each bit of data is stored in a separate memory cell, and the cells are organized into rows and columns. This organized structure allows the processor to easily access and retrieve the data it needs.
2. Volatile Memory: Unlike non-volatile storage devices such as hard drives or solid-state drives, RAM is volatile memory. This means that its data is lost when the computer is powered off or restarted. When you turn off your computer, the data stored in RAM is erased, making it essential to save any important files or documents to a more permanent storage medium.
3. Fast Data Access: RAM allows for faster data access compared to other storage devices. When you open an application or a file, its data is temporarily transferred from the storage drive to the RAM. This allows the processor to quickly access the data when needed, resulting in faster application loading times and smoother overall system performance.
4. Virtual Memory: In addition to physical RAM, most operating systems use virtual memory to expand the available memory space. Virtual memory utilizes a portion of the computer’s hard drive or SSD to mimic RAM. When the physical RAM becomes full, the operating system temporarily transfers some data from RAM to the virtual memory space. While virtual memory is slower than physical RAM, it allows for more effective multitasking by extending the available memory capacity.
5. Memory Hierarchy: RAM is an essential part of a computer’s memory hierarchy. It serves as a bridge between the processor and the storage devices, ensuring that the processor has quick access to the data it needs. The memory hierarchy includes multiple levels, with RAM being faster than storage drives but slower than the processor’s cache memory. This hierarchy is designed to balance speed and capacity, allowing for efficient data processing.
Understanding how RAM works is important for optimizing its usage and ensuring optimal system performance. By effectively managing your RAM and regularly cleaning up unnecessary data, you can maintain a smooth and responsive computing experience.
Signs that Your Computer May Need a RAM Cleanup
Random Access Memory (RAM) plays a vital role in your computer’s performance. Over time, as you use your computer, RAM can become cluttered with unnecessary data and processes, leading to degraded performance. Identifying the signs that indicate your computer may need a RAM cleanup can help you maintain optimal system functioning. Here are some common signs to watch out for:
1. Sluggish Performance: If your computer is experiencing slow response times, delayed launches of applications, or overall sluggish performance, it could be a sign that your RAM is overwhelmed with unnecessary data. A RAM cleanup can help free up memory space and improve system performance.
2. Frequent Crashes or Freezes: When your system runs out of available RAM, it may result in frequent crashes or freezes. The lack of memory leads to instability and an inability to handle multiple tasks simultaneously. Cleaning up your RAM can help alleviate these issues and enhance system stability.
3. High Disk Usage: If you notice your computer’s disk usage is consistently high, even when you’re not running resource-intensive applications, it might indicate that your RAM is under strain. Insufficient available RAM can cause the system to rely heavily on virtual memory (swap file) stored on the hard drive, leading to increased disk usage and slower performance.
4. Excessive Page File Usage: Monitoring your computer’s page file usage can provide insight into its RAM usage. If you consistently observe high page file usage, it suggests that your RAM is insufficient for the tasks at hand. A RAM cleanup can help reduce page file usage and improve overall performance.
5. Difficulty Running Multiple Applications: Insufficient RAM can limit your computer’s ability to handle multiple applications simultaneously. If you frequently experience slowdowns or crashes when running several programs at once, it could be an indication that your RAM needs cleaning to optimize its resources.
6. Long Loading Times: If your applications take longer to load than usual, it may be a sign of RAM congestion. Cleaning up your RAM can help improve loading times as more memory becomes available for applications to utilize.
7. Inability to Upgrade Software: If you’re unable to install or upgrade software due to system requirements not being met, it might be worth checking your RAM capacity. Insufficient RAM can prevent the installation or smooth running of memory-intensive software. A RAM cleanup or upgrade may be necessary to overcome this limitation.
By recognizing these signs, you can proactively address any performance issues related to your computer’s RAM. Regularly cleaning up your RAM will help ensure efficient memory usage and maintain optimal system performance.
Step 1: Check Running Programs and Close Unnecessary Ones
One of the first steps in cleaning up your RAM is to check the running programs on your computer and close any unnecessary ones. This helps free up memory resources and allows your system to allocate more RAM to the programs that are actively being used. Here’s how you can check running programs and close unnecessary ones:
1. Task Manager: Press Ctrl + Shift + Esc to open the Task Manager. In the Task Manager window, click on the “Processes” or “Details” tab, depending on your operating system. Here you can see the list of running programs and the amount of memory each program is using.
2. Sort by Memory Usage: Click on the “Memory” or “Memory Usage” column header to sort the programs by the amount of memory they are using. This allows you to identify the programs that are using the most memory.
3. Identify Unnecessary Programs: Look for programs that are using a large amount of memory but are not essential for your current tasks. These can be applications that are running in the background or programs that you no longer need.
4. Close Unnecessary Programs: To close a program, right-click on it and select “End Task” or “End Process.” Confirm the action if prompted. Alternatively, you can select the program and click on the “End Task” button at the bottom-right corner of the Task Manager window.
5. Manage Startup Programs: Some programs automatically launch when you start your computer, consuming valuable system resources. To manage startup programs, go to the “Startup” tab in the Task Manager. Disable any programs that you do not need to launch at startup by right-clicking on them and selecting “Disable” or “Open File Location” to remove them manually.
6. Re-evaluate Running Programs: Regularly assess the programs running on your computer to ensure you only have essential ones running. Close programs that you no longer need or are consuming excessive memory resources.
7. Monitor Resource Usage: After closing unnecessary programs, monitor the Task Manager’s memory usage to see if the memory is freed up and utilized more efficiently. This can help you assess the impact of closing specific programs on your overall system performance.
By checking running programs and closing unnecessary ones, you can free up valuable RAM resources and optimize your computer’s memory usage. This step, when combined with other RAM cleanup methods, helps improve system performance and ensures smoother multitasking.
Step 2: Disable Startup Items
Disabling unnecessary startup items is an effective way to clean up your RAM and improve your computer’s boot time and overall performance. Startup items are programs or services that automatically launch when you start your computer. These items consume valuable system resources, including RAM. By disabling unnecessary startup items, you can free up memory resources and optimize your computer’s performance. Here’s how you can disable startup items:
1. Task Manager: Open the Task Manager by pressing Ctrl + Shift + Esc and navigate to the “Startup” tab. This tab displays a list of programs and services that launch during startup.
2. Evaluate Startup Impact: The Task Manager classifies the startup items based on their impact on the system. Sort the list by “Startup impact” to identify the programs or services that have a high impact. Items with a “High” startup impact tend to consume more system resources, including RAM.
3. Disable Startup Items: Right-click on the item you want to disable and select “Disable” from the context menu. Alternatively, you can select the item and click on the “Disable” button at the bottom-right corner of the Task Manager window. Disabling an item prevents it from launching during startup, freeing up valuable memory resources.
4. Research Unknown Startup Items: If you are unsure about the purpose or importance of a particular startup item, it is recommended to research it before disabling it. Use trusted online resources or perform a web search to gather information about the program or service. This way, you can make an informed decision about whether it is safe to disable or not.
5. Restart Your Computer: After disabling unnecessary startup items, restart your computer to apply the changes. When your computer boots up again, only the essential programs and services will launch, reducing the strain on your RAM and improving overall system performance.
6. Regularly Review Startup Items: It’s good practice to periodically review the list of startup items in the Task Manager. As your usage patterns change and you install new programs, new items may get added to the startup list. Be vigilant in identifying and disabling unnecessary startup items to maintain optimal RAM usage.
7. Use Third-Party Startup Managers: If you prefer a more comprehensive and user-friendly approach, you can use third-party startup manager tools. These tools provide enhanced control and flexibility in managing startup items, allowing you to disable or delay items based on your preferences.
By disabling unnecessary startup items, you can reduce the memory load on your system’s RAM and improve overall performance. This step, when combined with other RAM cleanup techniques, contributes to a smoother and more efficient computing experience.
Step 3: Clear Temporary Files and Folders
Clearing temporary files and folders is an essential step in cleaning up your RAM and optimizing your computer’s performance. Temporary files are created by various programs and processes and are meant to be used temporarily. However, these files can accumulate over time and take up valuable disk space and RAM. By clearing temporary files and folders, you can free up both storage and memory resources. Here’s how you can do it:
1. Disk Cleanup Utility: Windows users can utilize the built-in Disk Cleanup utility. To access it, open the Start Menu and search for “Disk Cleanup.” Launch the utility by selecting it from the search results.
2. Select the Drive: In the Disk Cleanup window, select the drive where your operating system is installed. Typically, this is the C: drive. Click on the “OK” button to proceed.
3. Choose Files to Delete: The utility will analyze your selected drive and present a list of file categories that can be cleaned up. Check the boxes for temporary files, temporary internet files, and any other categories you wish to remove. Click “OK” to confirm your selection.
4. Confirm Deletion: You will be prompted to confirm the deletion of the selected files. Review the items to be deleted and click on the “Delete Files” button to proceed.
5. Third-Party Cleanup Tools: If you prefer more advanced features and control, you may consider using third-party cleanup tools. These tools offer comprehensive cleaning options and allow you to target specific file types or folders that may contain temporary files.
6. Clear Browser Cache: Web browsers store temporary files (including images, scripts, and cookies) to improve page loading speed. Clearing the browser cache can free up additional temporary files and enhance overall system performance. Refer to your browser’s settings or preferences menu to find the option to clear the cache.
7. Regular Cleanup: It’s good practice to periodically perform disk cleanup to prevent the accumulation of unnecessary files. You can set a schedule to run the Disk Cleanup utility automatically or make it a part of your regular maintenance routine.
By clearing temporary files and folders, you not only free up disk space but also reduce the memory load on your system’s RAM. This helps improve your computer’s performance, speed up file access times, and ensure a smoother computing experience.
Step 4: Uninstall Unnecessary Software
Uninstalling unnecessary software is a critical step in cleaning up your RAM and optimizing your computer’s performance. Over time, you may accumulate various programs that you no longer use or need. These programs not only take up valuable storage space but can also run background processes and consume memory resources. By uninstalling unnecessary software, you can free up both storage and RAM, resulting in improved system performance. Here’s how you can do it:
1. Control Panel (Windows): Open the Control Panel by searching for it in the Start Menu. In the Control Panel, click on “Uninstall a program” or “Programs and Features” under the “Programs” category.
2. App Store (Mac): On a Mac, open the App Store and click on the “Purchased” tab. From there, you can see a list of all the apps you have installed, and you can easily uninstall the ones you no longer need.
3. Review Installed Programs: In the list of installed programs, review each entry and identify the ones that you no longer use or need. Consider removing programs that are resource-intensive or have unnecessary background processes.
4. Uninstall Software: Windows users can uninstall a program by right-clicking on it and selecting “Uninstall” or by clicking on the program and then clicking the “Uninstall” button. Follow the prompts to complete the uninstallation process. On a Mac, you can uninstall an app by dragging it from the Applications folder to the Trash.
5. Remove Bloatware: Some computers come pre-installed with bloatware – software that is unnecessary and often slows down your system. Review the list of installed programs for any bloatware that you can uninstall to free up resources.
6. Use Uninstaller Tools: If you have difficulty uninstalling a program or want a more thorough cleanup, consider using third-party uninstaller tools. These tools can help remove residual files and registry entries associated with the uninstalled software, ensuring a more complete cleanup.
7. Regularly Review and Uninstall: Make it a habit to review your installed programs regularly. Uninstall any software that you no longer need or use, keeping your system clutter-free and optimizing your RAM usage.
By uninstalling unnecessary software, you can reclaim valuable storage space and improve your computer’s RAM usage. This step, combined with other RAM cleanup techniques, helps maximize system performance and ensures a smoother and more efficient computing experience.
Step 5: Update Your Operating System and Drivers
Updating your operating system and drivers is a crucial step in cleaning up your RAM and improving your computer’s performance. Regular updates ensure that your system is equipped with the latest bug fixes, security patches, and enhancements. Outdated operating systems and drivers can lead to compatibility issues and performance bottlenecks, negatively affecting your RAM usage. By keeping your operating system and drivers up to date, you can optimize your computer’s resources and ensure smooth system operation. Here’s how you can do it:
1. Operating System Updates:
Windows: On Windows, open the Start Menu and go to “Settings.” Select “Update & Security” and click on “Check for updates.” If updates are available, download and install them. Restart your computer if prompted.
Mac: On a Mac, click on the Apple menu in the top-left corner and select “System Preferences.” Choose “Software Update” and click on “Update Now.” Install any available updates and restart your computer if necessary.
2. Driver Updates:
Windows: To update drivers on Windows, you can go to the manufacturer’s website for each device connected to your computer (such as graphics card, network card, and sound card) and download the latest drivers. Alternatively, you can use built-in utilities like Device Manager to update drivers automatically.
Mac: On a Mac, driver updates are typically included in operating system updates. However, you can also check for specific driver updates by going to the manufacturer’s website for each device.
3. Automatic Updates: Enable automatic updates for your operating system and drivers. This ensures that your system stays up to date without manual intervention. Automatic updates help keep your computer secure, improve compatibility, and enhance performance.
4. Restart Your Computer: After installing updates, it’s important to restart your computer if prompted. Restarting allows the updates to take effect and enhances system stability.
5. Regularly Check for Updates: Make it a habit to regularly check for updates for both your operating system and drivers. Keeping your system up to date ensures optimal resource allocation, including RAM usage, and helps prevent compatibility issues and performance bottlenecks.
By updating your operating system and drivers, you ensure that your computer is running on the latest software versions, which often include performance optimizations and bug fixes. This step plays a crucial role in maintaining system stability and maximizing RAM efficiency.
Step 6: Use a RAM Optimization Tool
Using a RAM optimization tool can be an effective strategy to clean up your RAM and enhance your computer’s performance. These tools are designed to optimize memory usage, freeing up memory resources and improving system responsiveness. By utilizing a RAM optimization tool, you can automate the process of managing and optimizing your computer’s RAM. Here’s how you can benefit from using a RAM optimization tool:
1. Automatic RAM Optimization: RAM optimization tools automatically monitor and analyze your computer’s memory usage. They identify processes or applications that are consuming excessive memory and optimize them to free up resources. This helps ensure that your RAM is efficiently utilized, leading to improved system performance.
2. Clearing Memory Leaks: Memory leaks occur when a program or process does not release memory after it is no longer needed, resulting in gradual memory consumption and system slowdowns. RAM optimization tools can help detect and clear memory leaks, preventing them from impacting system performance.
3. Managing Startup Items: Some RAM optimization tools also provide features to manage startup items. They allow you to easily identify and disable unnecessary programs or services that launch during startup, saving valuable memory resources and improving boot time.
4. One-Click Optimization: Many RAM optimization tools offer a one-click optimization feature that quickly frees up memory resources with a simple click of a button. This feature is convenient for users who prefer a hassle-free way to optimize their RAM without going through manual processes.
5. Customization Options: RAM optimization tools often provide customization options, allowing you to tailor the optimization process to your specific needs. You can set preferences for automatic optimization schedules, exclude certain programs from optimization, or adjust optimization thresholds based on your usage patterns.
6. Real-Time Monitoring: RAM optimization tools usually include real-time monitoring features that display detailed information about your computer’s memory usage. You can track your RAM usage, monitor changes in real-time, and identify memory-intensive processes or applications, helping you make informed decisions to optimize your system’s performance.
7. Additional System Tweaks: Some RAM optimization tools go beyond memory optimization and offer additional system tweaks, such as optimizing hard drive performance, managing system services, or clearing temporary files. These features can further enhance overall system performance and complement the RAM cleaning process.
Using a RAM optimization tool is an efficient way to automate the process of cleaning up your RAM and ensuring optimal memory usage. By utilizing these tools, you can effortlessly optimize your system’s performance, resulting in a smoother and more responsive computing experience.
Step 7: Upgrade Your RAM
If your computer is still struggling with low memory even after following the previous steps to clean up and optimize your RAM, it may be time to consider upgrading your RAM. Upgrading your RAM can significantly improve your computer’s performance by increasing its memory capacity. Here’s what you need to know about upgrading your RAM:
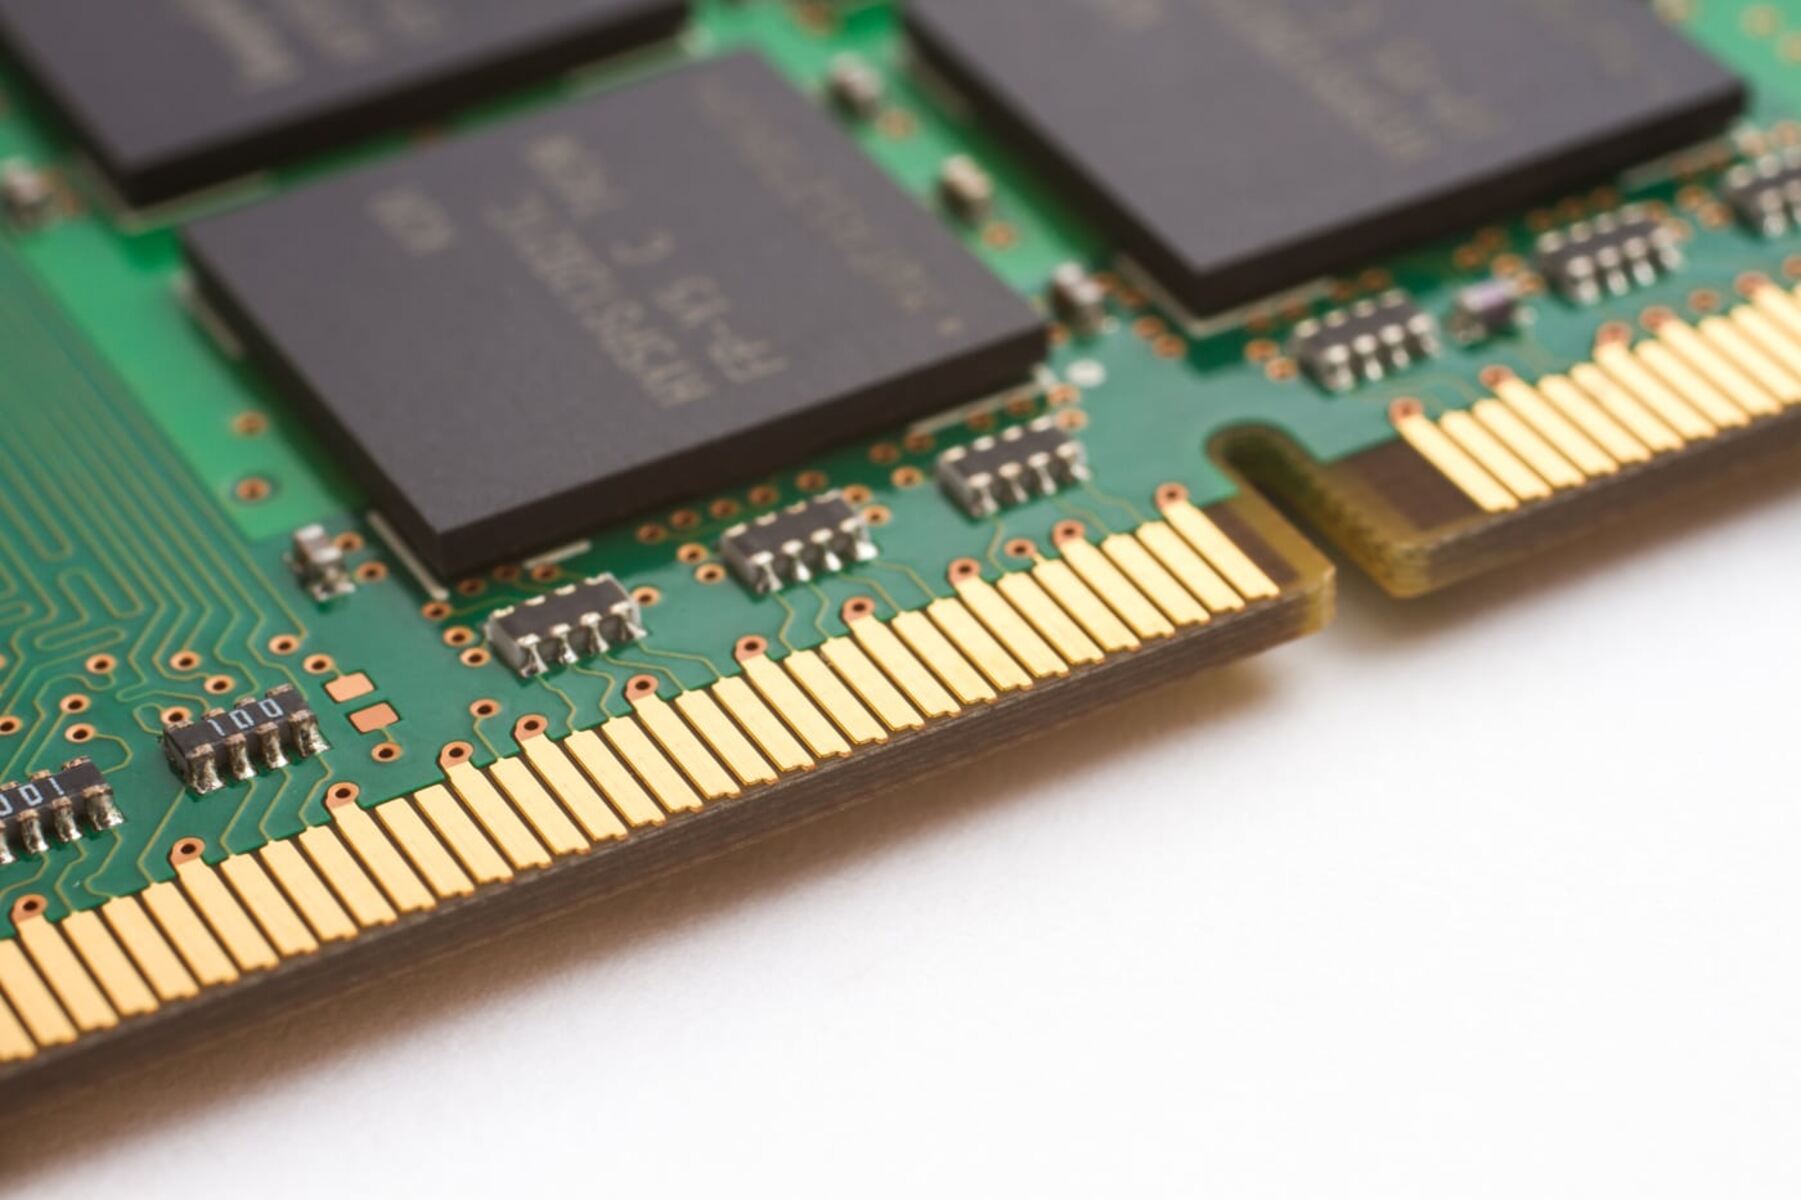
1. Identify RAM Slot Availability: Check the documentation or specifications of your computer or motherboard to determine the number and type of RAM slots available for upgrades. This information will help you choose the right type and quantity of RAM modules.
2. Check Compatibility: Ensure that the RAM modules you are considering are compatible with your computer or motherboard. Look for information on the maximum supported RAM capacity and the supported RAM speed and type. You can find this information in your computer or motherboard’s documentation or on the manufacturer’s website.
3. Determine the Required RAM Capacity: Assess your current RAM usage and the types of applications or tasks you typically run on your computer. This will help you determine the amount of additional RAM you need. For resource-intensive programs or multitasking, consider upgrading to higher capacity RAM modules.
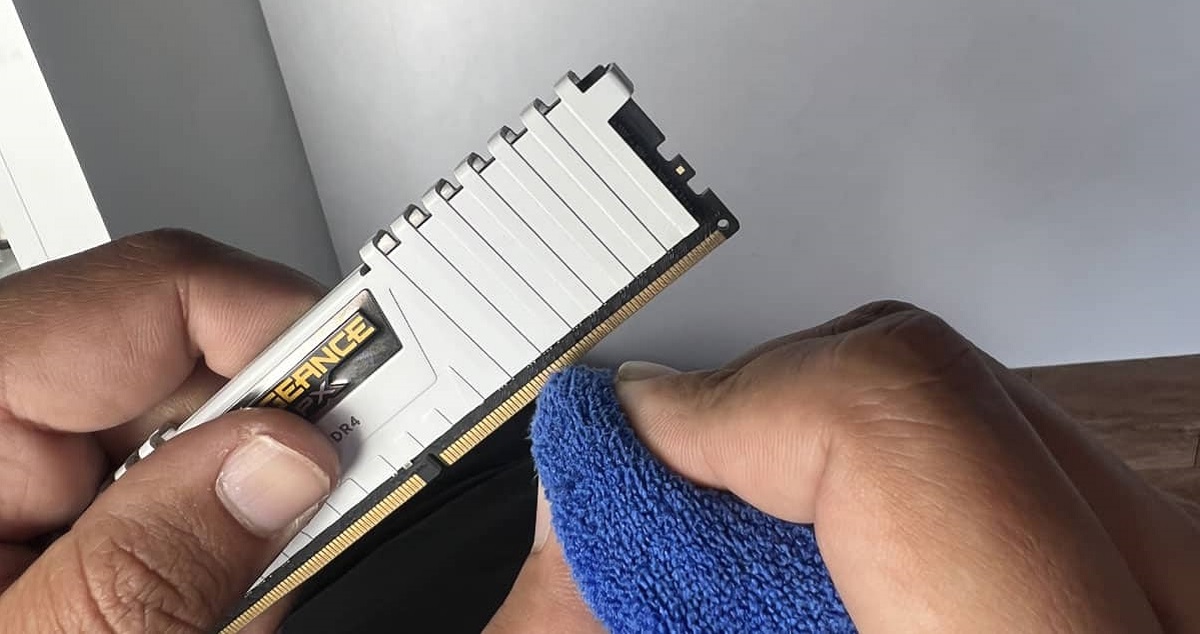
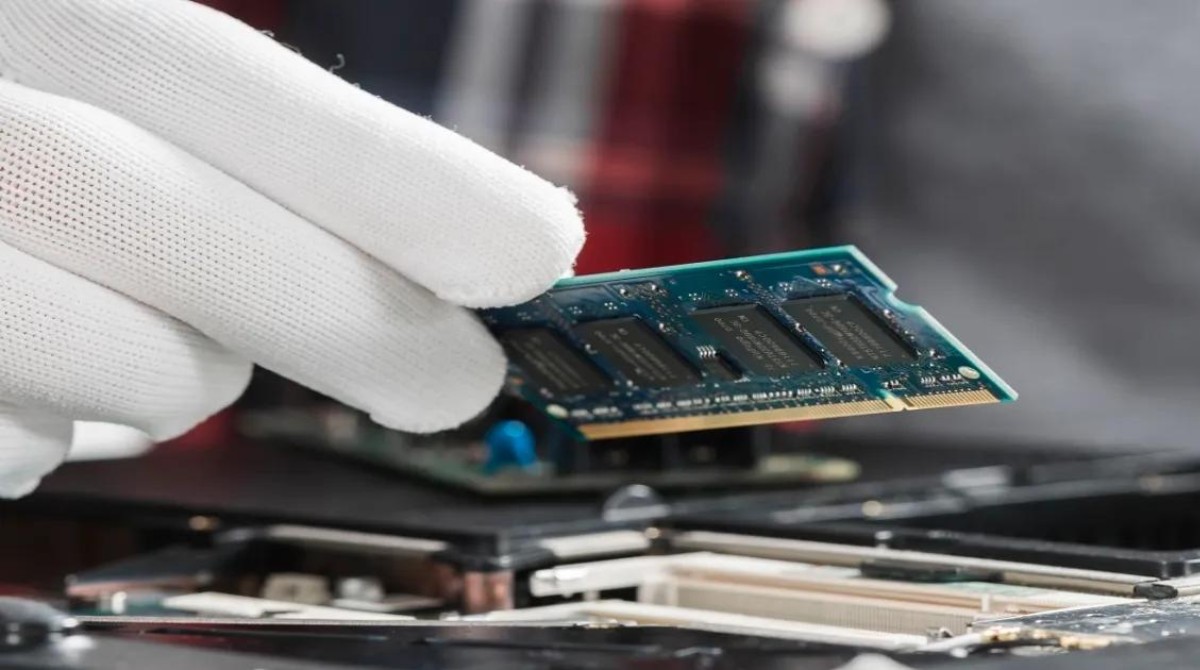
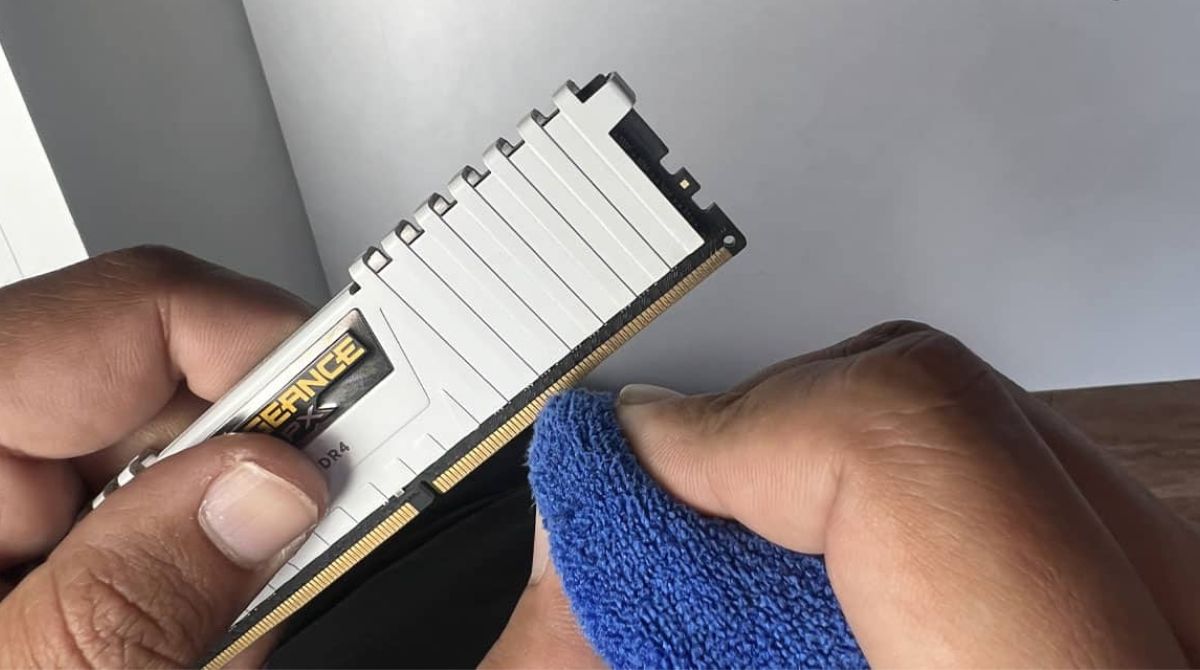
4. Purchase and Install RAM: Once you have identified the right RAM modules for your computer, purchase them from a reliable vendor. Follow the instructions provided with the RAM modules to install them properly. Ensure that your computer is powered off and unplugged before proceeding with the installation.
5. Verify RAM Upgrade: After installing the new RAM modules, power on your computer and check if the system recognizes the increased RAM capacity. You can verify this by going to “System Information” (Windows) or “About This Mac” (Mac) and checking the displayed RAM capacity.
6. Perform Post-upgrade Testing: Test your computer’s performance after the RAM upgrade. Pay attention to improvements in multitasking capability, faster program loading times, and overall system responsiveness. Run memory-intensive applications or tasks to assess the impact of the RAM upgrade.
7. Consider Professional Assistance: If you are uncertain about performing a RAM upgrade yourself, or if your computer requires a more complex upgrade, it is advisable to seek professional assistance from a technician or computer hardware expert.
Upgrading your RAM can breathe new life into your computer, especially if you frequently use memory-intensive applications or perform demanding tasks. It allows for smoother multitasking, faster data processing, and improved overall system performance.
Conclusion
Cleaning up your RAM is essential for maintaining optimal computer performance and ensuring a smooth and efficient computing experience. By following the steps outlined in this guide, you can improve RAM usage, speed up system responsiveness, and enhance multitasking capabilities. Let’s recap the key steps:
1. Check Running Programs: Use the Task Manager to identify and close unnecessary programs that are consuming memory resources.
2. Disable Startup Items: Turn off unnecessary programs that automatically launch during startup to free up memory resources.
3. Clear Temporary Files and Folders: Remove temporary files that accumulate over time and take up valuable disk space and memory.
4. Uninstall Unnecessary Software: Remove programs that you no longer use, freeing up both storage space and RAM.
5. Update Your Operating System and Drivers: Ensure your operating system and drivers are up to date to optimize RAM usage and resolve compatibility issues.
6. Use a RAM Optimization Tool: Utilize a RAM optimization tool to automate the process of managing and optimizing your computer’s memory.
7. Upgrade Your RAM: Consider upgrading your RAM if your computer still experiences low memory and performance issues despite the previous steps.
Regularly maintaining and cleaning up your RAM will help keep your computer running smoothly and efficiently. It is recommended to perform these steps periodically to ensure optimal RAM usage and overall system performance. By implementing these techniques, you can alleviate RAM-related issues, enhance multitasking capabilities, and enjoy a faster and more responsive computing experience.