Introduction
Welcome to the world of electric skateboarding! If you’re a proud owner of an electric skateboard, you probably already know how thrilling and convenient it is to zip around town with ease. However, like any other mode of transportation, your electric skateboard can accumulate dirt, grime, and debris over time, which can affect its performance and longevity. That’s where regular cleaning and maintenance come into play.
By properly cleaning your electric skateboard, you can ensure optimal performance, extend its lifespan, and maintain a sleek and polished appearance. Whether you’ve recently purchased a new electric skateboard or have been riding one for a while, this guide will provide you with step-by-step instructions on how to clean it thoroughly.
Before we dive into the cleaning process, it’s essential to gather the necessary tools and materials. Having everything ready will make the cleaning process more efficient and hassle-free. Here’s what you’ll need:
- Soft-bristle brush or toothbrush
- Mild soap or skateboard-specific cleaner
- Water
- Towel or cloth
- Bearing lubricant (optional)
Now that we have everything ready, let’s get started on cleaning your electric skateboard to keep it in top shape!
Tools and Materials
Before you begin cleaning your electric skateboard, it’s essential to gather the necessary tools and materials. Having everything within reach will make the process smoother and more efficient. Here are the tools and materials you’ll need:
- Soft-bristle brush or toothbrush: A soft-bristle brush or toothbrush will help remove dirt, dust, and debris from hard-to-reach areas. Make sure to choose a bristle brush that won’t scratch or damage the skateboard’s surface.
- Mild soap or skateboard-specific cleaner: Using a mild soap or a skateboard-specific cleaner will effectively clean the skateboard without causing any damage. Avoid using harsh chemicals or abrasive cleaners that can harm the skateboard’s finish.
- Water: Water is an essential component of the cleaning process. Make sure to have access to clean water to thoroughly rinse off the cleaning solution and any residue.
- Towel or cloth: A clean towel or cloth will be useful for drying off the skateboard after cleaning. It’s important to ensure that the towel or cloth is free from dirt or debris that could scratch the skateboard’s surface.
- Bearing lubricant (optional): If you plan on cleaning the bearings, having some bearing lubricant on hand will help keep them in optimal condition. However, this is optional, as not all electric skateboards have accessible or serviceable bearings.
Having these tools and materials prepared will ensure that you have everything you need to clean your electric skateboard effectively. Now that you’re equipped, let’s move on to the next step: preparing the skateboard for cleaning.
Preparing the Skateboard
Before diving into the actual cleaning process, it’s essential to prepare your electric skateboard by taking a few simple steps. This will ensure that you protect sensitive components and make the cleaning process more efficient. Here’s what you need to do:
- Turn off the skateboard and disconnect the battery: Start by turning off your electric skateboard and disconnecting the battery. This will prevent any accidental activation of the skateboard during the cleaning process and ensure your safety.
- Remove any loose debris: Take a soft-bristle brush or toothbrush and gently remove any loose debris, such as dirt, leaves, or small stones, from the skateboard’s surface. Pay particular attention to the grip tape, as it tends to gather the most dirt and debris.
- Protect the electronics: If possible, cover the electronic components of your electric skateboard with a plastic bag or a protective cover. This will prevent any water or cleaning solution from damaging the sensitive electronics.
- Secure the cables: Check that all cables and connectors are securely fastened to the skateboard. Loose cables can pose a safety hazard, so ensure that everything is properly connected.
By following these simple steps, you’ll be ready to start the cleaning process without any risk of damaging the electronic components or encountering any unnecessary difficulties. With your skateboard prepared, it’s time to move on to the next step: cleaning the wheels.
Cleaning the Wheels
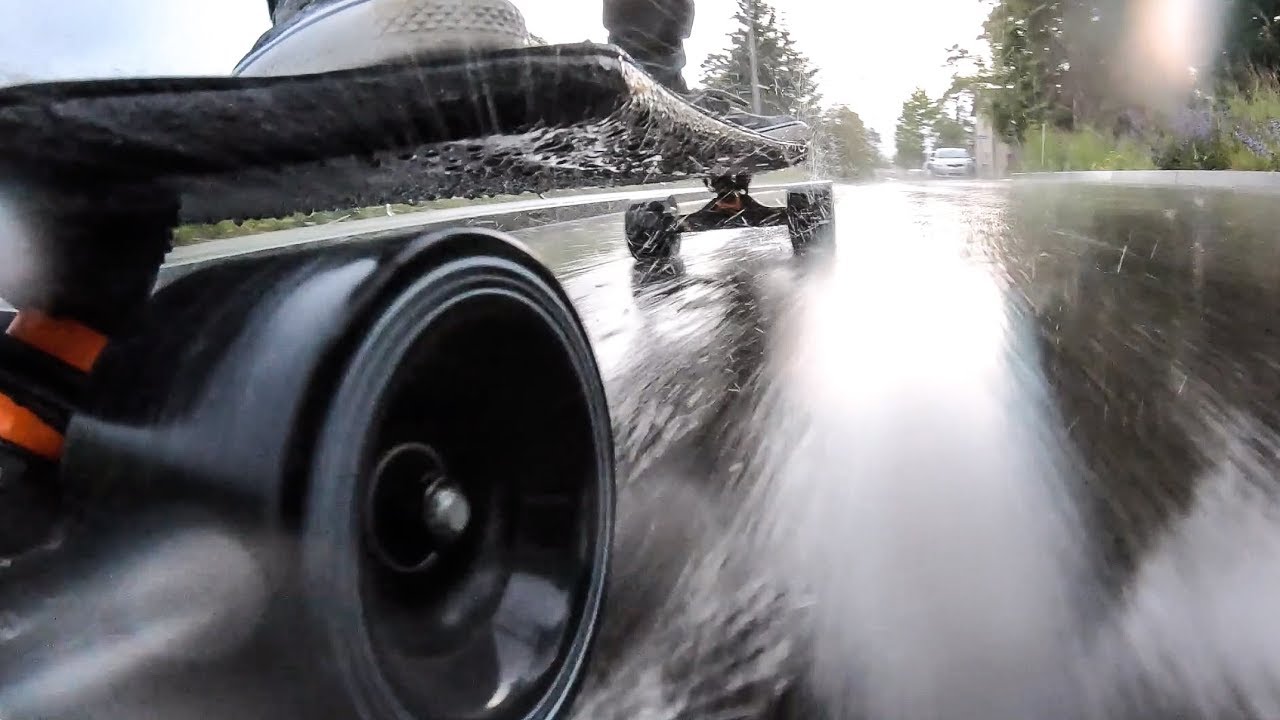
The wheels of your electric skateboard are in constant contact with the road, which means they are prone to gathering dirt, dust, and grime. Cleaning the wheels regularly will not only help maintain optimal performance but also prevent any buildup that may affect the ride quality. Here’s how you can clean the wheels of your electric skateboard:
- Remove the wheels (if necessary): Some electric skateboards allow for easy wheel removal, while others may require cleaning the wheels while they are still attached. If your skateboard allows it, removing the wheels will provide better access for a thorough cleaning.
- Brush off loose debris: Use a soft-bristle brush or toothbrush to gently brush off any loose dirt or debris from the wheels. Make sure to reach all the nooks and crannies, as dirt can accumulate in hard-to-reach areas.
- Prepare a cleaning solution: Mix a small amount of mild soap or skateboard-specific cleaner with water to create a gentle cleaning solution. Alternatively, you can use a pre-made skateboard cleaner according to the manufacturer’s instructions.
- Clean the wheels: Dip the brush or toothbrush into the cleaning solution and scrub the wheels thoroughly. Pay attention to the outer and inner surfaces of the wheels, as well as the area around the bearings. For stubborn dirt or grime, you can gently scrub with more force.
- Rinse and dry: Rinse the wheels with clean water to remove any remaining cleaning solution. Make sure to rinse both the wheel surface and the bearings if they are exposed. Once rinsed, use a clean towel or cloth to dry the wheels completely.
- Lubricate the bearings (if accessible): If your electric skateboard has removable bearings, you can lubricate them after cleaning. Apply a small amount of bearing lubricant to each bearing and spin them to distribute the lubricant evenly.
By following these steps, you can keep your electric skateboard’s wheels clean and free from debris. Now that the wheels are sparkling, let’s move on to the next step: cleaning the bearings.
Cleaning the Bearings
The bearings in your electric skateboard’s wheels play a crucial role in ensuring smooth and efficient movement. Over time, however, they can accumulate dirt, dust, and debris, which can negatively affect their performance. Cleaning the bearings will help maintain their functionality and prolong their lifespan. Here’s how you can clean the bearings of your electric skateboard:
- Remove the wheels (if necessary): If your skateboard allows for easy wheel removal, remove the wheels to access the bearings more easily. If not, you can still clean the bearings while they are attached to the wheels.
- Pop out the bearings: Using a skate tool or a bearing press, carefully pop out the bearings from the wheels. Be gentle to avoid damage to the bearings or the wheels.
- Prepare a cleaning solution: Mix a small amount of mild soap or skateboard-specific cleaner with water to create a gentle cleaning solution in a small bowl or container.
- Soak the bearings: Place the bearings into the cleaning solution and let them soak for a few minutes. This will help loosen any dirt or debris trapped in the bearings.
- Brush and rinse: Using a soft-bristle brush or a toothbrush, gently scrub the bearings to remove any remaining dirt. Pay attention to all sides of the bearings and make sure to remove any stubborn debris.
- Rinse and dry: Thoroughly rinse the bearings with clean water to remove any leftover cleaning solution or dirt. Make sure to rinse all parts of the bearings to ensure they are completely clean. Once rinsed, pat them dry with a clean cloth or towel.
- Lubricate the bearings: Apply a few drops of bearing lubricant to each bearing. Spin the bearings to distribute the lubricant evenly and ensure smooth movement.
- Reassemble the bearings: Place the bearings back into the wheels, making sure they are properly aligned. Use a skate tool or a bearing press to secure them back in place.
By following these steps, you can effectively clean the bearings of your electric skateboard and maintain their performance. With the bearings cleaned and lubricated, let’s move on to the next step: cleaning the grip tape.
Cleaning the Grip Tape
The grip tape on your electric skateboard provides the necessary traction for your feet while riding. Over time, it can become dirty and lose its grip due to dust, dirt, and grime. Cleaning the grip tape not only ensures a better riding experience but also keeps your skateboard looking fresh. Here’s how you can clean the grip tape of your electric skateboard:
- Remove loose debris: Begin by using a soft-bristle brush or a toothbrush to gently brush off any loose dirt or debris from the grip tape. This will help prevent grit from scratching the surface while cleaning.
- Prepare a cleaning solution: In a small bowl or container, mix a mild soap or skateboard-specific cleaner with water to create a gentle cleaning solution.
- Apply the cleaning solution: Dampen a clean cloth or sponge with the cleaning solution. Gently rub the damp cloth or sponge onto the grip tape, ensuring you cover the entire surface.
- Scrub the grip tape: Use a circular motion with moderate pressure to scrub the grip tape, focusing on any areas with noticeable stains or dirt buildup. This will help loosen and lift away the grime.
- Remove excess moisture: Use a clean, dry cloth or paper towel to absorb any excess moisture from the grip tape. Wipe away the cleaning solution, making sure to remove as much moisture as possible.
- Dry the grip tape: Allow the grip tape to air dry completely. Avoid riding the skateboard or exposing the damp grip tape to dirt or dust that may stick to it before it dries.
- Revive the grip: Once the grip tape is dry, you can use grip tape cleaner or a grip enhancer to restore its original grip. Follow the instructions on the product for the best results.
By following these steps, you can refresh and revitalize the grip tape on your electric skateboard. Clean grip tape not only improves your riding experience but also enhances the overall aesthetics of your skateboard. With the grip tape cleaned, let’s move on to the next step: cleaning the motor and electronics.
Cleaning the Motor and Electronics
The motor and electronics of your electric skateboard are vital components that require regular cleaning and maintenance to ensure optimal performance and longevity. While you must take precautions when cleaning these delicate parts, keeping them free from dirt, dust, and debris is essential. Here’s how you can effectively clean the motor and electronics of your electric skateboard:
- Avoid direct water exposure: It’s crucial to remember that water can damage the motor and electronics of your electric skateboard. Therefore, it’s best to avoid directly spraying or submerging these components in water.
- Use a soft brush: To remove dust and debris from the motor and electronics, gently brush them using a soft-bristle brush or a clean, dry microfiber cloth. Be careful not to apply excessive force or move any internal components.
- Dry cloth or compressed air: Wipe the surfaces of the motor and electronics with a clean, dry cloth or use compressed air to blow away any remaining dust or debris. This will help keep them clean without risking water damage.
- Inspect for loose connections: Take the time to inspect all cable connections and make sure they are securely fastened. Loose connections can negatively affect the performance of your electric skateboard.
- Electronic safe cleaner: If you encounter stubborn dirt or grime on the electronics, you can use an electronics-safe cleaner to spot clean. Follow the instructions on the cleaner’s label to ensure it is safe for the specific components of your electric skateboard.
- Protective covers: Consider using protective covers or cases for your electric skateboard’s electronic components, especially if you ride in dusty or muddy environments. These covers can help minimize the buildup of dirt and debris on the vulnerable areas.
By following these steps, you can effectively clean the motor and electronics of your electric skateboard without risking water damage or compromising their functionality. With the motor and electronics cleaned, let’s move on to the next step: cleaning the trucks and bushings.
Cleaning the Trucks and Bushings
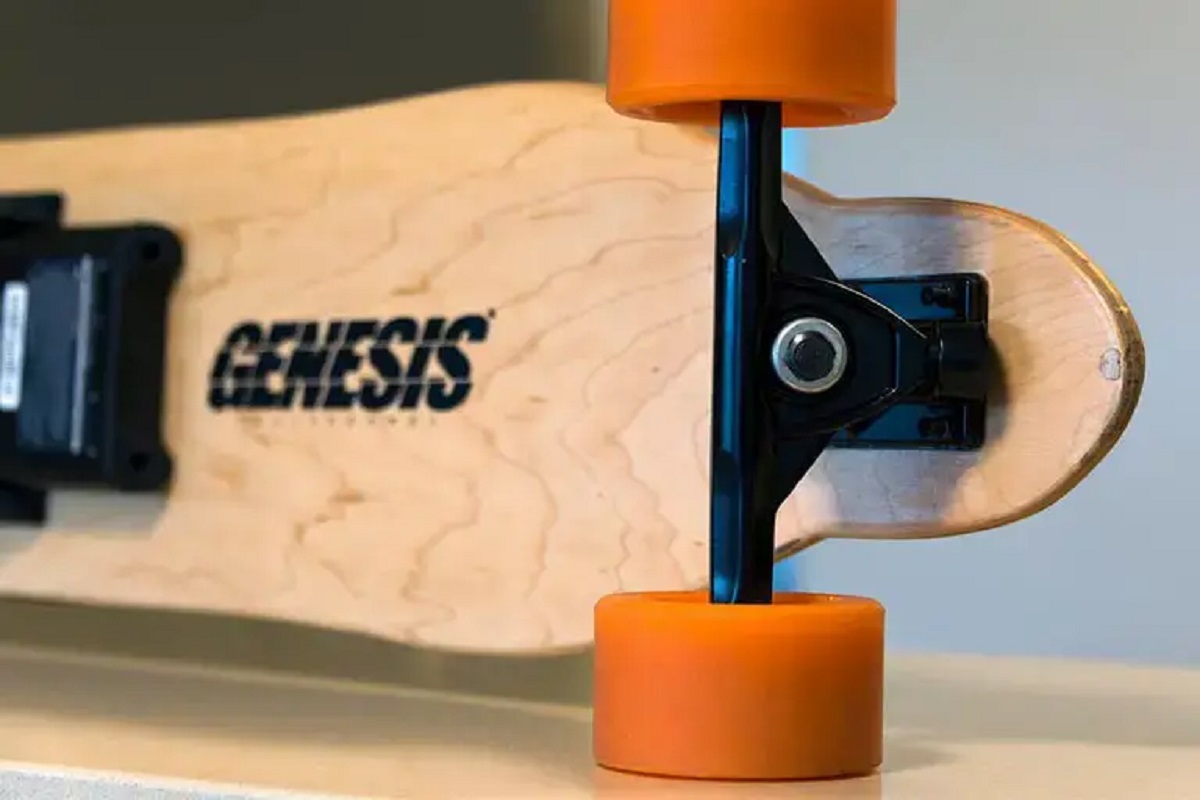
The trucks and bushings of your electric skateboard play a crucial role in providing stability and smooth maneuverability. Over time, they can accumulate dirt, dust, and grime, which can affect their performance. Regular cleaning of your trucks and bushings will help maintain optimal functionality and ensure a smooth ride. Here’s how you can clean the trucks and bushings of your electric skateboard:
- Remove the wheels: Start by removing the wheels from the trucks to gain better access for cleaning. Use a skate tool or a wrench to unscrew the nuts and carefully take off the wheels.
- Brush off loose dirt: Use a soft-bristle brush or a toothbrush to gently brush off any loose dirt or debris from the trucks and bushings. Pay attention to the pivot cups and kingpins, as these areas tend to collect the most dirt.
- Prepare a cleaning solution: Mix a small amount of mild soap or skateboard-specific cleaner with water to create a gentle cleaning solution in a small bowl or container.
- Scrub the trucks and bushings: Dip the brush or toothbrush into the cleaning solution and scrub the trucks and bushings thoroughly. Pay extra attention to areas that appear dirty or have built-up grime.
- Rinse with water: Rinse the trucks and bushings with clean water to remove any remaining cleaning solution. Make sure to rinse all parts of the trucks and bushings to ensure they are completely clean.
- Pat dry and air dry: Use a clean towel or cloth to pat dry the trucks and bushings. Allow them to air dry completely before reassembling the skateboard.
- Apply lubricant: Once the trucks and bushings are dry, apply a small amount of skateboard-specific lubricant to the pivot cups and kingpins. This will help maintain smooth movement and prevent any squeaking.
- Reassemble the wheels: Place the wheels back onto the trucks and tighten the nuts with a skate tool or a wrench. Make sure the wheels are securely attached but still allow for smooth rotation.
By following these steps, you can effectively clean the trucks and bushings of your electric skateboard, ensuring optimal performance and a comfortable ride. With the trucks and bushings cleaned, let’s move on to the final step: drying and reassembling the components.
Drying and Reassembling
After cleaning all the components of your electric skateboard, it’s essential to properly dry and reassemble them before hitting the road again. Drying and reassembling the skateboard correctly will ensure that all parts are in their proper place and that no moisture or debris remains. Here’s how you can dry and reassemble your electric skateboard:
- Drying the components: Use a clean towel or cloth to thoroughly dry each component of the skateboard. Remove any moisture that may have accumulated during the cleaning process. Pay extra attention to grooves, crevices, and areas that are prone to retaining moisture.
- Air drying: Allow all the components to air dry completely before reassembling the skateboard. Placing the components in a well-ventilated area will expedite the drying process and ensure that no moisture is trapped within the skateboard.
- Reassembling the skateboard: Once the components are completely dry, start by reassembling the trucks onto the deck. Secure the trucks with the necessary nuts and bolts, ensuring that they are tightened properly but not overly tightened. Confirm that all connections are secure and that no parts are loose.
- Wheels and bearings: Attach the wheels back onto the trucks and make sure they rotate smoothly. If you removed the bearings during the cleaning process, ensure that they are properly seated in the wheels before securing them.
- Test the skateboard: Before taking your electric skateboard for a ride, give it a quick test to ensure that all the components are functioning correctly. Double-check that the motor, electronics, and wheels are working as expected.
By following these steps, you can successfully dry and reassemble your electric skateboard after cleaning. Taking the time to thoroughly dry and reassemble your skateboard will help maintain its performance, prevent any issues, and ensure a safe and enjoyable riding experience. Now that your skateboard is clean and ready to go, it’s time to get back out there and hit the streets!
Conclusion
Cleaning your electric skateboard is an essential part of its maintenance routine. By regularly cleaning all the components of your skateboard, you can ensure optimal performance and extend its lifespan. From the wheels to the motors, each part plays a crucial role in providing a smooth and enjoyable riding experience.
Throughout this guide, we have covered step-by-step instructions on how to clean your electric skateboard. We began by preparing the skateboard and gathering the necessary tools and materials. We then delved into the process of cleaning the wheels, bearings, grip tape, trucks, bushings, and motor and electronics. Each component requires specific attention to detail to ensure a thorough clean without causing any damage.
Remember to exercise caution when cleaning sensitive parts, such as the motor and electronics, to avoid water exposure. Utilize the appropriate tools and cleaning solutions to achieve the best results without compromising your skateboard’s performance or appearance. Additionally, take the time to properly dry and reassemble the skateboard before heading out for your next ride.
By dedicating some time to maintain your electric skateboard’s cleanliness, you can enjoy a smooth and reliable ride for years to come. So, don’t let dirt and grime hinder your experience – grab your tools, follow these instructions, and get ready to hit the streets with a cleaner, more efficient electric skateboard!