Introduction
Welcome to this guide on how to check your GPU in Windows 7. Your GPU, or Graphics Processing Unit, is an essential component of your computer that handles all the graphical computations and displays images on your screen. It’s important to keep track of your GPU information, such as the model and driver version, as it can help you troubleshoot any issues and ensure that your system is up to date.
Checking your GPU in Windows 7 is a straightforward process that requires a few simple steps. By following these steps, you’ll be able to identify your GPU model and check the driver version installed on your computer. This information can be useful when updating drivers, troubleshooting graphical issues, or ensuring compatibility with specific software.
In this guide, we’ll walk you through the steps to check your GPU in Windows 7. Whether you’re a gamer, a graphic designer, or simply curious about the specifications of your system, this guide will provide you with the necessary knowledge to access and inspect your GPU information.
So, let’s dive in and learn how to check your GPU in Windows 7!
Step 1: Open the Device Manager
The first step in checking your GPU in Windows 7 is to open the Device Manager. The Device Manager is a built-in Windows utility that allows you to manage and monitor the hardware devices connected to your computer. Here’s how to access it:
- Click on the “Start” button located in the bottom-left corner of your screen.
- In the search bar, type “Device Manager” and press Enter. Alternatively, you can open the Control Panel and navigate to the Device Manager from there.
- Once the Device Manager window opens, you will see a list of hardware categories and devices installed on your computer.
The Device Manager provides you with an overview of all the hardware components, including your GPU. Now that you have successfully opened the Device Manager, you’re ready to move on to the next step of identifying your GPU model.
Note: If you encounter any issues accessing or opening the Device Manager, make sure you have administrative privileges on your computer. If you are not logged in as an administrator, you may need to provide the necessary credentials to access the Device Manager.
Step 2: Expand the Display adapters category
After opening the Device Manager, the next step is to locate and expand the Display adapters category. This category contains information about the different graphics adapters installed on your computer, including your GPU. Here’s how to do it:
- In the Device Manager window, look for the “Display adapters” category. It is typically located towards the top of the list or under the “Adapters” section.
- Click on the arrow next to “Display adapters” to expand the category.
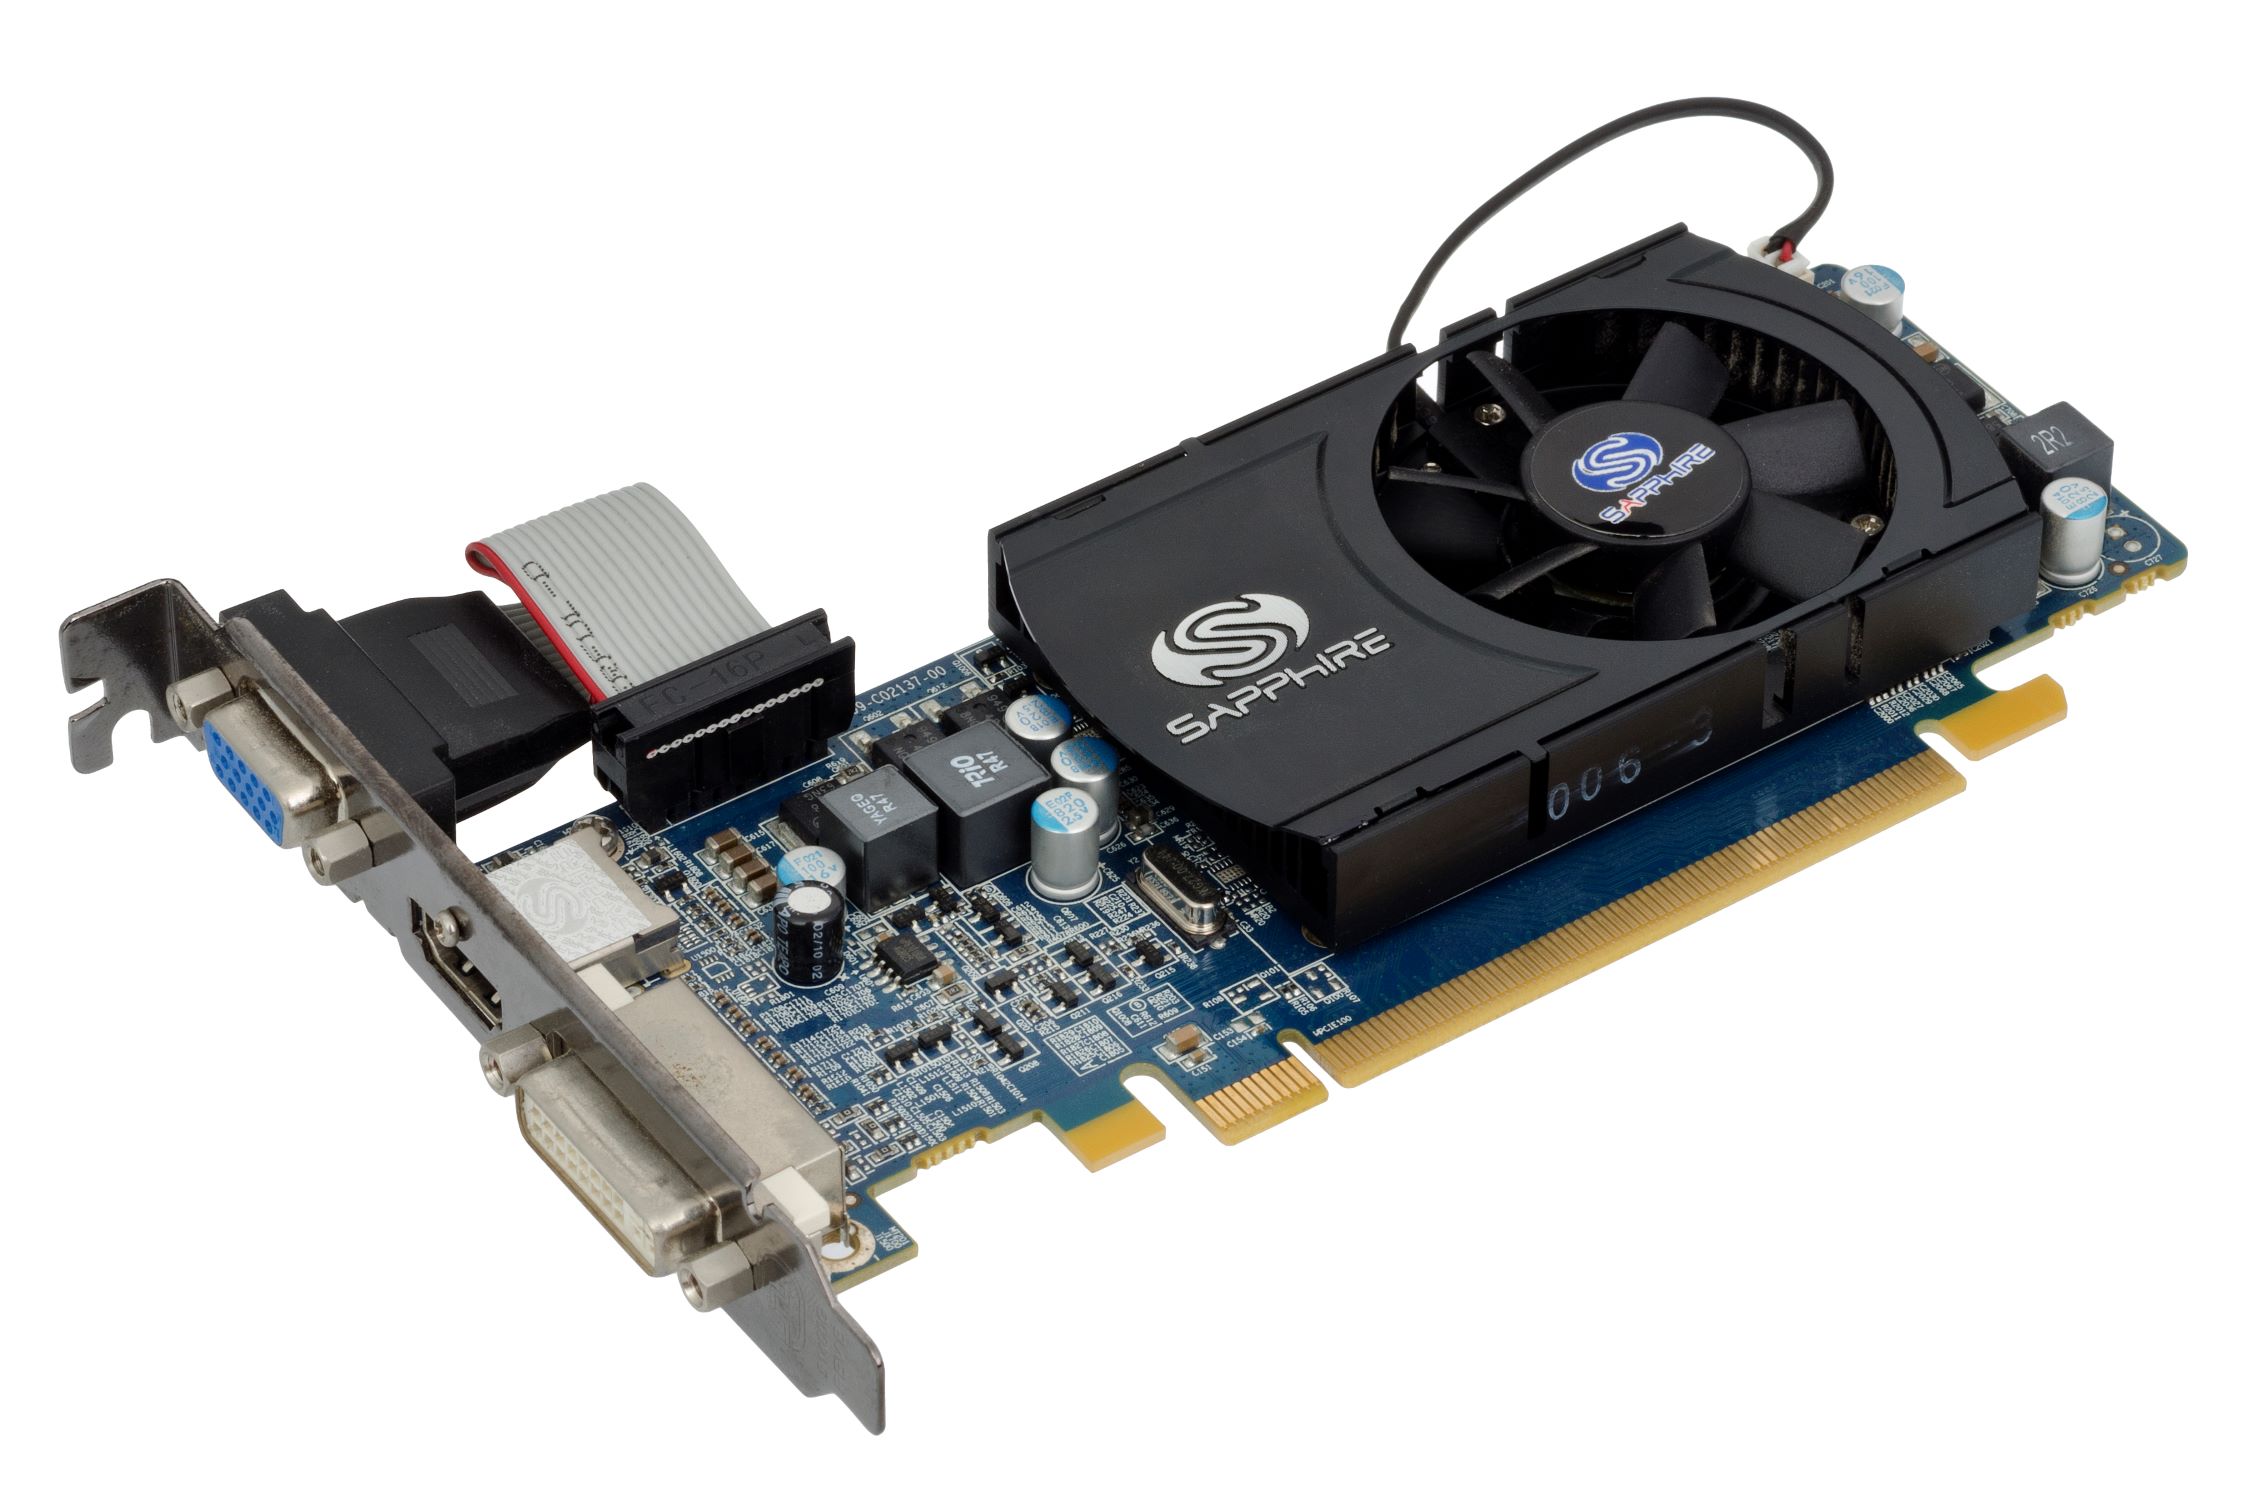
By expanding the Display adapters category, you will reveal the name of the GPU installed on your computer. The GPU name may vary depending on the manufacturer and model of your graphics card.
It’s worth mentioning that if you have multiple graphics cards installed on your system, they will be listed separately under the Display adapters category. Make sure to identify the correct GPU that you want to check.
With the Display adapters category expanded and the GPU name visible, you’re one step closer to finding out more detailed information about your GPU in Windows 7.
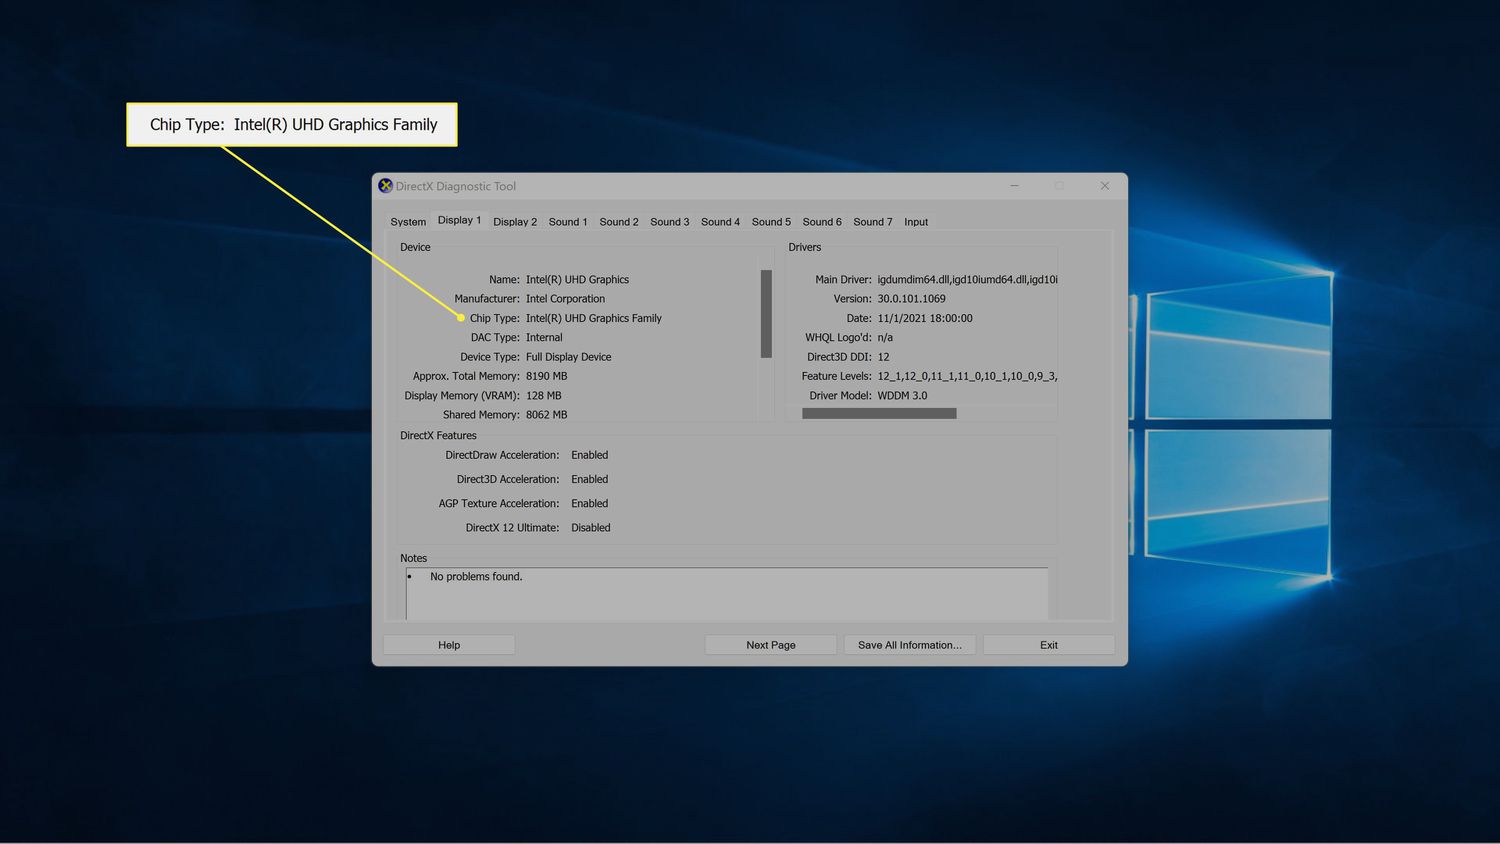
Step 3: Identify your GPU model
Now that you have expanded the Display adapters category, it’s time to identify the specific model of your GPU. This information will give you a more detailed understanding of your graphics card. Here’s how you can find your GPU model:
- Locate your GPU name within the expanded Display adapters category in the Device Manager. It will be displayed as the name of the graphics card.
- Note down the GPU model name. It may include the manufacturer’s name and the specific model number.
- Double-click on the GPU name to open its properties window. This window will provide additional information about your GPU, such as the driver version and other specific details.
Identifying your GPU model is essential, especially when it comes to updating drivers or troubleshooting compatibility issues with certain software or games. With this information, you can ensure that you have the correct and most up-to-date drivers installed for optimal performance and compatibility.
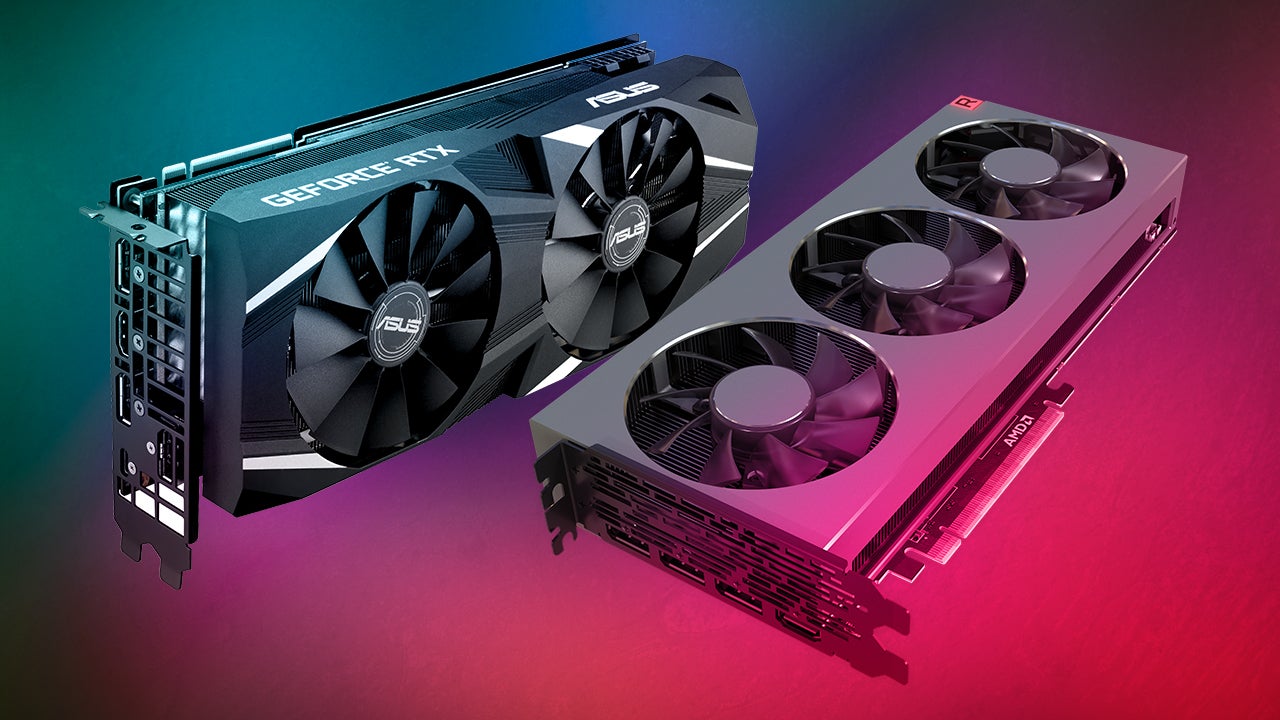
It’s important to keep in mind that different GPU models come with varying capabilities and features. Therefore, being aware of your GPU model can help you make informed decisions when it comes to graphics-intensive tasks or upgrading your system.
Now that you’ve successfully identified your GPU model, it’s time to move on to the next step of checking the driver version.
Step 4: Check the driver version
Checking the driver version of your GPU is essential to ensure that you have the latest updates and performance optimizations. Here’s how you can check the driver version:
- Right-click on the GPU name in the Device Manager properties window and select “Properties” from the context menu.
- Switch to the “Driver” tab in the GPU properties window.
- Look for the “Driver version” or “Driver Date” information. This will display the version number of the driver currently installed for your GPU.
By checking the driver version, you can determine if you have the latest driver or if an update is available. Keeping your GPU drivers up to date can provide improved stability, compatibility, and performance for various applications, especially for graphics-intensive tasks like gaming or multimedia editing.
If you find that your driver version is outdated, you can visit the manufacturer’s website or use their official software to download and install the latest driver for your GPU. Alternatively, you can use Windows Update to check for driver updates and install them automatically.
Remember to periodically check for driver updates to ensure that your GPU is optimized and functioning at its best.
Now that you have checked the driver version for your GPU in Windows 7, you have successfully completed the process of checking your GPU information. This knowledge will help you troubleshoot any issues, update drivers, and ensure that your system is up to date for optimal performance.
Conclusion
Checking your GPU in Windows 7 is an essential task for any computer user, whether you’re a gamer, a graphic designer, or simply curious about the specifications of your system. By following the four simple steps outlined in this guide, you can easily access and inspect your GPU information:
- Open the Device Manager to manage and monitor your hardware devices.
- Expand the Display adapters category to locate your GPU.
- Identify your GPU model to gain a detailed understanding of your graphics card.
- Check the driver version to ensure that you have the latest updates and performance optimizations.
Knowing your GPU information is crucial for troubleshooting graphical issues, updating drivers, and ensuring compatibility with specific software. The Device Manager provides you with a quick and convenient way to access this information, allowing you to make informed decisions about your system.
Remember to periodically check for driver updates to keep your GPU optimized and functioning at its best. You can either visit the manufacturer’s website, use their official software, or utilize Windows Update to easily download and install the latest drivers.
By staying up to date with your GPU information and drivers, you can enhance the overall performance and stability of your system, ensuring a smooth and enjoyable computing experience.
Now that you have the knowledge and tools to check your GPU in Windows 7, go ahead and explore the possibilities that your graphics card can offer!