Introduction
Have you recently purchased a Yoobao power bank and are wondering how to charge it? Yoobao power banks are a popular choice for portable and reliable charging solutions. Whether you’re traveling, out and about, or simply in need of a convenient backup power source, knowing how to charge your Yoobao power bank is essential.
In this article, we will guide you through the step-by-step process of charging your Yoobao power bank. By following these instructions, you’ll be able to ensure that your power bank is fully charged and ready to use whenever you need it.
Before we dive into the steps, it’s important to note that Yoobao power banks come in various models and capacities. Therefore, the specific features and design may differ slightly depending on the model you own. However, the fundamental process of charging remains the same across all Yoobao power banks.
So, without further ado, let’s get started with the charging process for your Yoobao power bank.
Step 1: Gather the necessary items
Before you begin charging your Yoobao power bank, ensure that you have all the necessary items at hand. Gathering them in advance will make the charging process smooth and hassle-free. Here’s what you’ll need:
- A Yoobao power bank: This goes without saying. Make sure you have your Yoobao power bank ready for charging.
- A power source: You will need access to a power source, such as a wall socket or a USB port on your computer. Ensure that the power source is functioning properly and has a stable power supply.
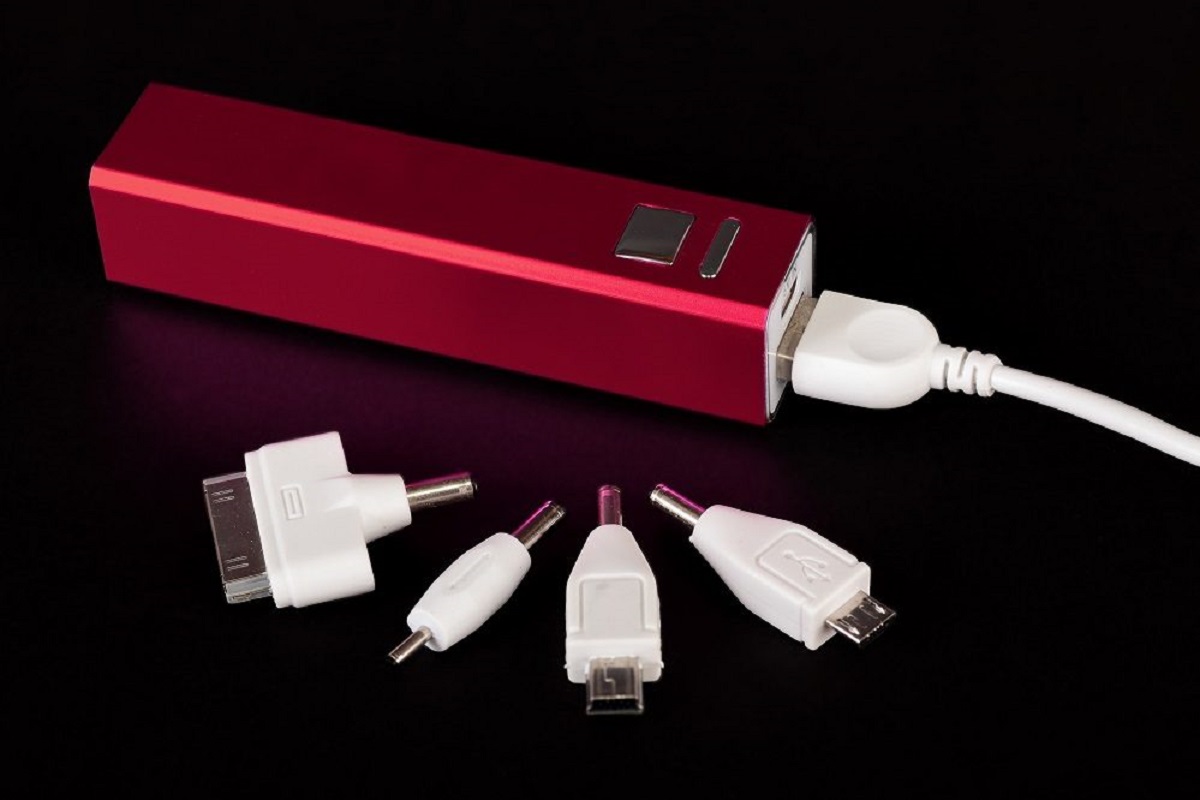
- A USB cable: Most Yoobao power banks come with a USB-to-micro USB cable included. However, if your power bank uses a different connector, make sure you have the appropriate cable on hand.
- Your device’s charging cable: Depending on the device you want to charge, you will need its respective charging cable. This can be a Lightning cable for Apple devices, a USB Type-C cable for newer Android devices, or a micro USB cable for older Android devices.
Once you have gathered all these items, you are ready to move on to the next step: connecting your Yoobao power bank to a power source.
Step 2: Connect the power bank to a power source
Now that you have all the necessary items, it’s time to connect your Yoobao power bank to a power source. Follow these steps:
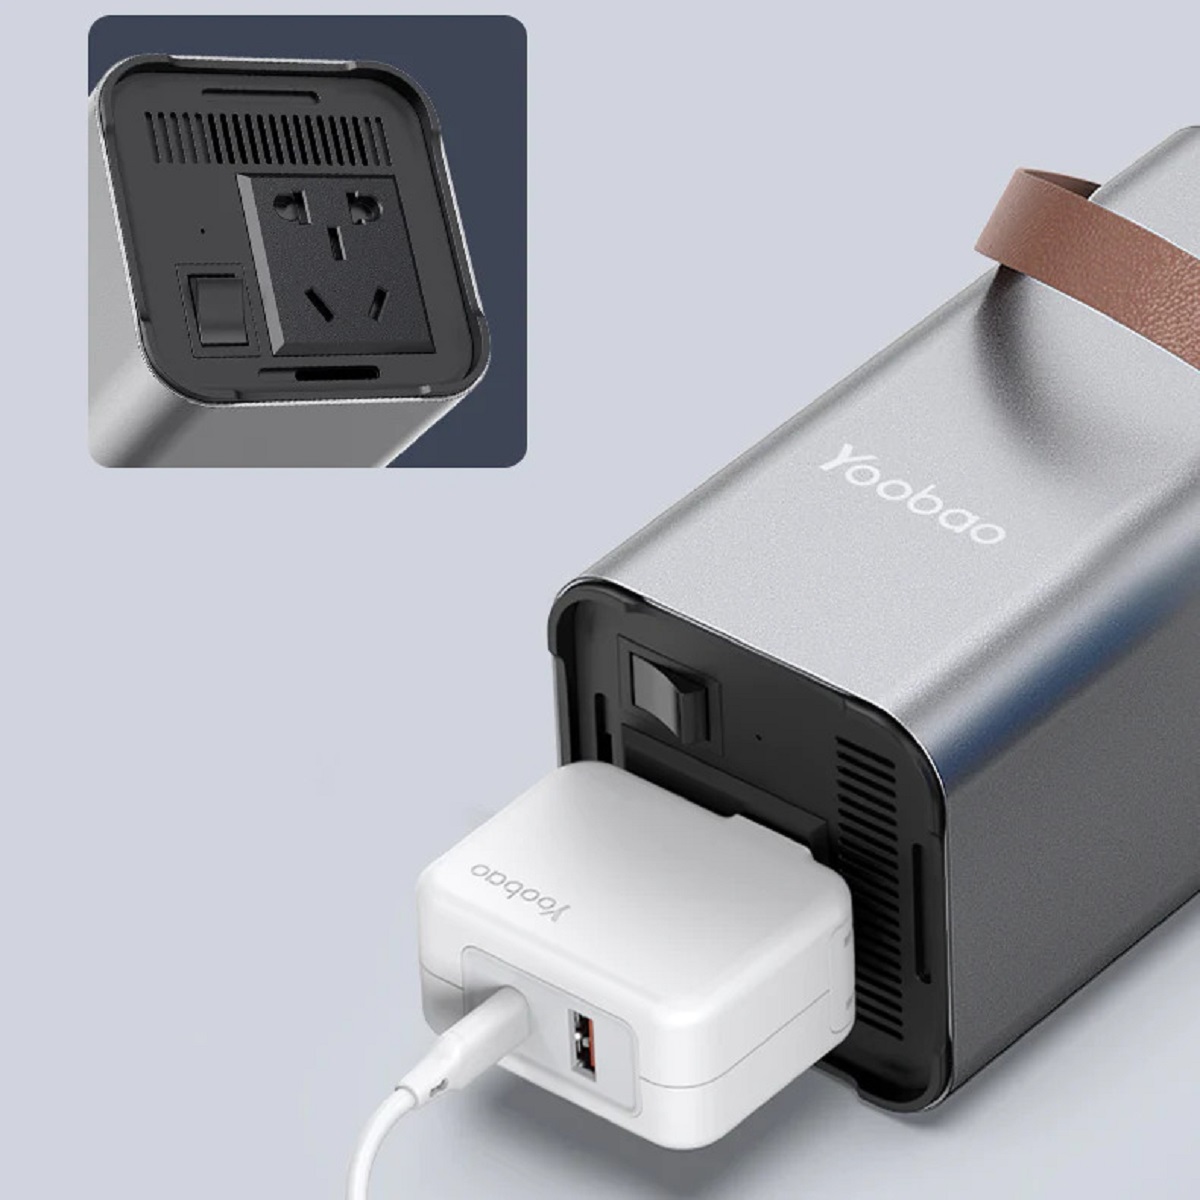
- Locate the input port: On your Yoobao power bank, you’ll find an input port labeled “Input” or “In.” This is where you will connect the USB cable.
- Plug in the USB cable: Take the USB cable and insert the standard USB (Type-A) end into a power source, such as a wall socket or a USB port on your computer. Make sure it is securely inserted.
- Connect the other end: Take the micro USB end (or the appropriate connector for your power bank) and plug it into the input port on your Yoobao power bank. Again, ensure that it is properly connected.
- Check the connection: Once both ends of the cable are securely plugged in, verify that the connection is stable and snug. A loose connection may result in inefficient charging.
Now that your Yoobao power bank is connected to a power source, you are ready to proceed to the next step: checking the power bank’s LED indicators.
Step 3: Check the power bank’s LED indicators
Checking the LED indicators on your Yoobao power bank is crucial as it allows you to monitor the charging status and battery level. Here’s what you need to do:
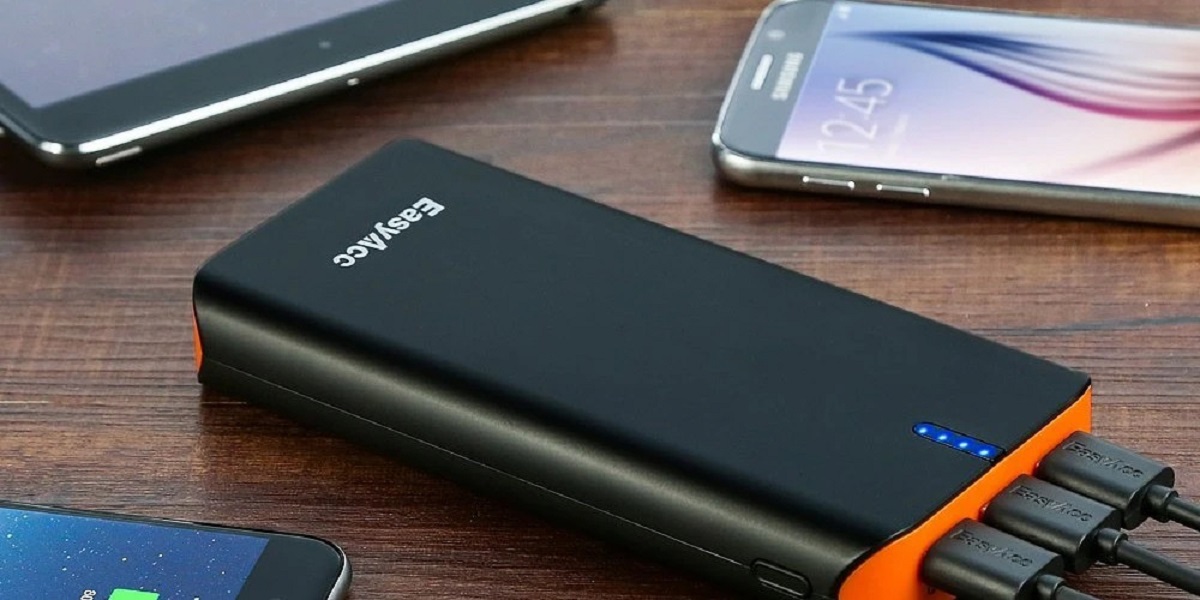
- Locate the LED indicators: Look for a row or cluster of LED lights on your Yoobao power bank. These indicators are designed to show you the battery level and charging status.
- Check the colors and patterns: Each LED light may have different colors or patterns to represent specific information. Typically, green or blue lights indicate that the power bank is charging or fully charged, while red lights suggest that the power bank is low on battery.
- Interpret the blinking pattern: In some models of Yoobao power banks, the LED lights may blink in different sequences or patterns. Check the user manual or the product documentation to understand the meaning behind these blinking patterns.
- Monitor the progress: As you connect your power bank to the power source, pay close attention to the LED indicators. If the lights start blinking or change colors, it indicates that the power bank is receiving power and charging your device.
Remember to periodically check the LED indicators to keep track of the charging progress. Once you have confirmed that the power bank is charging properly, proceed to the next step: using a USB cable to connect your device to the power bank.
Step 4: Use a USB cable to connect your device to the power bank
Now that your Yoobao power bank is connected to a power source and its LED indicators are showing the charging status, it’s time to connect your device for charging. Follow these steps:
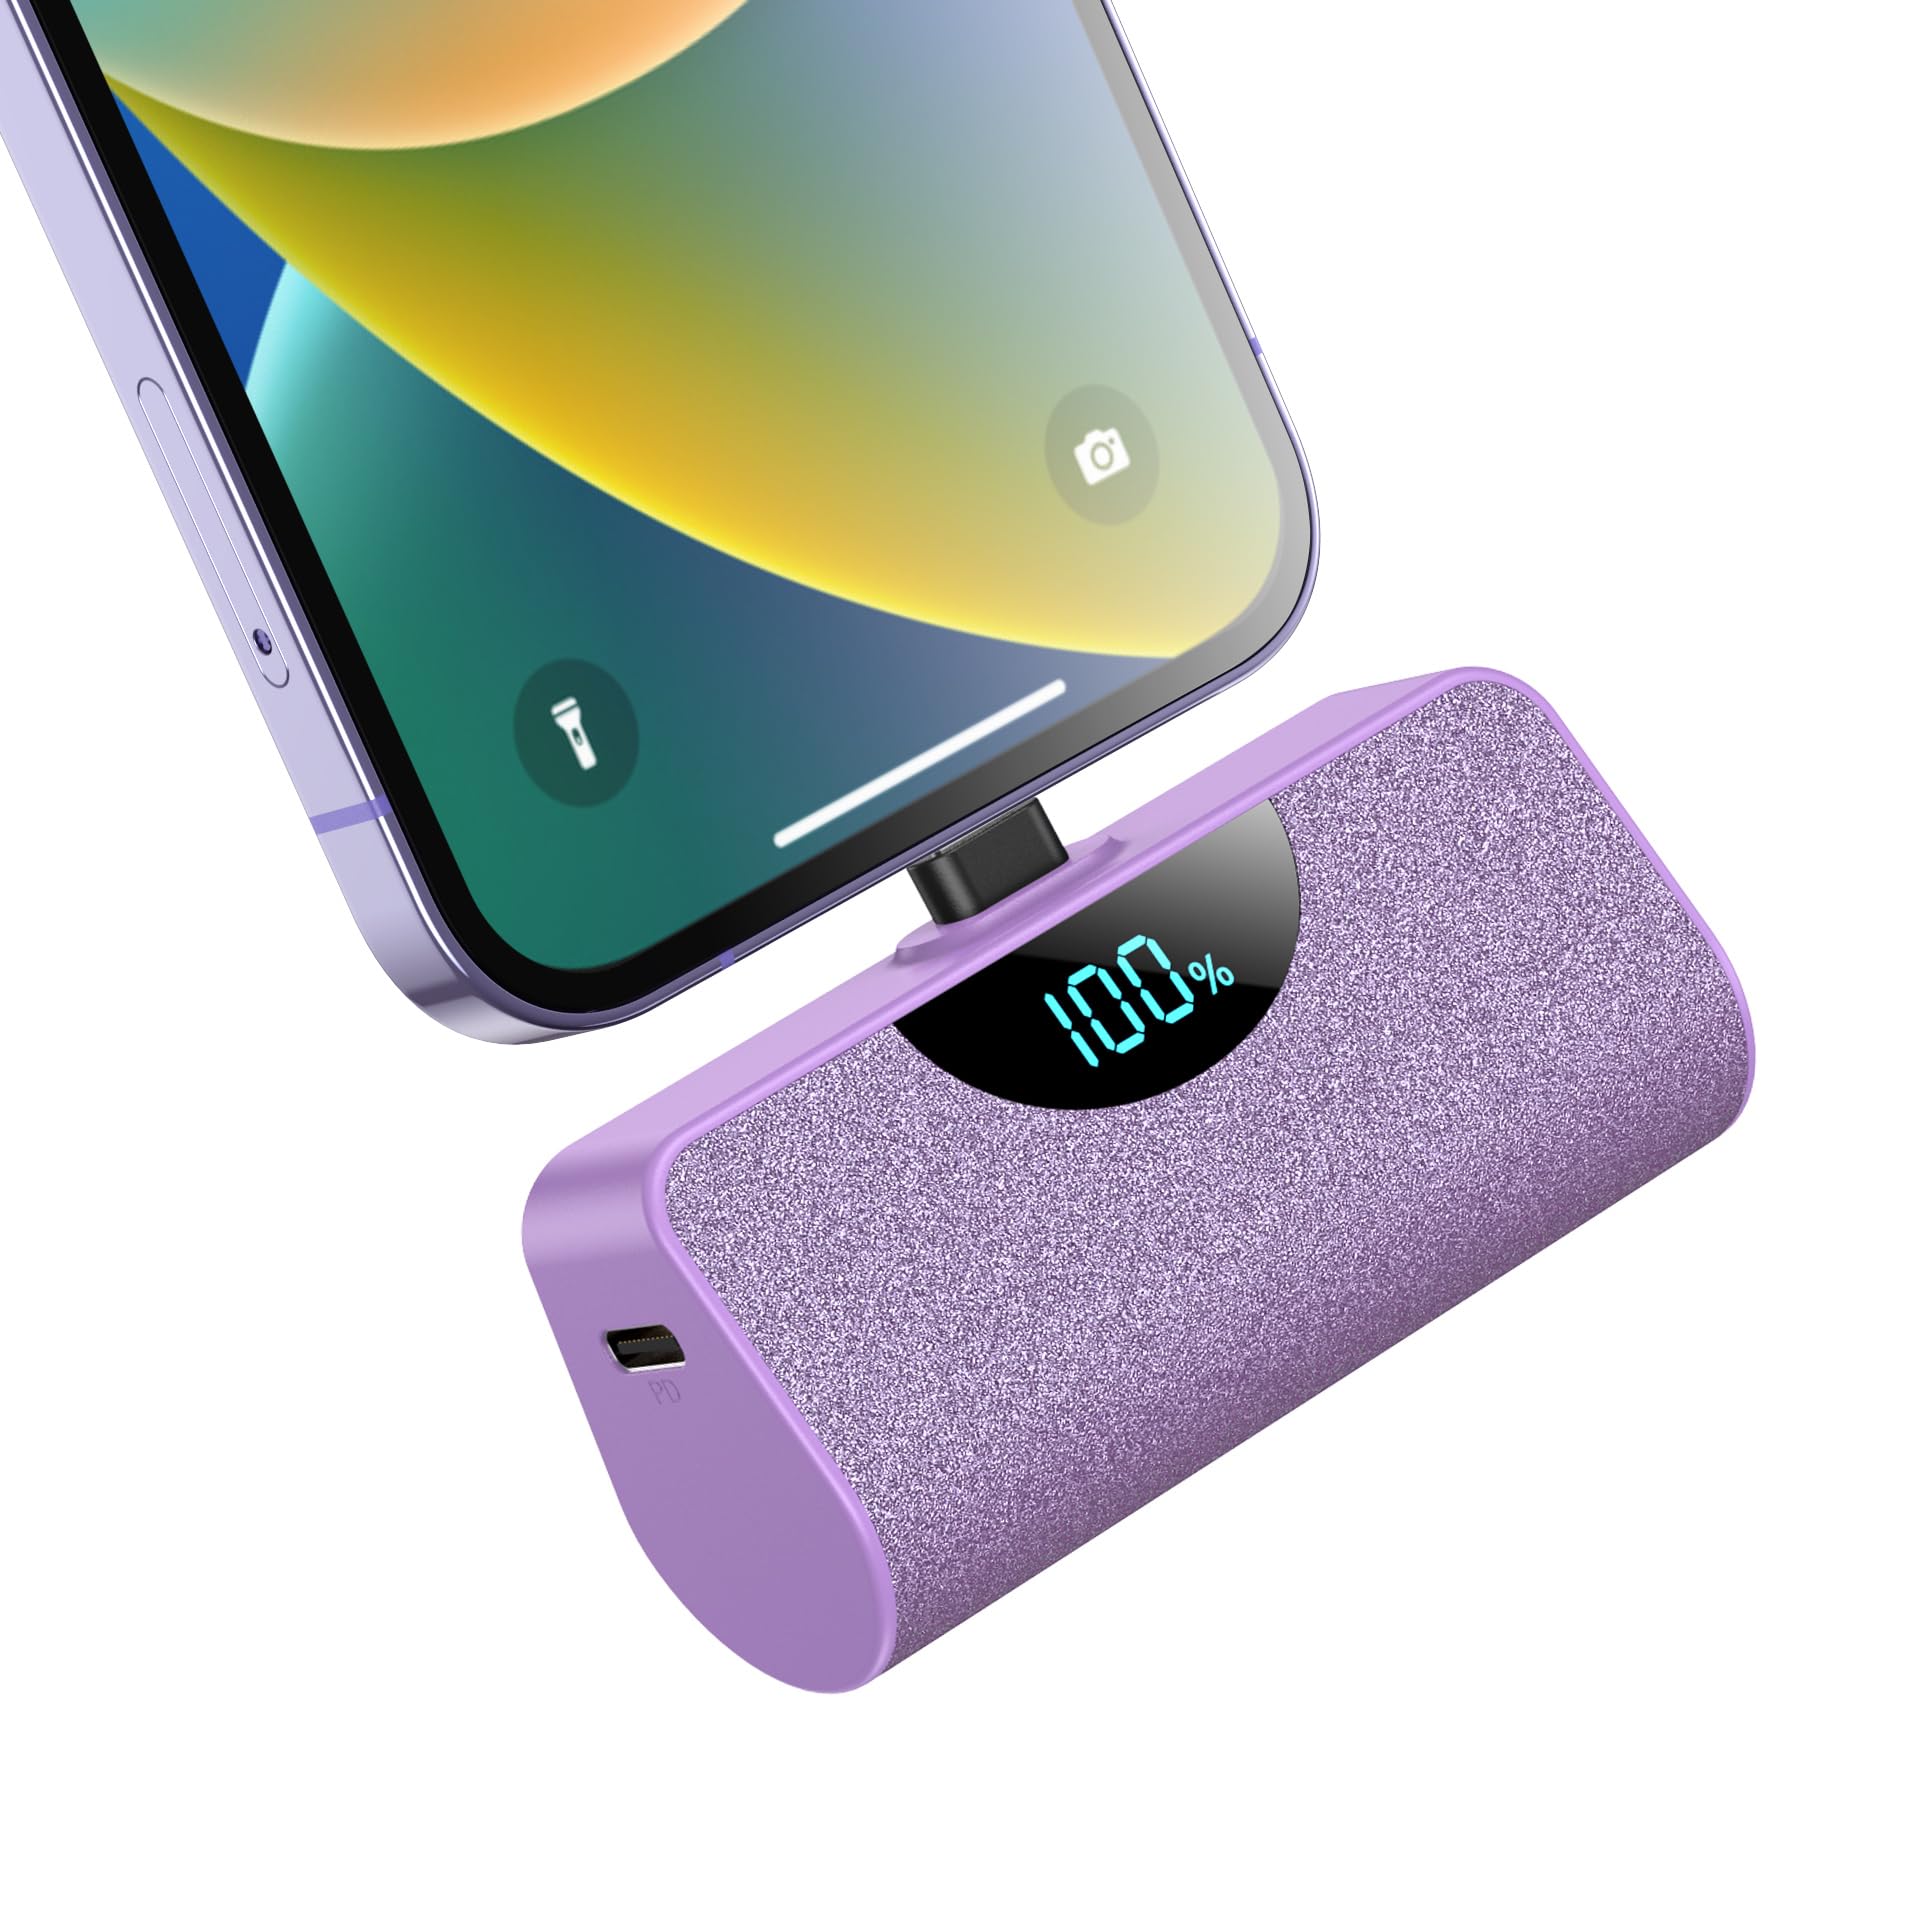
- Locate the output ports: On your Yoobao power bank, you’ll find one or more output ports labeled “Output” or “Out.” These ports are used to connect your device for charging.
- Choose the appropriate cable: Depending on the device you want to charge, choose the correct charging cable. For example, if you are charging an iPhone, use a Lightning cable. For Android devices, use a USB Type-C or micro USB cable.
- Connect the USB cable: Take one end of the chosen cable and insert it into the output port on your Yoobao power bank. Ensure that it is securely plugged in.
- Connect your device: Take the other end of the cable and connect it to the charging port of your device. Make sure it is properly inserted.
- Check the connection: Once both ends of the cable are connected, verify that the connection is secure. A loose connection may result in interrupted charging or slow charging speed.
With these steps completed, your device should be successfully connected to your Yoobao power bank and ready to receive power. Now, let’s move on to the next step: monitoring the charging progress.
Step 5: Monitor the charging progress
Once your device is connected to the Yoobao power bank, it’s important to monitor the charging progress to ensure that it is charging effectively. Here’s what you need to do:
- Check the power bank’s LED indicators: Refer to the LED indicators on your Yoobao power bank to see if they show that it is actively charging your device. Depending on the model, the LED lights may stay solid or blink to indicate the charging status.
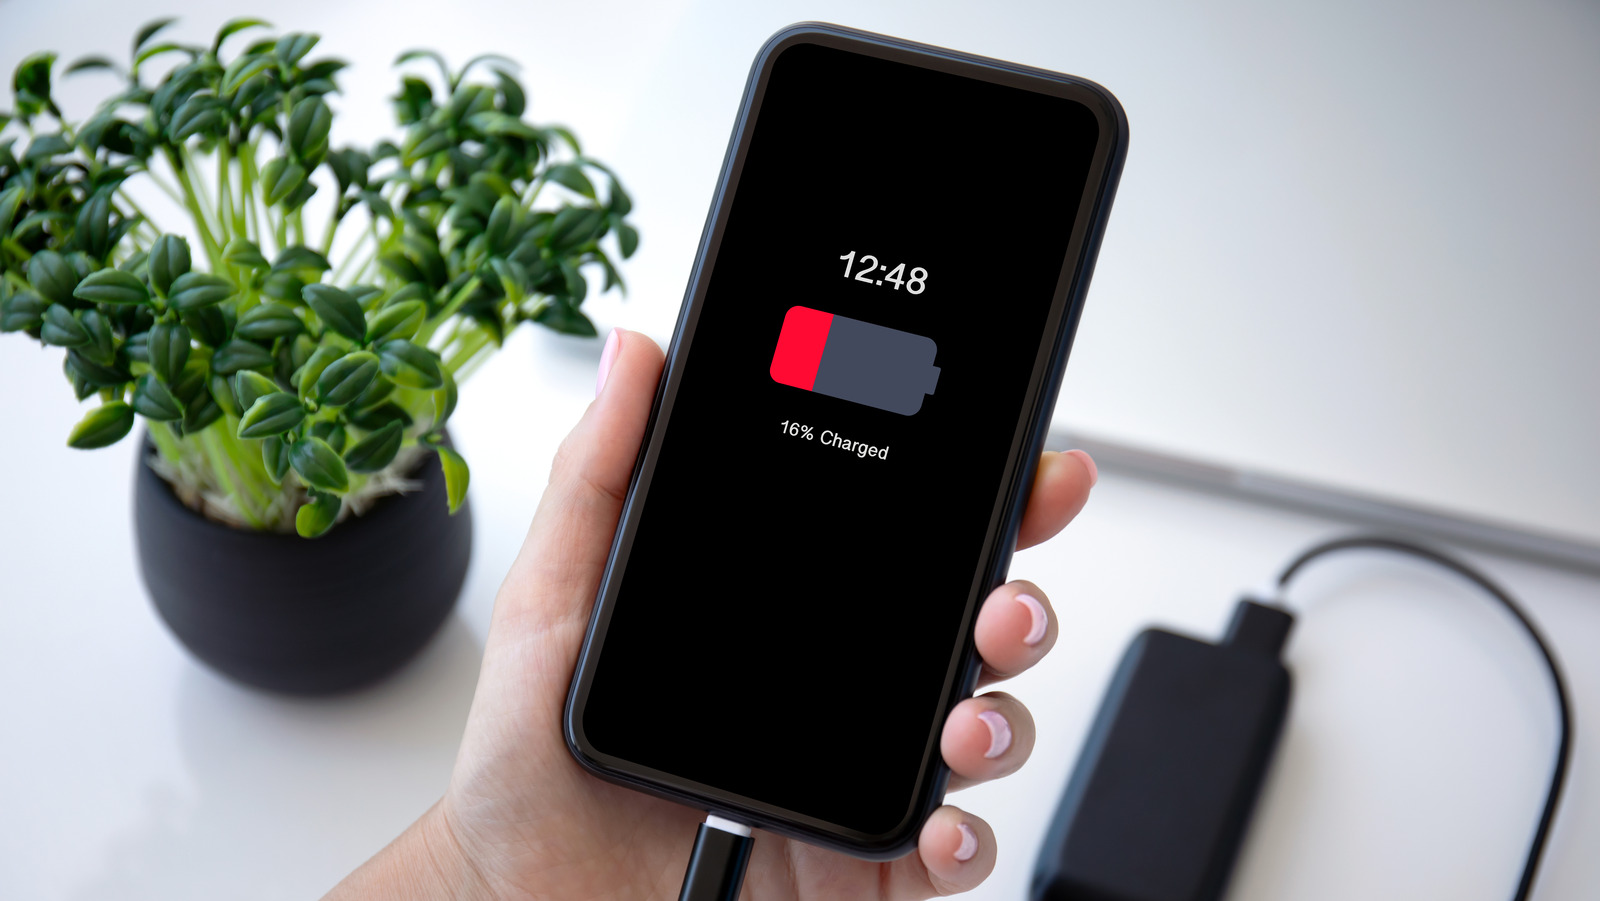
- Check your device’s battery icon: On your device’s screen, look for the battery icon or charging indicator. It should show that the device is currently charging. This can vary depending on the device and its operating system.
- Ensure a stable connection: Keep an eye on the USB cable connections between your device and the power bank. If you notice any loose connections or intermittent charging, adjust the cables to ensure a stable connection.
- Be patient: Charging times can vary depending on the power bank’s capacity and the device being charged. Larger battery capacities may require more time to fully charge. It’s important to be patient and allow the power bank to do its job.
It’s also worth mentioning that while your device is charging, you can continue using it if needed. However, keep in mind that using power-intensive applications or functions may slow down the charging process.
Continue monitoring the charging progress until your device reaches the desired battery level. Once it is sufficiently charged, proceed to the next step: disconnecting your device from the power bank.
Step 6: Disconnect your device once fully charged
Once your device is fully charged, it’s important to disconnect it from the Yoobao power bank to avoid overcharging and prolong the lifespan of both your device and the power bank. Follow these steps:
- Check the battery level on your device: Take a look at your device’s battery level or charging indicator. It should show that the device is fully charged or close to full.
- Turn off any power-intensive applications: Before disconnecting your device, make sure to close any power-intensive applications or functions, such as video streaming or gaming. This helps preserve battery life and prevents unnecessary power consumption.
- Unplug the USB cable: Gently unplug the USB cable connected to your device’s charging port. Take care not to pull on the cable itself to avoid damaging the connectors.
- Unplug the cable from the power bank: Once your device is disconnected, detach the USB cable from the output port on your Yoobao power bank. Again, handle it with care to avoid any damage to the connectors.
With your device now disconnected from the power bank, it’s ready for use with its newly charged battery. To optimize the lifespan of both your device and the power bank, avoid leaving the device connected for longer than necessary.
Now that your device is safely disconnected, it’s time to move on to the next step: unplugging the Yoobao power bank from the power source.
Step 7: Unplug the power bank from the power source
After disconnecting your device, it’s essential to unplug the Yoobao power bank from the power source to prevent unnecessary power drain and ensure its longevity. Here’s how to do it:
- Check the LED indicators: Before unplugging the power bank, take a quick glance at its LED indicators. If they show that the power bank is fully charged or no longer receiving power, it’s safe to proceed.
- Disconnect the USB cable: Remove the USB cable from the power source, whether it’s a wall socket or a USB port on your computer. Ensure a gentle and careful disconnect to avoid any damage to the cable or the power source.
- Unplug the cable from the power bank: Next, detach the USB cable from the input port on your Yoobao power bank. As before, handle it with care to maintain the integrity of the connectors.
By unplugging the Yoobao power bank from the power source, you’re not only conserving energy but also protecting the power bank from unnecessary power input or fluctuations.
With the power bank safely disconnected, you’ve successfully completed the charging process. Your Yoobao power bank is now ready to be used for future charging needs whenever you require it.
Remember to properly store your power bank in a cool and dry place to ensure its longevity and optimal performance.
Congratulations! You now know how to charge your Yoobao power bank. Enjoy the convenience of portable power and never run out of battery on your devices again.
Conclusion
Charging your Yoobao power bank is a straightforward process that ensures you have a reliable backup power source for your devices. By following the steps outlined in this guide, you can easily charge your Yoobao power bank and keep your devices powered up wherever you go.
We started by gathering the necessary items, including your Yoobao power bank, a power source, a USB cable, and your device’s charging cable. Then, we learned how to connect the power bank to a power source and check the LED indicators to monitor the charging status.
Next, we discussed how to use a USB cable to connect your device to the power bank and emphasized the importance of ensuring a stable connection. We then moved on to monitoring the charging progress, paying attention to the power bank’s LED indicators and your device’s battery icon.
Once your device was fully charged, we covered the steps needed to safely disconnect it from the power bank. Finally, we concluded by emphasizing the significance of unplugging the power bank from the power source to conserve energy and protect the power bank.
With this knowledge, you can confidently charge your Yoobao power bank and enjoy the convenience of having a reliable power source on the go. Remember to always read the user manual specific to your Yoobao power bank model for any additional instructions or specifications.
Now that you’re equipped with the know-how, go ahead and charge your Yoobao power bank. Say goodbye to battery anxiety and keep your devices powered up and ready for anything!


