Introduction
Welcome to our comprehensive guide on how to change the location of a Solid State Drive (SSD). As technology continues to advance, SSDs have gained popularity due to their faster performance and reliability compared to traditional hard disk drives. Whether you’re upgrading your computer, reorganizing your storage setup, or simply looking for a faster data transfer rate, relocating your SSD can provide a multitude of benefits.
In this article, we will delve into the details of SSDs and explore the reasons why you may want to change their location. We will also provide you with step-by-step instructions on how to safely perform the relocation process. So, whether you’re a tech enthusiast looking to optimize your computer system or a novice user seeking guidance, this guide is here to help you through the process.
Before we dive into the step-by-step instructions, let’s first gain a better understanding of what SSDs are and why they are a popular choice among computer users.
Understanding Solid State Drives (SSDs)
Solid State Drives, commonly known as SSDs, are storage devices that have quickly become the preferred choice for both personal and professional computer users. Unlike traditional hard disk drives (HDDs), which use spinning magnetic disks to store and retrieve data, SSDs utilize flash memory technology. This results in faster data access times, improved performance, and enhanced reliability.
One of the significant differences between HDDs and SSDs is the absence of moving parts in SSDs. This lack of mechanical components allows SSDs to provide faster read and write speeds, as well as increased durability. Unlike HDDs, which can be delicate and susceptible to damage from physical shocks and vibrations, SSDs are more resilient and better equipped to withstand such conditions.
Furthermore, SSDs offer significant advantages in terms of power consumption. Traditional HDDs require more energy to operate due to the spinning disks and moving parts. On the other hand, SSDs use less power, leading to improved battery life, especially in laptops and portable devices. This power efficiency is not only environmentally friendly but also contributes to a longer-lasting and more reliable storage solution.
Another factor that makes SSDs appealing is their compact size. They are typically smaller and lighter compared to HDDs, making them an excellent choice for devices with limited space, such as ultrabooks and slim desktops. The compact size of SSDs also allows for more flexible installation options, making it easier to fit them into various computer configurations.
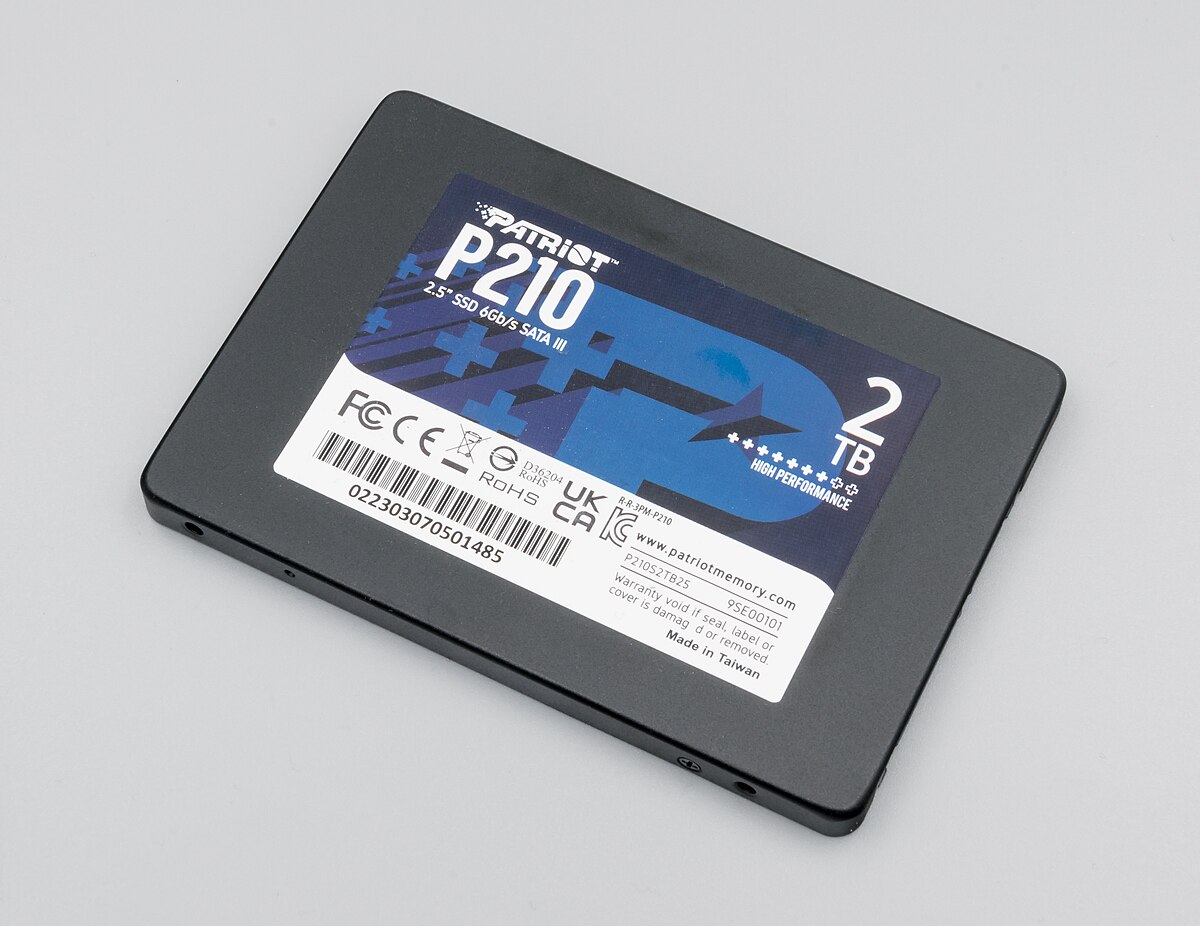
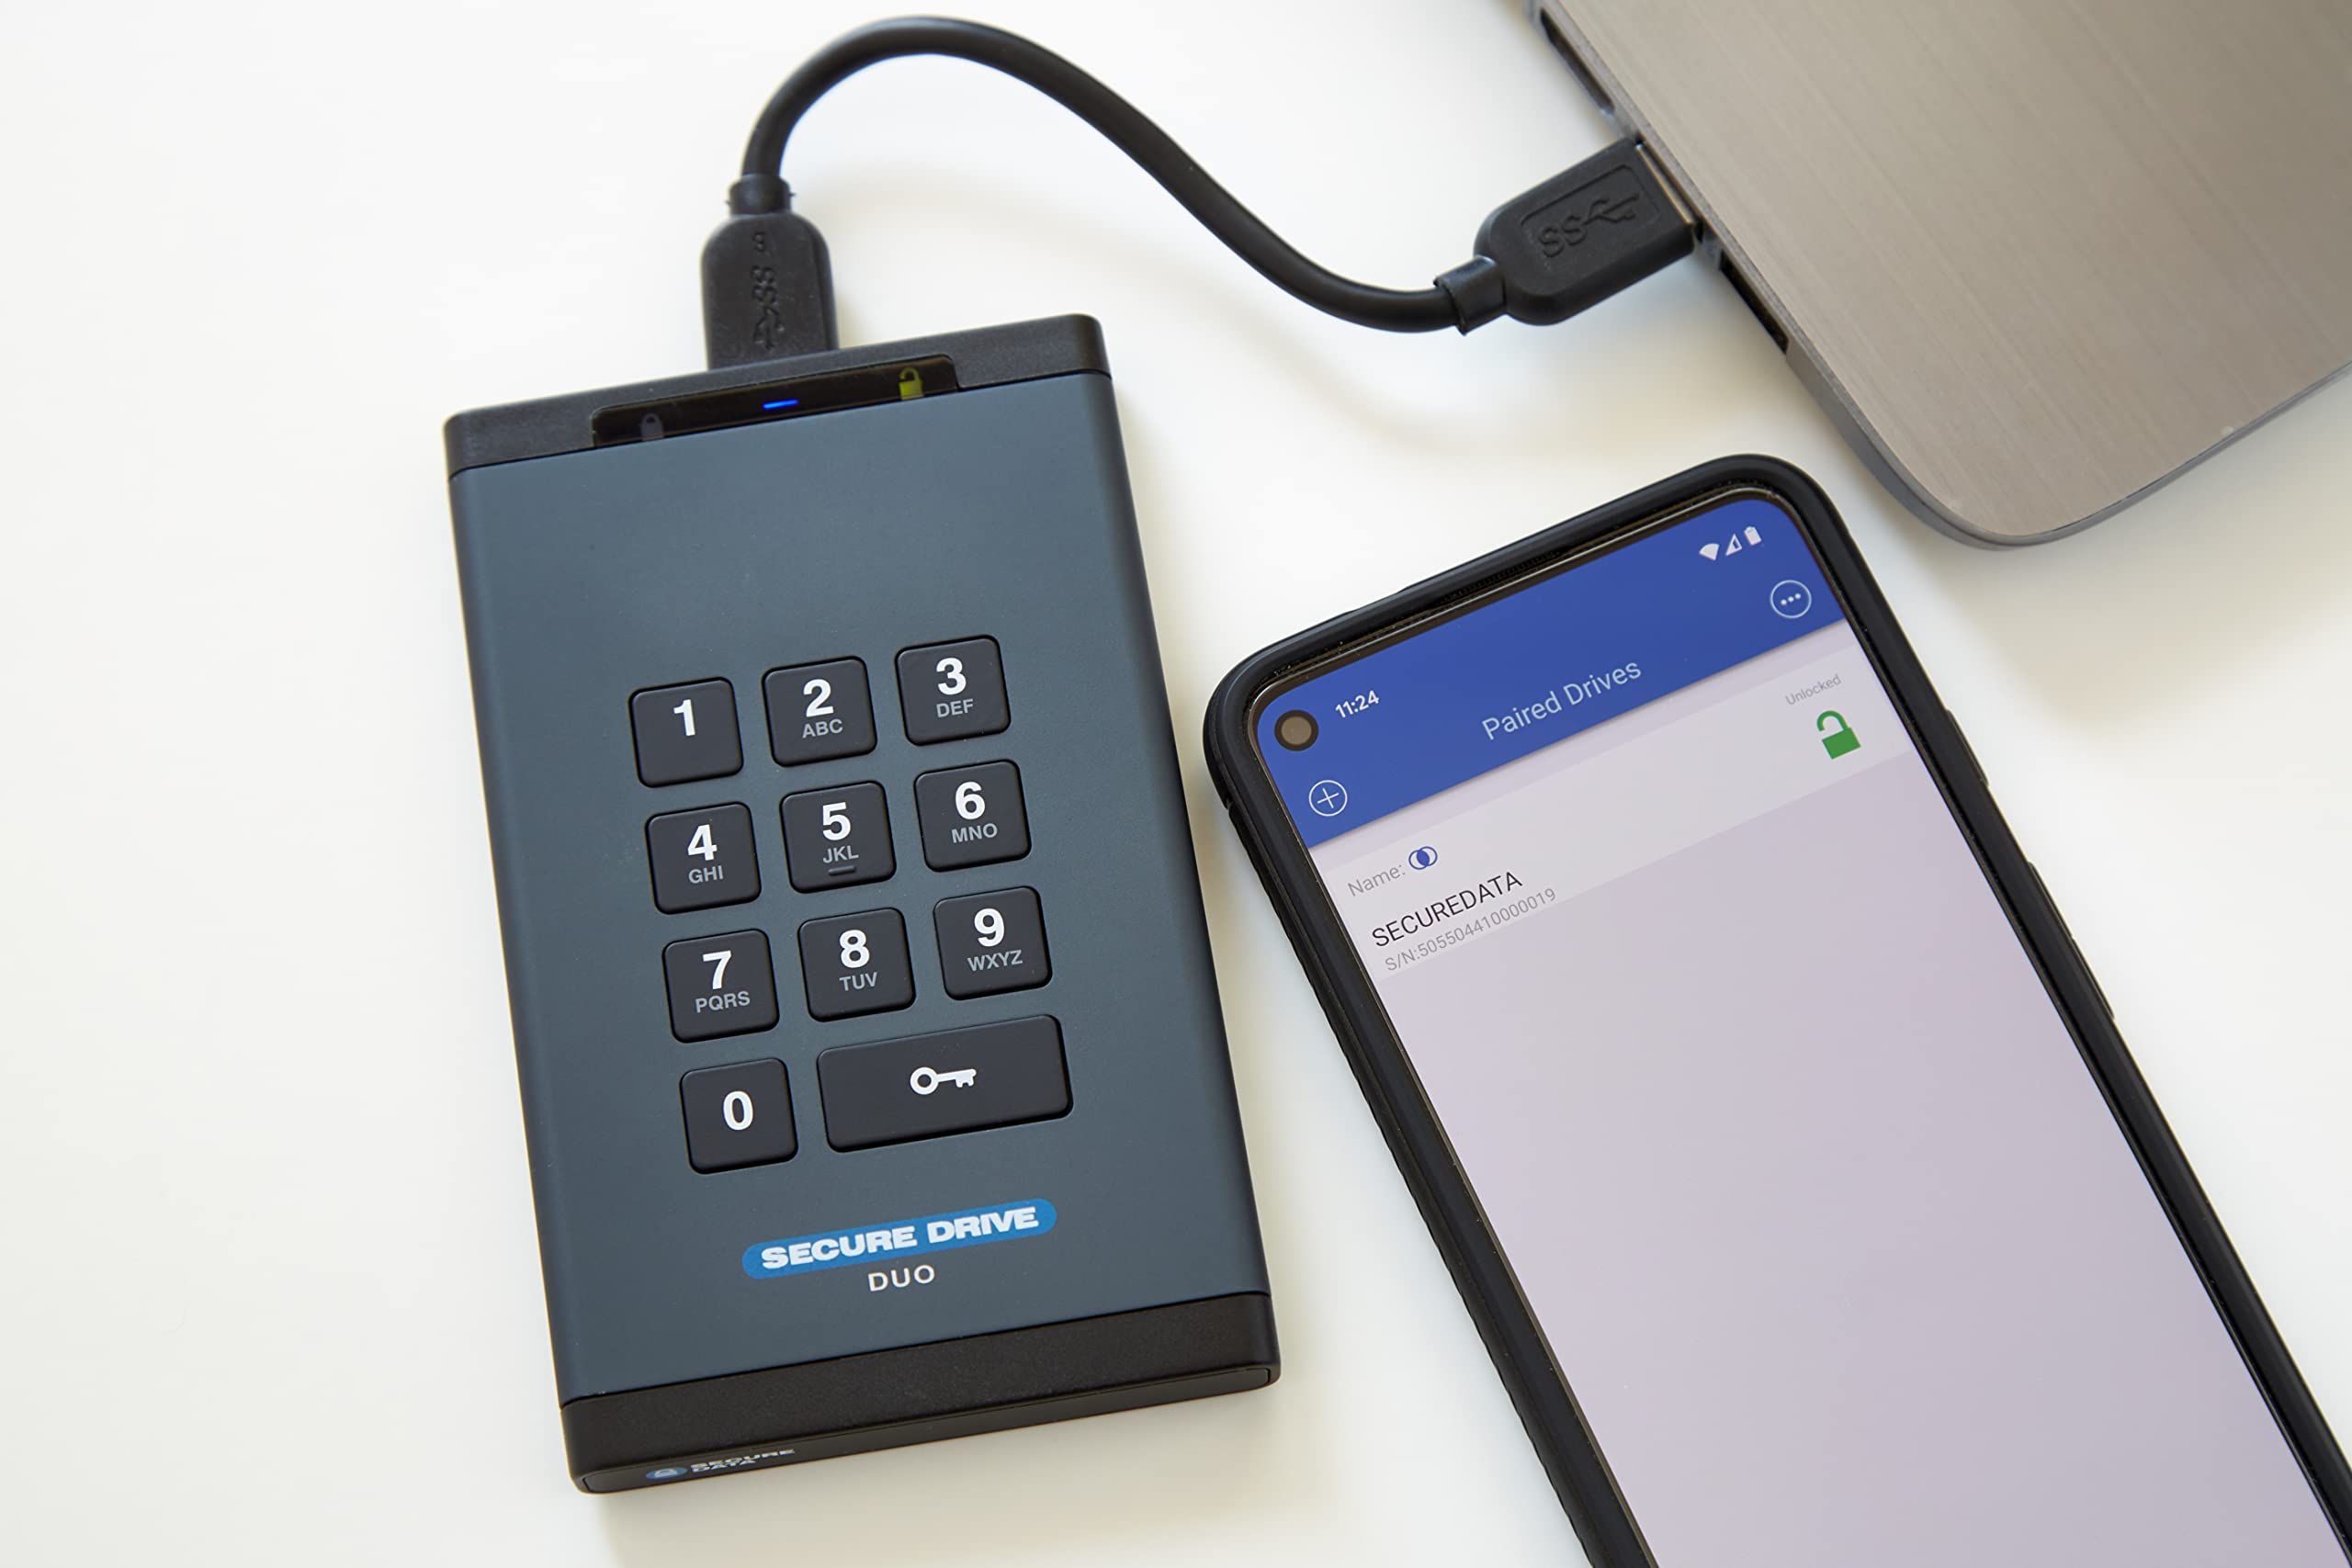
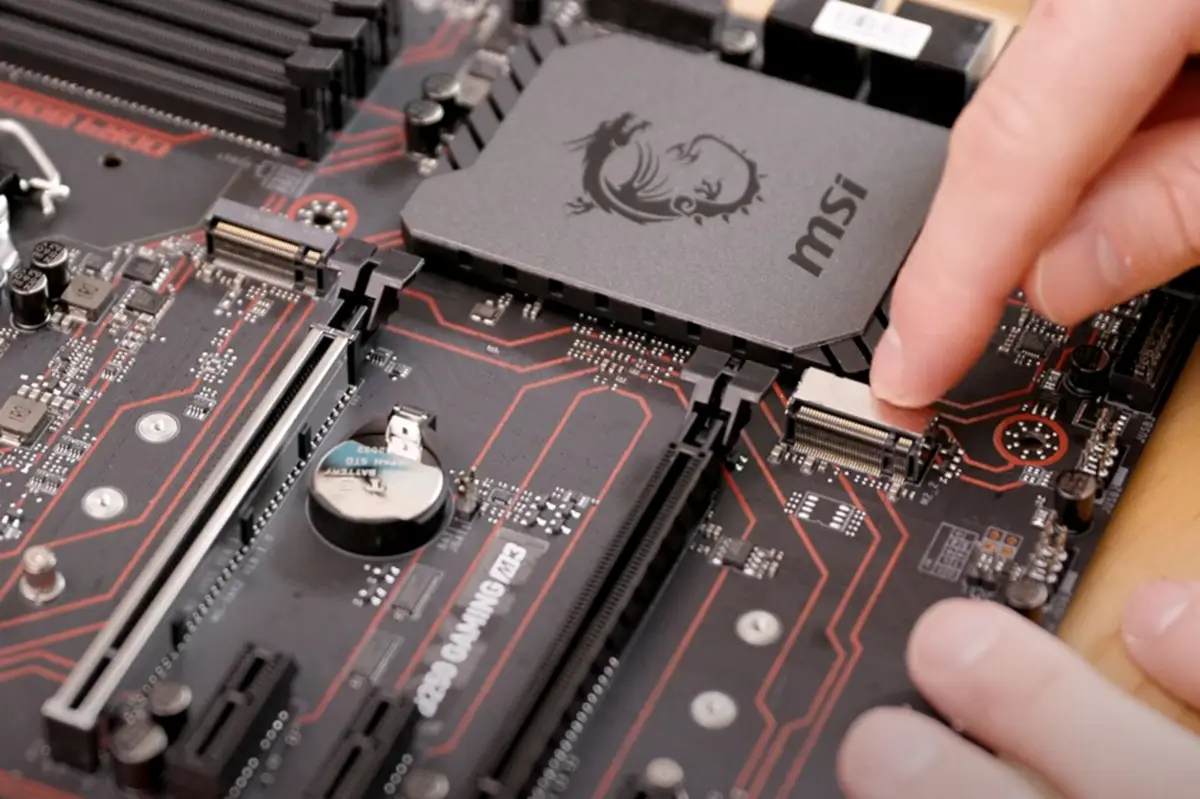
SSDs are available in different form factors, the most common being the 2.5-inch drives, which can be easily installed in laptops or desktops with the appropriate drive bay or adapter. Additionally, M.2 SSDs, also known as Next Generation Form Factor (NGFF) drives, provide even more compact storage solutions ideal for ultrabooks and small form factor PCs.
In summary, understanding the benefits of SSDs provides valuable insights into why they have become increasingly popular among computer users. Faster performance, enhanced reliability, lower power consumption, and compact design are some of the main factors that make SSDs an excellent choice for those seeking to improve their computer’s storage capabilities.
Reasons to Change the Location of a Solid State Drive
There are several reasons why you may want to change the location of your Solid State Drive (SSD). Let’s explore some of the common scenarios where relocating the SSD can be beneficial:
- Upgrading or expanding storage: One of the most common reasons to change the location of an SSD is to upgrade or expand storage capacity. As files and applications continue to grow in size, you may find that your current SSD is running out of space. By relocating the SSD to a larger drive, you can ensure that you have enough storage to meet your needs.
- Improving system performance: SSDs offer significant performance advantages over traditional HDDs. If your current SSD is connected via a slower interface such as SATA II, upgrading to a faster interface like SATA III or NVMe can greatly enhance your system’s performance. Relocating your SSD to a motherboard slot or expansion card that supports the faster interface can unlock its full potential.
- Optimizing thermal management: SSDs generate heat during operation, and excessive heat can affect their performance and lifespan. If your SSD is currently located in an area with poor airflow or high ambient temperatures, relocating it to a cooler location, such as a drive bay with better ventilation or a dedicated SSD bracket, can help maintain optimal operating temperatures.
- Organizing or reconfiguring storage setup: As your storage needs change over time, you may want to reorganize your storage setup for better efficiency. Relocating an SSD to a different drive bay or slot can help create a more organized system, making it easier to manage and access your files.
- Replacing a faulty or underperforming SSD: If your current SSD is experiencing issues or not performing up to par, relocating it to a different drive bay or slot can help determine whether the problem lies with the SSD itself or with the original location. This can be especially useful when troubleshooting and diagnosing potential hardware issues.
By considering these reasons, you can evaluate whether it is necessary to change the location of your SSD. Whether you want to upgrade storage capacity, improve performance, enhance thermal management, optimize organization, or troubleshoot hardware issues, relocating your SSD can be a practical solution to address these concerns.
Preparation and Safety Measures
Before you proceed with changing the location of your Solid State Drive (SSD), it is essential to take some preparation and safety measures. Following these steps will help ensure a smooth and successful relocation process:
- Backup your data: Before making any changes to your SSD’s location, it is crucial to back up your data to prevent any potential loss or accidental deletion. Create a backup of all your important files, documents, and settings to an external storage device or cloud storage. This way, you can restore your data in case anything goes wrong during the relocation process.
- Gather the necessary tools: To relocate your SSD, you may need specific tools, such as a screwdriver or cable connectors. Ensure that you have the appropriate tools readily available to avoid delays or complications during the process. Refer to the manufacturer’s documentation or online resources for any specific tool requirements for your particular SSD model.
- Read the manufacturer’s instructions: Every SSD model may have specific instructions or guidelines for installation and relocation. It is crucial to consult the manufacturer’s instructions or visit their official website for any specific information related to changing the location of your SSD. Following the recommendations provided by the manufacturer will help ensure a proper and safe relocation process.
- Ground yourself: Electrostatic discharge (ESD) can potentially damage sensitive electronic components, including SSDs. To prevent ESD, ground yourself by touching a grounded metal object, such as a doorknob or the metal casing of your computer, before handling the SSD. Alternatively, you can wear an ESD wrist strap to maintain a grounded connection throughout the relocation process.
- Power down and disconnect: Before physically removing the SSD, make sure to power down your computer and unplug it from the power source. This will eliminate any risk of electric shock or damage to the SSD and other components. Additionally, disconnect any cables connected to the SSD, such as the power cable and data transfer cables.
- Handle with care: When handling the SSD, it is important to be gentle and avoid applying excessive force or bending the SSD. SSDs are sensitive electronic devices, and mishandling them can result in damage. Hold the SSD by its edges and avoid touching the gold connectors or the circuit board.
- Follow proper installation procedures: When relocating the SSD to a new location, ensure that it is securely and properly installed. Follow the manufacturer’s instructions or general guidelines for installing SSDs. Verify that all cables and connectors are correctly seated and secured to provide a reliable connection.
By taking these preparation and safety measures, you can minimize the risk of data loss, damage to the SSD, or any other issues during the relocation process. It is essential to follow these steps diligently to ensure a successful and trouble-free SSD relocation.
Step-by-Step Guide: How to Change the Location of a Solid State Drive
Follow these step-by-step instructions to safely change the location of your Solid State Drive (SSD):
- Power down and unplug your computer: Before you begin, make sure to shut down your computer properly and disconnect it from the power source. This will prevent any potential electrical hazards and ensure you can work with the SSD safely.
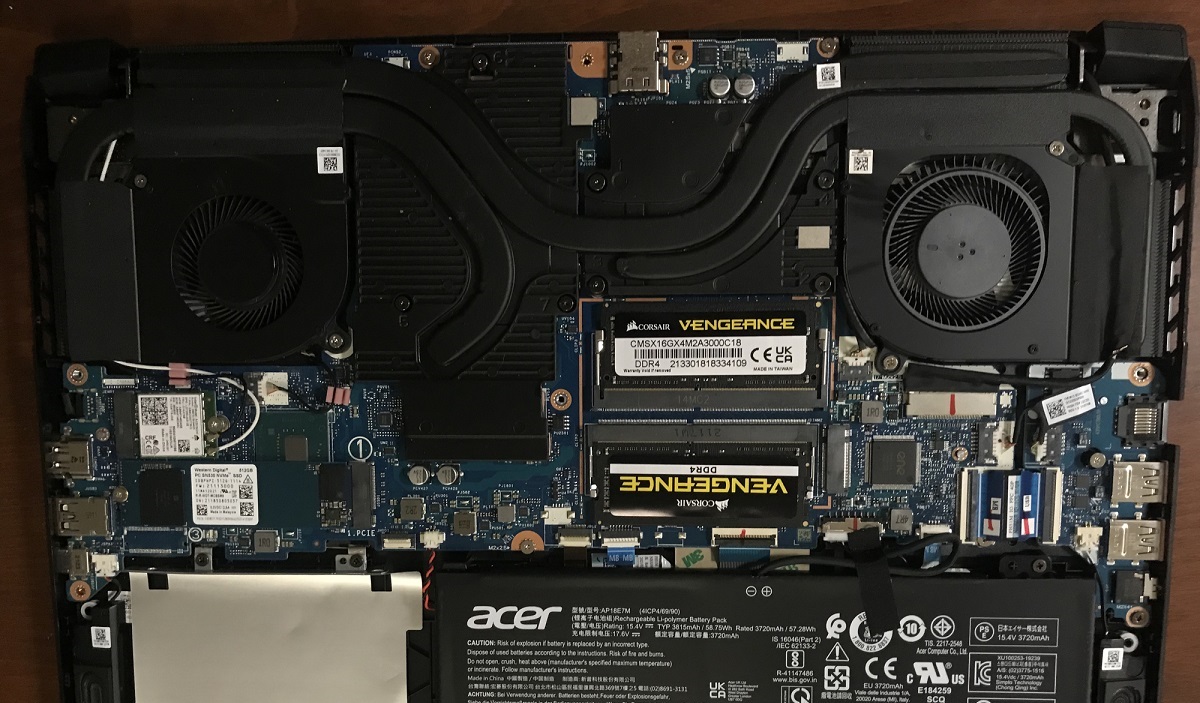
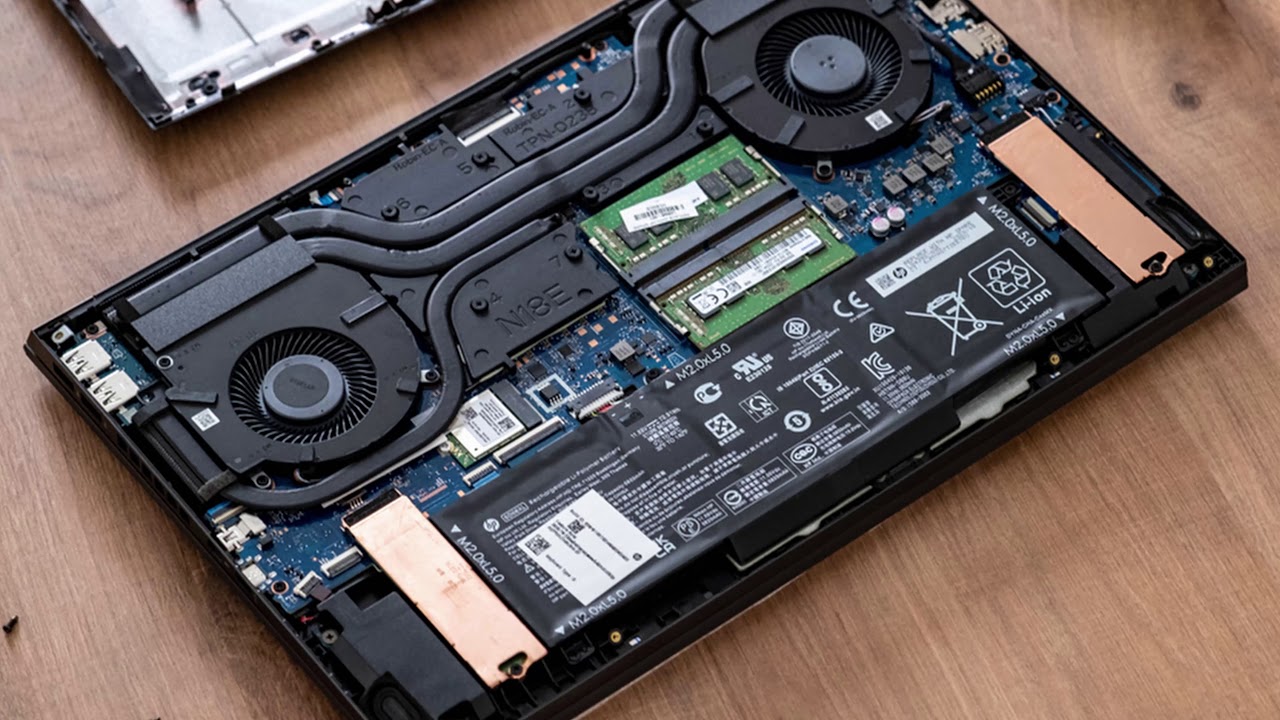
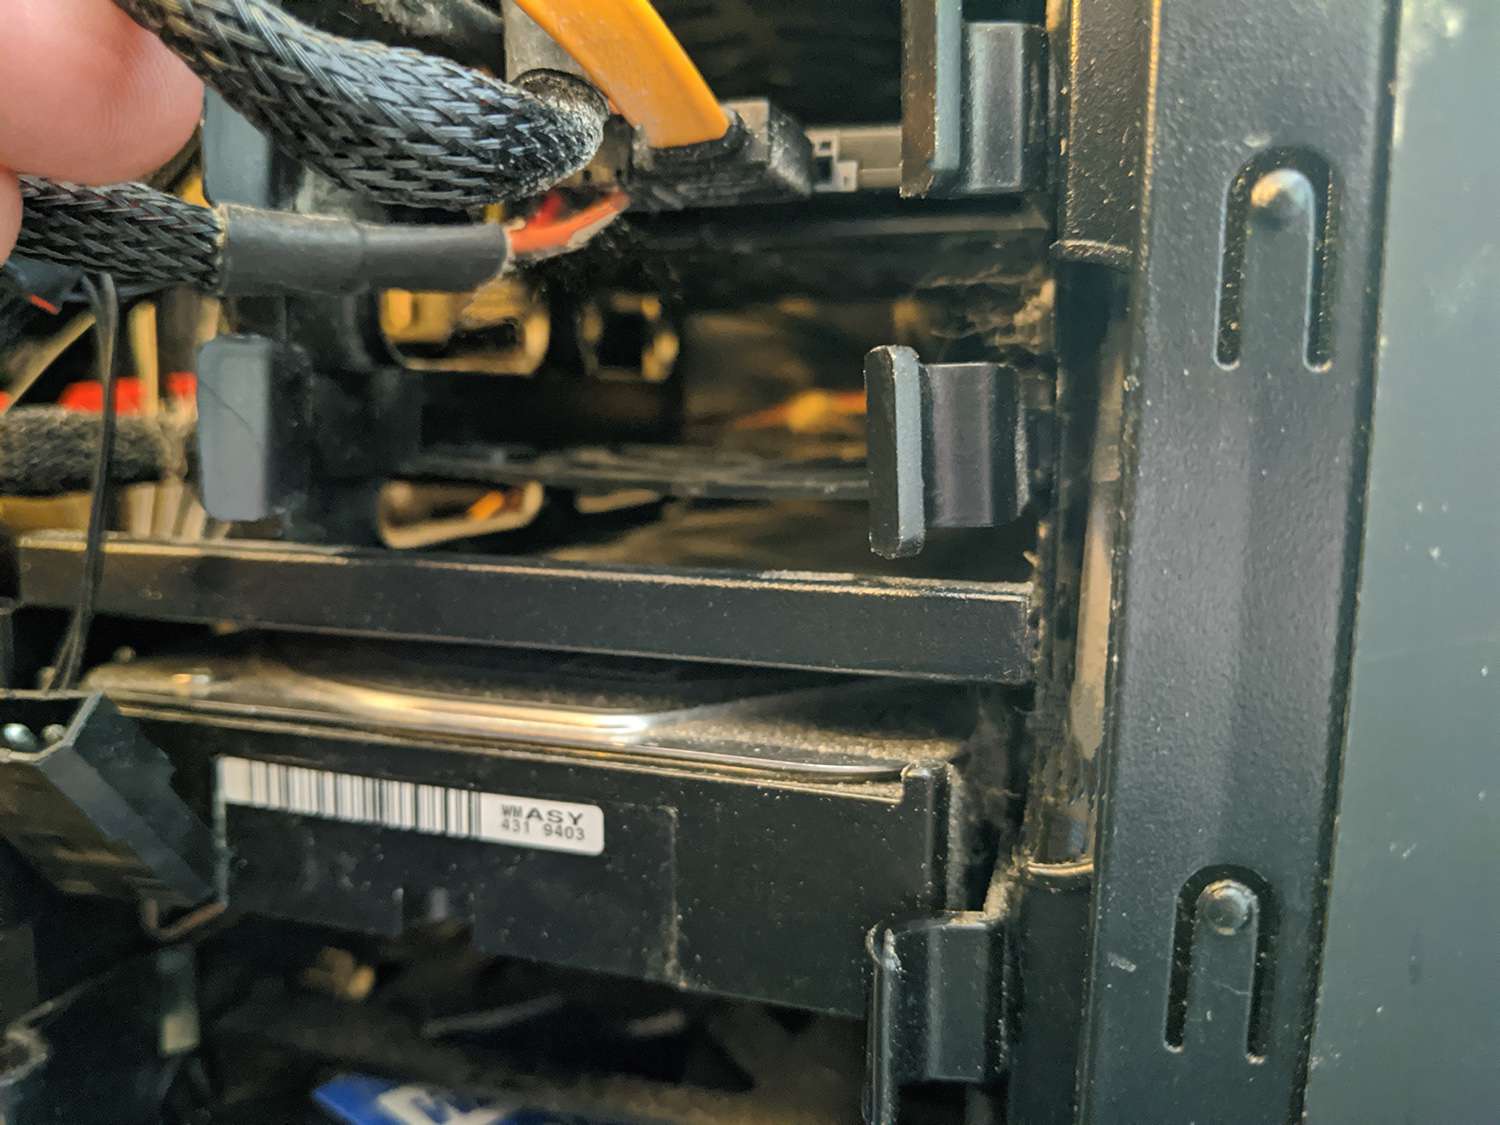
- Open your computer case: Depending on your computer model, you may need to remove screws, unlatch clips, or slide panels to access the internals. Consult your computer’s manual or refer to online resources for instructions specific to your model.
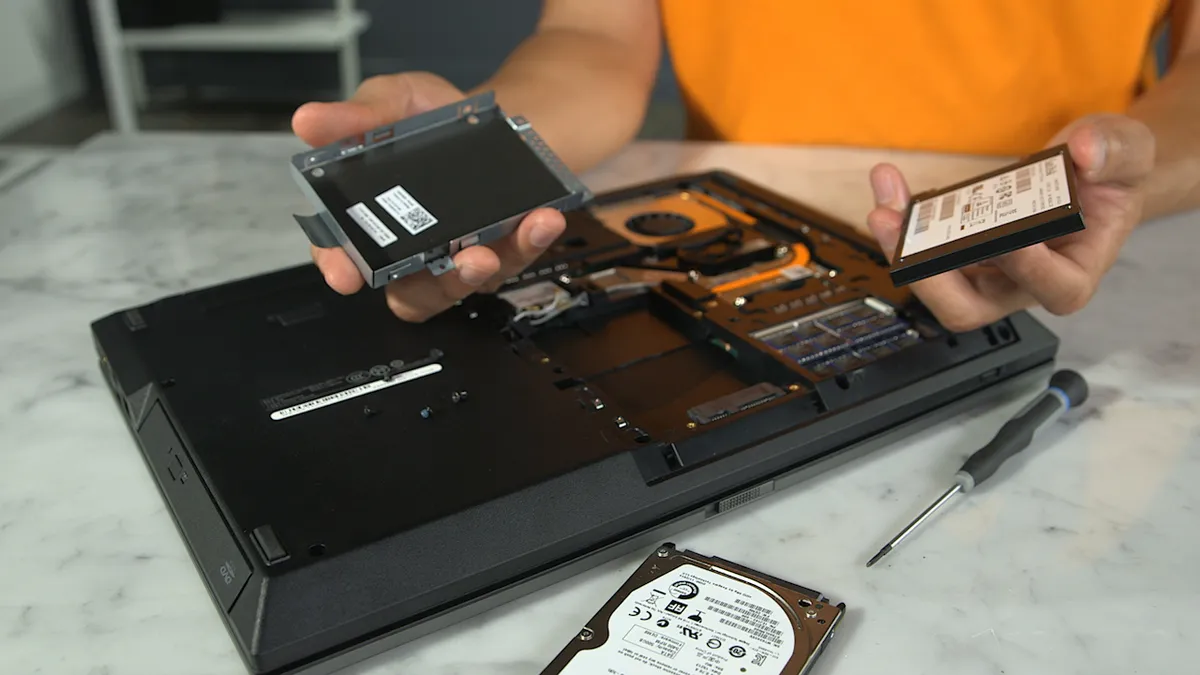
- Locate the current location of your SSD: Identify the current drive bay or slot where your SSD is installed. Take note of any cables connected to the SSD, such as the power cable and data transfer cable.
- Disconnect cables from the SSD: Gently remove the power cable and data transfer cable from the SSD. Take care not to pull on the cables forcefully to prevent damage.
- Remove the SSD from its current location: Depending on how the SSD is secured, you may need to remove screws or unhook mounting brackets. Carefully lift the SSD out of its current location, holding it by the edges to avoid contact with sensitive components.
- Prepare the new location: If you are moving the SSD to a different drive bay or slot, ensure that it is clear of any obstructions or debris. Remove any mounting brackets or screws from the new location if necessary.
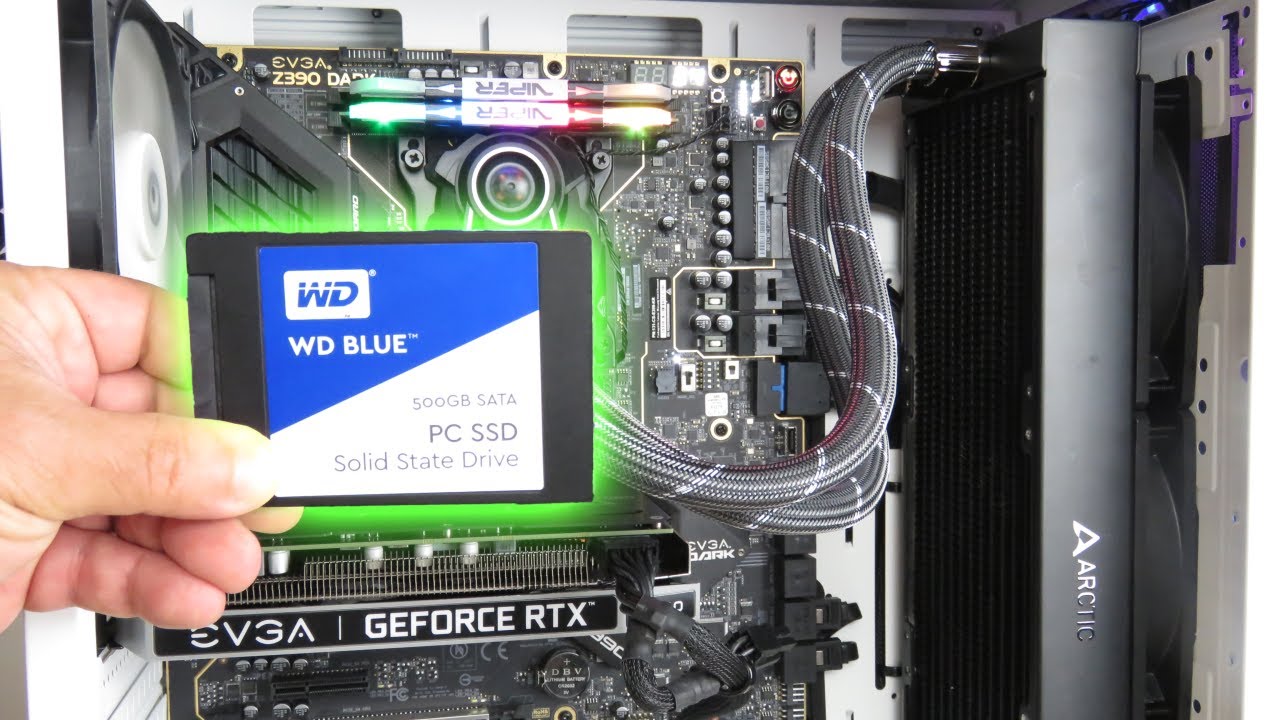
- Place the SSD in the new location: Align the SSD with the new drive bay or slot and gently insert it. Verify that the screw holes or mounting brackets on the SSD line up with the corresponding holes or brackets in the new location.
- Secure the SSD in the new location: Use screws or reattach mounting brackets to secure the SSD firmly in place. Be careful not to overtighten the screws, as this can damage the SSD or the mounting hardware.
- Reconnect cables to the SSD: Attach the power cable and data transfer cable back to the SSD in their appropriate connectors. Ensure they are securely plugged in, providing a stable connection.
- Close your computer case: Carefully put back any panels or covers you removed to access the internals. Make sure they are securely fastened to ensure proper airflow and protection for your components.
- Power up your computer: Plug your computer back into the power source and turn it on. Wait for your operating system to fully boot up, and verify that the relocated SSD is recognized and functioning correctly.
By following these step-by-step instructions, you can safely and effectively change the location of your Solid State Drive. Remember to handle the SSD gently, ensure all cables are securely connected, and observe proper installation practices to avoid any damage or data loss during the relocation process.
Conclusion
Changing the location of a Solid State Drive (SSD) can be a beneficial process that allows you to optimize your computer’s storage capacity, enhance performance, and improve thermal management. By following the step-by-step guide and taking the necessary preparation and safety measures, you can safely and successfully relocate your SSD.
We have explored the advantages of SSDs over traditional hard disk drives, highlighting their faster performance, enhanced reliability, lower power consumption, and compact design. Understanding these benefits gives us insight into why SSDs have become the storage solution of choice for many computer users.
Furthermore, we have discussed the various reasons why you might want to change the location of an SSD, including upgrading storage capacity, improving system performance, optimizing thermal management, reconfiguring storage setup, or replacing a faulty SSD. Evaluating your specific needs and goals will help you determine whether relocating your SSD is the right decision.
During the relocation process, it is crucial to take precautions such as backing up your data, reading the manufacturer’s instructions, grounding yourself to prevent electrostatic discharge, and handling the SSD with care. Following these preparation and safety measures will minimize the risk of data loss or damage to the SSD and other components.
By adhering to the step-by-step guide, you can successfully change the location of your SSD. Powering down your computer, opening the case, identifying the current location of the SSD, disconnecting cables, removing the SSD, preparing the new location, placing and securing the SSD, reconnecting cables, closing the computer case, and powering up the computer are the key steps involved in the relocation process.
With your newly relocated SSD, you can enjoy improved storage capacity, enhanced system performance, and optimized thermal management. Remember to verify that your operating system recognizes the relocated SSD and functions correctly.
By following the advice and instructions provided in this guide, you are well-equipped to change the location of your Solid State Drive. Enjoy the benefits of a well-organized, efficient, and high-performing storage setup.