Introduction
Changing the recovery email in Gmail can be a crucial step in ensuring the security and accessibility of your account. The recovery email serves as a backup option in case you forget your password or encounter any other issues with your account. By updating it to a valid and up-to-date email address, you can ensure that you have a reliable means of recovering your account, even in the event of unforeseen circumstances.
In this guide, we will walk you through the step-by-step process of changing your recovery email in Gmail. Whether you want to update your current recovery email or add a new one, this tutorial will provide you with the necessary instructions to make it a seamless experience.
It’s important to note that having a recovery email is not only beneficial for account security but also helpful if you ever need to reset your password or regain access to your Gmail account from a new device. By maintaining an accurate and updated recovery email, you can effectively safeguard your account and minimize the risk of unauthorized access.
Let’s dive into the steps involved in changing your recovery email in Gmail, so you can ensure the safety and accessibility of your account at all times.
Step 1: Log into your Gmail account
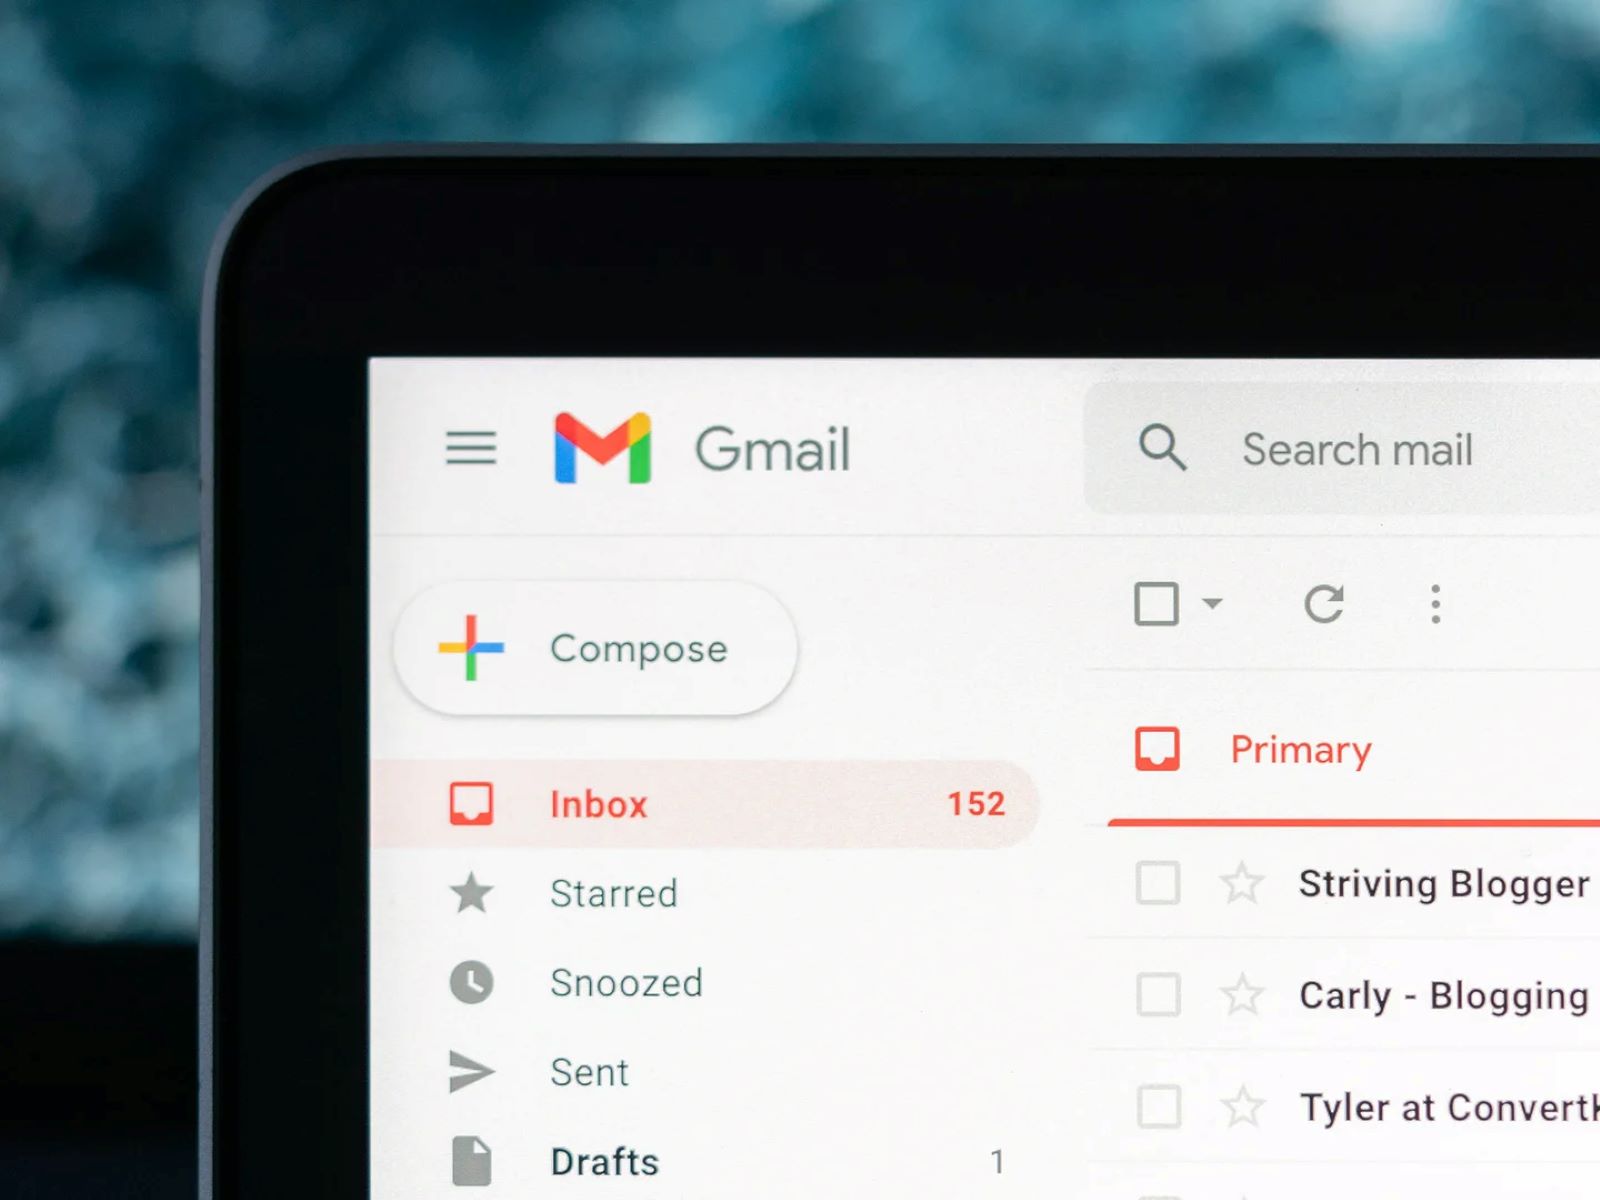
The first step to changing your recovery email in Gmail is logging into your Gmail account. Open your preferred web browser and go to the Gmail website (www.gmail.com). If you already have an active session, you will be directed to your inbox. If not, enter your Gmail email address and password to log in.
Once you have successfully logged in, you will see your Gmail inbox with a list of your emails. Take a moment to ensure that you are logged into the correct account, as changing the recovery email will affect this specific account.
If you are using a public or shared computer, ensure that you log out of any other Gmail accounts that may be signed in. This will prevent any confusion or complications when changing the recovery email.
It is essential to verify your identity and ensure that you have the necessary permissions to make changes to your Gmail account. Logging in with your credentials is the first step in the verification process.
Now that you are logged into your Gmail account, you are ready to proceed to the next step of changing your recovery email. Let’s move on to step 2.
Step 2: Go to the Google Account Settings
After successfully logging into your Gmail account, the next step is to navigate to the Google Account Settings, where you can make changes to your recovery email. To access the settings, you need to click on your profile picture or initial icon located at the top right corner of the Gmail interface.
When you click on your profile picture or initial icon, a dropdown menu will appear. From the menu, select the “Manage your Google Account” option. This will redirect you to the Google Account Settings page.
On the Google Account Settings page, you will find a variety of options to manage your account preferences and security settings. This is the central hub for customizing and updating your Gmail account details, including your recovery email.
It’s important to note that the Google Account Settings page provides access to various other settings, such as privacy, security, and personalization options. Make sure to familiarize yourself with these settings and explore them at your convenience.
Now that you have accessed the Google Account Settings page, you are one step closer to changing your recovery email. Let’s move on to the next step and dive into the “Security” tab where the necessary options are located.
Step 3: Click on the “Security” tab
Once you have accessed the Google Account Settings page, the next step is to click on the “Security” tab. This tab contains all the security-related settings and options for your Gmail account, including the option to change your recovery email.
To navigate to the “Security” tab, look for the menu on the left-hand side of the page. The menu contains different sections, such as “Overview,” “Personal info,” “Privacy,” and more. Scroll down the menu until you find the “Security” option and click on it.
By clicking on the “Security” tab, you will be taken to a new page that showcases all the relevant security settings for your account. This is where you can manage various security features, such as two-factor authentication, app passwords, and of course, the recovery email.
Take a moment to review the other security options available on this page as well. It’s important to maintain a strong and secure Gmail account, and exploring these settings can provide valuable insights into enhancing the overall security of your account.
Now that you have reached the “Security” tab, you are one step closer to changing your recovery email. In the next step, we’ll delve into the “Ways we can verify it’s you” section, where the recovery email option is located.
Step 4: Scroll down to the “Ways we can verify it’s you” section
After navigating to the “Security” tab in the Google Account Settings, it’s time to scroll down to the “Ways we can verify it’s you” section. This is the section where you will find the option to change your recovery email.
The “Ways we can verify it’s you” section is a vital part of your Gmail account’s security settings. It contains various options to verify your identity and ensure the security of your account. In this section, you can find options like phone numbers, alternate email addresses, and more.
To locate the “Ways we can verify it’s you” section, scroll down the page until you reach the desired section. You might need to use your mouse wheel or the scroll bar on the right side of the page to navigate down.
Once you have reached the “Ways we can verify it’s you” section, take a moment to familiarize yourself with the different options available. This section allows you to manage and update your recovery email, which is crucial for account recovery and security purposes.
It’s worth mentioning that besides the recovery email, there are other options available in this section that you can explore. These options can provide additional layers of security and account verification. However, for the purpose of this guide, we will focus specifically on the recovery email option.
Now that you have located the “Ways we can verify it’s you” section, you are ready to proceed to the next step, which involves clicking on the “Recovery email” option. Let’s move on to step 5.
Step 5: Click on the “Recovery email” option
Once you have reached the “Ways we can verify it’s you” section in the Google Account Settings, the next step is to click on the “Recovery email” option. This option allows you to add, update, or change your recovery email address in Gmail.
To access the “Recovery email” option, look for the section titled “Ways we can verify it’s you.” Within this section, you will find a list of verification methods, including email addresses, phone numbers, and more. Locate the “Recovery email” option and click on it.
By clicking on the “Recovery email” option, a popup or new page will appear, prompting you to make changes to your recovery email. This is where you can add or update your recovery email address to ensure that you have a reliable backup option for account recovery.
Before proceeding further, ensure that you have a valid and accessible email address ready to serve as your recovery email. It is crucial to enter a reliable and frequently accessed email address, as it will be used for account recovery purposes if needed.
Take a moment to review any important information or instructions provided on the page or popup window before proceeding. This will ensure that you understand the process and any potential implications associated with changing your recovery email.
Now that you have accessed the “Recovery email” option, you are prepared to enter your new recovery email address. In the following step, we will guide you through the process of entering and confirming the changes. Let’s move on to step 6.
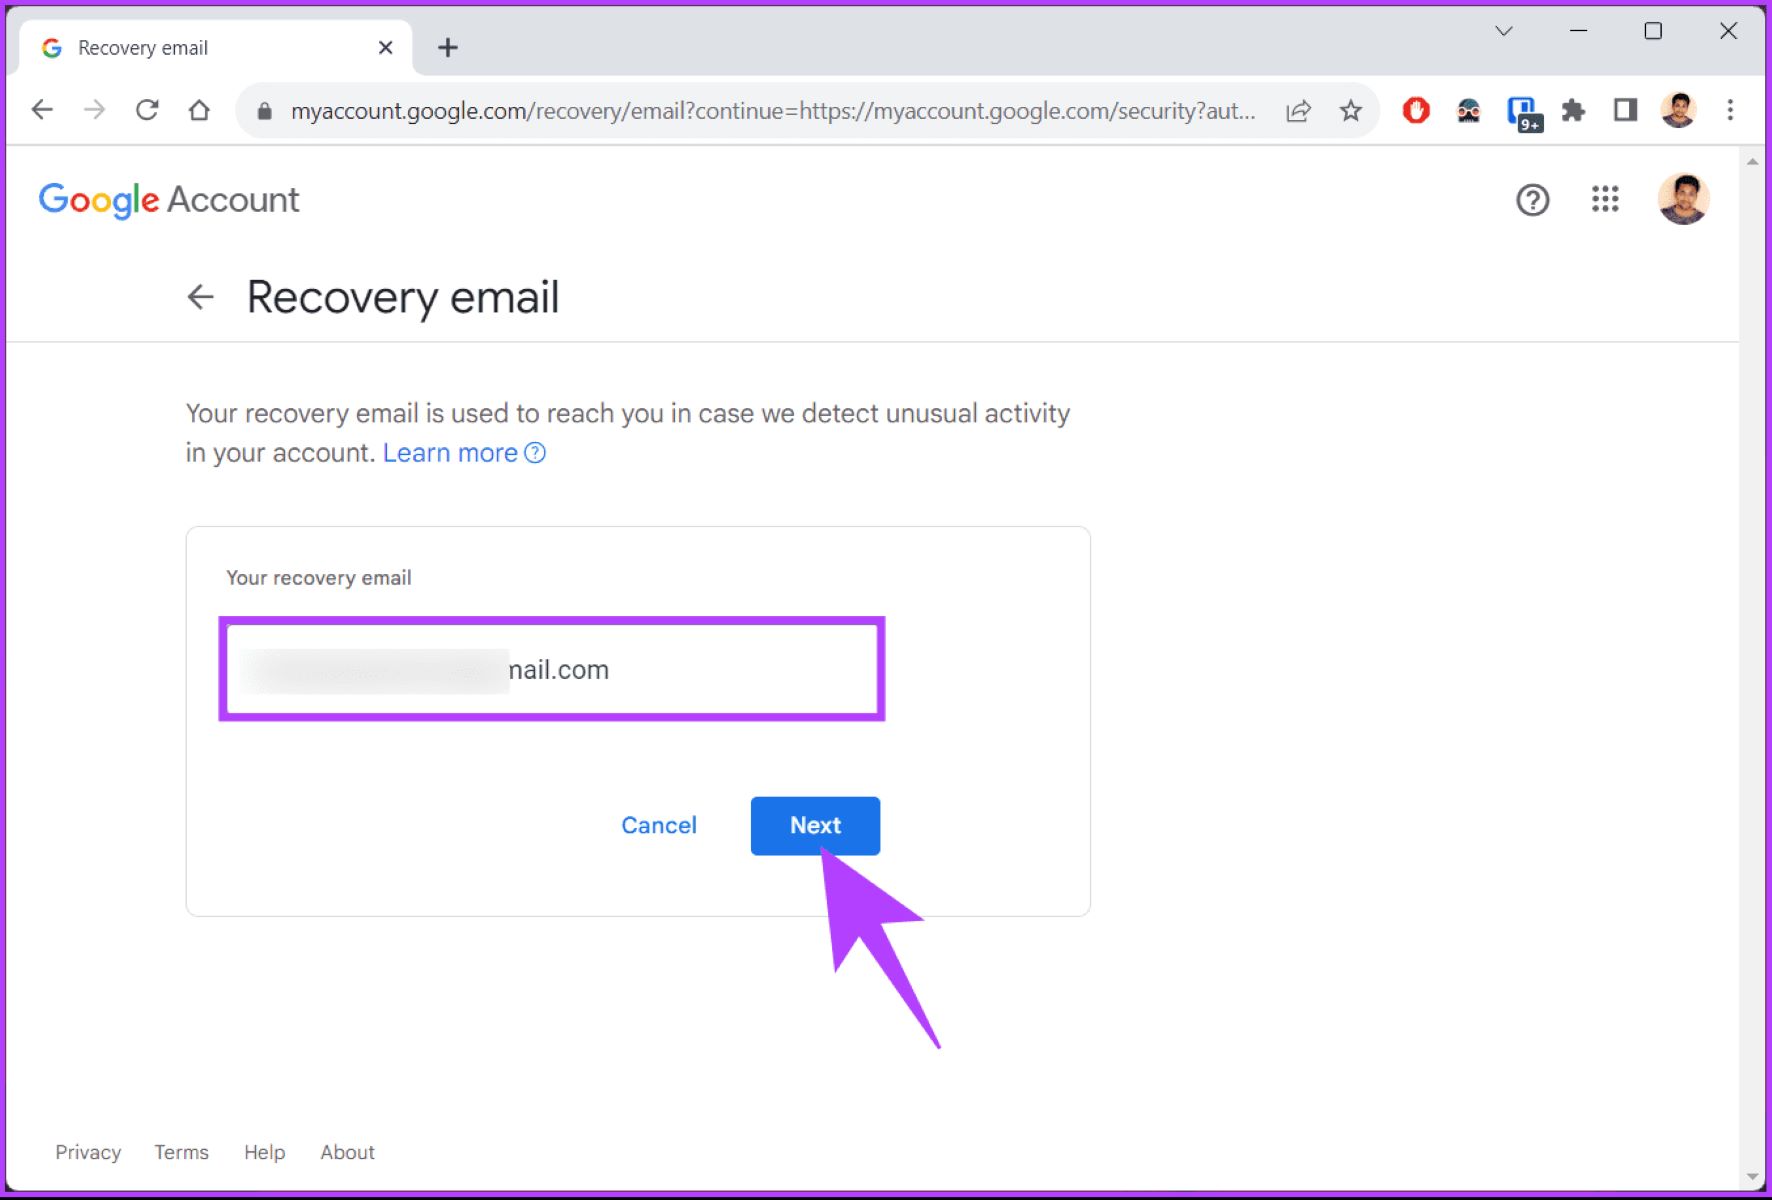
Step 6: Enter your new recovery email
After clicking on the “Recovery email” option in the Google Account Settings, it’s time to enter your new recovery email address. This step will ensure that you have a reliable and up-to-date email address linked to your Gmail account for account recovery purposes.
In the popup or new page that appears after clicking on the “Recovery email” option, you will see a text field where you can enter your new recovery email address. Carefully type in the email address that you want to set as your recovery email.
It’s important to double-check the email address you enter to ensure accuracy. Any typos or errors can lead to issues with account recovery in the future. Take your time and verify that you have entered the correct email address.
If you are adding a new recovery email and do not have one linked to your account yet, simply enter the email address you wish to use. If you are updating your existing recovery email, replace the previous email address with the new one.
Once you have entered your new recovery email address, take a moment to review it and ensure that it is correct. This step is crucial to ensure that you have a reliable backup option for recovering your Gmail account if needed.
After confirming that you have entered the correct email address, proceed to the next step to confirm the changes and finalize the update to your recovery email. Let’s move on to step 7.
Step 7: Confirm the changes
Once you have entered your new recovery email address in the previous step, it’s time to confirm the changes to ensure that your new email is successfully set as your recovery email in Gmail.
In the popup or new page where you entered your new recovery email, you will typically find a button or option to confirm the changes. Look for the “Save” or “Confirm” button, and click on it to proceed.
By clicking on the “Save” or “Confirm” button, the system will validate and update your recovery email address in Gmail. You may receive a confirmation message or notification that the changes have been saved successfully.
It’s essential to pay attention to any additional prompts or instructions that may appear after confirming the changes. The system may ask you to verify your new email address through a link or code sent to the provided email. Follow the instructions provided to complete the verification process.
After confirming the changes and ensuring that your new recovery email address is successfully updated, make sure to check your specified email account for any verification emails or instructions. This verification step is crucial to ensure the security and effectiveness of your recovery email.
Once you have completed the verification process, your new recovery email will be associated with your Gmail account. Going forward, this email address will serve as a backup option for account recovery and password reset purposes.
It’s always a good idea to maintain an up-to-date and accessible recovery email address to ensure the security and accessibility of your Gmail account. Additionally, regularly reviewing and updating your recovery email address will help you stay prepared for any unforeseen circumstances.
Congratulations! You have successfully completed the process of changing your recovery email in Gmail. Ensure that you keep your recovery email secure and regularly update it as needed to maintain the security of your account.
Conclusion
Changing your recovery email in Gmail is an essential step in ensuring the security and accessibility of your account. By following the step-by-step guide outlined above, you can easily update your recovery email to a valid and frequently accessed email address.
Having a reliable recovery email is crucial for account recovery, password resets, and regaining access to your Gmail account. It provides an additional layer of security and peace of mind, especially in case you forget your password or encounter any issues with your account.
Remember to log into your Gmail account and navigate to the Google Account Settings. From there, access the “Security” tab and scroll down to the “Ways we can verify it’s you” section. Click on the “Recovery email” option and enter your new recovery email address. Finally, confirm the changes and complete any necessary verification process.
Regularly reviewing and updating your recovery email address is recommended to ensure its accuracy and effectiveness. It’s also essential to maintain the security of your recovery email account by using strong passwords and enabling additional security features like two-factor authentication.
By following these steps and keeping your recovery email information up to date, you can have peace of mind knowing that you have a reliable means of recovering your Gmail account and maintaining its security.
Take the time now to change your recovery email in Gmail and enhance the security of your account.