Introduction
Changing the orientation of your monitor can significantly enhance your viewing experience and improve productivity. Whether you want to switch from landscape to portrait mode or vice versa, adjusting the monitor orientation can provide a fresh perspective for different tasks, such as reading long documents, editing graphics, or even playing games. This article will guide you step by step on how to change the monitor orientation to suit your preference.
Modifying the monitor orientation is a straightforward process that can be easily accomplished through the display settings on your computer. By adjusting the monitor orientation, you can customize the way content is displayed on the screen, allowing for a more comfortable and efficient workflow.
Before we dive into the details of changing the monitor orientation, it is important to note that not all monitors support every possible orientation. Some monitors may only allow for basic rotation options, while others offer more flexibility. It’s crucial to check your monitor’s specifications and capabilities to determine the available orientation options.
Now, let’s explore why changing the monitor orientation can be beneficial.
Why Change Monitor Orientation
There are several reasons why you might consider changing the orientation of your monitor:
- Optimal Viewing Experience: Changing the monitor orientation can help you achieve the best viewing experience for specific tasks. For instance, if you frequently work with long documents or spreadsheets, switching to portrait mode can provide a longer vertical space, making it easier to read and navigate through the content.
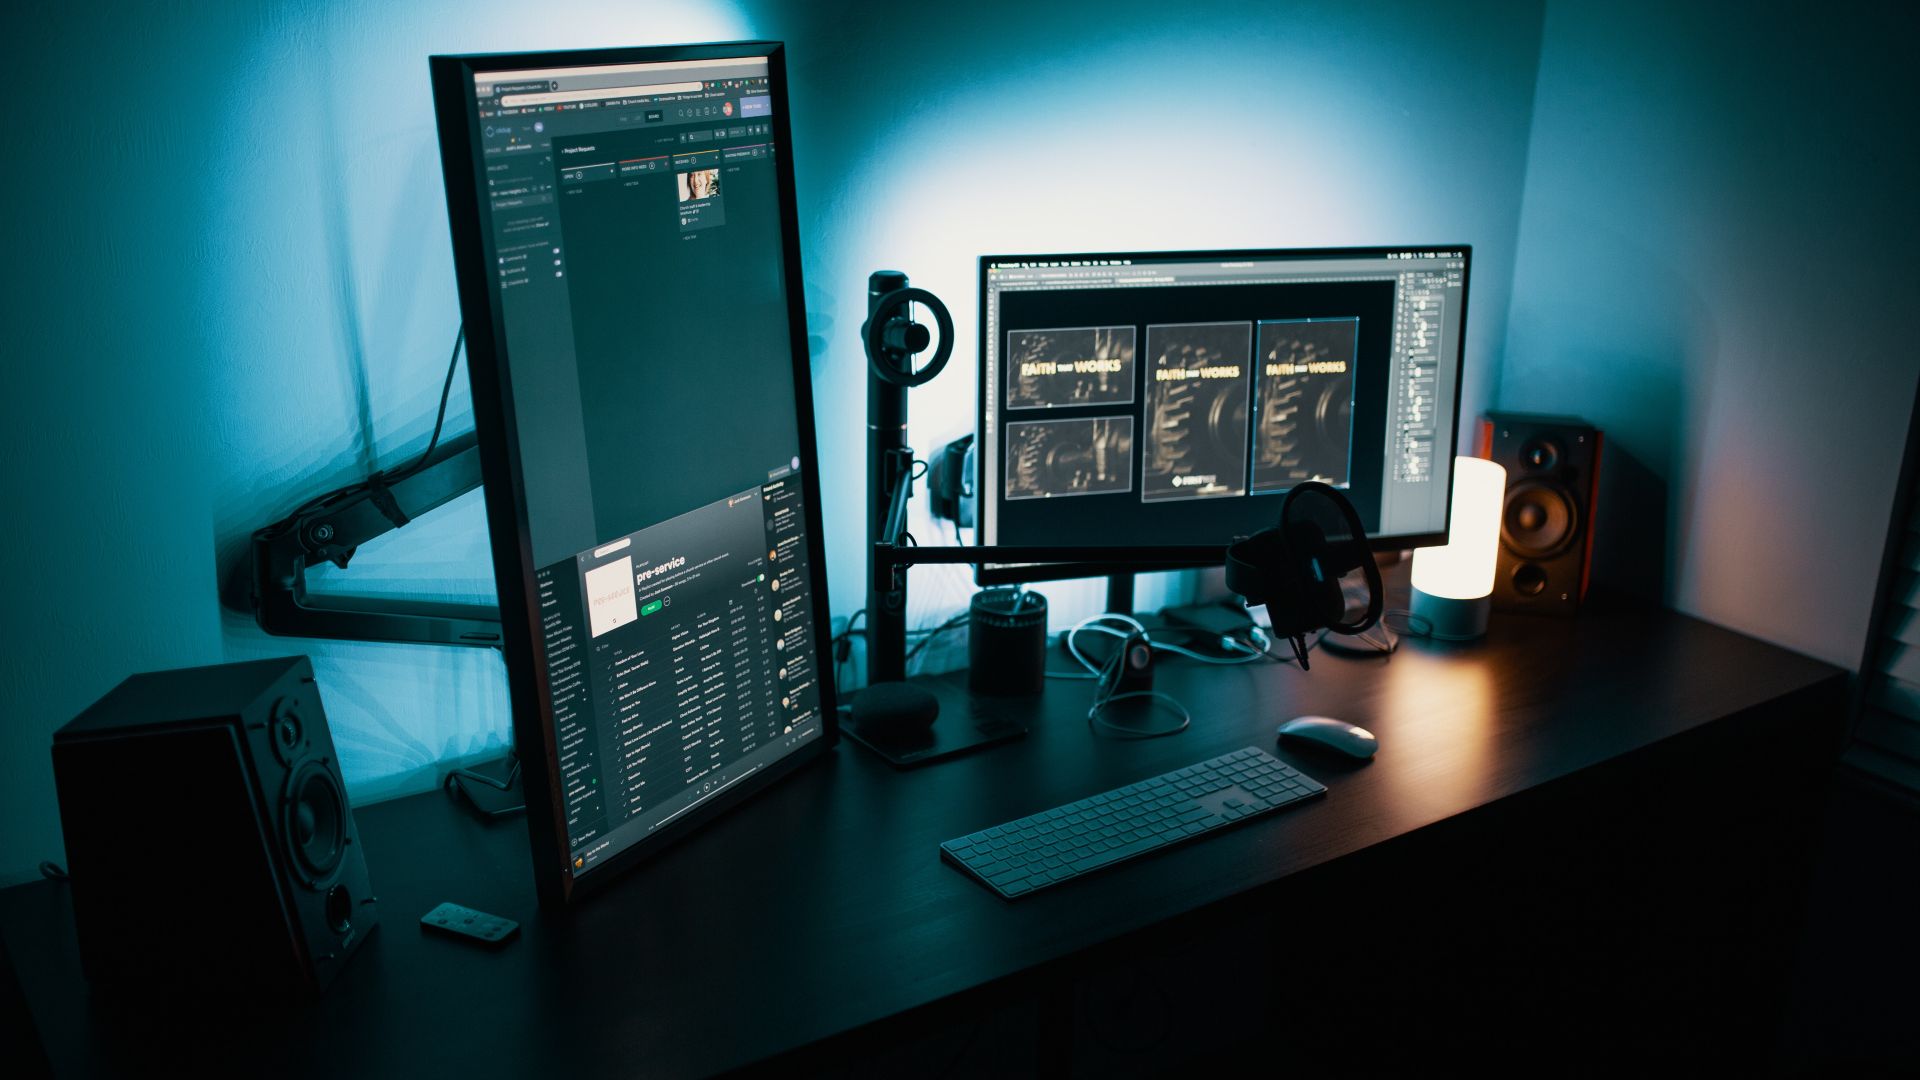
- Improved Productivity: By customizing the monitor orientation to suit your needs, you can enhance your productivity. For example, designers and artists often prefer a vertical (portrait) orientation for editing graphics, as it allows them to view the artwork in a more natural and detailed manner.
- Enhanced Gaming Experience: Gamers can also benefit from changing the monitor orientation. Certain games, particularly those with a vertical field of view, may offer a more immersive experience in portrait mode. Additionally, vertical orientation can provide a wider peripheral vision, giving players an edge in certain gaming genres.
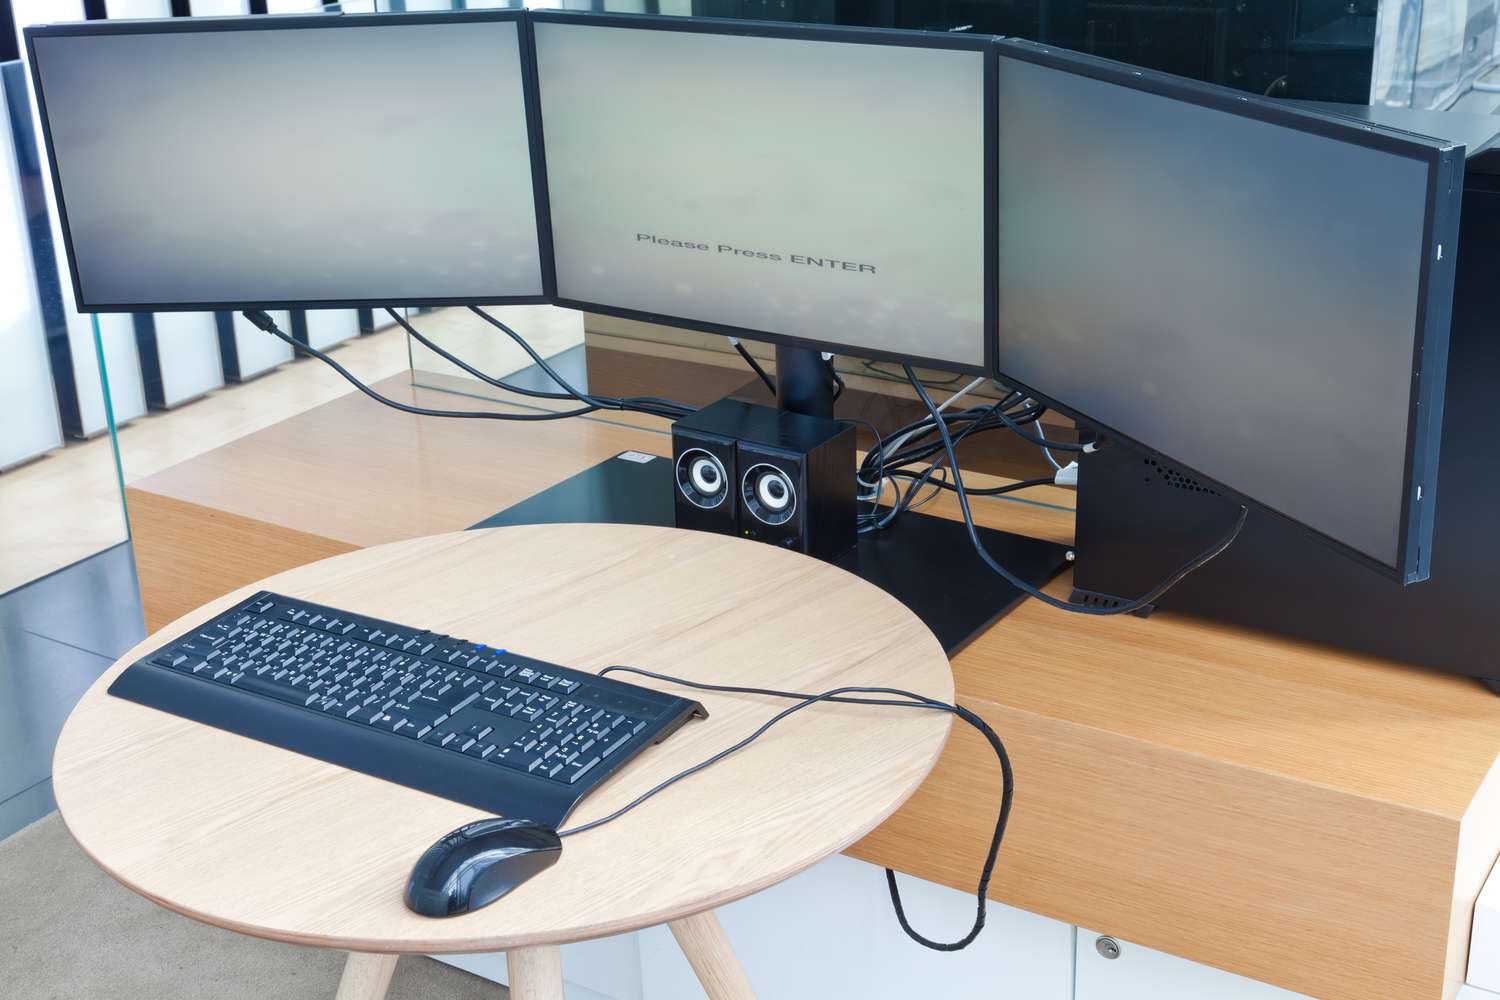
- Marriage of Multiple Monitors: If you have multiple monitors arranged in different orientations, changing the monitor orientation can help create a cohesive and consistent display setup. This is especially useful for multitasking, allowing you to seamlessly move windows and applications between different screens.
- Accessibility: For individuals with specific accessibility needs, adjusting the monitor orientation can make the screen easier to read and interact with. Some users may find it more comfortable to have the monitor in portrait mode due to the way they position themselves or the nature of their work.
Changing the monitor orientation provides versatility and customization options to suit your specific requirements. Whether it’s for work, gaming, or accessibility needs, being able to adjust the display to your liking can significantly enhance your overall user experience. It’s time to dive into the step-by-step guide on how to change the monitor orientation.
Step-by-step Guide to Change Monitor Orientation
Changing the monitor orientation can be done easily using the following steps:
- Check Display Settings: Right-click on an empty area of your desktop and select “Display settings” from the context menu. This will open the display settings panel in the Settings app.
- Identify the Graphics Card Software: Depending on the graphics card installed on your computer, you may need to access the control panel specific to that card. Common graphics card software includes NVIDIA Control Panel and AMD Catalyst Control Center.
- Access the Graphics Card Control Panel: Locate and open the graphics card control panel by either searching for it in the Start Menu or right-clicking on the desktop and selecting it from the context menu.
- Locate the Display Options: Once inside the graphics card control panel, find the display options. It may be located under a tab or a section named “Display” or “Screen configuration.”
- Change the Monitor Orientation: Look for the option to change the orientation and select the desired orientation from the available options. You can choose between landscape (horizontal) and portrait (vertical) modes.
- Save and Apply Changes: After selecting the desired orientation, save the changes by clicking on the “Apply” or “OK” button in the graphics card control panel. This will apply the new monitor orientation.
- Test the New Monitor Orientation: To ensure that the changes have been successfully applied, test the new monitor orientation by opening applications, documents, or games. Verify that the content is displayed correctly and adjust any additional settings if necessary.
Keep in mind that the specific steps and options may vary depending on your operating system, graphics card, and monitor. If you encounter any difficulties or cannot find the necessary options, refer to the user manual of your graphics card or monitor for further guidance.
In the following section, we will provide some troubleshooting tips to help you overcome common issues that may arise when changing the monitor orientation.
Check Display Settings
The first step in changing the monitor orientation is to check the display settings on your computer. Here’s how to do it:
- Right-click on an empty area of your desktop: This will bring up a context menu with various options.
- Select “Display settings”: Choose the “Display settings” option from the context menu. This will open the display settings panel in the Settings app.
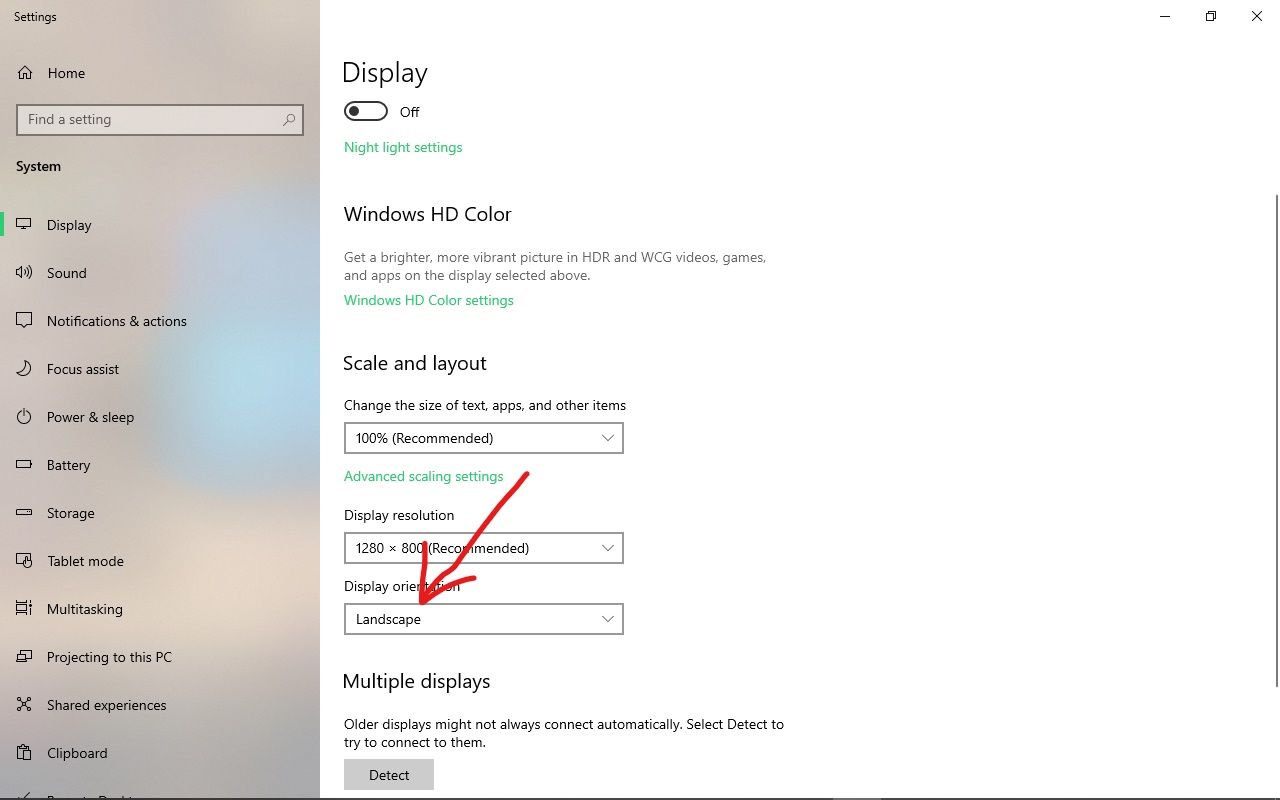
- Access the Orientation settings: Scroll down in the display settings panel until you find the “Orientation” section.
- Choose the desired orientation: In the orientation section, you will see different options, such as “landscape” and “portrait.” Select the desired orientation based on your preference.
- Apply the changes: After selecting the desired orientation, click on the “Apply” button to save the changes.
- Confirm the new orientation: Your monitor will briefly go black as it applies the new orientation. Once the changes are applied, a confirmation message will appear asking if you want to keep the new orientation. If you’re satisfied with the changes, click “Keep changes”.
By following these steps, you should be able to change the monitor orientation through the display settings. However, if your computer has a dedicated graphics card, you may need to access the graphics card control panel for additional options and customization.
Next, we will discuss how to identify and access the graphics card control panel to further modify the monitor orientation.
Identify the Graphics Card Software
Identifying the graphics card software installed on your computer is essential for accessing the control panel to change the monitor orientation. Here’s how to identify the graphics card software:
- Open the Device Manager: Right-click on the “Start” button and select “Device Manager” from the context menu. This will open the Device Manager window.
- Expand the “Display adapters” category: In the Device Manager window, click on the arrow next to “Display adapters” to expand the category. This will display the installed graphics card(s) on your computer.
- Note down the name of the graphics card(s): Take a note of the name(s) listed under the “Display adapters” category. Common graphics card manufacturers include NVIDIA, AMD, Intel, and more.
Once you have identified the graphics card manufacturer, you can proceed to the next step of accessing the corresponding graphics card control panel.
Keep in mind that the graphics card software may differ depending on your computer’s configuration. NVIDIA graphics cards typically use the “NVIDIA Control Panel,” AMD graphics cards use the “AMD Catalyst Control Center,” and Intel integrated graphics cards use the “Intel Graphics Control Panel.” However, there may be variations and updates to the software versions.
Now that you know the graphics card manufacturer and the corresponding control panel name, you can proceed to access the control panel in the next section.
Access the Graphics Card Control Panel
After identifying the graphics card software installed on your computer, you can now access the corresponding control panel to change the monitor orientation. Here’s how:
- Open the Start Menu: Click on the “Start” button located at the bottom left corner of your screen.
- Search for the Graphics Card Control Panel: In the search bar of the Start Menu, type the name of the graphics card control panel. For example, if you have an NVIDIA graphics card, type “NVIDIA Control Panel.”
- Launch the Graphics Card Control Panel: From the search results, click on the appropriate control panel application to launch it. The control panel window will open on your screen.
- Alternatively, right-click on the desktop: If you prefer, you can also right-click on an empty area of your desktop to bring up a context menu. From the context menu, look for an option related to the graphics card control panel, such as “NVIDIA Control Panel” or “AMD Catalyst Control Center.” Click on this option to launch the control panel.
By following these steps, you should be able to access the graphics card control panel specific to your graphics card manufacturer. Once you have opened the control panel, you can proceed to the next section to locate the display options and change the monitor orientation.
Keep in mind that the control panel interface may vary depending on the graphics card software version and manufacturer.
In the next section, we will discuss how to locate the display options within the graphics card control panel.
Locate the Display Options
Once you have accessed the graphics card control panel, the next step is to locate the display options where you can change the monitor orientation. Here’s how to find the display options within the control panel:
- Explore the control panel interface: Take a moment to familiarize yourself with the different sections and tabs within the control panel. Look for any section related to “Display,” “Screen configuration,” or a similar term.
- Look for display-related settings: Within the display or screen configuration section, you should find various settings related to your display setup. These may include resolution, refresh rate, color settings, and more.
- Search for orientation options: Within the display settings, locate the specific option related to changing the monitor orientation. It may be labeled as “Orientation,” “Rotation,” or a similar term.
The exact location and naming of the display options may vary depending on the graphics card software version and manufacturer. If you have trouble finding the right settings, refer to the user manual or documentation provided by the graphics card manufacturer.
Once you have located the display options, you’re ready to proceed to the next step and change the monitor orientation. In the following section, we will guide you through the steps to change the monitor orientation using the graphics card control panel.
Change the Monitor Orientation
Now that you have found the display options within the graphics card control panel, it’s time to change the monitor orientation. Follow these steps to adjust the orientation of your monitor:
- Select the desired monitor: If you have multiple monitors connected to your system, ensure that you have selected the correct monitor for which you want to change the orientation. Most graphics card control panels will display a visual representation of the connected monitors to help you identify them.
- Locate the orientation settings: Within the display options or screen configuration section, look for the specific option that allows you to change the monitor orientation. It is usually labeled as “Orientation,” “Rotation,” or a similar term.
- Choose the desired orientation: Depending on your preference, select the orientation you want for your monitor. You can typically choose between landscape mode (horizontal) and portrait mode (vertical).
- Apply the changes: After selecting the desired orientation, apply the changes by clicking on the “Apply” or “OK” button within the control panel. Some control panels may automatically apply the changes as you make your selection.
- Confirm the new orientation: Your monitor will briefly go black as it applies the new orientation. Once the changes are applied, a confirmation message or prompt may appear asking if you want to keep the new orientation. Confirm the change by clicking “Keep changes” or a similar option.
By following these steps, you should be able to change the monitor orientation using the graphics card control panel. However, be aware that the specific steps and options may vary depending on your graphics card software version and manufacturer.
Once you have successfully changed the monitor orientation, proceed to the next section to learn how to save and apply the changes.
Save and Apply Changes
After you have adjusted the monitor orientation to your preference, it is important to save and apply the changes to ensure the new orientation is set. Here’s how to save and apply the changes:
- Look for the save or apply button: Within the graphics card control panel, locate the button or option that allows you to save or apply the changes you have made. This can often be found at the bottom or top of the control panel window.
- Click on the save or apply button: Once you have found the save or apply button, click on it to save the new monitor orientation.
- Wait for the changes to be applied: After clicking the save or apply button, the monitor may briefly go black as the changes are applied. This is normal, and you should wait for the changes to take effect.
- Confirm the new orientation: Once the changes have been applied, a confirmation message may appear asking if you want to keep the new orientation. Confirm the change by clicking “Keep changes” or a similar option.
By saving and applying the changes, you ensure that the new monitor orientation will be retained even after restarting your computer or changing display settings. It is important to note that the specific steps and options to save and apply changes may vary depending on your graphics card software version and manufacturer.
In the next section, we will discuss the importance of testing the new monitor orientation to ensure it is functioning correctly.
Test the New Monitor Orientation
After changing the monitor orientation and saving the changes, it is crucial to test the new orientation to ensure it is functioning correctly. Follow these steps to test the new monitor orientation:
- Open applications and documents: Open various applications and documents on your computer to check how they are displayed with the new orientation. Make sure that the content appears correctly and is easy to read.
- Verify game compatibility: If you are a gamer, test the new monitor orientation with your games. Some games may automatically adjust to the new orientation, while others may require additional configuration within the game settings.
- Check multimedia content: Play videos or multimedia content to ensure they play smoothly and are correctly displayed with the new monitor orientation.
- Inspect web browsing experience: Browse different websites and ensure that webpages are properly rendered with the new monitor orientation. Pay attention to any layout issues or distortions that may occur.
- Adjust additional settings if necessary: If you encounter any issues or inconsistencies with certain applications or content, explore the graphics card control panel or application settings to make additional adjustments. This may involve fine-tuning resolution, scaling, or other display-related settings.
By thoroughly testing the new monitor orientation across various applications and content types, you can ensure that everything is displayed correctly and that you are comfortable with the new setup. If you encounter any difficulties or inconsistencies, don’t hesitate to refer to the user manual, online resources, or contact the graphics card manufacturer for further assistance.
In the next section, we will provide some troubleshooting tips to help you overcome common issues that may arise when changing the monitor orientation.
Troubleshooting Tips
While changing the monitor orientation is typically a straightforward process, you may encounter some issues or challenges along the way. Here are some troubleshooting tips to help you overcome common problems:
- Check monitor compatibility: Ensure that your monitor supports the desired orientation. Some older or budget monitors may have limitations on available orientations.
- Update graphics card drivers: Outdated or incompatible graphics card drivers can cause issues with changing the monitor orientation. Visit the graphics card manufacturer’s website and download the latest drivers for your specific graphics card model.
- Restart your computer: Sometimes, a simple restart can resolve minor issues. Restart your computer after making changes to the monitor orientation to see if it resolves any display problems.
- Reset the monitor settings: If you experience persistent issues, try resetting the monitor settings to their default values. Check the monitor’s user manual or manufacturer’s website for instructions on how to reset the monitor.
- Configure application-specific settings: Some applications may not automatically adjust to the new monitor orientation. In such cases, explore the application settings for any display or resolution options that may need adjustment.
- Ensure consistent monitor setup: If you use multiple monitors, ensure that they are set up consistently. This includes matching resolutions, refresh rates, and display scaling settings across all connected monitors.
- Double-check cable connections: Make sure that all cables connecting your monitor to your computer are securely plugged in. Loose or faulty connections can cause display issues or prevent the monitor from detecting the changes in orientation.
- Experiment with other resolution and scaling options: If you encounter issues with specific applications or content, try adjusting the resolution and scaling settings within the graphics card control panel to find a more suitable configuration.
- Seek manufacturer support: If you have followed these troubleshooting tips and are still experiencing difficulties, reach out to the monitor or graphics card manufacturer’s support for further assistance.
By following these troubleshooting tips, you should be able to resolve common issues and enjoy a seamless monitor orientation change experience. Keep in mind that the specific steps or solutions may vary depending on your computer’s configuration and hardware.
Now that you have learned how to troubleshoot common issues, it’s time to wrap up this guide on changing monitor orientation.
Conclusion
Changing the monitor orientation opens up new possibilities for achieving an optimal viewing experience and enhancing productivity. By following the step-by-step guide outlined in this article, you can easily adjust the monitor orientation to suit your preference and specific tasks.
We discussed the importance of changing the monitor orientation for various reasons such as obtaining an optimal viewing experience, boosting productivity, improving gaming immersion, and accommodating accessibility needs.
The step-by-step guide covered key instructions, from checking the display settings and identifying the graphics card software to accessing the graphics card control panel and locating the display options. We guided you through changing the monitor orientation, saving and applying the changes, as well as testing the new orientation across applications and content types.
Additionally, we provided troubleshooting tips to help you overcome common issues that may arise during the process. By following these tips, you can troubleshoot and resolve any potential difficulties you may encounter along the way.
Remember, the specific steps and options may vary depending on your computer’s configuration, operating system, graphics card, and monitor. Consult the user manuals, online resources, or contact the manufacturers for more specific guidance.
With the ability to easily change the monitor orientation, you can personalize your viewing experience, whether for work, gaming, or accessibility needs. Embrace the flexibility, enhance your productivity, and enjoy a comfortable viewing experience with your monitor set to the perfect orientation for you!