Introduction
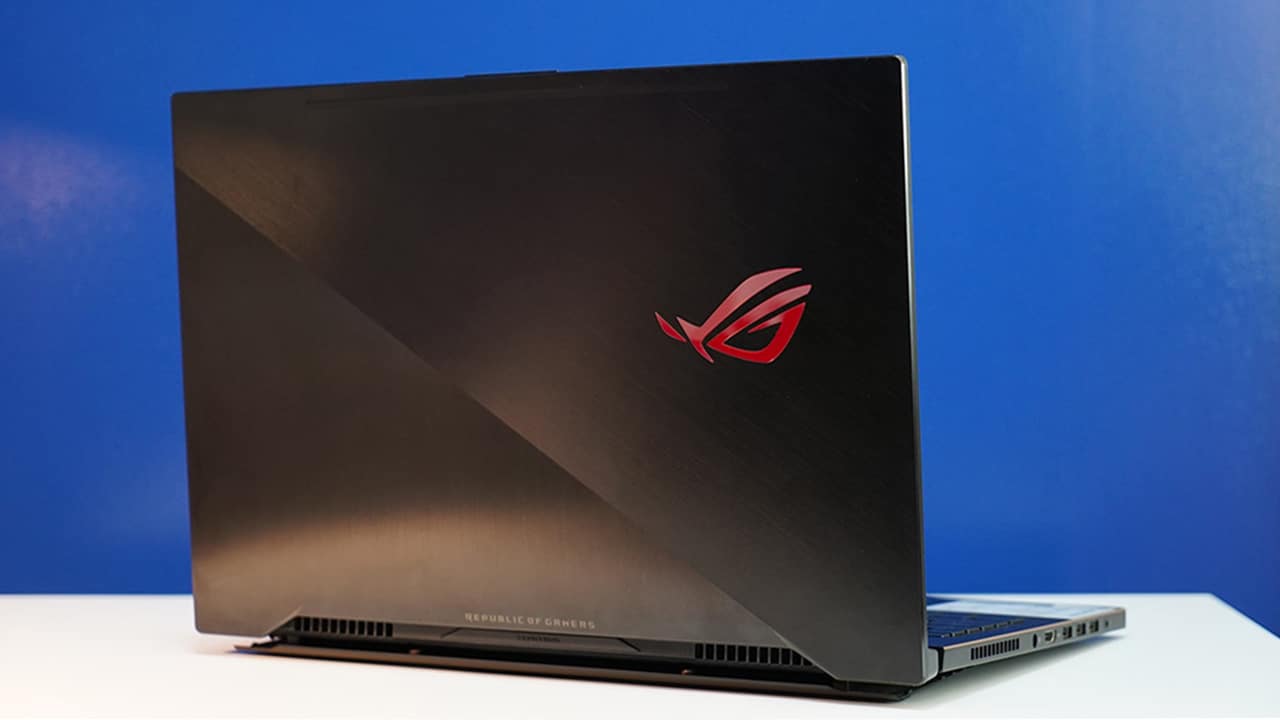
Gaming laptops have become increasingly popular among gamers due to their powerful hardware and dedicated features. One such feature that sets gaming laptops apart is the ability to customize the hotkeys, which can greatly enhance the gaming experience. ASUS, a renowned brand in the gaming industry, offers the M1, M2, and M3 hotkeys on its gaming laptops, allowing users to assign specific actions or commands to these keys.
Changing the M1, M2, and M3 hotkeys on an ASUS gaming laptop can provide users with quick access to their favorite features, macros, or in-game commands. Whether you want to optimize your gaming performance or streamline your work tasks, customizing these hotkeys can make a significant difference in your productivity and enjoyment.
In this article, we will explore the various methods available for changing the M1, M2, and M3 hotkeys on an ASUS gaming laptop. We will provide step-by-step instructions for each method, ensuring that you can easily modify these hotkeys to suit your specific needs. Additionally, we will share some helpful tips and tricks to further enhance your hotkey customization experience.
So, whether you’re a seasoned gamer looking to optimize your gameplay or a productivity enthusiast aiming to streamline your workflow, read on to discover how to change the M1, M2, and M3 hotkeys on your ASUS gaming laptop.
What are M1, M2, and M3 hotkeys?
M1, M2, and M3 hotkeys are special function keys found on ASUS gaming laptops, specifically designed to offer quick access to specific actions or commands. These hotkeys are programmable and can be customized to perform various functions depending on the user’s preferences.
By default, these hotkeys are assigned with pre-defined functions. However, ASUS provides users with the flexibility to change these default assignments and configure the hotkeys to suit their individual needs. This customization allows gamers and power users alike to personalize their gaming experience and increase efficiency during their day-to-day tasks.
The M1, M2, and M3 hotkeys are typically located in an easily accessible location on the keyboard, such as the top row or on the sides. Depending on the model of your ASUS gaming laptop, these keys may appear as physical buttons or as secondary functions assigned to other keys.
With the ability to assign specific functions, actions, or commands to these hotkeys, users can streamline their gaming experience by reducing the time and effort required to perform certain actions. For example, assigning a commonly used spell or ability in a game to the M1 hotkey allows players to execute it instantly with a single press, without the need to navigate through complex menus or use multiple key combinations.
Beyond gaming, these hotkeys can also prove valuable in a professional setting. Customizing the M1, M2, and M3 hotkeys for productivity tasks, such as launching frequently used applications, creating shortcuts for text expansion, or controlling multimedia playback, can significantly improve workflow efficiency.
In the next section, we will explore the reasons why you may want to change the default assignments of the M1, M2, and M3 hotkeys on your ASUS gaming laptop.
Why would you want to change the hotkeys?
ASUS gaming laptops come pre-configured with default assignments for the M1, M2, and M3 hotkeys. However, there are several reasons why you may want to personalize these hotkeys to better suit your needs:
1. Gaming Optimization: Gaming enthusiasts often find it beneficial to reassign the M1, M2, and M3 hotkeys to specific in-game commands or macros. By mapping frequently used spells, abilities, or actions to these easily accessible hotkeys, players can gain a competitive advantage by executing maneuvers swiftly and efficiently.
2. Workflow Efficiency: Customizing the hotkeys on your ASUS gaming laptop can greatly enhance productivity. By assigning shortcuts to commonly used applications, you can save time and streamline your workflow. Whether you’re a content creator, programmer, or office worker, having quick access to essential tools and functions can make a significant difference in your efficiency and effectiveness.
3. Personal Preference: Everyone has unique preferences and playstyles. Customizing the M1, M2, and M3 hotkeys allows you to tailor your gaming experience to your liking. Whether you prefer a certain key layout or want to replicate the hotkey configuration of another game, personalization can make your gaming sessions more comfortable and enjoyable.
4. Accessibility: Customized hotkeys can also benefit individuals with accessibility needs. By assigning functions to the M1, M2, and M3 keys that are more easily reachable or more ergonomic, users with physical limitations can enjoy a more inclusive gaming experience.
5. Multi-Purpose Usage: The customizable nature of the M1, M2, and M3 hotkeys means that they can be utilized beyond gaming. Assigning hotkeys to frequently used applications, system commands, or multimedia controls allows you to seamlessly transition between tasks, enhancing convenience and multitasking capabilities.
By changing the default assignments of the M1, M2, and M3 hotkeys on your ASUS gaming laptop, you can unlock a world of customization and optimization possibilities. In the next section, we will provide a step-by-step guide on how to change these hotkeys using different methods.
Step-by-step guide to changing M1, M2, and M3 hotkeys
Changing the M1, M2, and M3 hotkeys on your ASUS gaming laptop is a straightforward process. Below, we provide a step-by-step guide outlining different methods to customize these hotkeys:
Method 1: Using the Asus Gaming Center software
- Launch the Asus Gaming Center software on your laptop.
- Select the “Keyboard” tab or navigate to the “Hotkeys” section.
- Locate the M1, M2, or M3 hotkey settings and click on the respective key to customize it.
- Select the desired function or command you wish to assign to the hotkey from the available options or configure a macro.
- Save the changes and exit the software.
Method 2: Using the ROG Gaming Center software
- Open the ROG Gaming Center software on your ASUS laptop.
- Navigate to the “Hotkeys” or “Keyboard” section.
- Select the M1, M2, or M3 hotkey you want to customize.
- Choose the desired action or command to assign to the hotkey.
- Save the changes made and exit the software.
Method 3: Using the Keyboard shortcuts settings in Windows
- Access the “Settings” menu in Windows by clicking on the “Start” button and selecting the gear icon.
- Click on “Devices” and then select “Keyboard” from the left sidebar.
- Scroll down to the “Advanced keyboard settings” section and click on “Hotkeys.”
- Select the M1, M2, or M3 hotkey you want to customize.
- Assign the desired function or command to the hotkey.
- Apply the changes and close the settings.
Using one of the methods mentioned above, you can easily change the M1, M2, and M3 hotkeys according to your preferences. You can experiment with different functions, macros, or commands to optimize your gaming experience or streamline your workflow. Keep in mind that the available options may vary depending on your ASUS laptop model and the software installed.
Now that you know how to change the M1, M2, and M3 hotkeys, let’s explore some helpful tips and tricks for maximizing the potential of these customized hotkeys.
Method 1: Using the Asus Gaming Center software
The Asus Gaming Center software provides a user-friendly interface that allows you to customize various settings on your ASUS gaming laptop, including the M1, M2, and M3 hotkeys. Follow these steps to change the hotkeys using this software:
- Launch the Asus Gaming Center software on your laptop.
- Select the “Keyboard” tab or navigate to the “Hotkeys” section.
- Locate the M1, M2, or M3 hotkey settings and click on the respective key to customize it.
- A list of available functions or commands will appear for you to choose from. You can also create a custom macro if desired.
- Select the desired function or command you wish to assign to the hotkey.
- Once you have made your selection, save the changes and exit the software.
By following these steps, you can easily configure the M1, M2, and M3 hotkeys to suit your specific needs and preferences using the Asus Gaming Center software. Remember to explore the various available functions and commands to enhance your gaming experience or streamline your workflow.
It is worth noting that the options and interface may vary depending on the version of the Asus Gaming Center software and the model of your ASUS gaming laptop. Therefore, it is recommended to refer to the user manual or official ASUS documentation for detailed instructions specific to your device if needed.
Now that you are familiar with Method 1, let’s explore an alternative method for changing the M1, M2, and M3 hotkeys using the ROG Gaming Center software.
Method 2: Using the ROG Gaming Center software
The ROG Gaming Center software is another powerful tool provided by ASUS that allows users to customize various settings on their gaming laptops, including the M1, M2, and M3 hotkeys. Here’s how you can change the hotkeys using this software:
- Open the ROG Gaming Center software on your ASUS laptop.
- Depending on the version of the software, navigate to the “Hotkeys” or “Keyboard” section. This section may vary in name or location.
- Select the M1, M2, or M3 hotkey you want to customize.
- A list of available functions or commands will be displayed for you to choose from. You may also have the option to create a custom macro.
- Choose the desired action or command to assign to the hotkey based on your preferences.
- Save the changes made to the hotkey configuration.
- Exit the ROG Gaming Center software once you have finished customizing the hotkeys.
Following these steps will allow you to easily modify the M1, M2, and M3 hotkeys on your ASUS gaming laptop using the ROG Gaming Center software. Similar to the Asus Gaming Center software, there may be slight variations in the options or interface depending on the version of the software and the specific features of your device.
It’s always beneficial to refer to the user manual or official ASUS documentation for detailed instructions that are specific to your laptop model if you encounter any difficulties during the process.
Now that you know how to customize the hotkeys using the ROG Gaming Center software, let’s explore an additional method using the Keyboard shortcuts settings in Windows.
Method 3: Using the Keyboard shortcuts settings in Windows
If you prefer to customize the M1, M2, and M3 hotkeys on your ASUS gaming laptop using the native Windows settings, you can do so through the Keyboard shortcuts settings. Follow these steps:
- Access the “Settings” menu in Windows by clicking on the “Start” button and selecting the gear icon.
- Click on “Devices” and then select “Keyboard” from the left sidebar.
- Scroll down to the “Advanced keyboard settings” section and click on “Hotkeys.”
- A list of available hotkeys will appear, including the M1, M2, and M3 keys.
- Select the M1, M2, or M3 hotkey you want to customize.
- Assign the desired function or command to the hotkey by clicking on “Type Shortcut” and pressing the desired key combination.
- Apply the changes and close the settings window.
By following these steps, you can easily change the M1, M2, and M3 hotkeys on your ASUS gaming laptop using the Keyboard shortcuts settings in Windows. This method offers a more universal approach, as it allows you to customize the hotkeys regardless of the specific software or utility provided by the laptop manufacturer.
It’s important to note that the options and interface in the Keyboard shortcuts settings may vary slightly depending on the version of Windows you are using. Additionally, the functionality of certain hotkeys may be restricted depending on the capabilities of your laptop’s keyboard.
Now that you have learned how to customize the hotkeys using different methods, let’s explore some tips and tricks to further enhance your hotkey customization experience.
Tips and tricks for customizing your hotkeys
Customizing the M1, M2, and M3 hotkeys on your ASUS gaming laptop opens up a world of possibilities to enhance your gaming experience and streamline your workflow. Here are some tips and tricks to help you make the most of your hotkey customization:
- Experiment with different functions: Take the time to explore the available functions or commands that can be assigned to the hotkeys. Experiment with different options to find the ones that align with your gaming style or productivity needs.
- Create custom macros: Macros can be a powerful tool for automating repetitive tasks or executing complex sequences of actions with a single keystroke. Consider creating custom macros and assigning them to the hotkeys to save time and streamline your workflow.
- Consider the ergonomics: Customize the hotkeys in a way that feels comfortable and intuitive for you. Assign functions to keys that are easily accessible and don’t strain your fingers during long gaming sessions or work tasks.
- Document your customizations: It’s helpful to keep track of the custom functions or commands assigned to each hotkey. Create a reference document or use the software’s built-in features to save and export your hotkey configurations. This ensures that you can easily restore or transfer your settings when needed.
- Take advantage of profiles: Some software or utilities allow you to create multiple profiles for different gaming scenarios or work environments. Consider creating separate profiles for different games or tasks, each with customized hotkey configurations, to maximize efficiency.
- Regularly review and update your hotkeys: As your gaming preferences or workflow requirements change, it’s important to regularly review and update your hotkey configurations. This ensures that your hotkeys remain optimized and aligned with your current needs.
By following these tips and tricks, you can elevate your hotkey customization experience and make the most out of the M1, M2, and M3 hotkeys on your ASUS gaming laptop.
Now that you are equipped with the knowledge to customize your hotkeys and maximize their potential, you can enjoy a personalized and efficient gaming or productivity experience.
Conclusion
Customizing the M1, M2, and M3 hotkeys on your ASUS gaming laptop is a simple yet powerful way to enhance your gaming experience and streamline your workflow. Whether you want to optimize your gaming performance, improve productivity, or personalize your laptop to align with your preferences, custom hotkeys offer a convenient solution.
In this article, we explored three methods to change the hotkeys on your ASUS gaming laptop. Using the Asus Gaming Center software, the ROG Gaming Center software, or the Keyboard shortcuts settings in Windows, you can easily assign functions, commands, or macros to the M1, M2, and M3 keys.
Remember to experiment with different functions, consider the ergonomics, and create custom macros to maximize the potential of your hotkey customization. Keeping track of your customizations, taking advantage of profiles, and regularly reviewing and updating your hotkeys are additional tips that can enhance your experience.
Whether you’re a dedicated gamer looking to optimize your gaming performance or a power user seeking productivity enhancements, customizing the hotkeys on your ASUS gaming laptop can provide you with a personalized and efficient user experience.
Now that you have a comprehensive understanding of how to change the M1, M2, and M3 hotkeys and make the most of their customization, start customizing and unlock a new level of convenience and productivity on your ASUS gaming laptop!


