Introduction
Welcome to this helpful guide on how to change the HDMI on your LG Smart TV. HDMI, or High-Definition Multimedia Interface, is commonly used to connect devices like gaming consoles, Blu-ray players, and set-top boxes to your TV. Over time, you may encounter issues with your HDMI connection, such as a faulty cable or damaged port. This guide will walk you through the steps to replace the HDMI cable on your LG Smart TV, ensuring that you continue to enjoy a high-quality viewing experience.
Before we dive into the steps, it’s important to note that changing the HDMI on your LG Smart TV requires some basic knowledge and a few tools. Make sure you have a new HDMI cable that is compatible with your TV and that your TV is powered off before starting the process.
In this guide, we will cover each step in detail, providing clear instructions and tips along the way to ensure a smooth and successful HDMI replacement. So, whether you’re experiencing signal loss, poor audio/video quality, or simply want to upgrade your existing cable, let’s get started and learn how to change the HDMI on your LG Smart TV.
Step 1: Power off the TV
The first step in changing the HDMI on your LG Smart TV is to power off the TV. This ensures the safety of both your TV and yourself during the process. To power off your LG Smart TV, follow these simple steps:
- Grab your TV remote and locate the power button. It’s usually situated either on the side or at the back of the TV.
- Press the power button once to turn off your LG Smart TV. Wait for the screen to go black and for any indicator lights to turn off.
- For added safety, unplug the power cord from the electrical outlet. This eliminates any risk of electric shock while handling the HDMI cable and port.
By ensuring that your LG Smart TV is completely powered off, you minimize the chances of accidentally damaging any internal components and prevent potential electrical hazards. Once you have powered off the TV and unplugged it from the power source, you’re ready to move on to the next step of changing the HDMI cable.
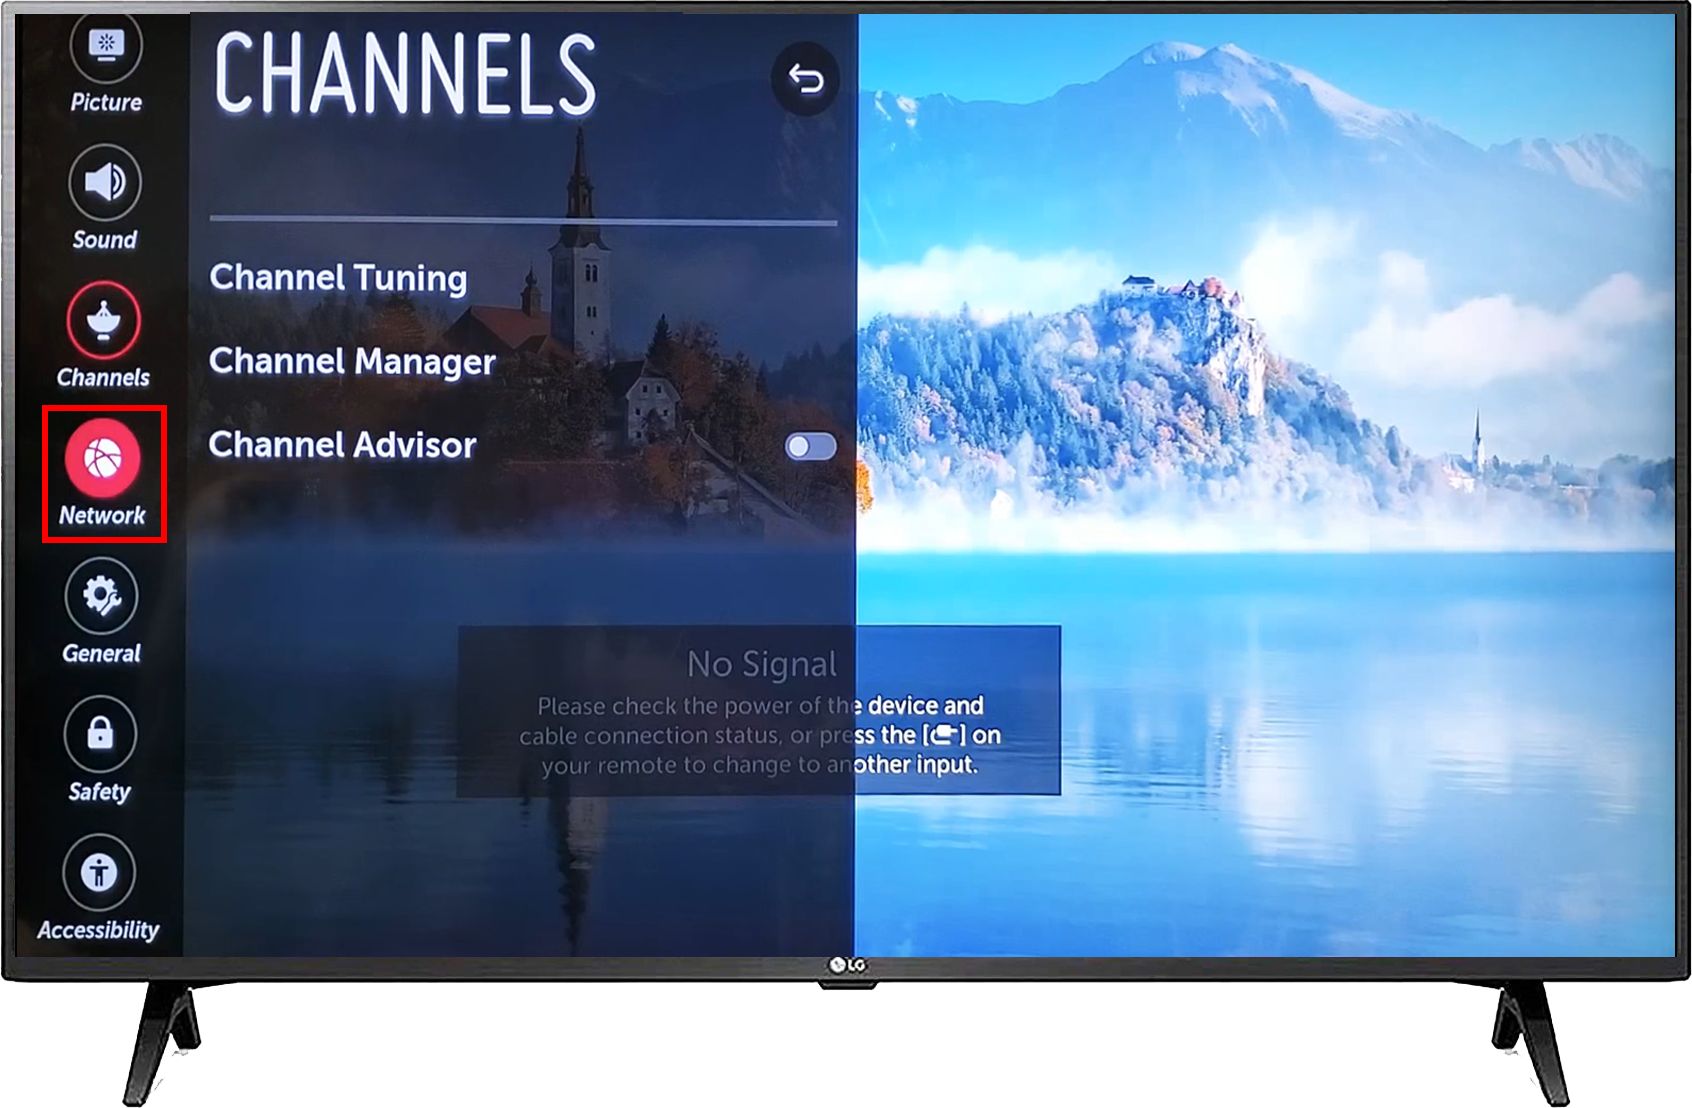
Step 2: Locate the HDMI ports
After powering off your LG Smart TV, the next step is to locate the HDMI ports on the back or side of your television. These ports are typically labeled as “HDMI” and are easily recognizable by their rectangular shape with numerous pins inside. To locate the HDMI ports, follow these steps:
- Take a look at the back or side panel of your LG Smart TV. You should see a series of input/output ports, with the HDMI ports typically grouped together.
- Inspect the ports carefully, and look for the “HDMI” label next to each one. Depending on the model of your LG Smart TV, you may have multiple HDMI ports, such as HDMI 1, HDMI 2, and so on.
- Make a note of the HDMI port number that you will be using. This is important for later steps when you connect the new HDMI cable.
Locating the HDMI ports on your LG Smart TV is a crucial step to ensure that you properly identify the ports for the upcoming HDMI cable replacement. Taking note of the HDMI port number will help ensure that you connect the new cable to the correct port. Once you have located the HDMI ports and made a note of the HDMI port number, you’re ready to move on to the next step.
Step 3: Identify the HDMI cable to replace
Now that you have located the HDMI ports on your LG Smart TV, it’s time to identify the HDMI cable that needs to be replaced. Identifying the correct cable ensures that you remove the right one and avoid any confusion later on. Follow these steps to identify the HDMI cable:
- Examine the existing HDMI cables connected to your LG Smart TV. They should be plugged into the HDMI ports you located in the previous step.
- Look for any signs of damage or wear on the cables. Check for frayed wires, loose connectors, or bent pins.
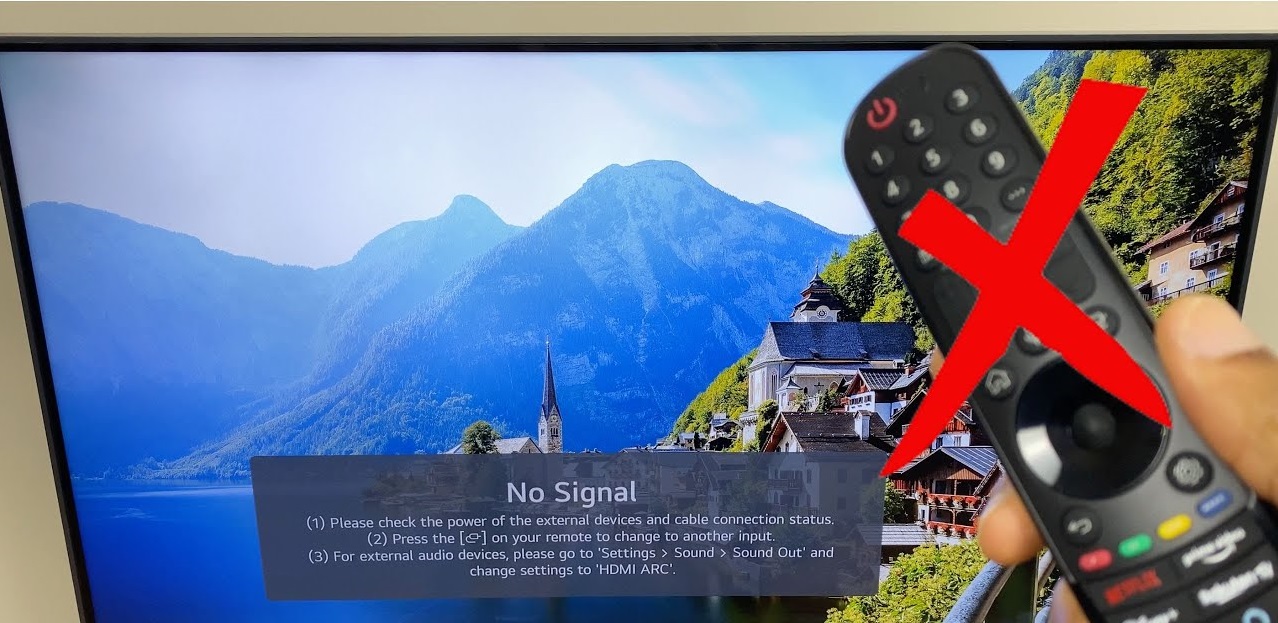
- If you have multiple HDMI cables connected to your TV, identify the one that is causing issues. This could be indicated by a poor or no signal, distorted audio/video, or intermittent connectivity.
- Make a mental note or label the HDMI cable that you will be replacing. This will help during the later steps when you install the new cable.
By carefully identifying the HDMI cable that needs to be replaced, you can ensure that you target the specific issue and avoid unnecessary disconnection of other cables. If there is only one HDMI cable connected to your TV, it is likely the one causing the problem. However, if you have multiple cables, identifying the one causing issues will help you resolve the HDMI connection problem effectively. Once you have easily identified the HDMI cable that needs replacing, you are ready to move on to the next step.
Step 4: Gently remove the HDMI cable
With the HDMI cable identified for replacement, it’s time to gently remove it from the HDMI port on your LG Smart TV. It’s important to be delicate during this step to avoid causing any damage to the port or other components. Follow these steps to safely remove the HDMI cable:
- Hold the HDMI cable near the connector firmly but gently. Avoid pulling on the cable itself, as this can damage the wires inside.
- Gently wiggle the cable back and forth while pulling it straight out of the HDMI port. This will help loosen the connection between the cable and the port.
- If the cable does not easily come out, do not force it. Instead, try wiggling it gently a little more or using a small amount of rotational motion to help release it.
- Once the HDMI cable is detached from the port, carefully set it aside. If the cable is damaged, consider disposing of it properly to avoid any future use.
Removing the HDMI cable from the port requires patience and caution. Always remember to handle the cable with care and avoid applying excessive force. By gently wiggling and pulling the cable straight out of the HDMI port, you ensure that it detached smoothly without causing any harm to the TV or the cable itself. Once you have successfully removed the HDMI cable, you are ready to proceed to the next steps of inspecting the port and cable.
Step 5: Inspect the HDMI port and cable
After removing the HDMI cable from the port, it’s essential to inspect both the HDMI port on your LG Smart TV and the cable itself. This step ensures that there are no visible damages or issues that may have been causing the HDMI connection problems. Follow these steps to inspect the HDMI port and cable:
- Examine the HDMI port on your TV. Look for any bent pins, debris, or dirt that may be obstructing the connection. Use a flashlight if needed to get a clear view of the port.
- If you find any dirt or debris, gently blow on the port or use a can of compressed air to remove it. Avoid using anything sharp or pointed that could cause damage to the port.
- Inspect the HDMI cable that you just removed. Check for any visible damages such as frayed wires, bent connectors, or signs of wear.
- If the HDMI cable appears to be damaged, it’s best to replace it with a new one to ensure a reliable and high-quality connection.
Inspecting the HDMI port and cable provides crucial information about the condition of both components. By checking the port for any obstructions and cleaning it if necessary, you enhance the chances of a successful connection with the new HDMI cable. Additionally, if the cable shows any signs of damage, it’s advisable to replace it with a new one to avoid further issues. Once you have thoroughly inspected the port and cable, you can continue to the next step of installing the new HDMI cable.
Step 6: Insert the new HDMI cable
Now that you have inspected the HDMI port and cable, it’s time to insert the new HDMI cable into the appropriate port on your LG Smart TV. Follow these steps to securely connect the new cable:
- Take the new HDMI cable and ensure it is the correct length for your setup. Make sure the cable is free from any knots or tangles.
- Locate the HDMI port on your TV that corresponds to the one you identified earlier. Align the HDMI connector on the cable with the port.
- Gently insert the HDMI cable’s connector into the HDMI port on the TV. Make sure to insert it firmly but without applying excessive force.
- Push the connector in until it is fully inserted into the port. You may hear a satisfying click or feel a slight resistance when it is properly connected.
- Check that the connection is secure by gently tugging on the cable. It should not come loose or easily disconnect.
Inserting the new HDMI cable requires precision and care. By aligning the HDMI connector with the correct port and firmly inserting it, you ensure a reliable and secure connection. Double-checking the connection by gently tugging on the cable helps confirm that it is properly seated in the port. Once you have successfully inserted the new HDMI cable, you’re ready to move to the next step of testing the connection.
Step 7: Test the new HDMI connection
After installing the new HDMI cable, it’s important to test the connection to ensure it is working properly on your LG Smart TV. Follow these steps to test the new HDMI connection:
- Power on your TV by pressing the power button on the remote control or the TV itself. Wait for the TV to fully boot up.
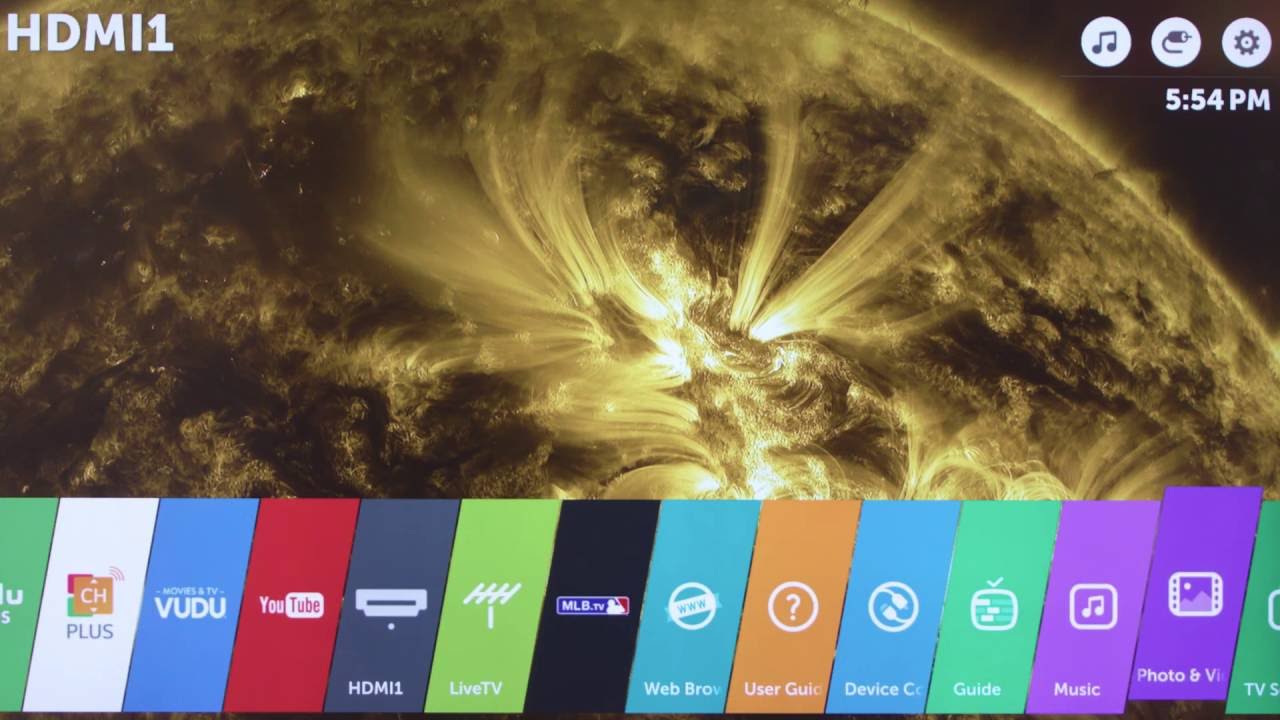
- Switch the TV input to the HDMI port to which you connected the new cable. You can do this by pressing the “Input” or “Source” button on your TV remote and selecting the appropriate HDMI input from the list.
- If your TV has multiple HDMI inputs, you may need to cycle through them until you find the correct one.
- Check if the TV screen displays the connected device or any signal from the HDMI source. Look for a clear and crisp image, as well as synchronized audio.
- Test different functionalities of the connected device, such as playing a video or navigating through the menu options. Ensure that both video and audio are working seamlessly.
Testing the new HDMI connection is crucial to verify that the cable is properly installed and functioning correctly. By switching the TV input to the corresponding HDMI port and checking for a clear image and synchronized audio, you can ensure that the connection is successful. Additionally, testing various functionalities of the connected device helps confirm that both video and audio signals are transmitting without any issues. If everything is working as expected, congratulations! You have successfully changed the HDMI cable on your LG Smart TV.
Step 8: Power on the TV and enjoy your new HDMI connection
You’re almost there! It’s time to power on your LG Smart TV once again and enjoy the benefits of your new HDMI connection. Follow these final steps:
- Ensure that the TV is powered off before proceeding.
- Locate the TV remote or press the power button on the TV itself to turn it on.
- Wait for the TV to fully boot up, which might take a few moments.
- Using the TV remote, switch the input to the HDMI port that you connected the new cable to. This will ensure that the TV receives the signal from the desired source.
- Once the HDMI input is selected, you should see the content from the connected device displayed on the TV screen.
- Adjust any necessary settings on both the connected device and the TV to optimize your viewing experience.
- Enjoy your favorite movies, TV shows, games, and more with the enhanced quality of the new HDMI connection on your LG Smart TV!
Now that your LG Smart TV is powered on and set to the proper HDMI input, you can sit back, relax, and enjoy your favorite content with an improved HDMI connection. Whether you’re gaming, streaming, or watching movies, the seamless and high-quality transmission of video and audio signals through the new HDMI cable will enhance your overall viewing experience.
Congratulations on successfully changing the HDMI cable on your LG Smart TV. Now you can fully enjoy all the entertainment options your TV has to offer! Should you encounter any issues in the future, you can refer back to this guide for troubleshooting steps. Happy watching!
Conclusion
Changing the HDMI cable on your LG Smart TV can be a simple and effective solution to resolve HDMI connection issues and ensure a high-quality viewing experience. By following the step-by-step guide outlined in this article, you have learned how to power off the TV, locate the HDMI ports, identify the cable to replace, gently remove the old cable, inspect the HDMI port and cable, insert the new cable, test the new HDMI connection, and finally, power on the TV to enjoy your new HDMI connection.
Remember, it is crucial to handle the HDMI cable and port with care throughout the process to prevent any damage. Take your time and follow the instructions carefully to ensure a successful outcome. In cases where the HDMI port or cable shows signs of damage or wear, replacing them with new ones will lead to a more reliable and stable connection.
By changing the HDMI cable on your LG Smart TV, you can enjoy crystal-clear video and immersive audio when connecting devices such as gaming consoles, Blu-ray players, and set-top boxes. The enhanced HDMI connection will provide you with a seamless and enjoyable viewing experience for all your favorite content.
Refer back to this guide whenever you need to change the HDMI cable on your LG Smart TV or troubleshoot any HDMI connection issues in the future. With the knowledge you have gained, you can confidently handle any HDMI-related concerns that may arise.
Now, it’s time to power on your TV, sit back, and relax as you immerse yourself in the world of high-definition entertainment. Enjoy the visual clarity, the immersive audio, and the seamless connection provided by your new HDMI cable on your LG Smart TV!