Introduction
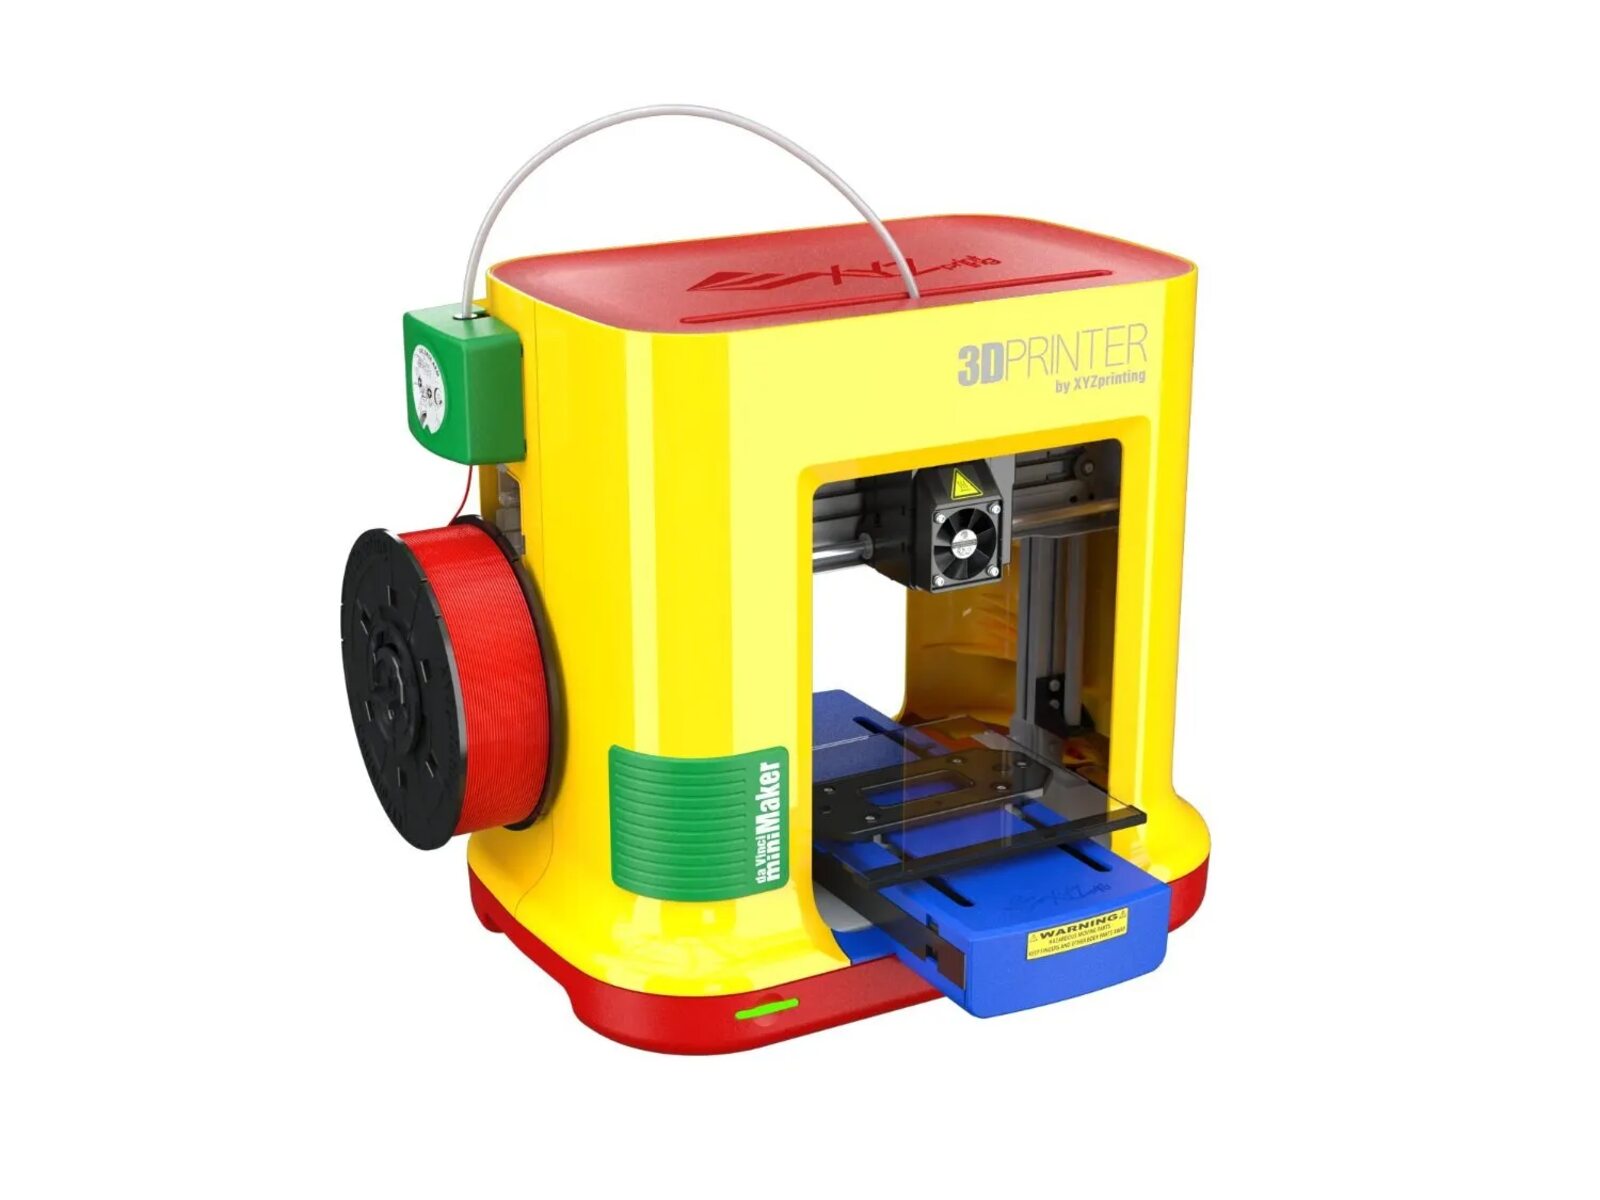
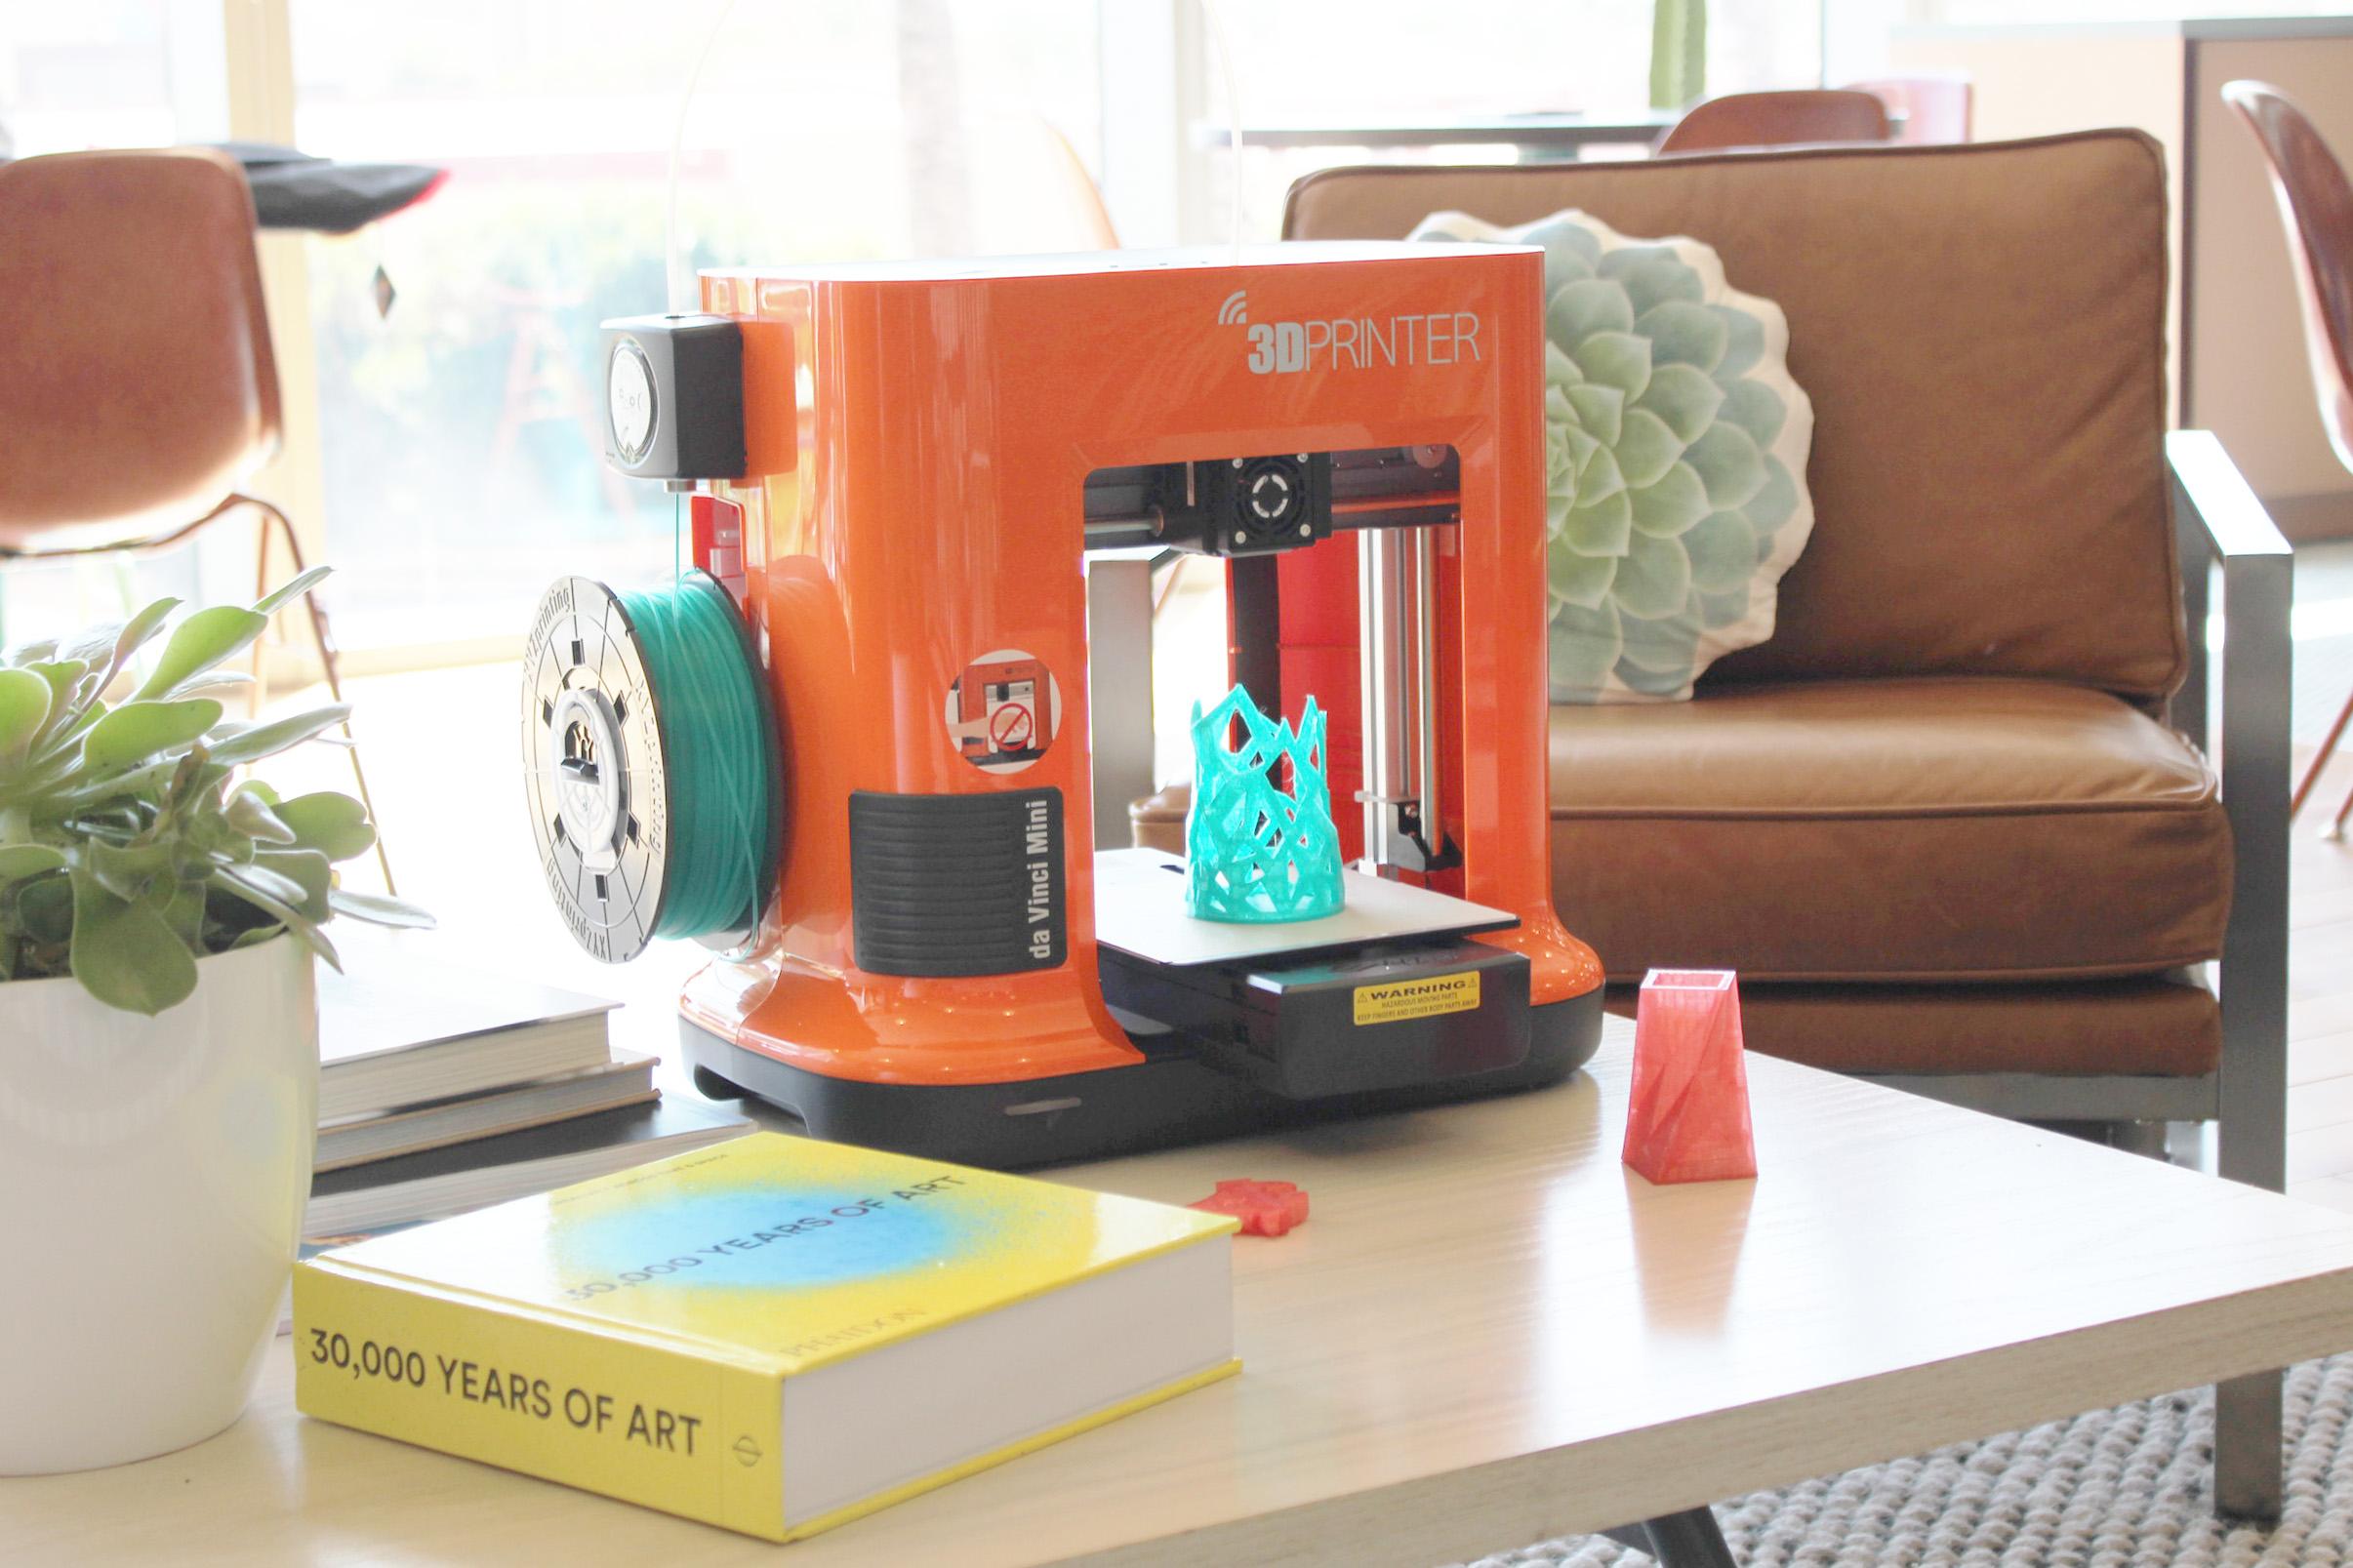
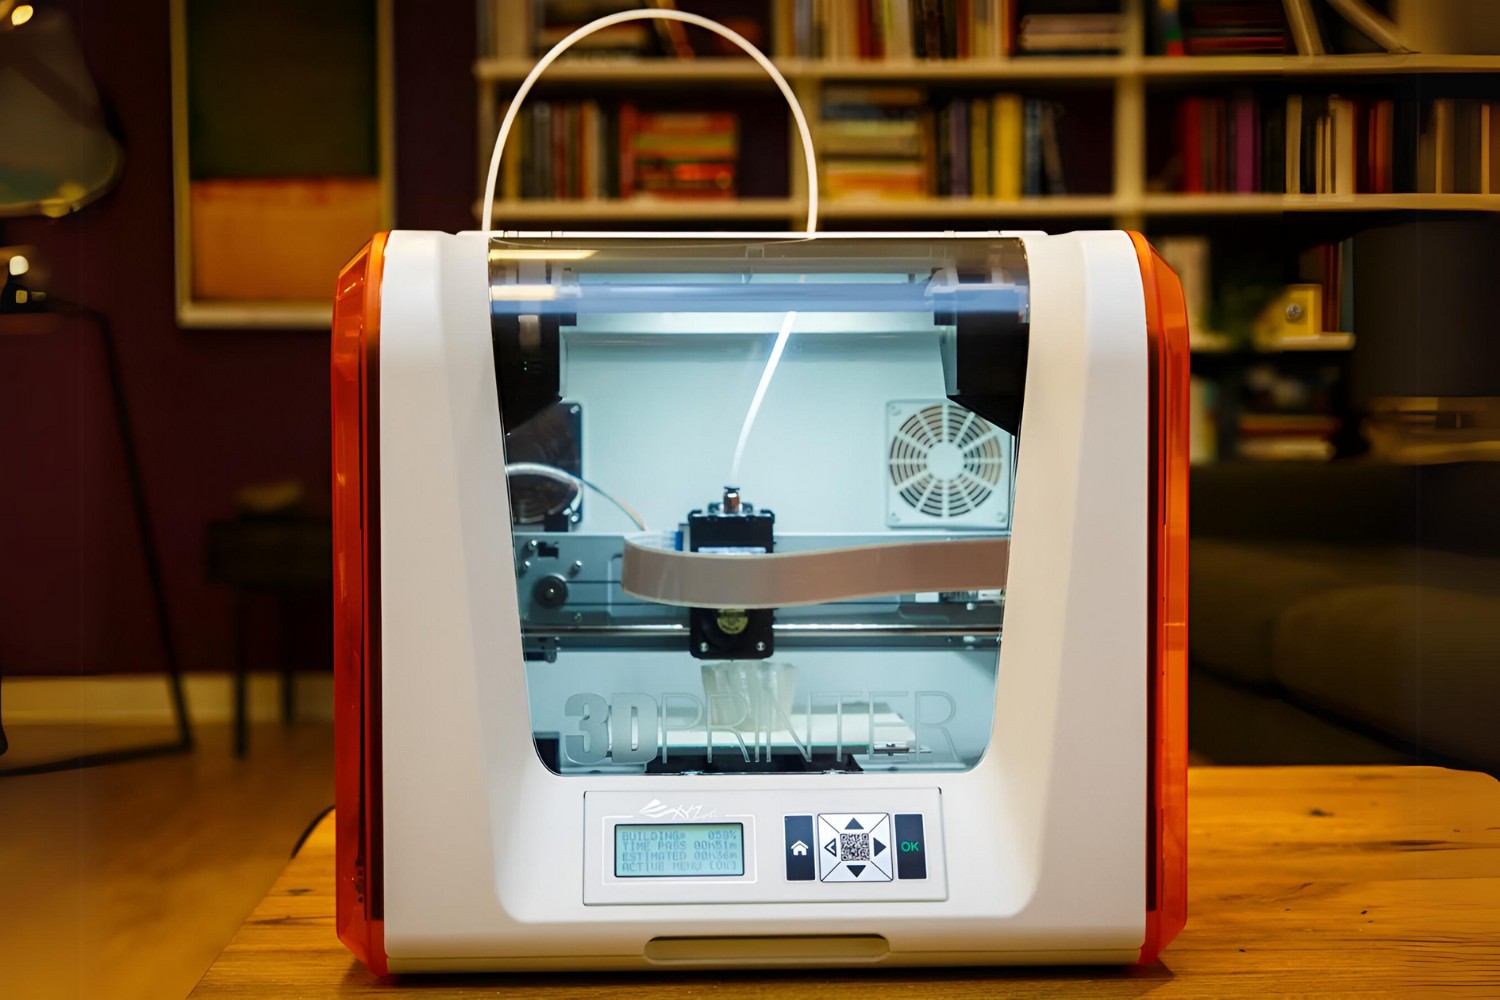
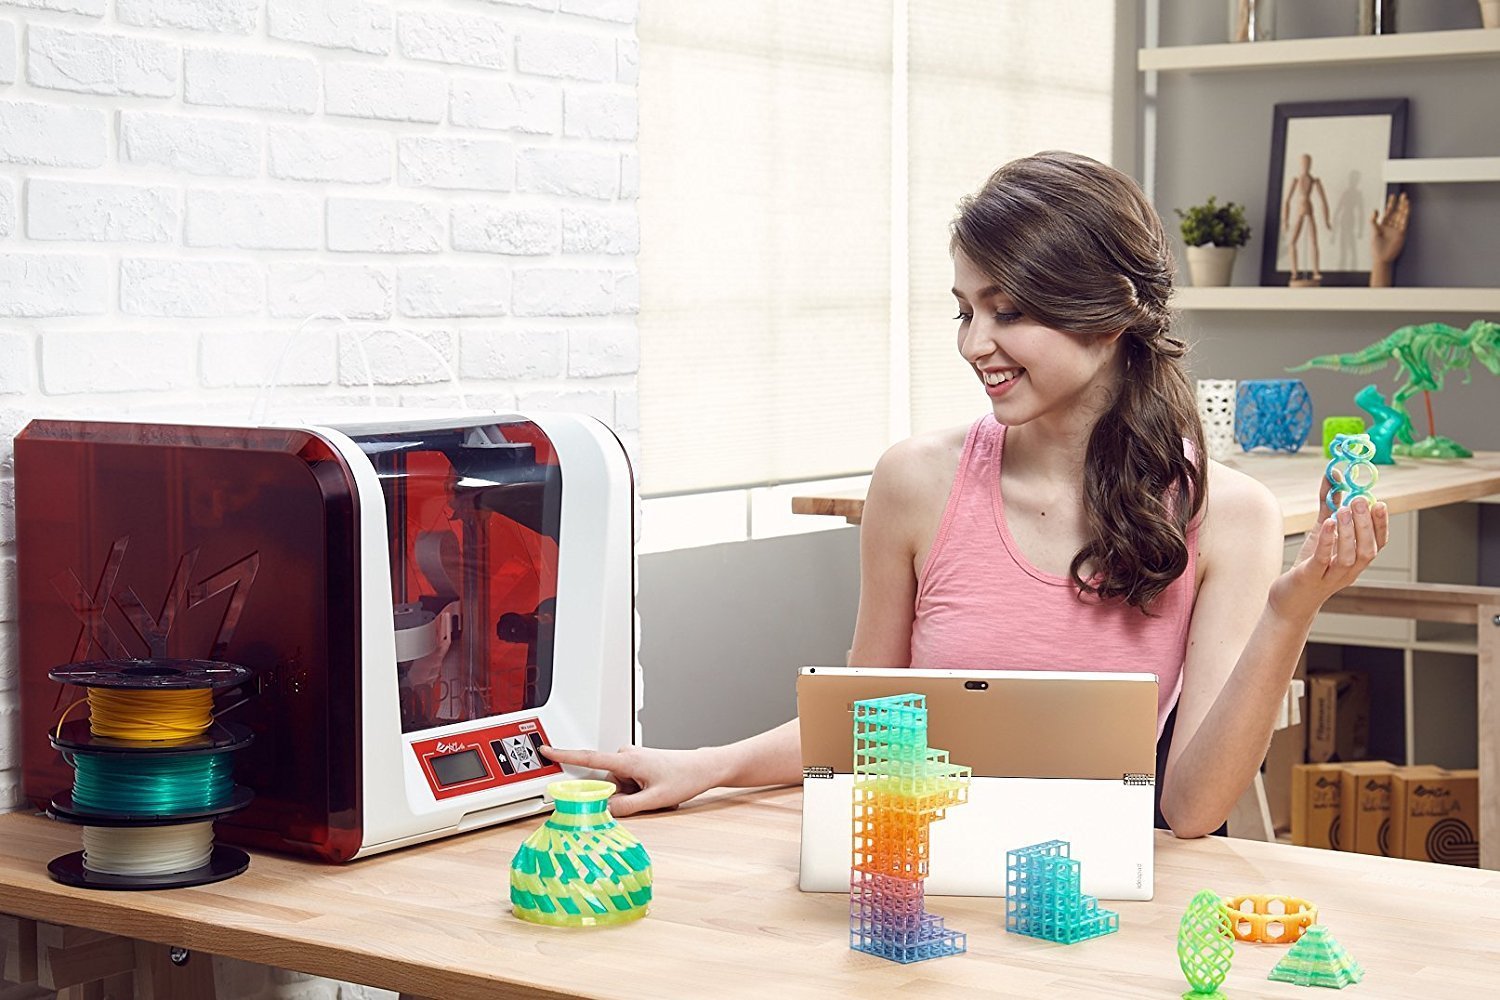
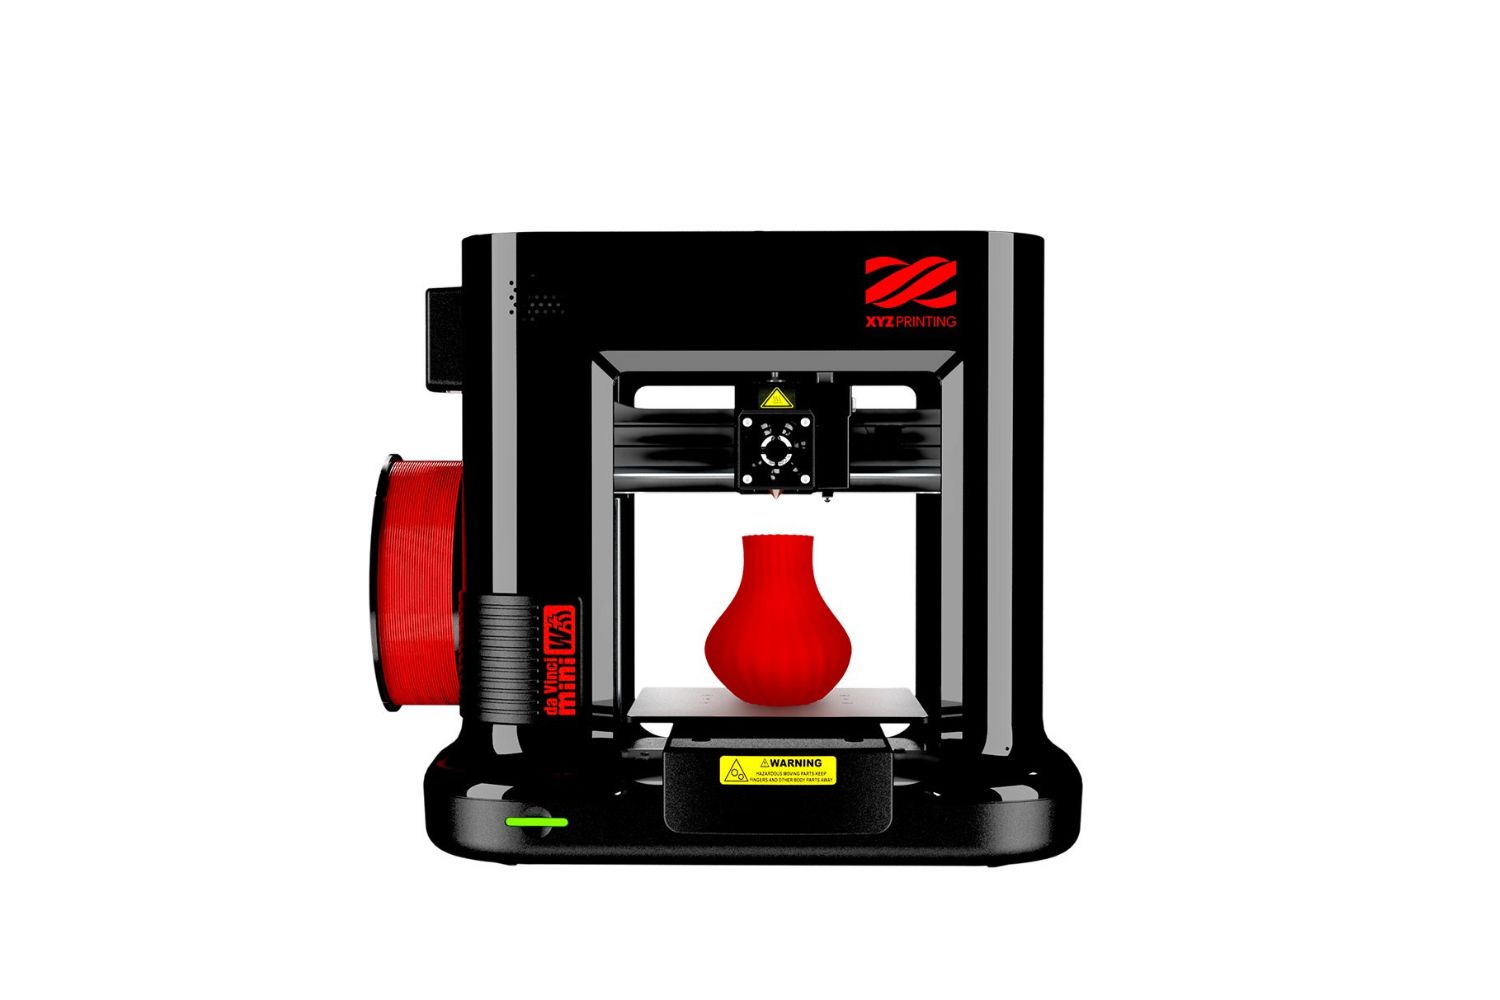
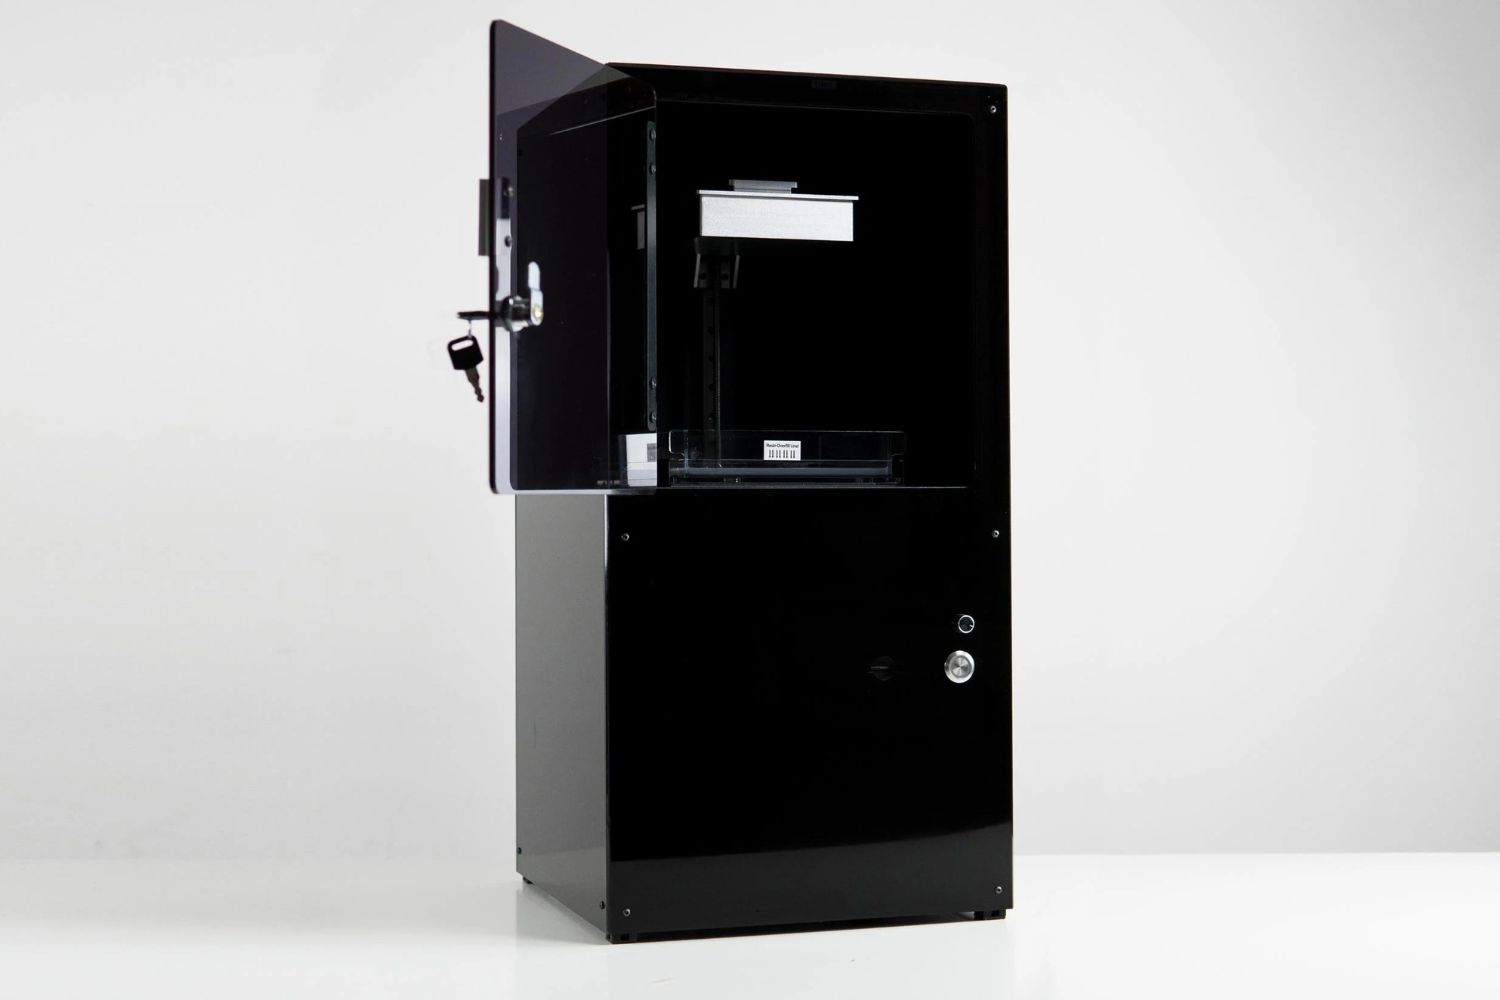
Welcome to the world of 3D printing! The Da Vinci Mini 3D Printer is a versatile and user-friendly device that allows you to bring your ideas to life. Whether you are a hobbyist, designer, or educator, this compact printer is perfect for unleashing your creativity without the need for complex setup or extensive technical knowledge.
With its intuitive interface and affordable price, the Da Vinci Mini puts the power of 3D printing within reach for everyone. This introductory guide will walk you through the process of calibrating your printer to ensure optimal print quality and performance.
Calibration is a crucial step for any 3D printer, as it ensures that the printer’s components are properly aligned and calibrated, resulting in accurate and precise prints. In this guide, we will cover the essential steps to calibrate your Da Vinci Mini, including leveling the print bed, calibrating the nozzle height, adjusting the extruder temperature, and testing the filament flow.
By following these steps, you’ll be on your way to producing high-quality prints with your Da Vinci Mini 3D Printer. So, let’s dive in and get started with the calibration process!
Safety Precautions
Before we begin the calibration process, it’s important to ensure your safety and the proper functioning of your Da Vinci Mini 3D Printer. Adhering to these safety precautions will help prevent accidents and ensure a smooth and enjoyable printing experience:
- Read the manual: Familiarize yourself with the operating instructions and safety guidelines provided in the user manual. This will help you understand the printer’s features, limitations, and how to operate it safely.
- Use in a well-ventilated area: 3D printing involves melting plastic filament, which can release fumes that may be harmful if inhaled in large quantities. Make sure to operate your printer in a properly ventilated area or consider using a dedicated fume extractor to maintain good air quality.
- Unplug when not in use: Whenever you are not using the printer, make sure to turn it off and unplug it from the power source. This will prevent any accidental operation and reduce the risk of electrical hazards.
- Keep away from flammable materials: Avoid placing your printer near flammable materials, liquids, or substances. The heat generated by the printer’s components can pose a fire hazard, so it’s crucial to maintain a safe distance from any potential ignition sources.
- Keep hands and loose clothing away from moving parts: While the printer is in operation, avoid reaching inside the print area or touching any moving parts. Loose clothing or accessories can get caught in the printer’s mechanisms, leading to injury or damage to the printer.
- Take care when handling the hot end and build plate: The hot end and build plate can reach high temperatures during operation. Use caution when working near these areas to avoid burns or other injuries. It’s recommended to allow the printer to cool down before attempting any maintenance or adjustments.
- Use certified and recommended materials: To ensure optimal performance and print quality, only use filaments that are recommended by the manufacturer for your Da Vinci Mini printer. Using unauthorized materials may damage the printer and void your warranty.
By following these safety precautions, you can enjoy a safe and worry-free 3D printing experience with your Da Vinci Mini 3D Printer. Now that we’ve covered the important safety measures, let’s move on to unboxing and setting up your printer.
Unboxing and Setup
Congratulations on your new Da Vinci Mini 3D Printer! Now let’s get started with the unboxing and setup process.
1. Unboxing: Carefully remove the printer from its packaging and ensure that all the included accessories and components are present. These may include the printer itself, the power cord, filament cartridges, and any additional items specific to your purchase.
2. Powering On: Find a suitable location for your printer near a power outlet. Connect the power cord to the printer and plug it into the wall socket. Press the power button to turn on the printer.
3. Installing Filament Cartridge: Open the filament cartridge compartment at the top of the printer. Insert the filament cartridge provided with the printer and ensure that it is securely placed. Follow the on-screen instructions for loading the filament into the printer.
4. Connecting to Wi-Fi: If your printer supports wireless connectivity, follow the instructions to connect it to your Wi-Fi network. This will enable you to transfer files wirelessly to the printer, enhancing convenience and flexibility.
5. Downloading Software: Visit the website or app store specified by the manufacturer to download the necessary software for your printer. This software will allow you to prepare, slice, and send 3D print files to your Da Vinci Mini printer.
6. Installing Software: Install the downloaded software on your computer or mobile device, following the provided instructions. Once installed, launch the software and ensure it detects your printer.
7. Leveling the Print Bed: This step is crucial to ensure proper adhesion and accuracy during printing. Follow the manufacturer’s instructions to level the print bed, usually done through a calibration process using the software.
8. Print Bed Surface Preparation: Depending on the printer model, you may need to apply a special print surface or adhesive to the print bed to enhance print adhesion. Follow the instructions provided by the manufacturer for this step.
9. Test Print: To ensure that everything is set up correctly, initiate a test print using a sample file provided with the printer or a simple design of your choice. Observe the print process, making note of any issues that may need to be addressed during calibration.
Congratulations! You have successfully unboxed and set up your Da Vinci Mini 3D Printer. In the next sections, we will guide you through the calibration process, which is essential for achieving optimal print quality. Let’s move on to leveling the print bed.
Leveling the Print Bed
Leveling the print bed is a crucial step in the calibration process. When the print bed is perfectly level, it ensures that the first layer of your print adheres properly and that subsequent layers are printed accurately. Follow these steps to level the print bed of your Da Vinci Mini 3D Printer:
- Home the Print Head: Using the printer’s interface or software, move the print head to the home position.
- Prepare a Leveling Aid: Some printers come with a specific tool or aid for leveling the bed. If one is included, use it to make the process easier and more precise. If not, you can use a piece of printer paper or a feeler gauge.
- Move the Print Head to the First Corner: Use the interface or software to move the print head over the first corner of the print bed. The corner should be easily accessible and visible.
- Set the Leveling Aid: Place the leveling aid, whether it’s the printer tool or the piece of paper, between the print nozzle and the print bed. Adjust the height until there is a slight resistance when sliding the paper back and forth.
- Adjust the Bed Screws: Depending on your printer model, there will be screws or knobs to adjust the level of the print bed. Tighten or loosen these screws to raise or lower the bed, aiming to achieve the desired resistance when sliding the leveling aid between the nozzle and the bed.
- Repeat for Other Corners: Move the print head to the next corner and repeat the process of placing the leveling aid and adjusting the bed screws. Continue this process for all four corners of the print bed.
- Double Check the Leveling: Once you’ve completed leveling all the corners, go through each corner again to make sure they are all properly leveled. It’s important to achieve consistency across the entire print bed.
- Test Print: To verify that the print bed is properly leveled, initiate a small test print that covers the entire bed surface. Observe the initial layer to ensure that it adheres well and appears uniform in height across the entire bed.
Remember, leveling the print bed is not a one-time process. It may need to be performed periodically, especially after moving or transporting the printer. A well-leveled bed is essential for successful 3D printing, so take the time to ensure it is properly calibrated.
Now that the print bed is leveled, let’s move on to the next step in the calibration process: calibrating the nozzle height.
Calibrating the Nozzle Height
Calibrating the nozzle height of your Da Vinci Mini 3D Printer is crucial for achieving proper layer adhesion and print quality. This step ensures that the nozzle is at the right distance from the print bed, allowing for precise filament deposition. Follow these steps to calibrate the nozzle height:
- Home the Print Head: Using the printer’s interface or software, move the print head to the home position.
- Prepare a Calibration Aid: Some printers come with a specific tool or aid for calibrating the nozzle height. If one is included, use it for accurate calibration. Otherwise, a piece of printer paper or a feeler gauge can be used.
- Place the Calibration Aid: Position the calibration aid, whether it’s the printer tool or the paper, underneath the print head. The tool should rest on the print bed, or the paper should be placed beneath the nozzle.
- Adjust the Nozzle Height: Use the interface or software to lower the print head until there is a slight resistance when sliding the calibration aid between the print nozzle and the print bed. The goal is to achieve a consistent and minimal gap across the entire bed.
- Lock the Nozzle Height: Once you have determined the correct nozzle height, lock it in place. This can be done by tightening any screws or knobs that secure the print head assembly. Ensure that the nozzle height remains stable during printing.
- Perform Test Print: To verify the effectiveness of the nozzle height calibration, initiate a small test print. Observe the initial layer to ensure proper adhesion and consistent thickness. Adjust the nozzle height as needed to achieve optimal results.
It’s important to note that nozzle height calibration may need to be performed periodically, especially if you change or replace the print bed, print surface, or other printer components. Maintaining the correct nozzle height is crucial for achieving accurate and high-quality prints.
With the nozzle height properly calibrated, we’re ready to move on to the next step in the calibration process: adjusting the extruder temperature.
Adjusting the Extruder Temperature
The extruder temperature plays a vital role in the 3D printing process, as it determines the melting and flow characteristics of the filament. By adjusting the extruder temperature to the optimal range for your filament material, you can achieve better print quality and avoid issues such as under or over-extrusion. Follow these steps to adjust the extruder temperature on your Da Vinci Mini 3D Printer:
- Identify Filament Material: Determine the type of filament material you are using. Common options include PLA, ABS, PETG, and more. Each material has a recommended temperature range for optimum print quality.
- Access Temperature Settings: Using the printer’s interface or software, navigate to the temperature settings menu. This will allow you to adjust the extruder temperature.
- Set the Temperature Range: Consult the manufacturer’s guidelines or the filament manufacturer’s recommendations to determine the appropriate temperature range for your chosen filament material.
- Initial Temperature Calibration: Start by setting the extruder temperature to the lower end of the recommended range. Allow the printer to preheat, and then initiate a test print that incorporates different geometries and layer thicknesses.
- Observe Print Quality: While the test print is in progress, closely monitor the print quality. Look for signs of under-extrusion, such as gaps between lines or inconsistent layer bonding, or over-extrusion, where excess filament is deposited and smearing occurs.
- Adjust Temperature: Based on the observed print quality, make incremental adjustments to the extruder temperature. Increase the temperature if under-extrusion is present, and decrease if over-extrusion occurs. Repeat the test print and evaluation process until desired print quality is achieved.
- Take Note of Optimal Temperature: Once you have determined the extruder temperature that results in optimal print quality for your chosen filament material, make a note of it for future reference. This will help ensure consistent results in your future prints.
Remember that different filament manufacturers or specific materials may have slightly different temperature requirements. It’s essential to follow their recommendations for the best results with your particular filament.
By adjusting the extruder temperature according to the specific filament material you are using, you can optimize the printing process and achieve high-quality prints. Now, let’s move on to the next step: testing the filament flow.
Testing the Filament Flow
Ensuring a consistent and smooth filament flow is essential for achieving high-quality prints on your Da Vinci Mini 3D Printer. Testing the filament flow allows you to identify and address any issues that may affect the extrusion process. Follow these steps to test the filament flow:
- Prepare the Printer: Ensure that your printer is properly heated and ready for printing. Make sure the extruder temperature is set to the recommended range for your filament material.
- Load Filament: Use the printer’s interface or software to load the filament into the extruder. Follow the manufacturer’s instructions for your specific model to ensure proper filament insertion.
- Start Extrusion: Begin the extrusion process by initiating a manual extrusion command through the printer’s interface or software. This can usually be found in the extruder or filament settings menu.
- Observe Filament Flow: During the extrusion process, closely observe the flow of the filament from the nozzle. Look for consistent and even extrusion without any excessive fluctuations or interruptions.
- Check for Clogs or Blockages: If you notice any irregularities in the filament flow, such as erratic movements or complete stoppage, it may indicate a clog or blockage in the extruder. In such cases, follow the manufacturer’s instructions for clearing the clog and ensuring smooth filament flow.
- Adjust Extrusion Settings: If the filament flow appears to be inconsistent or the extrusion is not meeting your expectations, you may need to make adjustments to the extrusion settings, such as flow rate or extrusion multiplier. Follow the manufacturer’s guidelines or consult reliable sources for the recommended settings for your printer.
- Perform Test Print: After ensuring a smooth and consistent filament flow, initiate a test print with a simple model or a calibration cube. Observe the print quality and check for any issues related to extrusion, such as gaps or over-extrusion.
By testing the filament flow, you can identify and troubleshoot any issues that may affect the quality of your prints. This step is crucial for ensuring smooth extrusion and consistent filament deposition. Now that you have tested the filament flow, let’s move on to the next section for some troubleshooting tips.
Troubleshooting Tips
Even with proper calibration and setup, occasional issues may occur during 3D printing. Understanding and addressing these issues will help you overcome challenges and improve the overall print quality on your Da Vinci Mini 3D Printer. Here are some troubleshooting tips to consider:
- Print Warping: If you notice the corners or edges of your prints lifting or warping, it may indicate poor adhesion to the print bed. To prevent this, ensure that the print bed is properly leveled and that the print surface is clean. You can also try using a heated print bed or applying adhesive materials like glue sticks or masking tape to enhance adhesion.
- Under-Extrusion: Under-extrusion occurs when the printer does not extrude enough filament, resulting in gaps or weak layers. Several factors can cause this, including a clogged nozzle, insufficient filament tension, or incorrect extrusion settings. Clean the nozzle, check the filament path, and adjust the extrusion settings accordingly to resolve this issue.
- Over-Extrusion: Over-extrusion is the opposite of under-extrusion, characterized by excessive filament deposition, causing blobs, excess material, or poor print quality. To tackle over-extrusion, ensure the nozzle is clean and unobstructed, check the filament diameter settings, and adjust the extrusion multiplier or flow rate to reduce the amount of filament being extruded.
- Stringing or Oozing: Stringing occurs when thin strands of filament are left between different parts of the print or during travel moves. To minimize stringing, adjust the retraction settings in your slicer software to pull back the filament during non-printing moves. Increasing the travel speed or reducing the printing temperature can also help reduce stringing or oozing issues.
- Misalignment or Layer Shifts: If you notice that your prints have misaligned layers or shifted positions, it may indicate an issue with the printer’s mechanical components or loose belts. Check that all belts are properly tensioned and that there are no obstructions or interference with the print head movement.
- Print Quality: If you are unsatisfied with the overall print quality, consider adjusting parameters such as layer height, print speed, cooling settings, or infill density. Experiment with different settings to find the optimal balance between speed and quality that suits your desired outcome.
- Software or Connectivity Issues: If you encounter software-related issues, ensure that your printer’s firmware and software are up to date. Check for any connectivity issues, such as USB cables or Wi-Fi connectivity problems, and restart both the printer and the software if necessary.
Keep in mind that troubleshooting may require some experimentation and patience. Document the changes you make and their effects to better understand the printer’s behavior and improve your troubleshooting skills over time. Additionally, utilize online support forums, manufacturer resources, or seek help from experienced users to assist you in resolving any persistent issues.
By employing these troubleshooting tips, you can overcome common challenges and enhance your printing experience with the Da Vinci Mini 3D Printer. Now that we have covered the troubleshooting aspect, let’s summarize our key learnings in the concluding section.
Conclusion
Calibrating and setting up your Da Vinci Mini 3D Printer is an essential process that ensures optimal print quality and performance. By following the steps outlined in this guide, you can achieve accurate prints and unleash your creativity with confidence.
We started by emphasizing the importance of adhering to safety precautions to ensure a safe and enjoyable printing experience. Unboxing and setting up the printer properly lays the foundation for successful printing. It involves connecting the printer, installing filament cartridges, connecting to Wi-Fi, and downloading and installing the necessary software.
The calibration process includes leveling the print bed to ensure proper adhesion and precise prints, as well as calibrating the nozzle height to achieve accurate filament deposition. Adjusting the extruder temperature is crucial for optimizing print quality based on the chosen filament material. Testing the filament flow allows you to identify and address any issues related to extrusion and ensure a smooth printing process.
We provided troubleshooting tips to assist you in resolving common issues that may arise during 3D printing. By following these tips and experimenting with different settings, you can overcome challenges and further enhance the quality of your prints.
Remember, 3D printing is a continuous learning process, and each print brings an opportunity to refine your skills and explore new possibilities. Stay curious, seek support from online communities or fellow enthusiasts, and don’t hesitate to troubleshoot issues along the way.
Now that you have completed the calibration and setup process for your Da Vinci Mini 3D Printer, it’s time to unleash your creativity and bring your ideas to life. Embrace the possibilities of 3D printing and enjoy the journey of making your imagination tangible. Happy printing!


