Introduction
Welcome to the world of gaming laptops! Do you love gaming and want a custom-built laptop that can handle the latest titles with ease? Look no further, because in this guide, we will walk you through the process of building your very own gaming laptop that perfectly suits your needs and preferences.
Building a gaming laptop can be a rewarding experience that not only saves you money but also allows you to customize every aspect of your machine. From choosing the components to assembling them, you have full control over the performance, aesthetics, and functionality of your gaming rig.
Before diving into the exciting process of building your own gaming laptop, it’s important to understand a few key aspects. Building a laptop requires more research and planning compared to building a desktop PC, as laptops have more specialized components and limited upgrade options. However, the end result will be a portable gaming powerhouse that you can take with you wherever you go.
In this guide, we will provide you with step-by-step instructions on how to build a gaming laptop. We will cover everything from researching and selecting components to assembling and testing your custom-built machine. So, get ready to embark on this exhilarating journey of creating your dream gaming laptop from scratch.
While building a gaming laptop might seem daunting, even for those with little technical knowledge, we will simplify the process as much as possible. Whether you are a seasoned tech aficionado or a newbie enthusiast, this guide will equip you with the necessary know-how to tackle each stage of the building process. We will also provide troubleshooting tips and resources to ensure that you have a smooth and successful build.
So, are you ready to unleash your creativity and build a gaming laptop that will elevate your gaming experience to new heights? Let’s dive in and begin our exploration of the fascinating world of building a gaming laptop!
Research and Planning
Before you start building your gaming laptop, it’s crucial to conduct thorough research and create a solid plan. This stage is essential for understanding the requirements of your build, selecting the right components, and ensuring compatibility.
Starting with your budget, determine how much you are willing to spend on your gaming laptop. This will help you set realistic expectations and narrow down your options. Consider factors such as processing power, graphics capabilities, storage capacity, and overall build quality. Research different brands, models, and configurations to find the best fit for your needs.
When it comes to choosing the processor, it’s recommended to opt for the latest generation Intel or AMD CPUs. These offer excellent performance and power efficiency for gaming. Look for processors with high clock speeds and multiple cores to handle demanding games smoothly.
The graphics card is another critical component for gaming laptops. Research the latest graphics card models from manufacturers like NVIDIA and AMD, and choose one that can handle the games you intend to play. Consider factors such as VRAM size, CUDA cores, and clock speeds.
RAM (Random Access Memory) is important for multitasking and smooth gameplay. Aim for at least 8GB of RAM, but if your budget allows, consider upgrading to 16GB for future-proofing your laptop.
Storage is also a significant consideration. Solid-state drives (SSDs) offer faster boot times and application loading, while traditional hard disk drives (HDDs) provide more storage space at a lower cost. Consider a combination of an SSD for your operating system and frequently used games or applications, and an HDD for storing data and less frequently accessed games.
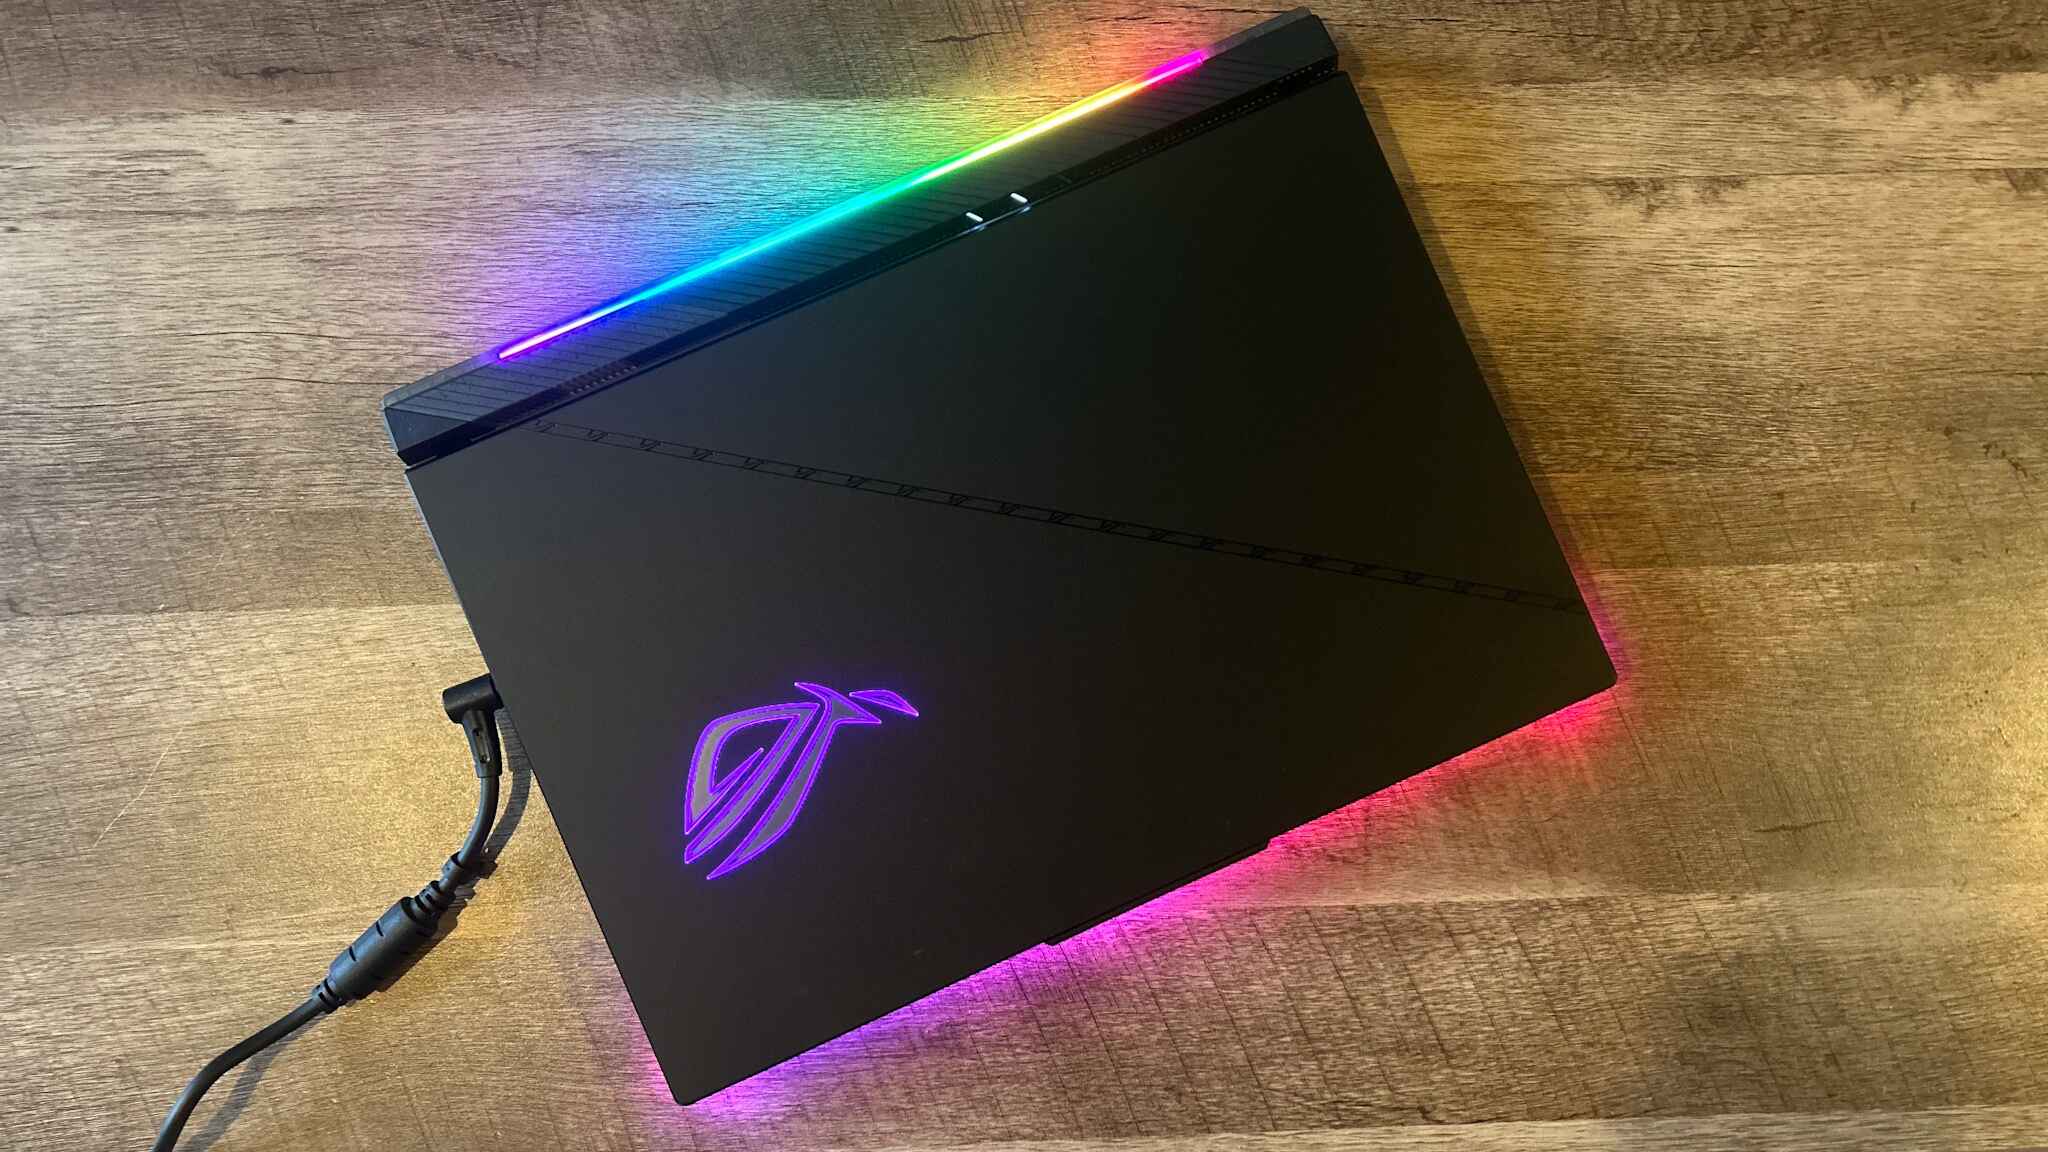
Other components to research and consider are the display, keyboard, and connectivity options. Look for a high-resolution display with a fast refresh rate for a smooth and immersive gaming experience. Evaluate the keyboard for comfort and features like RGB lighting. Ensure that your laptop has the required ports and wireless connectivity options.
Compatibility is crucial when building a gaming laptop, as you want to ensure that all the components work together seamlessly. Research and consult compatibility lists provided by manufacturers to verify that your chosen components are compatible with one another. Additionally, consider the thermal requirements of your build and ensure that the laptop chassis can adequately dissipate heat generated by powerful components.
By conducting thorough research and planning, you will have a clear understanding of the components that best suit your needs and budget. This knowledge will guide you in making informed decisions when selecting the components for your gaming laptop build. Now that you have a comprehensive plan in place, it’s time to move on to the exciting stage of selecting the actual hardware!
Selecting the Components
Now that you have completed the research and planning phase, it’s time to start selecting the components for your custom gaming laptop. This step requires careful consideration and attention to detail to ensure you choose the right components that will maximize performance and meet your gaming needs.
Start with the processor (CPU) that you identified during your research. Consider factors such as clock speed, number of cores, and compatibility with your chosen motherboard. Make sure the CPU you select is powerful enough to handle the demands of modern gaming.
Next, move on to the graphics card (GPU). Select a GPU that offers the necessary power and performance for the games you want to play. If you opt for a gaming laptop, consider getting a dedicated graphics card rather than relying on integrated graphics. Look for GPUs with a sufficient VRAM capacity and compatibility with your chosen CPU and motherboard.
RAM (Random Access Memory) is an important component for smooth gaming performance and multitasking. Choose RAM modules with sufficient capacity and high speeds. Aim for at least 8GB, but if your budget allows, consider getting 16GB for better future-proofing.
Storage is crucial for storing your games, applications, and files. Decide between a solid-state drive (SSD) and a traditional hard disk drive (HDD) based on your budget and storage needs. SSDs offer faster load times, while HDDs offer larger storage capacities at a lower cost. Consider a combination of both, with an SSD for your operating system and frequently played games, and an HDD for additional storage.
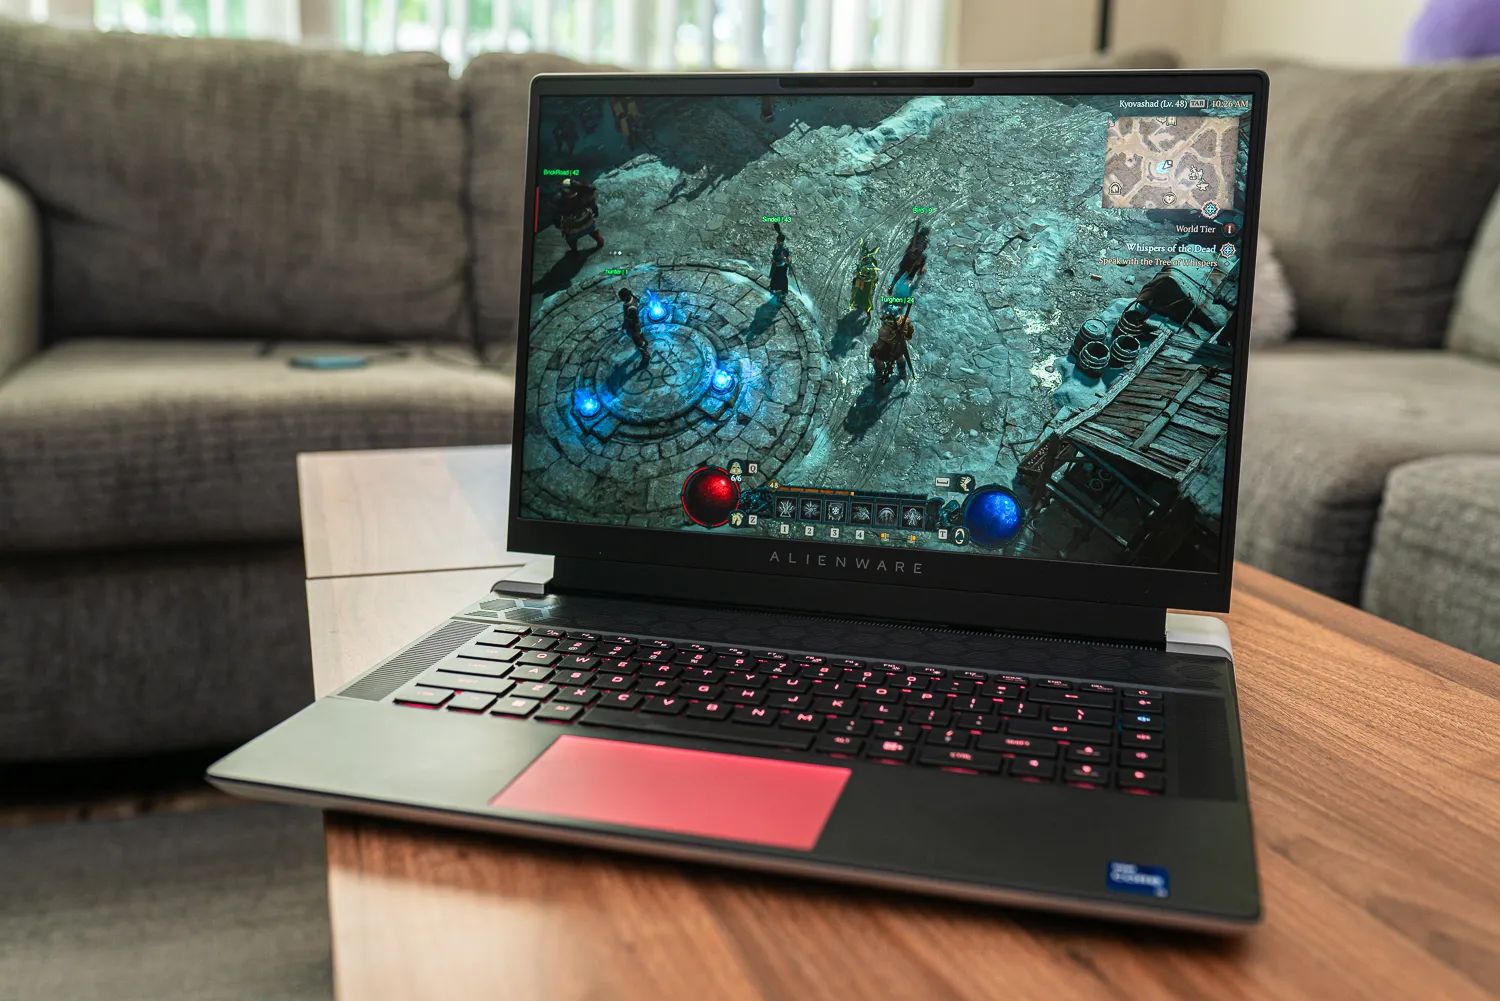
Don’t forget about the display. Look for a high-resolution display with a fast refresh rate to enhance your gaming experience. Consider factors like panel type (IPS, TN, or VA), response time, and color accuracy. Additionally, check if the display supports features like G-Sync or FreeSync for smoother gameplay.
The keyboard is another important aspect to consider, especially if you plan on spending long hours gaming. Look for a comfortable keyboard with responsive keys and customizable features like RGB lighting. Consider the layout and the presence of dedicated gaming keys or macro buttons.
Lastly, consider the connectivity options and ports available on the laptop. Ensure that it has the necessary USB ports, audio jacks, HDMI or DisplayPort outputs, and wireless connectivity (Wi-Fi and Bluetooth) for your specific needs.
It’s important to note that while selecting the components, do not compromise on quality. Opt for reputable brands and models that have positive reviews and good customer support. Compare prices across different retailers to ensure you get the best deals without compromising on performance.
By carefully selecting the components based on your research and specifications, you can build a gaming laptop that perfectly caters to your gaming needs and preferences. With the components in hand, it’s time to move on to the exciting stage of assembling your custom gaming laptop!
Assembling the Laptop
Now that you have all the necessary components, it’s time to embark on the exciting journey of assembling your custom gaming laptop. The process requires patience, attention to detail, and following the manufacturer’s instructions. Let’s break it down step by step.
Start by preparing a clean and well-lit workspace. Gather all the tools you’ll need, such as a screwdriver set, thermal paste, and cable ties. Refer to the laptop’s user manual and the component manuals for specific instructions and guidance.
Begin by installing the CPU onto the motherboard. Carefully align the CPU with the socket, ensuring that the notches match. Handle the CPU with caution, avoiding any contact with the pins or the delicate underside. Gently lower the retention arm to secure the CPU in place.
Next, install the RAM modules into the appropriate slots on the motherboard. Make sure to align the notch on the RAM module with the key in the RAM slot. Apply gentle and even pressure to both ends of the module until it clicks into place. Double-check that the modules are securely seated.
Proceed to install the storage devices, such as the SSD and HDD, into their respective slots. Connect the data cables to the motherboard and power cables to the power supply. Secure the drives using the provided screws, ensuring they are firmly in place.
Now, it’s time to mount the motherboard into the laptop chassis. Carefully align the motherboard’s I/O shield with the corresponding cutouts on the laptop chassis. Gently lower the motherboard, ensuring that it aligns with the mounting screw holes. Secure the motherboard in place using the provided screws, but avoid overtightening them.
Connect the necessary cables from the case, such as the front panel connectors, USB headers, and audio headers, to the appropriate ports on the motherboard. Follow the motherboard’s manual for guidance on cable connections.
Install the graphics card into the designated PCIe slot on the motherboard. Secure it by tightening the retention bracket or screws. Connect the necessary power cables from the power supply to the graphics card, ensuring a secure and snug fit.
Connect the necessary cables, such as those for the front panel buttons and LED indicators, to the appropriate headers on the motherboard. Refer to the motherboard’s manual for specific instructions on connecting these cables.
Apply a small amount of high-quality thermal paste onto the CPU, spreading it evenly using a plastic applicator or thermal pad, as recommended by the CPU and cooler manufacturers. Attach the CPU cooler or heatsink, ensuring a tight fit. Connect the cooler’s fan cable to the CPU fan header on the motherboard.
Finally, double-check all the connections and cable routings to ensure they are secure and tidy. Use cable ties to organize and manage the cables, improving airflow and aesthetics within the laptop chassis. Avoid any cable interference with cooling components.
With your laptop fully assembled, it’s time to move onto the next phase: installing the operating system and drivers. But before that, take a moment to appreciate your hard work and attention to detail. You are one step closer to having your very own custom gaming laptop!
Installing the Operating System
With your gaming laptop fully assembled, it’s time to install the operating system (OS) that will power your gaming adventures. Follow these steps to successfully install the OS of your choice:
1. Prepare the installation media: Download the latest version of the operating system you want to install from the official website. Create a bootable USB drive or DVD using a tool like Rufus or the built-in media creation tool provided by the OS manufacturer.
2. Insert the installation media: Connect the bootable USB drive or insert the installation DVD into your laptop’s drive. Restart your laptop and access the boot menu by pressing the appropriate key (usually Esc, F12, or Delete) during startup. Select the bootable media from the menu.
3. Start the installation: Follow the on-screen instructions to proceed with the installation. Choose your language, region, and other preferences as prompted. Select the installation type; typically, you will want to perform a fresh installation on an empty drive.
4. Partition the drive: During the installation process, you will be prompted to partition the drive. If you have an SSD and HDD, consider installing the OS on the SSD for faster performance. Allocate the desired space for the OS partition and format it accordingly.
5. Install the OS: Proceed with the installation by following the prompts. Enter any necessary product keys or account information when prompted. Choose the appropriate installation options, such as customizing the OS components or enabling security features.
6. Install drivers: After the OS is installed, the next crucial step is installing drivers for your hardware components. Visit the manufacturer’s website for your motherboard, graphics card, and other hardware to download and install the latest drivers. These drivers ensure optimal performance and compatibility.
7. Perform updates: Once the drivers are installed, check for any available updates for the operating system. This can be done by going to the settings or control panel and searching for “Windows Update” or the respective update settings for your OS. Install any available updates to enhance security and performance.
8. Install essential software: After completing all necessary updates, install essential software like web browsers, antivirus programs, and any specific software required for your gaming experience. Opt for trusted sources and download from official websites whenever possible.
9. Customize settings: Personalize your gaming laptop by customizing various settings, such as display resolution, power management options, keyboard and mouse settings, and personal preferences within the operating system. Explore the settings menu and make adjustments based on your preferences.
10. Test functionality: Before diving into your gaming sessions, ensure that all the hardware components are working correctly. Test the display, keyboard, mouse, audio, and other peripherals. Run a few system stress tests or benchmarking tools to ensure stability and performance.
Congratulations! You have successfully installed the operating system on your gaming laptop. Now it’s time to install your favorite games and start enjoying the incredible gaming experience your custom-built laptop provides.
Testing and Troubleshooting
After installing the operating system and essential software on your gaming laptop, it’s crucial to thoroughly test the system to ensure everything is functioning optimally. This stage allows you to identify any potential issues or errors and troubleshoot them effectively. Follow these steps to test and troubleshoot your gaming laptop:
1. Running System Stress Tests: Use software like Prime95, FurMark, or 3DMark to stress test your CPU, GPU, and overall system performance. These tests will help identify any stability issues or overheating problems. Keep an eye on temperatures and system performance during these tests.
2. Testing Gaming Performance: Install and play a few graphically demanding games to evaluate gaming performance. Check for smooth gameplay, no screen tearing or artifacts, and adequate frame rates. Adjust in-game settings as needed to optimize performance without sacrificing visuals.
3. Checking Hardware Temperatures: Monitor CPU and GPU temperatures using software like HWMonitor or MSI Afterburner. Ensure that temperatures are within acceptable ranges, as excessive heat can lead to performance throttling or even damage hardware components. Clean any dust from cooling vents and consider additional cooling solutions if necessary.
4. Testing Connectivity: Check the functionality of Wi-Fi, Bluetooth, and any other network connectivity options. Connect to your home network and test internet speeds to ensure smooth online gaming. Additionally, test any USB ports, audio jacks, and HDMI/DisplayPort outputs to ensure they are working correctly.
5. Troubleshooting Common Issues: In case you encounter any issues during the testing phase, refer to the troubleshooting section of your hardware manuals or seek guidance from online forums and communities. Common issues can include software conflicts, driver compatibility problems, or hardware malfunctions. Follow the recommended troubleshooting steps to resolve the issues.
6. Updating Drivers and Software: Ensure that all your drivers and software are up to date. Regularly check the manufacturer’s websites for new updates, patches, or bug fixes that may improve performance or address known issues. Keeping your system up to date is essential for maintaining stability and compatibility.
7. Monitoring System Performance: Use tools like Task Manager or resource monitoring software to keep an eye on system resource usage. Monitor CPU, GPU, and RAM utilization, as well as disk activity. This will help you identify any processes or applications that may be causing performance issues or excessive resource consumption.
8. Creating System Backups: It is always wise to create regular backups of your system to protect your data and restore your system in case of any failures or issues. Utilize built-in backup utilities or third-party software to create system images or backups of important files and folders. Store your backups on external storage devices or cloud storage for added security.
9. Seeking Professional Help: If you encounter persistent hardware or software issues that you are unable to resolve on your own, consider seeking assistance from professional technicians or contacting the customer support departments of your hardware components or software providers. They can provide specialized guidance and help resolve complex issues.
By thoroughly testing your gaming laptop and troubleshooting any potential issues, you will ensure a smooth and stable gaming experience. Take the necessary steps to address any problems and continually monitor your system’s performance to maintain optimal functionality. Now you can confidently dive into your gaming sessions and unleash the full potential of your custom-built gaming laptop!
Finalizing the Setup
After successfully testing and troubleshooting your gaming laptop, it’s time to finalize the setup and make some final adjustments to optimize your gaming experience. Follow these steps to ensure everything is in place for a seamless and enjoyable gaming session:
1. Organizing Cables and Cable Management: Take some time to reorganize and properly manage the cables inside your gaming laptop. Use cable ties or Velcro straps to bundle and secure cables, ensuring better airflow and a tidy interior. This not only improves aesthetics but also helps with cooling and maintenance.
2. Optimizing Power Settings: Adjust the power settings of your gaming laptop to optimize performance and battery life. Depending on your needs, you can choose power plans like “High Performance” for maximum performance or “Power Saver” for improved battery life. Customize the power settings to strike the right balance between performance and energy efficiency.
3. Installing Essential Software and Utilities: Install additional software and utilities that enhance your gaming experience, such as game launchers, graphics tweaking tools, and performance monitoring software. Consider software that provides real-time system performance data, temperature monitoring, and fan control to ensure optimal gameplay.
4. Configuring Gaming Profiles: Many gaming laptops come with software that allows you to create and save gaming profiles for specific games. Take advantage of these features to customize keyboard shortcuts, mouse settings, and display options for each game. This enables you to switch between profiles seamlessly and enhance your gaming efficiency.
5. Customizing Lighting and Aesthetics: If your laptop has RGB lighting or customizable backlighting, explore the settings to personalize the colors and effects. Let your creativity shine by creating a unique lighting scheme that matches your gaming style and preference. Additionally, consider adding decals or skins to customize the exterior appearance of your laptop.
6. Setting Up Security Measures: Install a reliable antivirus program and activate the built-in security features of your operating system to safeguard your gaming laptop against malware and cyber threats. Regularly update the antivirus software and perform system scans to ensure your laptop remains protected while connected to the internet.
7. Creating System Restore Points: Before diving into extended gaming sessions, create system restore points to provide a fail-safe option in case of unexpected issues or software conflicts. Creating restore points allows you to revert to a previous stable state of your system, minimizing the impact of any future problems.
8. Backing up Game Saves and Data: To protect your game progress and important files, create regular backups of your game saves and other crucial data. Utilize cloud storage services or external storage devices to store backups securely. This ensures that even if your hardware fails or you need to perform a clean installation, you won’t lose your valuable game progress.
9. Regular Maintenance and Updates: Keep your gaming laptop in optimal condition by performing regular maintenance tasks. This includes cleaning the laptop’s exterior and keyboard, regularly updating drivers and software, and monitoring system temperatures and fan speeds. Regular maintenance helps prolong the lifespan of your laptop and ensures peak performance.
10. Enjoying Your Gaming Experience: With your gaming laptop fully set up and optimized, it’s time to sit back, relax, and enjoy your gaming sessions. Immerse yourself in the exciting worlds and thrilling gameplay that your custom-built laptop can deliver. Don’t forget to share your gaming experiences with fellow gamers and continue exploring new titles to fuel your passion for gaming.
By following these final steps, your gaming laptop setup will be complete, providing you with the ultimate gaming experience tailored to your preferences and needs. Keep exploring and pushing the limits of your custom-built gaming laptop, and have a fantastic time gaming!
Conclusion
Congratulations on successfully building your own gaming laptop! Throughout this guide, we have covered the essential steps of researching, planning, selecting components, assembling, installing the operating system, testing, and finalizing the setup. By following these steps and paying attention to detail, you have created a custom gaming laptop that perfectly suits your gaming needs and preferences.
Building a gaming laptop not only allows you to save money but also gives you the freedom to customize every aspect of your machine. From selecting powerful processors and graphics cards to choosing high-resolution displays and comfortable keyboards, you have crafted a gaming laptop that will provide you with countless hours of immersive gaming experiences.
Remember, the process of building a gaming laptop requires thorough research, attention to detail, and patience. By carefully selecting compatible components, ensuring proper assembly, and addressing any issues that arise during testing and troubleshooting, you have created a stable and powerful gaming machine.
As you embark on your gaming journey with your new laptop, don’t forget to regularly update your drivers, perform system maintenance, and stay up to date with the latest software. This will help ensure optimal performance and longevity for your gaming laptop.
Enjoy the fruits of your labor and explore the vast universe of games, from breathtaking open-world adventures to competitive multiplayer battles. With your custom-built gaming laptop, you are now equipped to unleash your gaming prowess and experience the immersive worlds that modern gaming has to offer.
Continue to stay curious, experiment with new games and settings, and stay connected with the gaming community. Share your experiences, seek advice, and discover new gaming challenges. With your own gaming laptop, the possibilities are endless.
Thank you for choosing this guide to build your gaming laptop, and best of luck in your gaming endeavors!