Introduction
Welcome to this guide on how to boot Windows from a USB drive. Booting Windows from a USB drive can be extremely useful in various scenarios, such as when your computer’s operating system crashes or when you want to install Windows on a new system. This method allows you to conveniently carry around your Windows installation on a portable USB drive, giving you the flexibility to boot your system from any compatible computer.
Traditionally, Windows is installed from a CD or DVD, but with advancements in technology, it is now possible to perform the installation from a USB drive. This method is not only more convenient but also faster, as USB drives offer faster read and write speeds compared to optical discs. Additionally, USB drives are more durable and less prone to scratches or damage, making them a reliable choice for installing and booting Windows.
To successfully boot Windows from a USB drive, there are a few requirements and steps you need to follow. First, you’ll need to download the Windows ISO file, which contains the installation files for the operating system. Then, you’ll need to create a bootable USB drive using specialized software. After that, you’ll need to change the boot order in your computer’s BIOS settings to prioritize the USB drive. Finally, you’ll be able to boot your system from the USB drive and proceed with the Windows installation.
In this guide, we will walk you through each step in detail, ensuring that you have a clear understanding of the process. By following these steps, you’ll be able to successfully boot Windows from a USB drive and have a working operating system in no time. So, let’s get started with the first step: downloading the Windows ISO file.
Requirements for Booting Windows from USB
Before you can start the process of booting Windows from a USB drive, there are a few requirements you need to meet. These requirements ensure that your computer is compatible with the bootable USB method and that you have the necessary tools to complete the process successfully.
1. USB Drive: You will need a USB drive with sufficient storage capacity to hold the Windows installation files. A USB 3.0 drive is recommended for faster read and write speeds, but a USB 2.0 drive will also work.
2. Windows ISO File: You will need the Windows ISO file, which contains the installation files for the specific version of Windows you want to install. You can download the Windows ISO file from the official Microsoft website or other trusted sources.
3. Bootable USB Creation Tool: To create a bootable USB drive, you will need a dedicated software tool. There are several options available, such as Rufus, Win32 Disk Imager, and Windows USB/DVD Download Tool. Choose one that is compatible with your operating system and follow the instructions provided by the tool’s developer.
4. Access to BIOS: You will need access to your computer’s BIOS (Basic Input/Output System) to change the boot order and prioritize the USB drive. Every computer has a different method to access the BIOS, so refer to your computer’s manual or manufacturer’s website for instructions specific to your device.
5. Valid Windows Product Key: To activate Windows after installation, you will need a valid product key. This key is usually provided with the Windows purchase or with the computer if it came pre-installed. Keep the product key handy during the installation process.
By ensuring that you have met these requirements, you are ready to proceed with the steps to boot Windows from a USB drive. Each requirement plays a crucial role in the overall process, so make sure to have all the necessary resources and tools available before starting the installation.
Step 1: Downloading Windows ISO file
The first step in booting Windows from a USB drive is to download the Windows ISO file. This file contains all the necessary installation files and will serve as the source for creating a bootable USB drive. Follow the steps below to download the Windows ISO file:
- Visit the official Microsoft website or trusted software distribution websites to download the Windows ISO file. Ensure that you choose the correct version and edition of Windows that you want to install.
- Once you have selected the appropriate Windows version, click on the download link to begin the download process. The file size of the ISO file can be quite large, so a stable internet connection is recommended to ensure a smooth download.
- Depending on your internet speed, the download may take some time. It’s essential to be patient and avoid interrupting the download process to prevent any possible corruption of the ISO file.
- Once the download is complete, verify the integrity of the ISO file by comparing its checksum with the official Microsoft checksum. This step ensures that the downloaded file is not corrupted or tampered with.
Ensure that you save the downloaded Windows ISO file in a location that is easily accessible. You will need this file in the next steps of the process to create a bootable USB drive. Remember to keep a backup of the ISO file to avoid any data loss in case of accidental deletion or corruption.
By successfully completing this step, you have obtained the Windows ISO file, which is a crucial component in the process of booting Windows from a USB drive. Now, let’s move on to the next step: creating a bootable USB drive.
Step 2: Creating Bootable USB Drive
Once you have downloaded the Windows ISO file, the next step is to create a bootable USB drive. This process involves using specialized software to transfer the installation files from the ISO file to the USB drive. Follow the steps below to create a bootable USB drive:
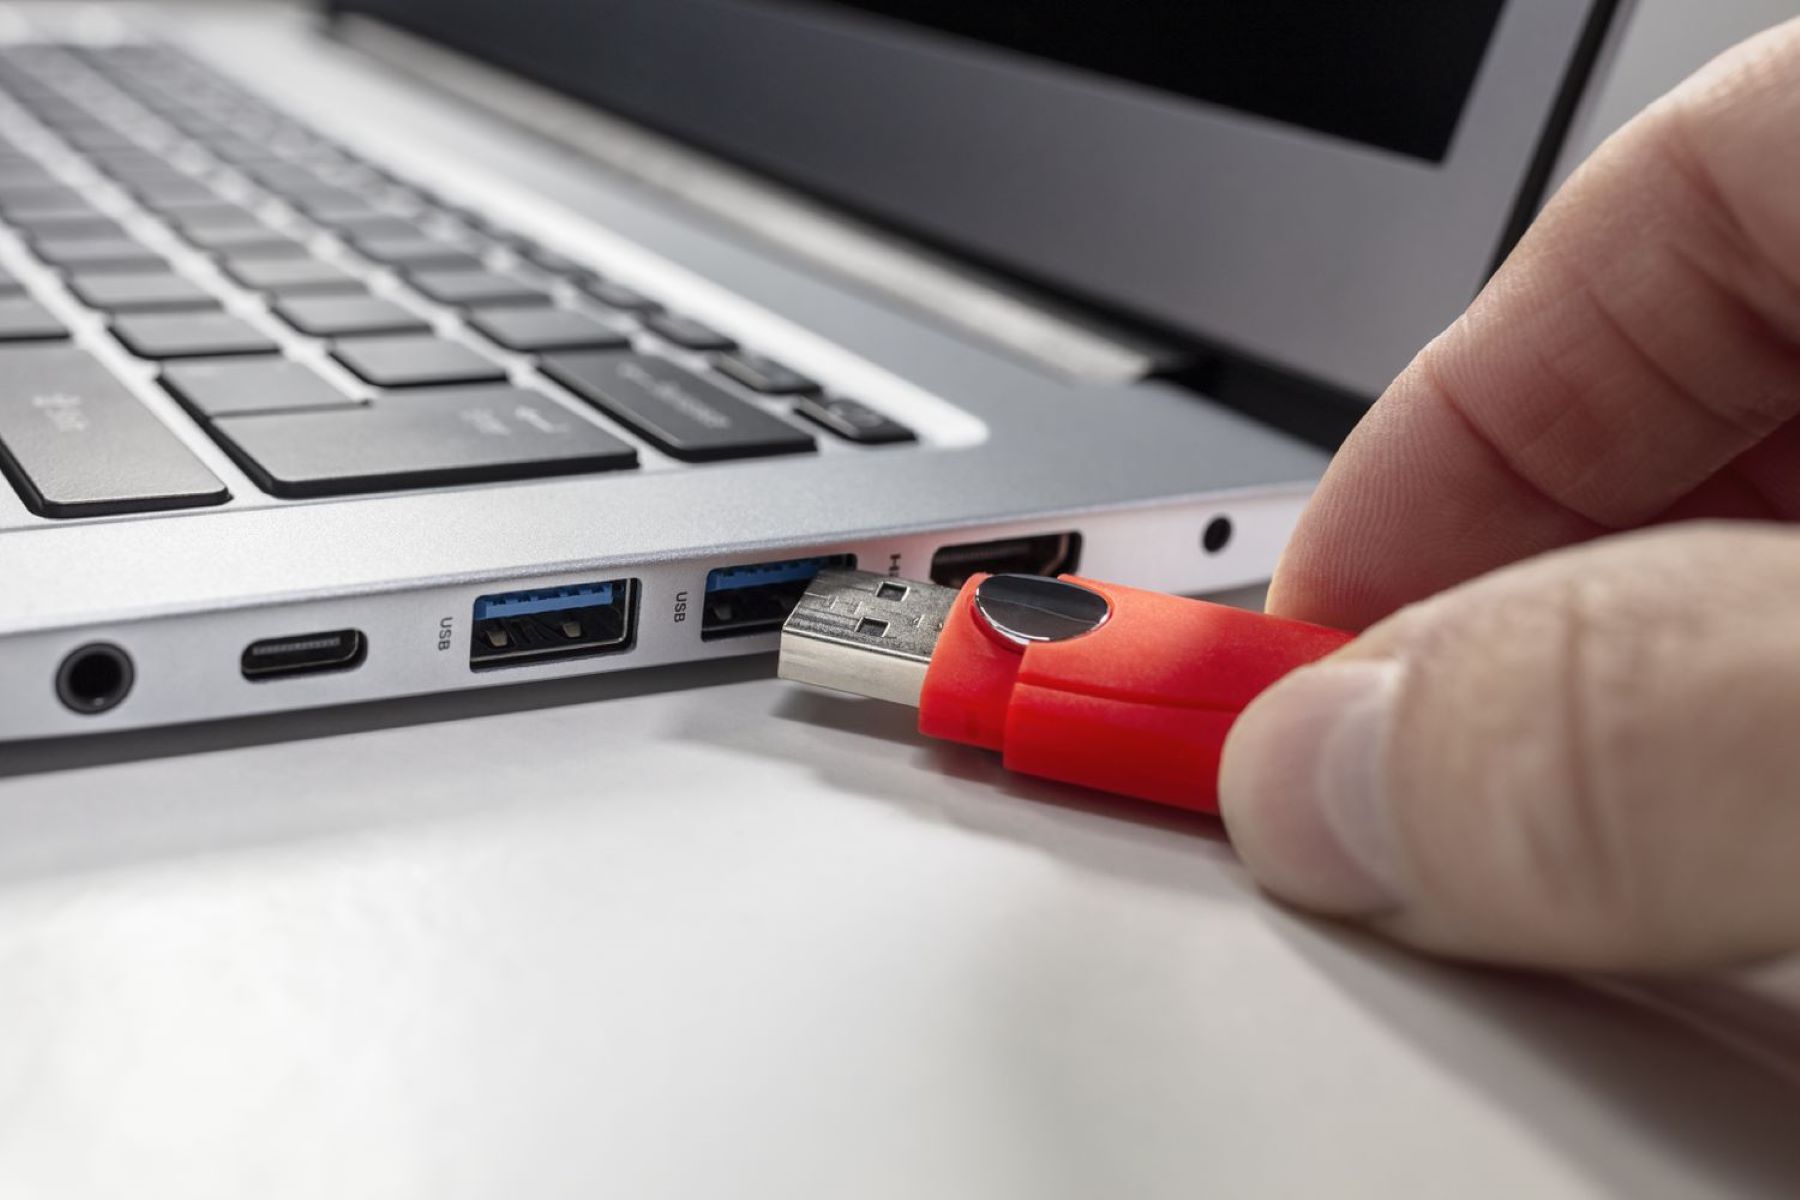
- Connect the USB drive to your computer. Ensure that the USB drive is empty or that you have backed up any important files stored on it, as the creation process will erase all existing data.
- Download and install a bootable USB creation tool of your choice. Popular options include Rufus, Win32 Disk Imager, and Windows USB/DVD Download Tool.
- Open the bootable USB creation tool and select the ISO file you downloaded in the previous step. The tool will automatically detect the USB drive connected to your computer.
- Choose the appropriate settings for the bootable USB creation, such as partition scheme and file system format. It is recommended to use the default settings unless you have specific requirements or instructions provided by the Windows ISO file source.
- Double-check that the correct USB drive is selected, as the creation process will erase all data on the chosen drive. Click on the “Start” or “Create” button to begin the process.
- Wait for the bootable USB creation tool to transfer the installation files from the ISO file to the USB drive. This process may take several minutes, depending on the speed of your USB drive and computer.
- Once the creation process is complete, you will have a bootable USB drive ready to install Windows. Safely eject the USB drive from your computer.
Congratulations! You have successfully created a bootable USB drive. This USB drive contains all the necessary files to install Windows on your computer. In the next step, we will learn how to change the boot order in your computer’s BIOS settings to prioritize the USB drive and boot into the Windows installation process.
Step 3: Changing Boot Order in BIOS
In order to boot from the USB drive and start the Windows installation process, you need to change the boot order in your computer’s BIOS settings. The BIOS (Basic Input/Output System) is a firmware that is responsible for initializing the hardware components of your computer during startup. Follow the steps below to change the boot order:
- Restart your computer and access the BIOS settings. The method to enter the BIOS varies depending on the manufacturer of your computer. Commonly used keys to access the BIOS include F2, F8, F10, or Del. Refer to your computer’s manual or manufacturer’s website for the specific key or combination of keys to enter the BIOS.
- Once you have successfully entered the BIOS, navigate to the “Boot” or “Boot Order” section. The exact name and location may vary depending on your computer’s BIOS version and interface.
- Locate the option to change the boot order and prioritize the USB drive. Typically, you can use the arrow keys to move the USB drive to the top of the boot order list. Some BIOS versions may require you to use the “+” or “-” keys to change the boot order.
- Save the changes and exit the BIOS settings. Look for an option such as “Save and Exit” or “Exit Setup.” Confirm that you want to save the changes and restart your computer.
- After the computer restarts, it will attempt to boot from the USB drive first. If successful, the Windows installation process will begin, and you will be guided through the necessary steps to install Windows on your computer.
Note that if your computer is configured with UEFI (Unified Extensible Firmware Interface), you may need to disable the secure boot feature or enable the “Legacy Boot” mode to successfully boot from the USB drive. Refer to your computer’s manual or manufacturer’s website for instructions specific to your device.
By changing the boot order in the BIOS, you have now instructed your computer to prioritize the USB drive for booting. This allows you to start the Windows installation process directly from the USB drive. In the next step, we will explore how to boot Windows from the USB drive and proceed with the installation.
Step 4: Booting Windows from USB
Now that you have changed the boot order in the BIOS settings, it’s time to boot your computer from the USB drive and start the Windows installation process. Follow the steps below to boot Windows from the USB drive:
- Make sure that the bootable USB drive containing the Windows installation files is connected to your computer.
- Restart your computer and wait for it to power on. Keep an eye on the screen, as there will usually be a brief message indicating which key to press to enter the boot menu or select a boot device.
- Press the designated key (such as F12, Esc, or another key specified by your computer’s manufacturer) to access the boot menu.
- In the boot menu, use the arrow keys to select the USB drive from the list of available boot devices. Press Enter to confirm your selection.
- Your computer will now boot from the USB drive, and the Windows installation process will begin. Follow the on-screen instructions to proceed with the installation.
- During the installation process, you may need to select the desired language, enter the product key, choose the installation type, and specify the drive or partition where you want to install Windows. Review the instructions carefully and make the necessary selections.
- Allow the installation process to complete. Your computer may restart several times during this process, so be patient and avoid interrupting the installation.
- Once the installation is complete, your computer will boot into Windows from the hard drive. Follow the setup wizard to configure your preferences and personalize your Windows experience.
Congratulations! You have successfully booted Windows from the USB drive. By following these steps, you have initiated the installation process and are now on your way to having a working Windows operating system on your computer.
In the next and final step, we will cover the installation process and finalize the setup of Windows on your computer.
Step 5: Installing Windows from USB
Now that you have successfully booted into Windows from the USB drive, it’s time to proceed with the installation process. Follow the steps below to install Windows from the USB drive:
- On the Windows installation screen, select your preferred language, time, and currency format, as well as your keyboard input method. Click “Next” to continue.
- On the next screen, click on the “Install Now” button to start the installation process.
- Enter your valid Windows product key when prompted. This key is typically included with your Windows purchase or provided with your computer if it came pre-installed with Windows.
- Read and accept the license terms by checking the box and clicking “Next.”
- Select the type of installation you want. You can choose to upgrade an existing Windows installation or do a clean installation. For a clean installation, select the “Custom” option.
- Choose the disk or partition where you want to install Windows. If you are performing a clean installation, you may need to format the drive before proceeding.
- Wait for the Windows installation process to complete. This can take some time, and your computer may restart multiple times during the process. It is crucial to avoid interrupting the installation to prevent any potential issues.
- Follow the on-screen instructions to personalize your Windows settings, such as choosing a username and password, configuring privacy settings, and selecting a theme.
- After completing the setup, you will be greeted with the Windows desktop. Congratulations, you have successfully installed Windows from the USB drive!
It is important to note that the steps provided here are a general guide to installing Windows from a USB drive. The installation process may vary slightly depending on the specific version of Windows and any specific customization options you choose.
Once the installation is complete, make sure to install any necessary drivers, update your Windows version, and install essential software and applications to ensure your computer’s optimal performance and security.
That’s it! You have successfully installed and set up Windows from the USB drive. Take some time to explore the features and functionalities of your new Windows installation, and enjoy your enhanced computing experience.
Conclusion
Congratulations! You have successfully learned how to boot Windows from a USB drive. This method provides flexibility and convenience, allowing you to easily install Windows or troubleshoot your computer’s operating system whenever needed.
In this guide, we covered the requirements for booting Windows from a USB drive, including the need for a USB drive with sufficient storage capacity, a Windows ISO file, a bootable USB creation tool, access to the BIOS settings, and a valid Windows product key. By meeting these requirements, you are well-prepared to embark on the process of booting Windows from a USB drive.
We then explored the step-by-step process, including downloading the Windows ISO file, creating a bootable USB drive, changing the boot order in the BIOS settings, booting Windows from the USB drive, and finally, installing Windows on your computer.
Remember to exercise caution and backup any important data before proceeding with the installation process. Additionally, stay vigilant while downloading the Windows ISO file and make sure to verify its integrity to prevent any issues during the installation.
By following these steps, you have successfully installed Windows from a USB drive and are now ready to explore and enjoy the features and functionalities of your new Windows operating system.
We hope this guide has been informative and helpful in guiding you through the process of booting Windows from a USB drive. Should you encounter any difficulties or have further questions, don’t hesitate to consult your computer’s manual or seek assistance from trusted sources.
Thank you for reading, and we wish you all the best with your Windows installation!